Robo Factory
| Level | |
|---|---|
| Robo Factory | |
| |
| Level code | 9-7 |
| World | Cloud |
| Game | Donkey Kong Country Returns 3D/Donkey Kong Country Returns HD |
| Music track | Factory Friction |
| << Directory of levels >> | |
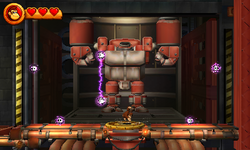
Robo Factory is the seventh level of the secret Cloud world from Donkey Kong Country Returns 3D and Donkey Kong Country Returns HD. It represents the seventh world of the game, the Factory.
The level focuses on the Kongs gradually constructing a gigantic robot resembling Donkey Kong himself as they progress to the end.
In the Time Attack mode of the game, a time of 2:15:00 is needed to get a gold medal, a time of 2:25:00 for silver, and a time of 2:40:00 for bronze.
Overview[edit]
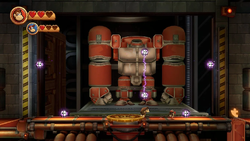
Starting off the level, Donkey Kong and Diddy Kong should head right past some enemies to find a yellow button which, when pressed, opens the doors in the background revealing the body of the robot. It is then transported to a later part of the level. The button also lowers the right wall, allowing the Kongs to continue. On the other side, there are pistons and Pyrobots which the Kongs must avoid. More pistons lie beyond that, except these ones do not hit against anything and instead lift the Kongs higher up. After getting past both the falling and rising pistons, there will be a Barrel Cannon that will launch the Kongs to where the robot body is located. The Kongs must press the second button while avoiding the Electroids' line of electricity, which will attach arms to the robot and lower the wall to the first checkpoint.
After the robot is transported, the Kongs will find more pistons which will only fall if Electroids move past them as they move along their designated paths. After that, the Kongs will enter a series of Barrel Cannons, where they must make timed launches during the first and last part of the sequence to avoid getting crushed between pistons. The final Barrel Cannon leads the Kongs to where the robot was transported. Pressing the button there (while avoiding the Tiki Zings) will attach the head to the robot, completing it. The wall lowers to open the way to the next checkpoint.
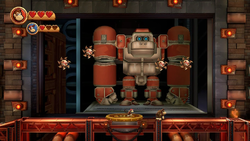
After the robot is completed, it is transported further into the level, and the Kongs will find even larger pistons ahead. The rising pistons propel the Kongs much higher up, while the falling pistons are more dangerous, the second of which the Kongs must duck under to avoid the spikes underneath it. After that, the Kongs will encounter a series of large elevating pistons which the Kongs must use to propel themselves over the Tiki Zings to prevent getting hit. At the end, the Kongs must enter a Barrel Cannon and time their launch between the two spiked pistons to the next Barrel Cannon, which leads to an outdoor area where the robot can be seen in the background. The Kongs should then go up to a higher area to find four caged enemies and the Slot Machine Barrel out of reach. After defeating the Pyrobot, pressing the central button three times will cause the robot to rocket towards the camera and destroy the enemies and girder structures with its fists. The fists themselves can then be used to reach the Slot Machine Barrel.
Enemies[edit]
| Image | Name | Amount |
|---|---|---|
| BuckBomb | 10 | |
| BuckBot | 6 | |

|
Electroid | 19 |
| Pyrobot Mk I | 10 | |
| Pyrobot Mk II | 5 | |
| Tiki Zing | 19 |
Puzzle Pieces[edit]
Puzzle Pieces[edit]
| Image | Number | Location |
|---|---|---|
|
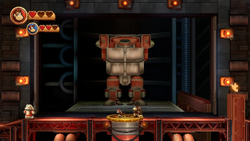
1 | Revealed after pressing the first yellow button. |
|
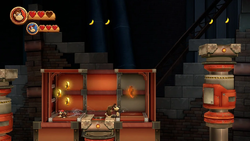
2 | The Kongs should wait for the third of the first set of rising pistons to lower and find the Puzzle Piece on the right hidden from view. |
|
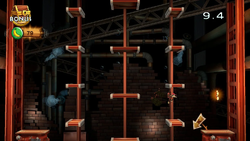
3 | After defeating the Pyrobot in the area with four rising pistons next to each other, the Kongs should jump into the entrance to a Bonus Area at the top left of the platform the Pyrobot was standing on. Using the elevators, everything must be collected to reveal the Puzzle Piece on the right side of the area. |
|
4 | Revealed after pressing the second yellow button. |
|
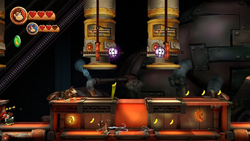
5 | After the first checkpoint, there is a cracked chunk of girder between two Electroid-powered pistons that should be broken to reveal the Puzzle Piece. |
|
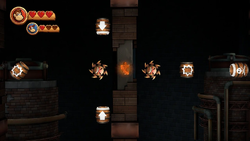
6 | Halfway through the Barrel Cannon sequence, the Kongs will enter one of two Barrel Cannons opposite each other, with two Tiki Zings in between. The Kongs must launch themselves between the Tiki Zings to collect the Banana, which will reveal another Banana in its place, followed by a Banana Bunch, Banana Coin, Heart, and finally the Puzzle Piece. |
|
7 | Revealed after pressing the third yellow button. |
|
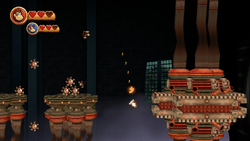
8 | In the area with the pistons and Tiki Zings, the Kongs should collect every item there to make the Puzzle Piece appear above the Barrel Cannon. |
|
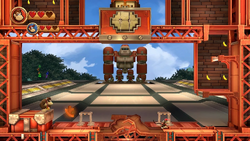
9 | Upon reaching the final area, the Kongs should blow into the horn to the left to reveal the Puzzle Piece. |
Names in other languages[edit]
| Language | Name | Meaning | Notes |
|---|---|---|---|
| Japanese | コングロボファクトリー[?] Kongu Robo Fakutorī |
Kong Robo Factory | |
| Chinese (traditional) | 剛機器人工廠[?] Gāng Jīqìrén Gōngchǎng |
Kong Robot Factory | |
| French | Fabrique Robotique[?] | Robotic Factory | |
| German | Robo-Fabrik[?] | Robo Factory | |
| Italian | Robofabbrica[?] | Robotfactory | |
| Spanish | Fábrica robótica[?] | Robotic Factory |