Airytale Castle: Difference between revisions
Shaymiestar (talk | contribs) m (Grammar) |
No edit summary Tags: Mobile edit Advanced mobile edit |
||
| Line 8: | Line 8: | ||
|secret=[[Launchpad Labyrinth|**]] | |secret=[[Launchpad Labyrinth|**]] | ||
}} | }} | ||
{{quote|This is Airytale Castle. This one could be tough. Oh, and there's a secret map here!|[[Merfle|White Merfle]]|Wario Land: Shake It!}} | |||
'''Airytale Castle''' is the third level of [[Jiggle Jungle]] in ''[[Wario Land: Shake It!]]'' | '''Airytale Castle''' is the third level of [[Jiggle Jungle]] in ''[[Wario Land: Shake It!]]'' | ||
Latest revision as of 20:26, December 21, 2024
| Level | |
|---|---|
| Airytale Castle | |
| |
| Level code | 4-3 |
| Game | Wario Land: Shake It! |
| Music track | Airytale Castle (before freeing Merfle) Prism Prison (after freeing Merfle) |
| << Directory of levels >> ** | |
- “This is Airytale Castle. This one could be tough. Oh, and there's a secret map here!”
- —White Merfle, Wario Land: Shake It!
Airytale Castle is the third level of Jiggle Jungle in Wario Land: Shake It!
Layout[edit]
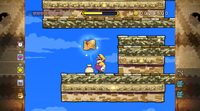
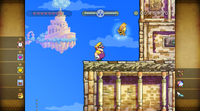
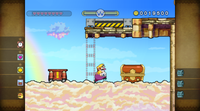
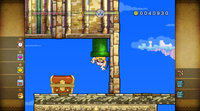
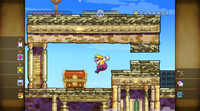
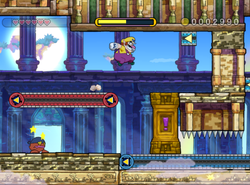
This level takes place in a floating castle in the sky. Many Shortfuses and Pitchforks can be found here. Many columns also appear, which require Wario to do an Earthshake Punch to pass through. Wario first steps on clouds and enters the castle, striding into the portals that are first seen. Later, Wario first maneuvers Rocket Buckets to fly in the sky and reach higher places. There is a hidden treasure that requires Rocket Buckets to reach. The golden enemy, a jumping Bandinero, appears in the last section which Wario needs to use a Pitchfork to reach. When Wario reaches the Merfle, he falls into the castle again and will have to run out of the castle before time runs out.
Secret Map location[edit]
This level has a Secret Map to Launchpad Labyrinth, which is found after the first Rocket Bucket section. After Wario stands on the column, he needs to do an Earthshake Punch to lift himself up and jump onto the third moving platform. There, he must topple over to avoid spikes and crawl to the left where there is a small Coin Bag. Performing an Earthshake Punch there reveals the Secret Map.
Missions[edit]
It has been requested that more images be uploaded for this section. Remove this notice only after the additional images have been added. Specifics: Each mission has an icon associated. They should be uploaded and added to this section.
| Icon | Mission
|
|---|---|
| Finish before the clock hits 2:50:00 | |
| Beat the stage without taking damage | |
| Collect 55,000 coins | |
| Don't break any Rocket Buckets | |
| Defeat the golden enemy |
Enemies[edit]
- Bandinero (red and gold)
- Boomdinero (red)
- Nosedozer
- Pitchfork (blue)
- Shortfuse
- Spike Bar
- Turkeyjerk (green)
Treasures[edit]
Data[edit]
| Given time | Sum of coins |
|---|---|
| 3:30:00 | 63,070 |
Names in other languages[edit]
| Language | Name | Meaning | Notes |
|---|---|---|---|
| Japanese | トンデレラしんでん[?] Tonderera Shinden |
Portmanteau of "Cinderella" and「翔んでる」(tonderu, "groovy") +「しんでん」(shinden, "temple") | |
| French | Neuvième Ciel[?] | Ninth Sky | |
| German | Palazzo Cumulus[?] | - | |
| Italian | Settimo cielo[?] | [On] Cloud Nine; lit. "[on the] Seventh sky" | |
| Spanish (NOA) | Castillo Vendaval[?] | Gale Castle |
