Frantic Factory: Difference between revisions
No edit summary |
m (Text replacement - "(\| *)Jap([RMCN\d]* *=)" to "$1Jpn$2") |
||
| Line 218: | Line 218: | ||
==Names in other languages== | ==Names in other languages== | ||
{{foreign names | {{foreign names | ||
| | |Jpn=マッドファクトリー | ||
| | |JpnR=Maddo Fakutorī | ||
| | |JpnM=Mad Factory | ||
|Spa=Fábrica Frenética | |Spa=Fábrica Frenética | ||
|SpaM=Frenetic Factory | |SpaM=Frenetic Factory | ||
Latest revision as of 11:16, January 7, 2025
| Frantic Factory | |
|---|---|
| |
| Entrance requirement | 15 Golden Bananas |
| Boss | Mad Jack |
| Boss requirement | 200 bananas |
| Trapped Kongs | Chunky |
| << List of levels >> | |
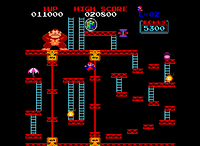
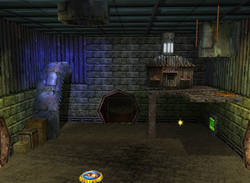
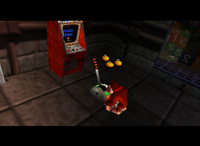
Frantic Factory is the third level of Donkey Kong 64. It is a rogue toy manufacturing factory in which Chunky Kong is held captive. The Kongs can access the level's lobby after unlocking the second padlock of K. Lumsy's cage. The level requires 15 Golden Bananas to enter, and the boss is Mad Jack. There is one room with a playable Donkey Kong arcade cabinet, and by completing it, the Kongs win the Nintendo Coin.
Areas[edit]
Lobby[edit]
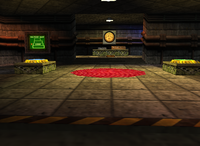
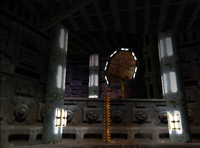
The main entrance to Frantic Factory. It has a red rug with K. Rool's head, two tables with Bananaport Pads #1 and #2 adjacent to one another, and an employee card punch-in station. Above it is a time clock which reads "Krem Co". Two Robokremlings patrol the entrance, guarding a blue switch that opens the path to the basement, where the Production Room and Storage room can be found. Bananaport Pad #1 leads to the Storage Room and Bananaport Pad #2 leads to the R&D room. Bananaport Pad #3 leads to a room with Snide's HQ, which can be accessed from the Testing room.
Production Room[edit]
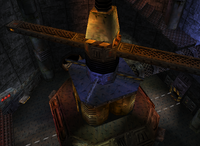
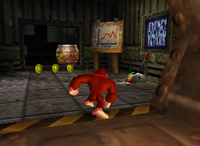
The largest room of Frantic Factory, located on the bottom floor. The Production Room can be climbed by the Kongs using the various moving components activated when DK pulls the lever in the storage room power shed. There are various paths on the way to the top, both 4 pads, Diddy and Donkey's Kasplats, and four golden bananas at the top in various areas, and the assembly line inside the main core contains one of Donkey Kong's golden bananas and one of Lanky's balloons.
Storage Room[edit]
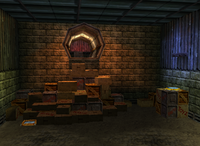
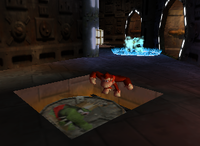
It is a floor beneath the Lobby. This is where Chunky is imprisoned at, and the room also has a power shack that controls the machinery in the Production Room (only accessible from the R&D). DK can shoot a coconut switch to enter the shed, where he can pull a lever to activate the production room. Both Candy's Music Shop and Cranky's Lab are on this floor. There is also a room behind a Chunky gate with a dirt pile, and a Barrel Cannon challenge that unlocks the Donkey Kong arcade game. The 1 pad is located here, which leads back to the lobby. A blue switch here will open the path leading to the Testing Department.
Testing Department[edit]
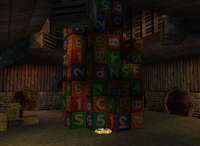
|This room is located near the top of Frantic Factory: it is a very tall room with massive stacked toy blocks in the center. Diddy can Simian Spring on the blocks to find a Golden Banana on the top. At the top are windows, where the Moon can be seen from. Funky's Store is on this floor. There is a minigame where DK has to Simian Slam up to number sixteen in order, and a dart game for Tiny. Chunky's Kasplat is located here. Accessible from the Storage Room or pad 5, there is a room with the Donkey Kong arcade machine and an empty room behind a Chunky gate with the sole Stash Snatch! bonus barrel in the game.
R&D[edit]
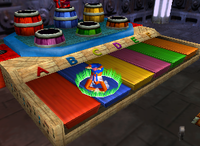
Located at the top of the factory, this is the research and development division appearing on the top level. It surrounds the higher part of the Testing area. It is a large area, with many rooms. Each Kong faces a challenge here: Donkey must go down to the power shack in the Storage Room to activate the production room. Lanky has to copy the burping Kremlings by Simian Slamming the appropriate notes on a six-key colored piano, Tiny has her first race with the Mini-Car, Diddy does the number challenge round, and Chunky fights the Toy Monster mini-boss. Small pits with metal grates circle the area. The 2 pad is located here, which leads back to the lobby. Lanky's Kasplat is located here.
Enemies[edit]
- Block
- Kasplat
- Kritter
- Mechanical Zinger
- Mr. Dice
- Robokremling
- Sir Domino
- Toy Monster (mini-boss)
- Mad Jack (boss)
Golden Bananas[edit]
Donkey Kong[edit]
| Images | Description | Type |
|---|---|---|
|
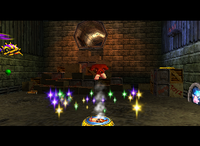
Use Baboon Blast on the Donkey Kong pad in the Storage Room to unlock the switch to play the Donkey Kong arcade game. Climb the fireman's pole next to the Storage Room to reach the arcade cabinet. | |
|
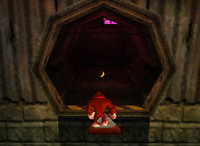
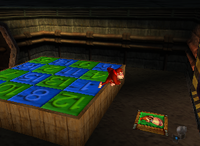
In the Testing Dept. go through a higher-up passageway, accessed with one of the ABC blocks, to reach the room with numbered blocks. Hit the Donkey Kong switch on the ground and then hit all numbered blocks from lowest to highest (note that 6 is blue, 9 is green). | |
|
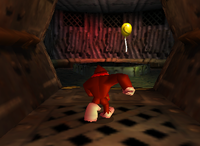
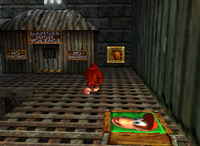
On the R&D Floor, climb up the ladder and enter the middle door to drop down a hatch. Once back in the Storage Room, enter the high-voltage hut and flip the switch to receive a Golden Banana and start the tall machine in the Production Floor, which gives access to more Golden Bananas. | |
|
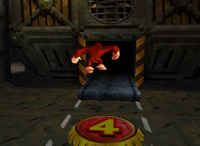
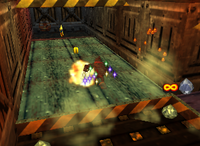
Must have activated the tall machine with Donkey Kong (see his other Golden Bananas). Enter the tall machine itself with the entrance next to the Bananaporter #4 on the ground. Use the Strong Kong ability to go through the press to reach the Golden Banana. |
|
|
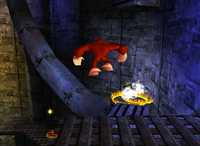
Must have activated the tall machine with Donkey Kong (see his other Golden Bananas). On a sole platform near the Bananaporter #4, has to be jumped down from a higher point of the tall machine in the Production Floor. Defeat the red Kasplat and give their blueprint to Snide. |
Diddy Kong[edit]
| Images | Description | Type |
|---|---|---|
|
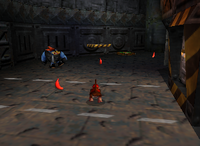
On the ground near the tall machine on the Production Floor. Defeat the red Kasplat and give their blueprint to Snide. | |
|
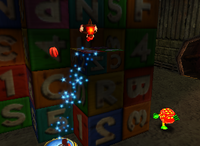
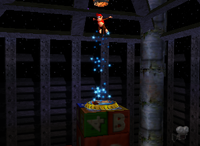
Climb the tower of building blocks in the Testing Dept. by using backflips and the Diddy Kong pads on the ground to reach the Bonus Barrel at the top. | Peril Path Panic! |
|
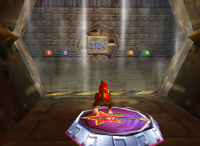
On the R&D Floor break the glass by using the Guitar Gazump pad on the floor. Use Chimpy Charge inside to hit the numbered switches to enter the three codes on the doors. The number combinations are: "3124", which summons two Mr. Dices and a Sir Domino; "4231", which summons two Robokremlings; and "1342", which summons a Robokremling and two Mechanical Zingers. Defeat all enemies to receive a Golden Banana. | |
|
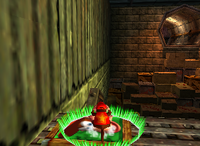
Jump down the hatch on the R&D Floor to land back in the Storage Room near the high-voltage hut. Hit the Diddy Kong switch on the ground and swing across the vines within 20 seconds to reach the Bonus Barrel. | Beaver Bother! |
|
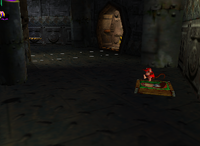
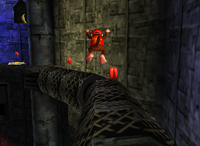
Must have activated the tall machine with Donkey Kong (see his Golden Banana). Hit the Diddy Kong switch on the ground around the tall machine on the Production Floor. Climb up the tall machine (use the Bananaporter #4 found in the same room as a shortcut) and use the Diddy Kong pad on the ground to reach the Golden Banana. |
Lanky Kong[edit]
| Images | Description | Type |
|---|---|---|
|
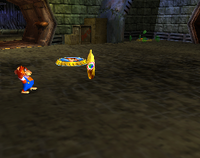
Received after freeing Chunky Kong in the Storage Room. | |
|
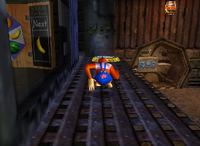
In the Testing Dept. near the Tag Barrel. Use the Baboon Balloon pad on the ground to float towards the Bonus Barrel. | Batty Barrel Bandit! |
|
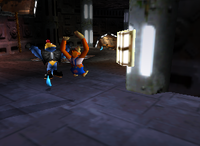
On the R&D Floor behind the pillar in the middle. Defeat the blue Kasplat and give their blueprint to Snide. | |
|
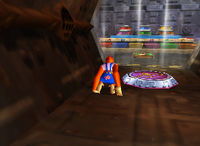
On the R&D Floor break the glass by using the Trombone Tremor pad on the ground. Hit the correct notes as shown by the Kremlings coming out of the piano to receive a Golden Banana. | |
|
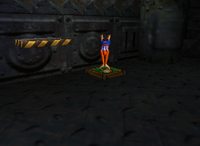
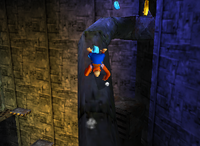
Must have activated the tall machine with Donkey Kong (see his Golden Banana). Hit the Lanky Kong switch on the ground around the tall machine on the Production Floor. Climb up the tall machine (use the Bananaporter #4 found in the same room as a shortcut) and use his OrangStand to reach the Golden Banana. |
Tiny Kong[edit]
| Images | Description | Type |
|---|---|---|

|
On the R&D Floor behind the pillar in the middle. Defeat the blue Kasplat and give their blueprint to Snide. | |
|
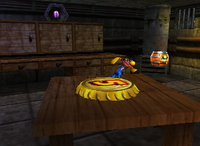
In the room with the Donkey Kong Arcade and a Bananaporter #5 (reachable through the fireman's pole next to the Storage Room). Use the Mini-Monkey barrel in the room to go inside the pipe above the cabinet. | |
|
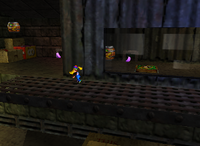
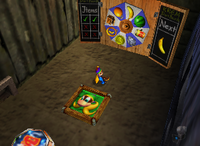
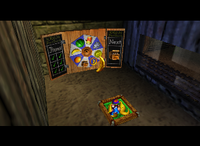
In the Testing Dept. use the Mini-Monkey barrel and enter the hole near it. Once inside hit the Tiny Kong switch on the ground and shoot the item on the wheel that's displayed to the right of it. Once 6 correct items have been hit in a row a Golden Banana will spawn. | |
|
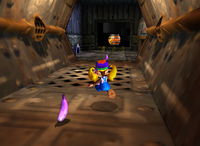
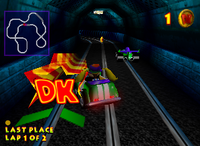
Go through the door closest to the Bananaporter #2 on the R&D Floor. Use the Mini-Monkey barrel and enter the small gap on the ground, follow the tracks and go through the second gap as well. Win the race against the Mini-Car while also collecting 10 coins to receive a Golden Banana. | |
|
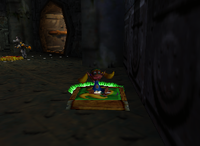
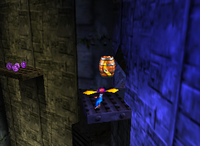
Must have activated the tall machine with Donkey Kong (see his Golden Banana). Hit the Tiny Kong switch on the ground around the tall machine on the Production Floor. Climb up the tall machine (use the Bananaporter #4 found in the same room as a shortcut), use the path with the conveyor belts and use her Pony Tail Twirl ability to reach the Bonus Barrel. |
Krazy Kong Klamour! |
Chunky Kong[edit]
| Images | Description | Type |
|---|---|---|
|
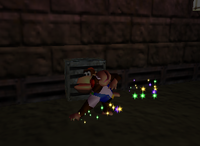
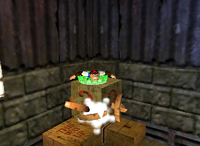
In the Storage Room, destroy the gate near the Bananaporter #1 using a Primate Punch. Enter the room and destroy the ?-box in the corner and hit the Chunky Kong switch inside it to reveal the Golden Banana. Hit the switch on the wall near the center with Chunky Kong's face on it with a Primate Punch to turn on the light and raise the platforms to be able to reach the Golden Banana. | |
|
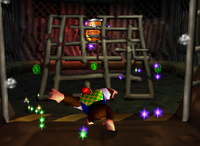
Climb the fireman's pole next to the Storage Room and destroy the gate straight ahead using Primate Punch to access the bonus barrel. | Stash Snatch! |
|
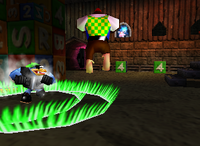
In the Testing Dept. near the window showing the Donkey Kong arcade cabinet. Defeat the green Kasplat and give their blueprint to Snide. | |
|
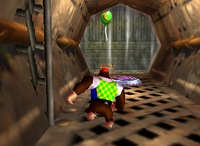
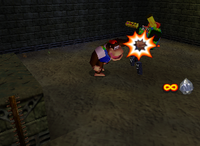
On the R&D Floor break the glass by using the Triangle Trample pad on the floor. Open the toy box by using a Primate Bunch and defeat all enemies (small & big) to receive a Golden Banana. | |
|
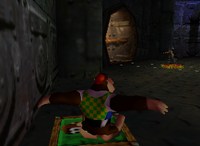
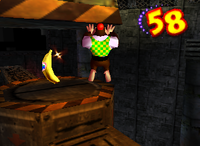
Must have activated the tall machine with Donkey Kong (see his Golden Banana). Hit the Chunky Kong switch on the ground around the tall machine on the Production Floor. Reach the center of the rotating platforms within 99 seconds. Use the Bananaporter #4 as a shortcut to arrive right after the rotating platforms. |
Colored Bananas[edit]
- Main article: List of Bananas in Frantic Factory
There are a total of 500 Bananas (100 for each Kong) to collect.
Banana Coins[edit]
- Main article: List of Banana Coins in Frantic Factory
There are a total of 95 Banana Coins across all five Kongs and 1 5-Banana Coin to collect.
Banana Fairies[edit]
| Image | Description |
|---|---|
|
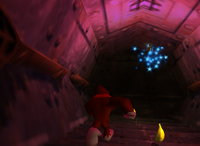
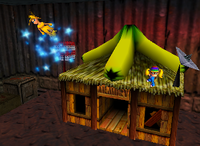
Within the Testing Dept. inside a passageway, accessed with one of the ABC blocks, that would lead to a room with numbered blocks. |
|
In front of Funky's Store. Only appears once Tiny Kong collected the Golden Banana from the spinning wheel in the Testing Dept. |
Battle Arena Pads[edit]
Nintendo Coin[edit]
Gallery[edit]
Names in other languages[edit]
| Language | Name | Meaning | Notes |
|---|---|---|---|
| Japanese | マッドファクトリー[?] Maddo Fakutorī |
Mad Factory | |
| French | Usine Pas Fine[?] | Unkind Factory | |
| German | Fabrik Fatal[?] | Fatal Factory | |
| Italian | La Fabbrica Frenetica[?] | The Frenetic Factory | |
| Spanish | Fábrica Frenética[?] | Frenetic Factory |
Trivia[edit]
- This is the only level that contains a Barrel Cannon course to not have a unique music track.
- A clock in the room across from the starting point is labeled "Krem Co.", a name which also appears on the factory in Mekanos where KAOS is fought in Donkey Kong Country 3: Dixie Kong's Double Trouble!
- The door to this level's lobby has no collision programmed. Therefore, the Kongs can reach this level early by walking right through the door if they can find a way around the platform at the bottom of Crocodile Isle that K. Lumsy would raise at the same time as he opens the level and Gloomy Galleon.
