The 'Shroom:Issue 120/Counting 120 Green Stars: Difference between revisions
From the Super Mario Wiki, the Mario encyclopedia
Jump to navigationJump to search
No edit summary |
mNo edit summary |
||
| (19 intermediate revisions by 4 users not shown) | |||
| Line 2: | Line 2: | ||
<div class="shroombg shroomthumb shroomspring shroomcursor"> | <div class="shroombg shroomthumb shroomspring shroomcursor"> | ||
<br /> | <br /> | ||
<div class="right"><h2 style="font-family:Times New Roman;font-size:350%;color:black;overflow:visible">Counting 120 Green Stars</h2>Written by: {{User|Meta | <div class="right"><h2 style="font-family:Times New Roman;font-size:350%;color:black;overflow:visible">Counting 120 Green Stars</h2>Written by: {{User|Meta Knight}}</div><br /> | ||
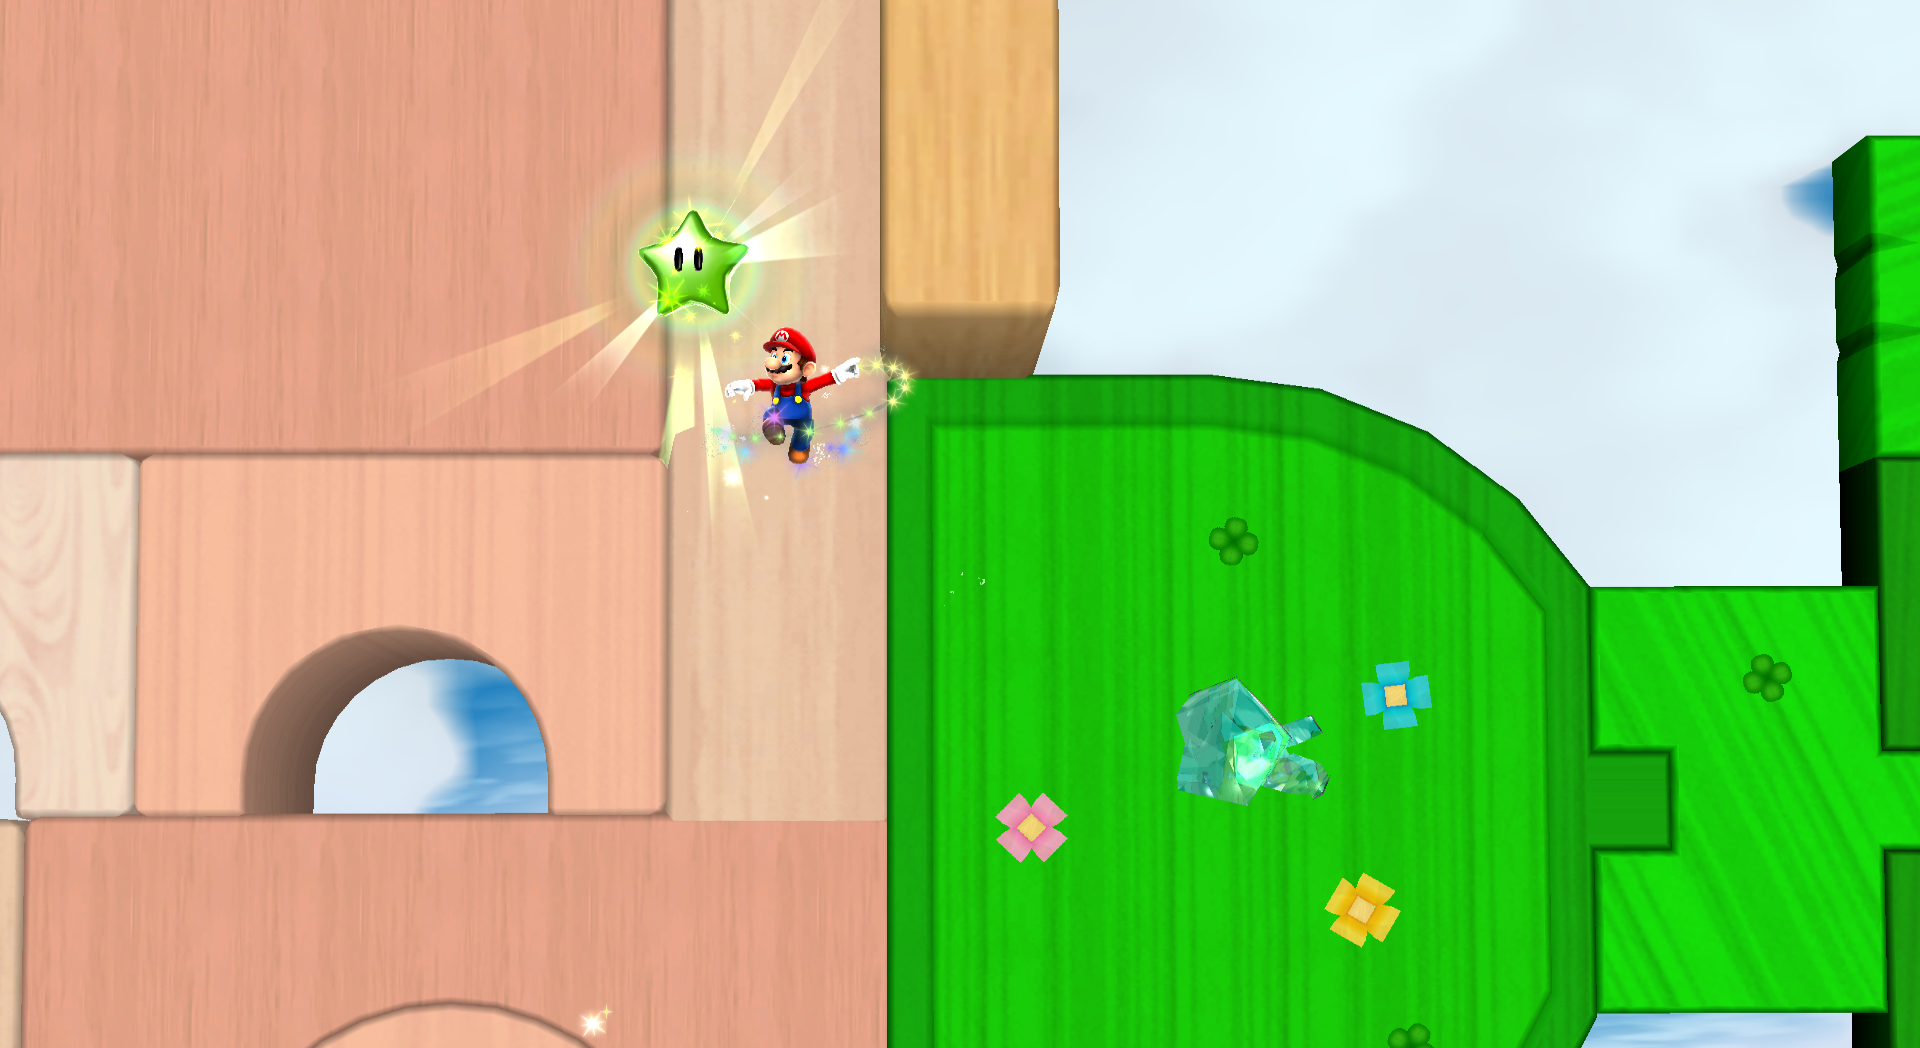
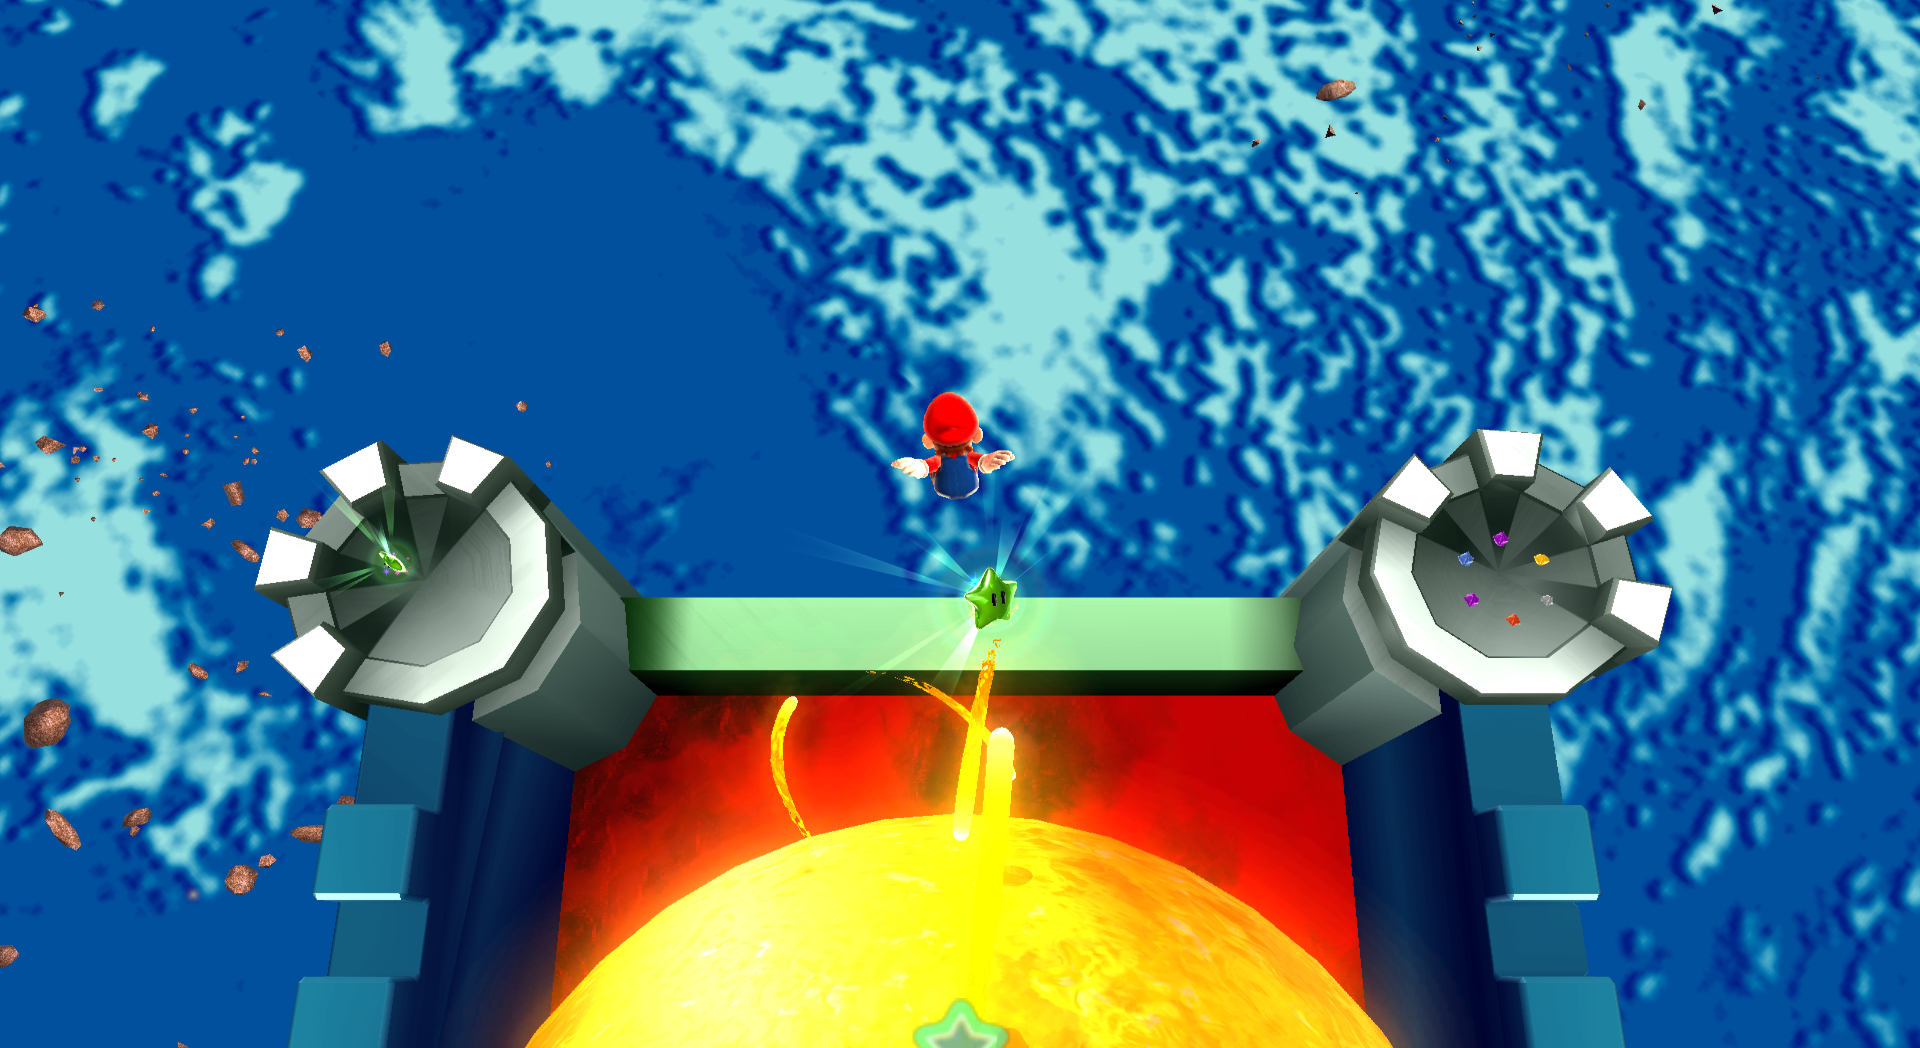
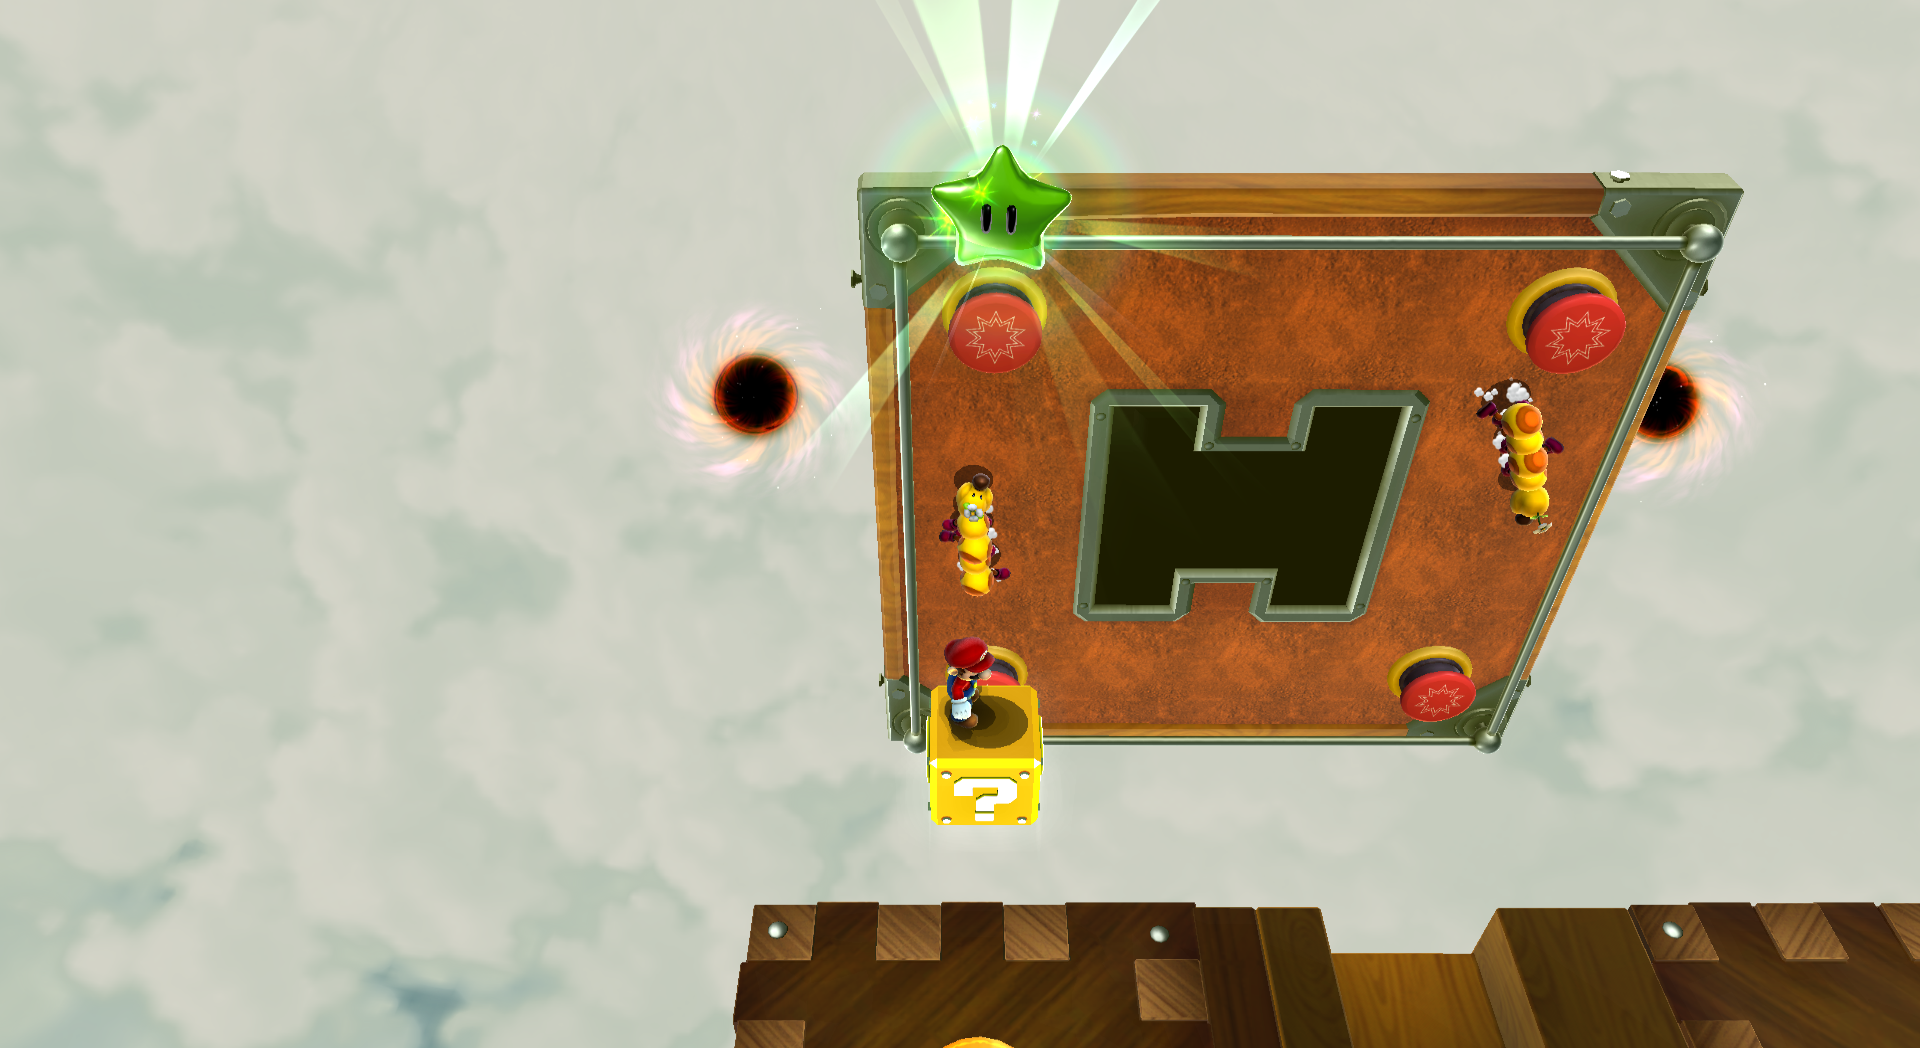
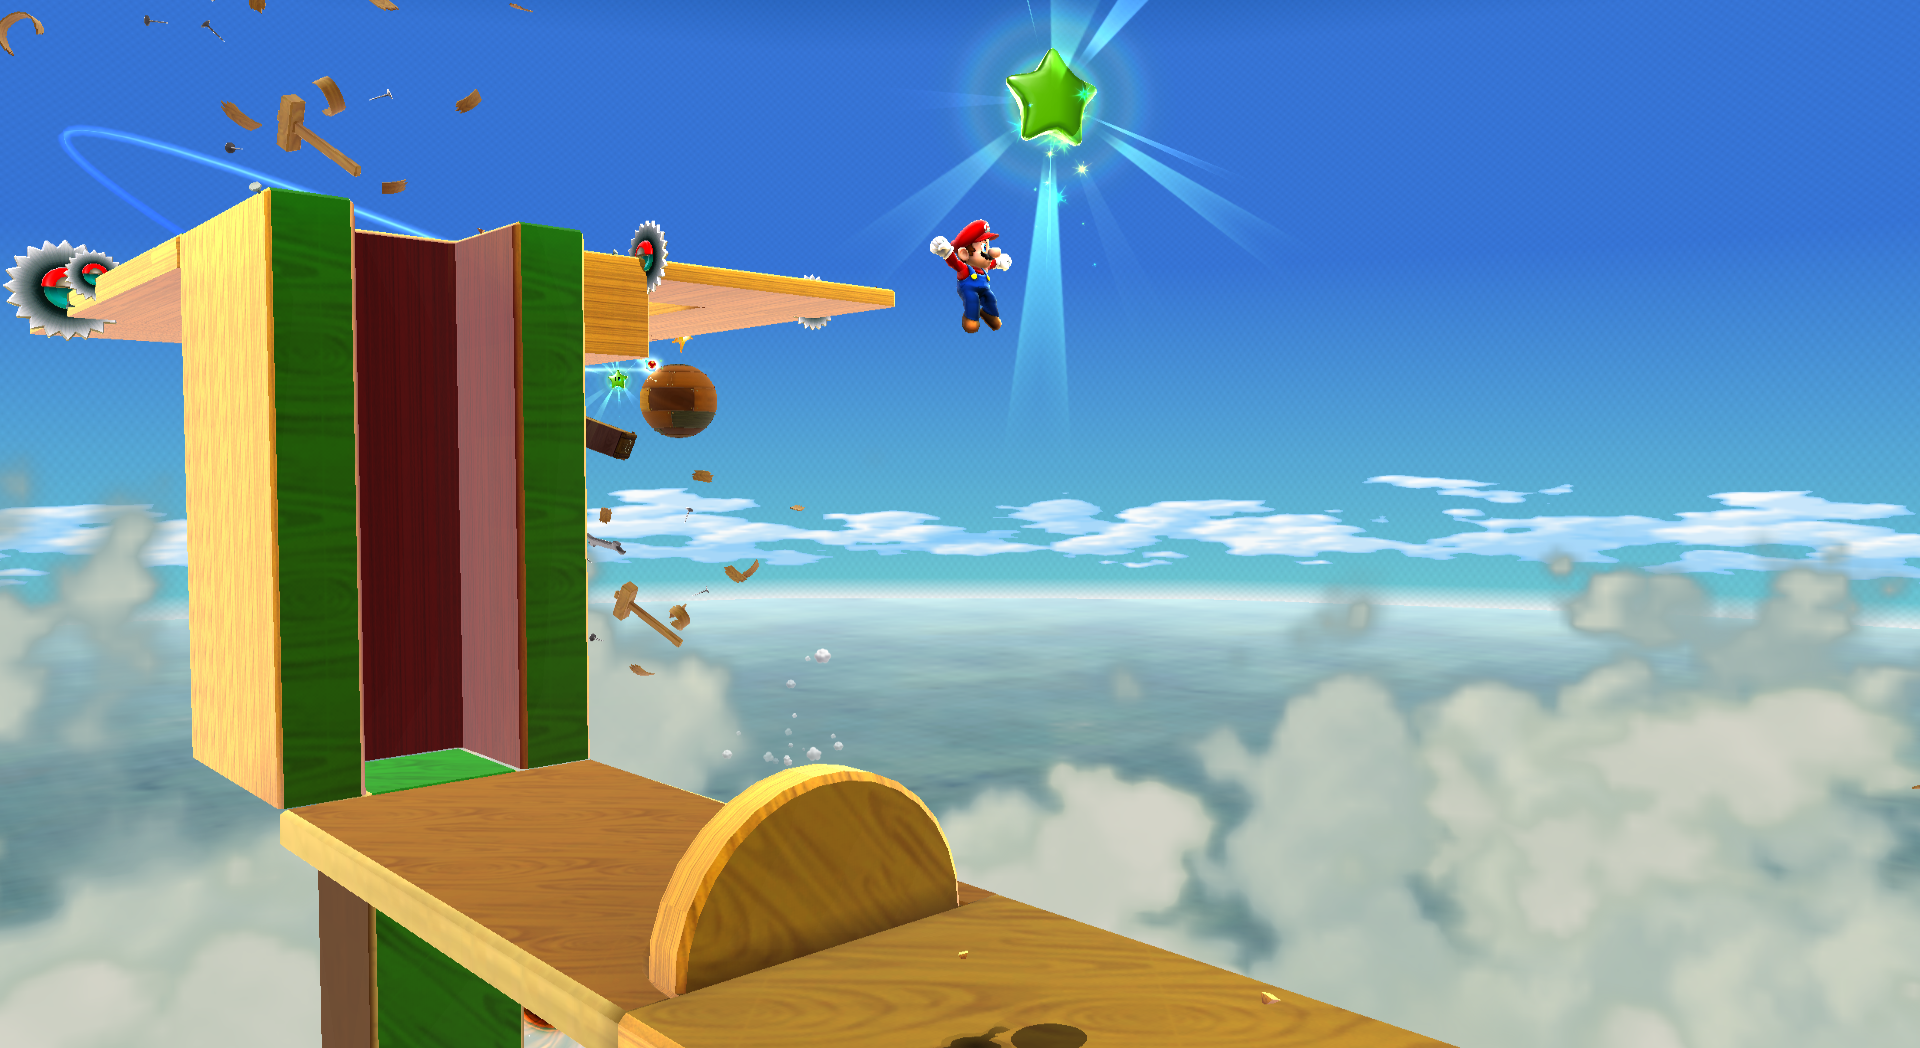
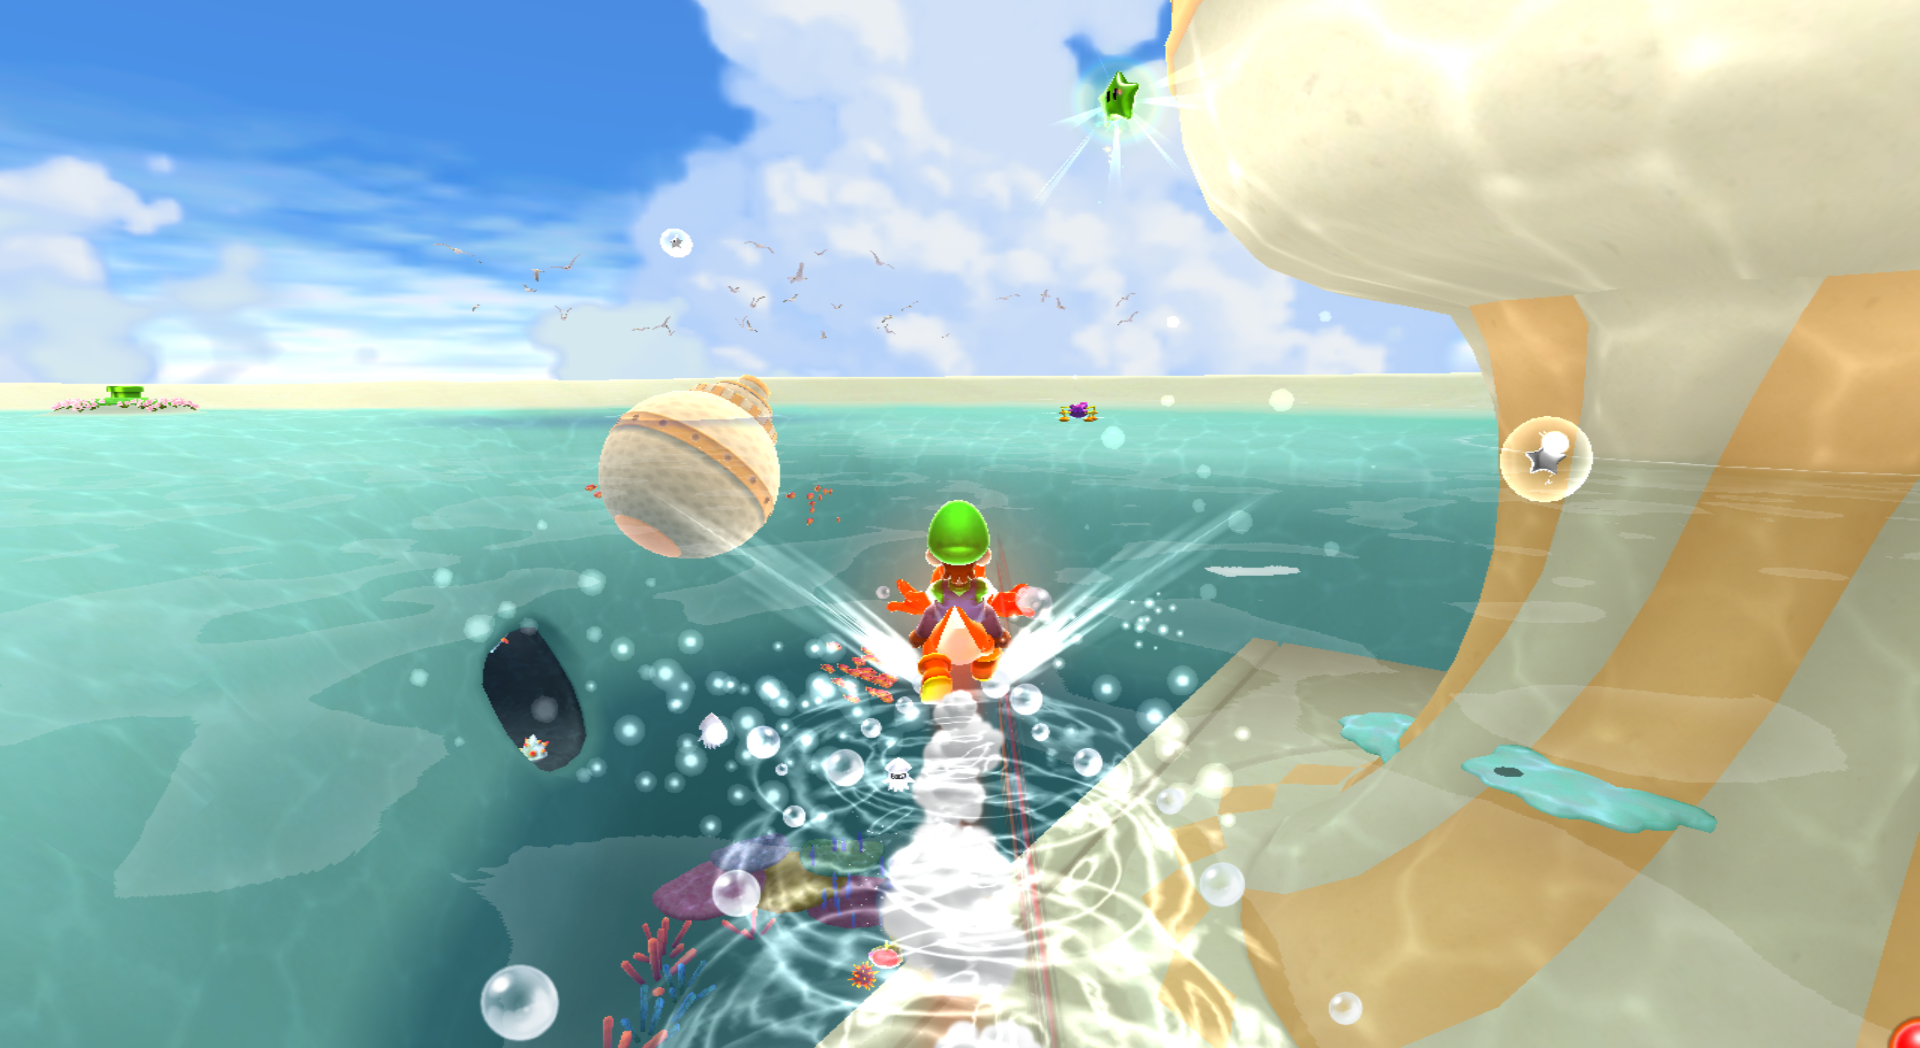
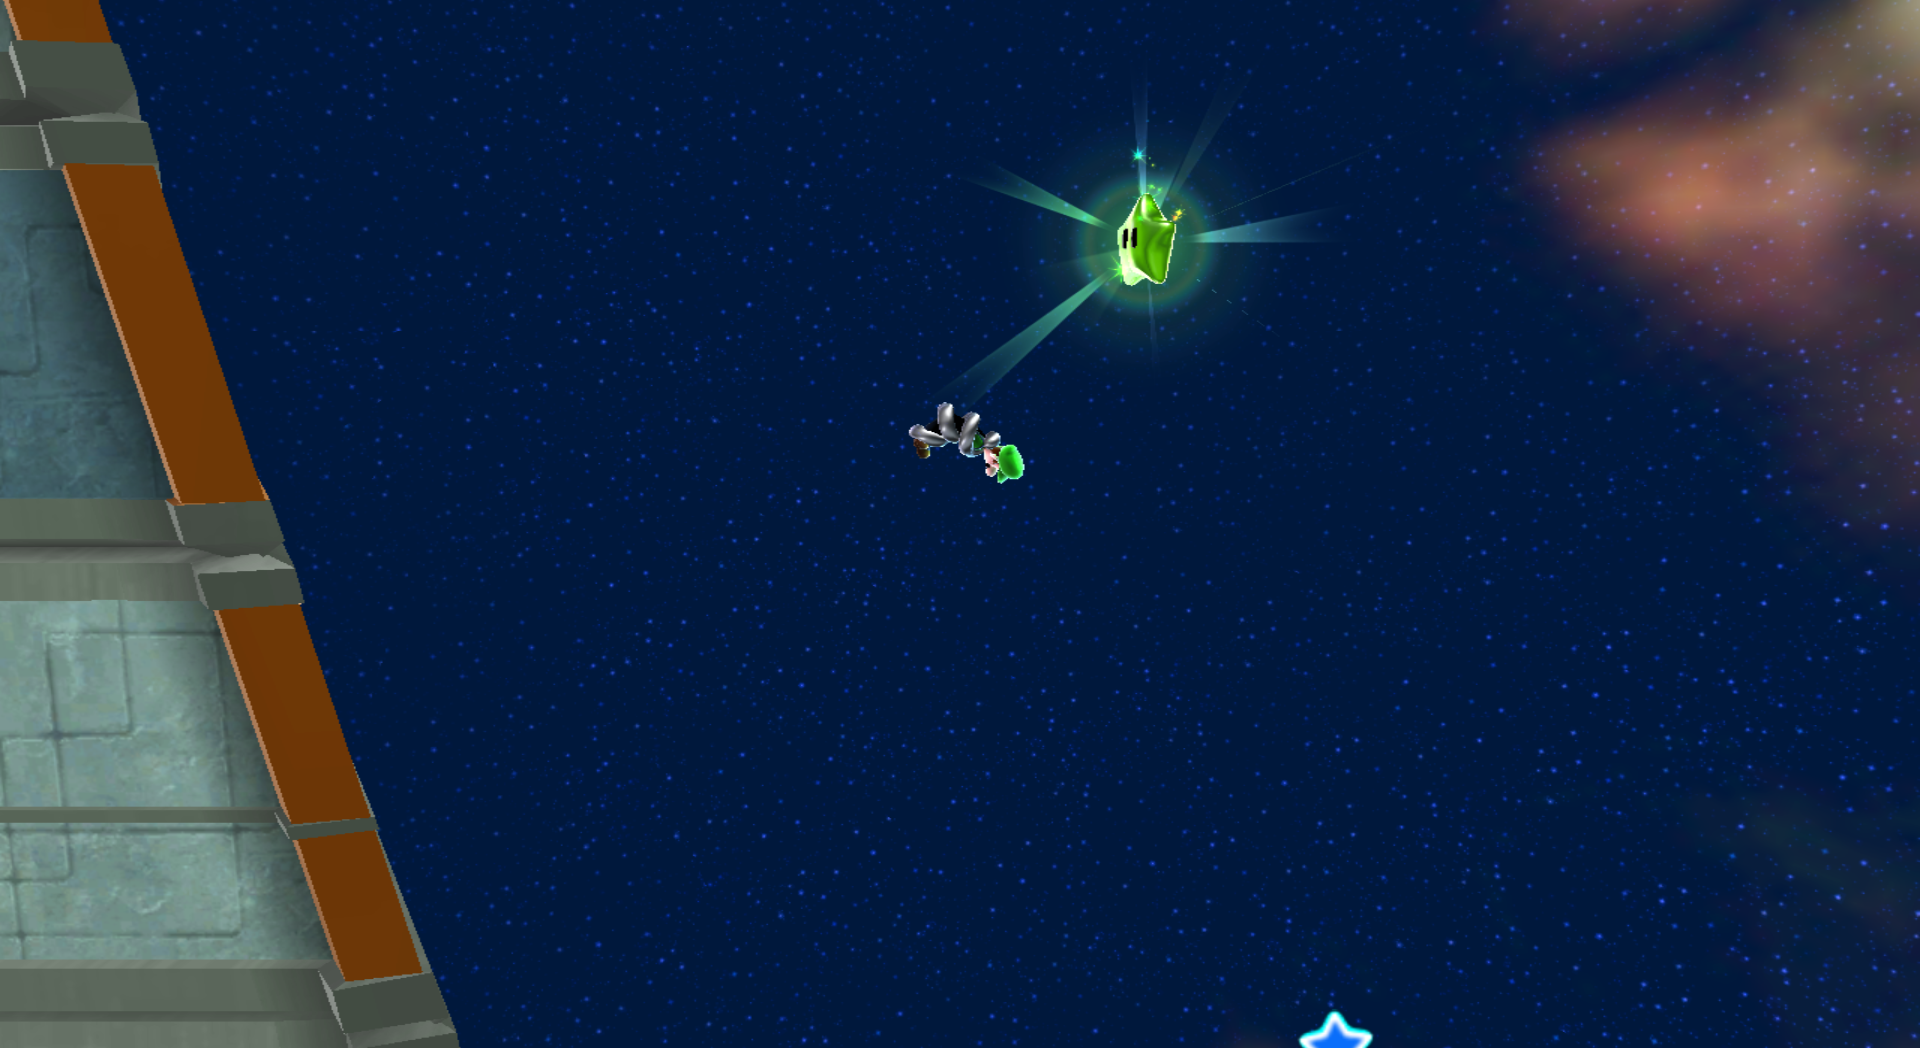
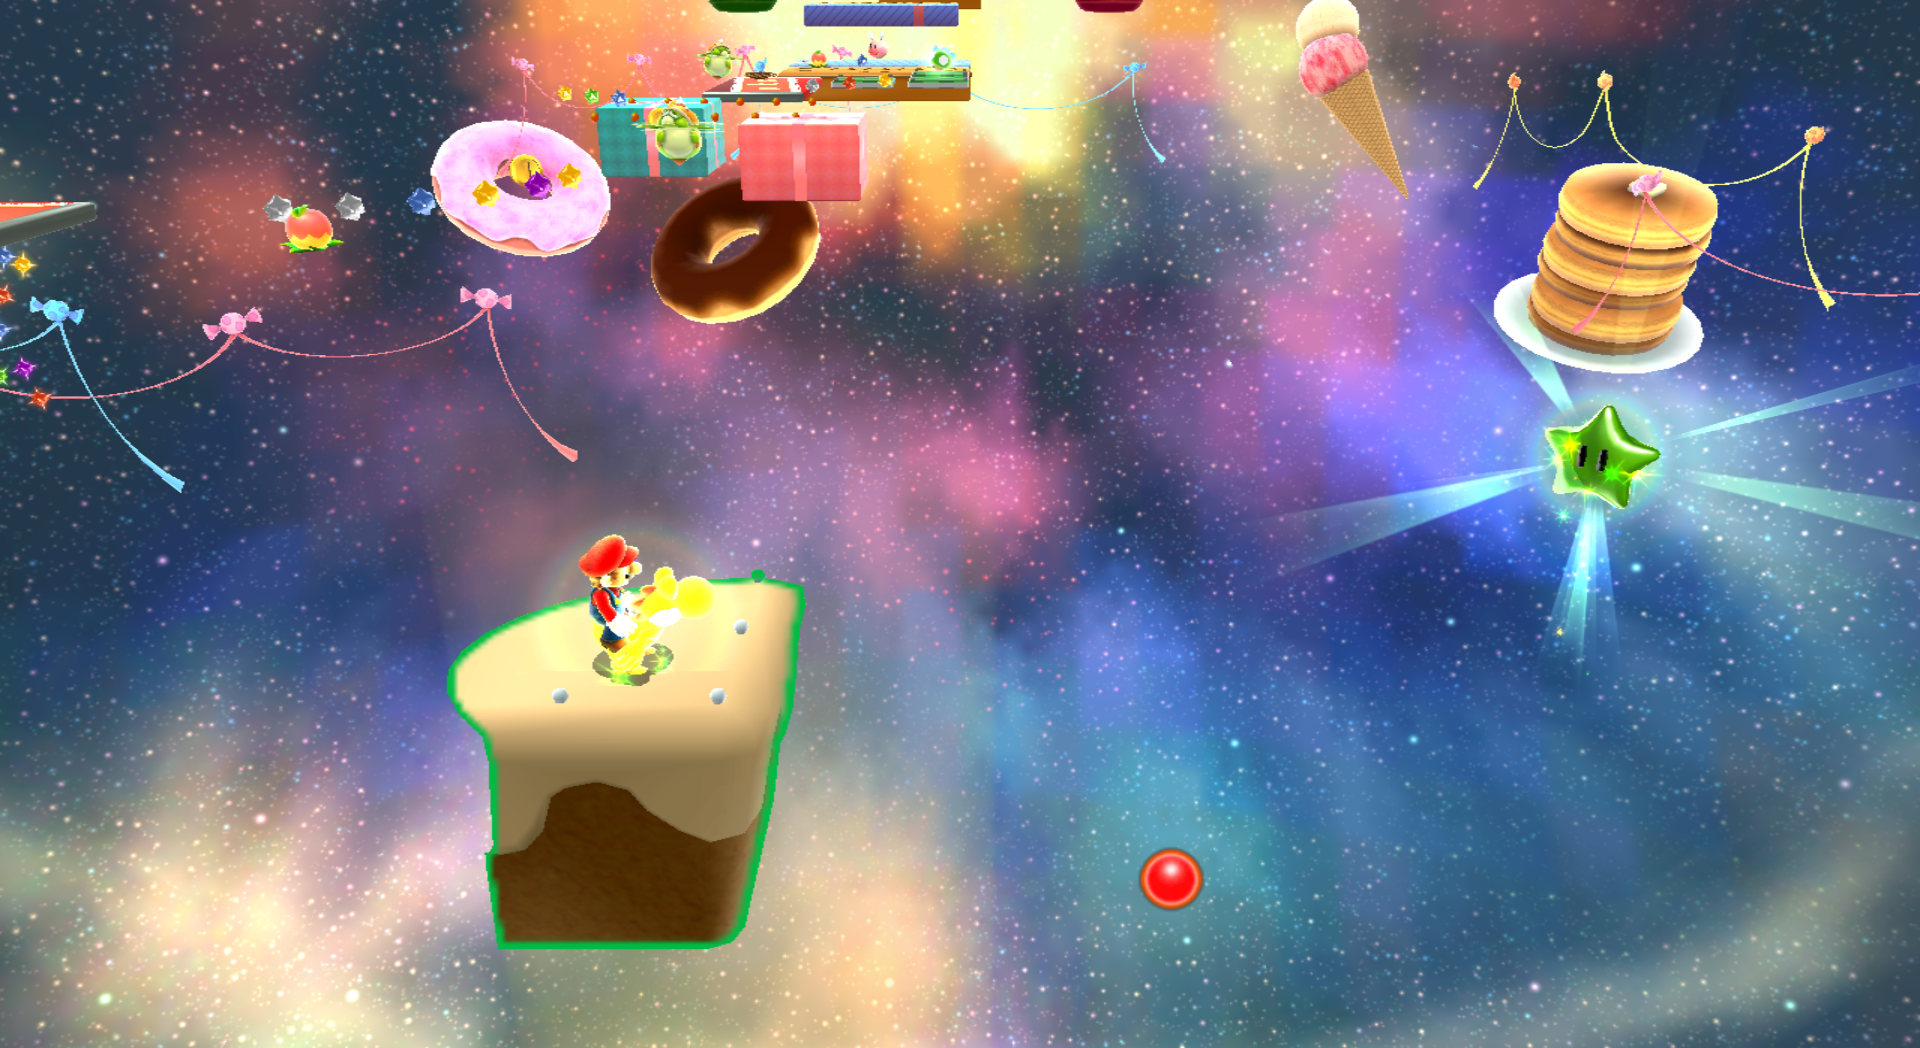
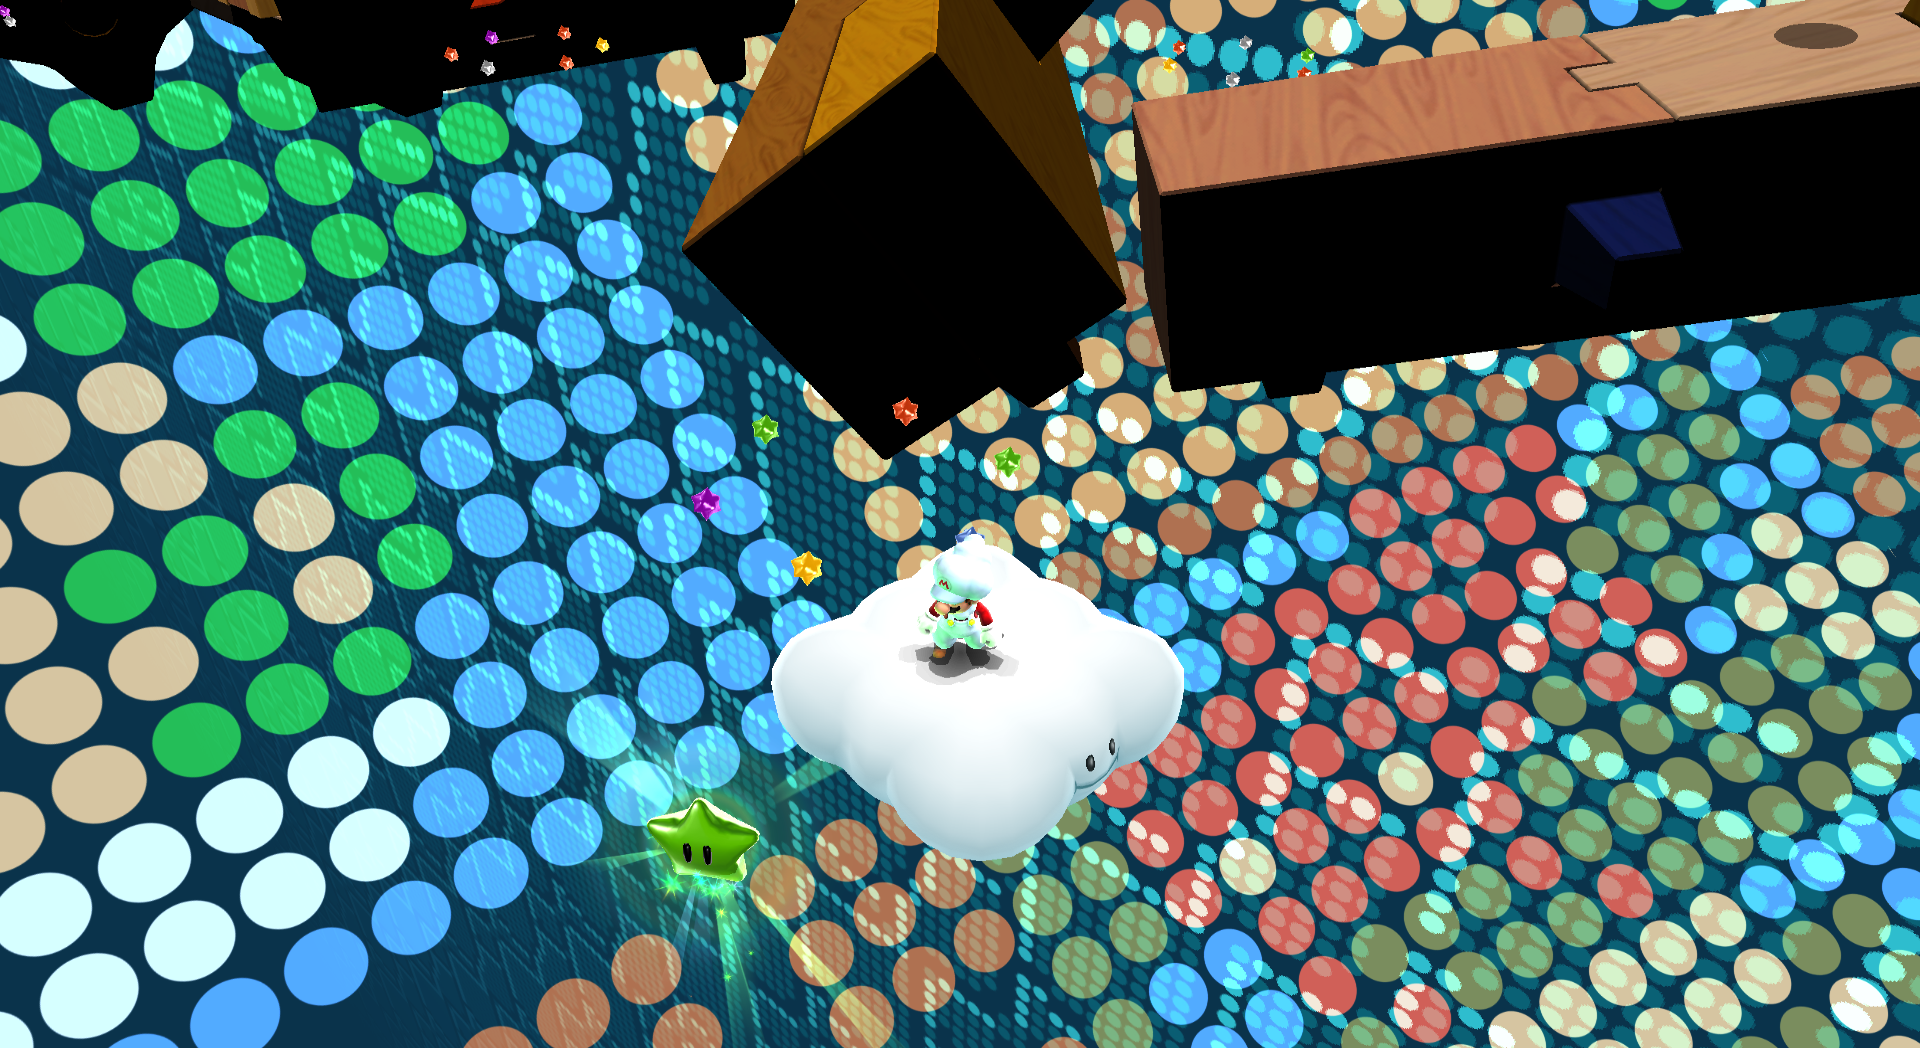
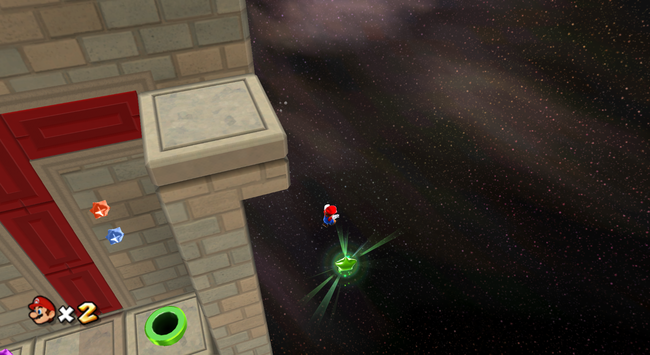
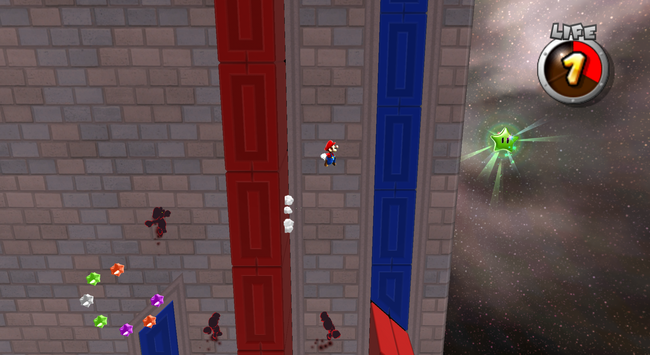
Well this is Issue 120, and as I'm sure many of you are aware, we have been theming this around 3D Mario games such as ''[[Super Mario 64]]'', ''[[Super Mario Sunshine|Sunshine]]'', ''[[Super Mario Galaxy|Galaxy]]'', and ''[[Super Mario Galaxy 2|Galaxy 2]]''. Well to celebrate, I decided to go out and hunt down all 120 Green Stars from ''Galaxy 2'', and put them all in this one place. Special thanks to {{User|Lord | Well this is Issue 120, and as I'm sure many of you are aware, we have been theming this around 3D Mario games such as ''[[Super Mario 64]]'', ''[[Super Mario Sunshine|Sunshine]]'', ''[[Super Mario Galaxy|Galaxy]]'', and ''[[Super Mario Galaxy 2|Galaxy 2]]''. Well to celebrate, I decided to go out and hunt down all 120 Green Stars from ''Galaxy 2'', and put them all in this one place. Special thanks to {{User|Lord Bowser}} for helping out with some of the screenshots that were missing. Be sure to check out [[The_'Shroom:Issue_120/Critic_Corner#Lord_Bowser.27s_Inside_Story|his section]] as well. Now then, here are your 120 Green Stars. I should mention that quite a few of them are annoying. | ||
{|class="mw-collapsible mw-collapsed" width=100% | {|class="mw-collapsible mw-collapsed" width=100% | ||
| Line 25: | Line 25: | ||
!colspan=3 style="background:#07F06C; font-size:13px; color:black"|Green Star #4: Yoshi Star Galaxy | !colspan=3 style="background:#07F06C; font-size:13px; color:black"|Green Star #4: Yoshi Star Galaxy | ||
|- | |- | ||
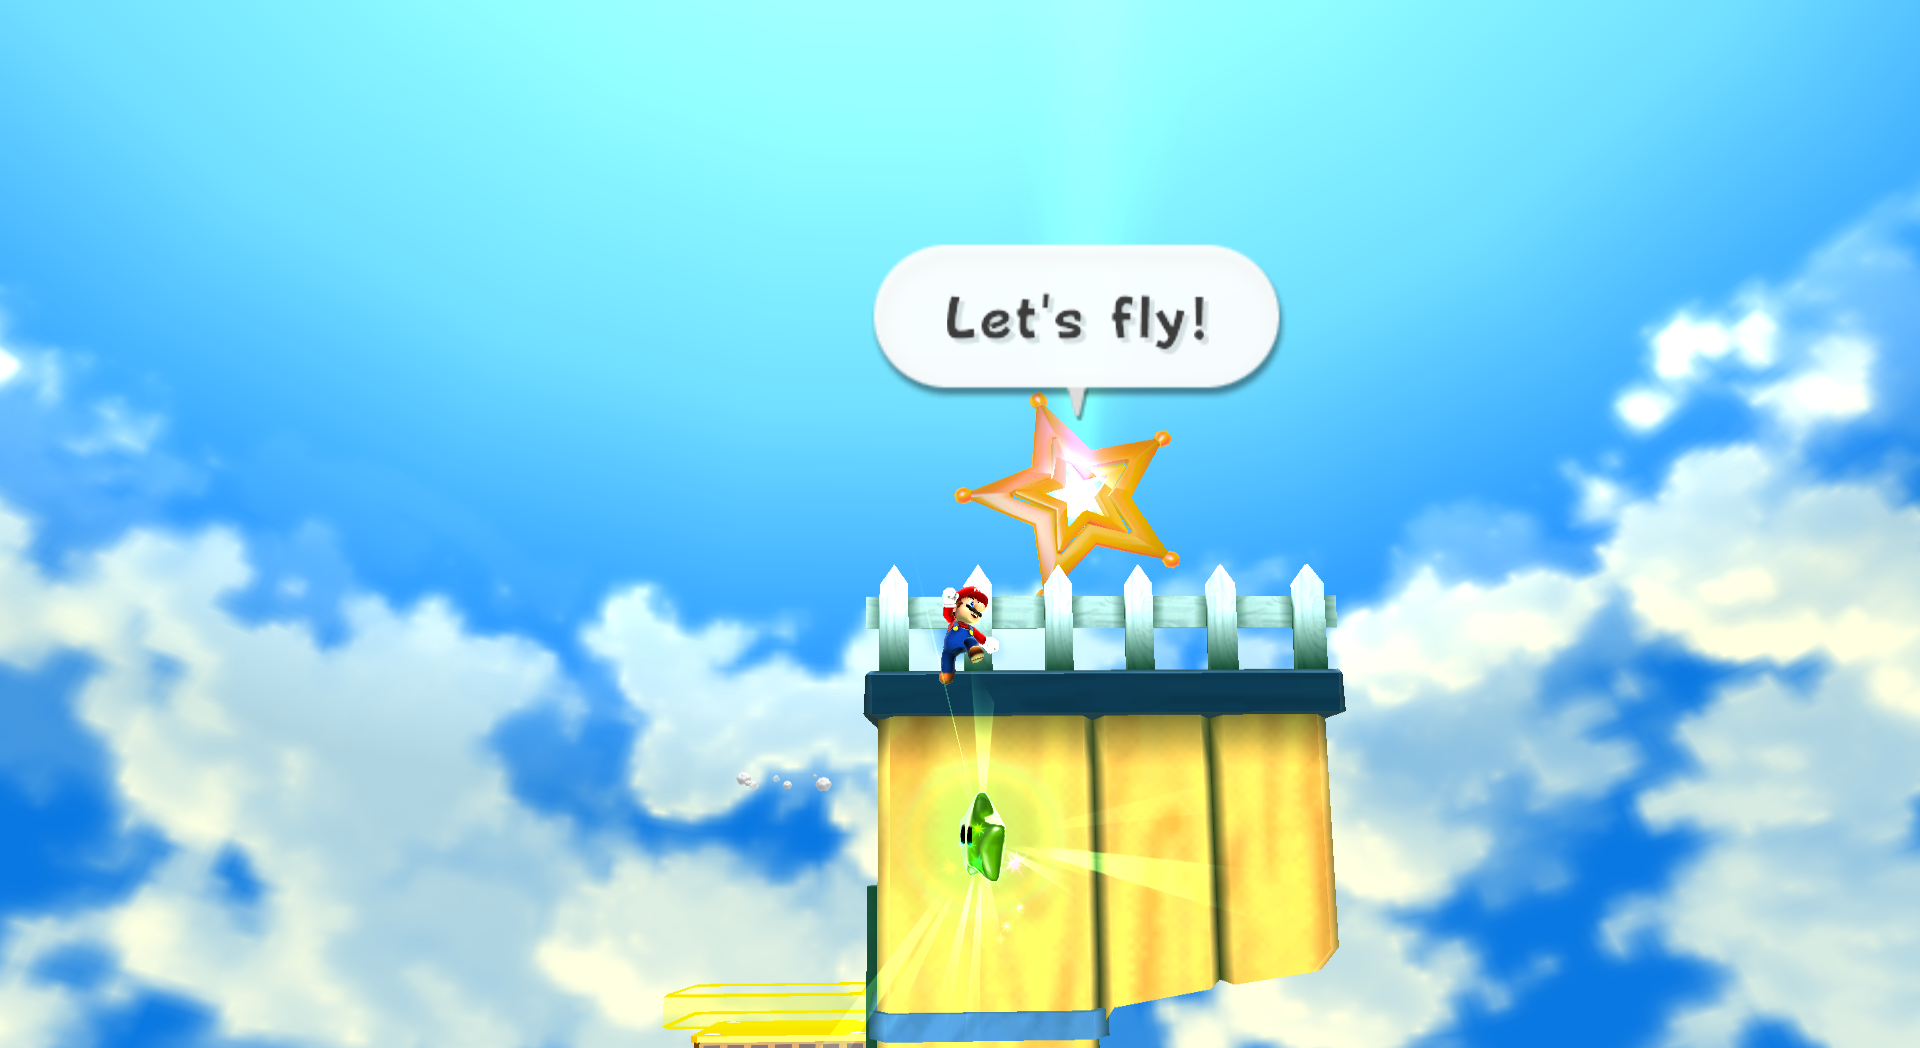
| [[File: | | [[File:SMG2_Yoshi_Star_Green_Star_1.png|frame|center|On the first planet, in the large area with several [[Octogoombas]] there is a blue spring that leads to the [[Comet Medal]]. Use [[Yoshi]] to fly above from the top of the platform and grab the star.]] | ||
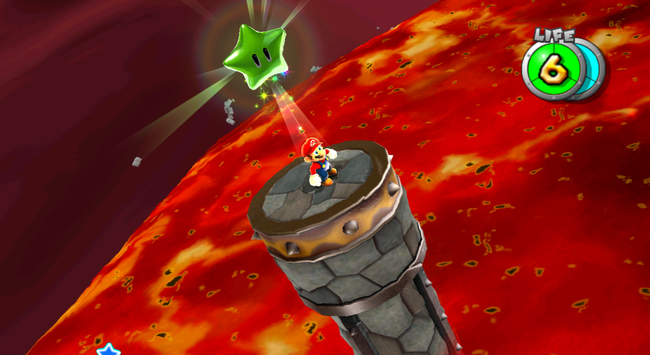
|} | |} | ||
{|class="mw-collapsible mw-collapsed" width=100% | {|class="mw-collapsible mw-collapsed" width=100% | ||
!colspan=3 style="background:#07F06C; font-size:13px; color:black"|Green Star #5: Yoshi Star Galaxy | !colspan=3 style="background:#07F06C; font-size:13px; color:black"|Green Star #5: Yoshi Star Galaxy | ||
|- | |- | ||
| [[File: | | [[File:SMG2_Yoshi_Star_Green_Star_2.png|frame|center|The Green Star is in the air in a small alcove to the right of a large golden fruit. Use Yoshi to reach it.]] | ||
|} | |} | ||
{|class="mw-collapsible mw-collapsed" width=100% | {|class="mw-collapsible mw-collapsed" width=100% | ||
!colspan=3 style="background:#07F06C; font-size:13px; color:black"|Green Star #6: Yoshi Star Galaxy | !colspan=3 style="background:#07F06C; font-size:13px; color:black"|Green Star #6: Yoshi Star Galaxy | ||
|- | |- | ||
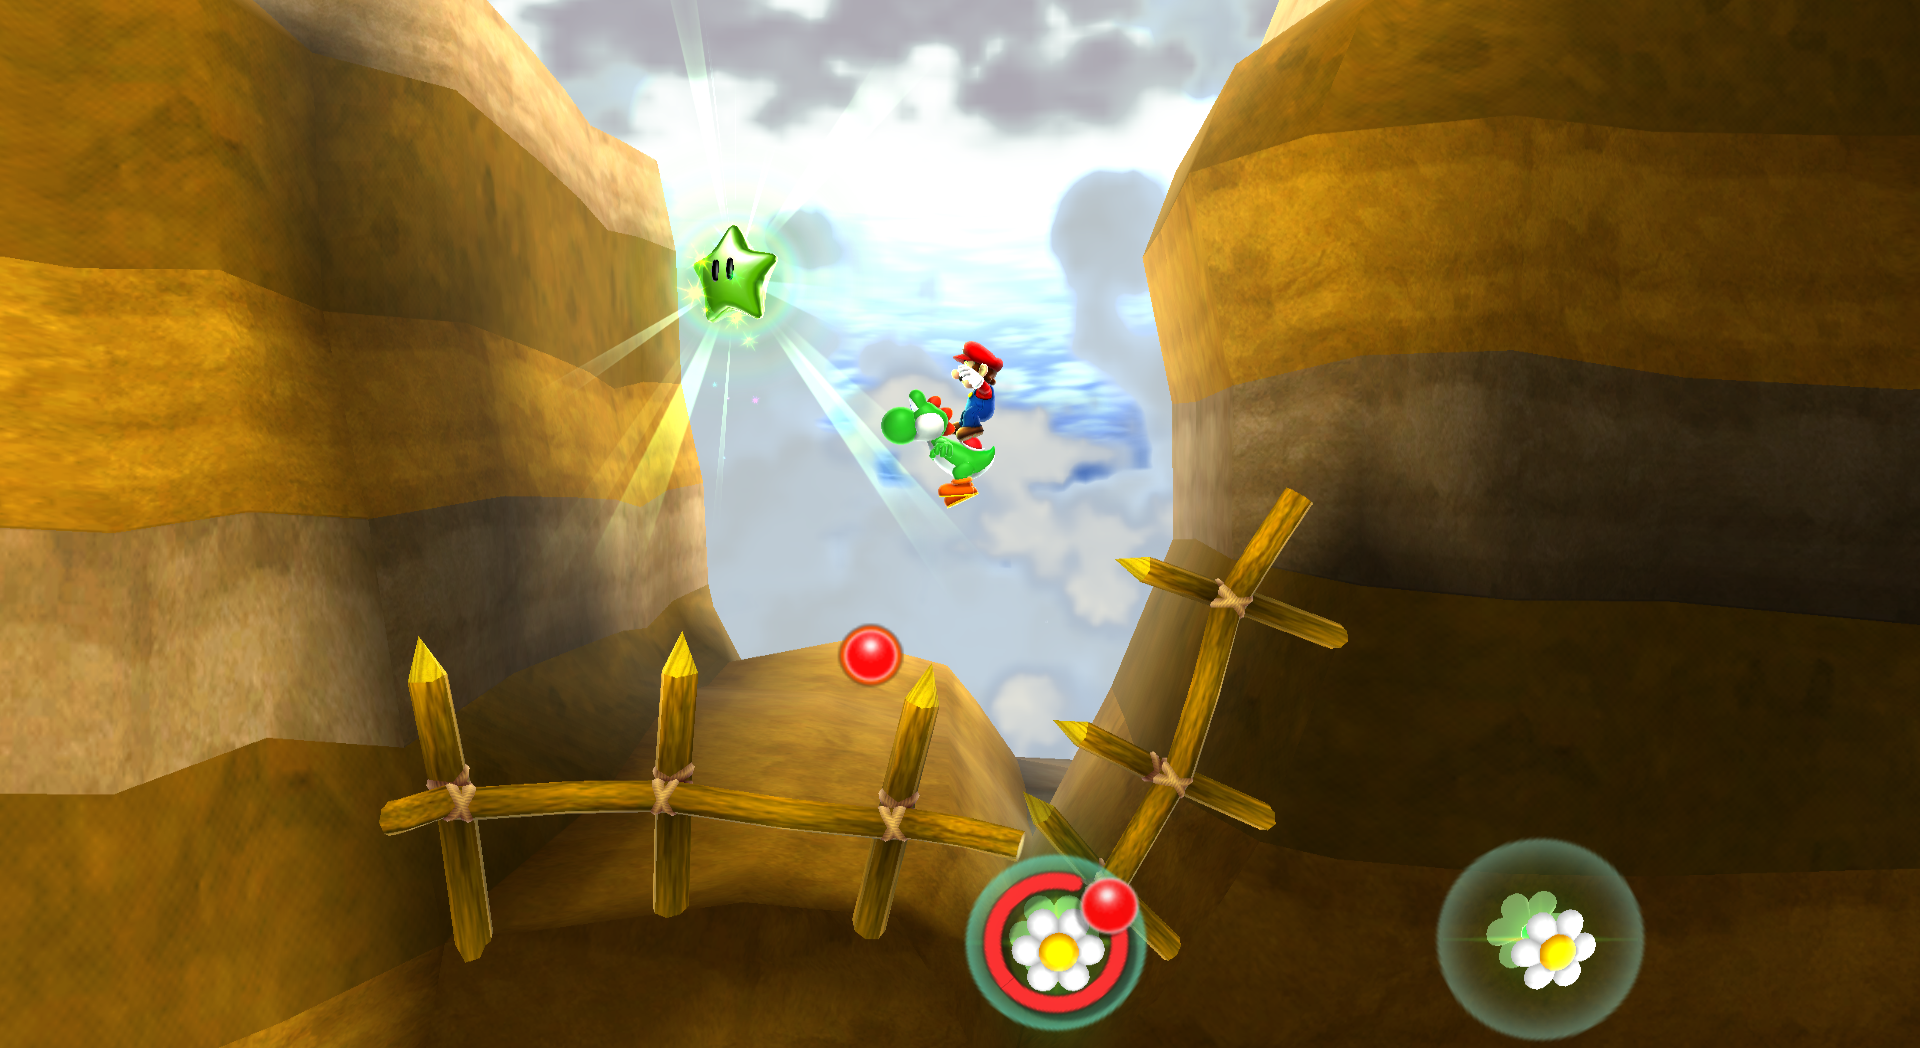
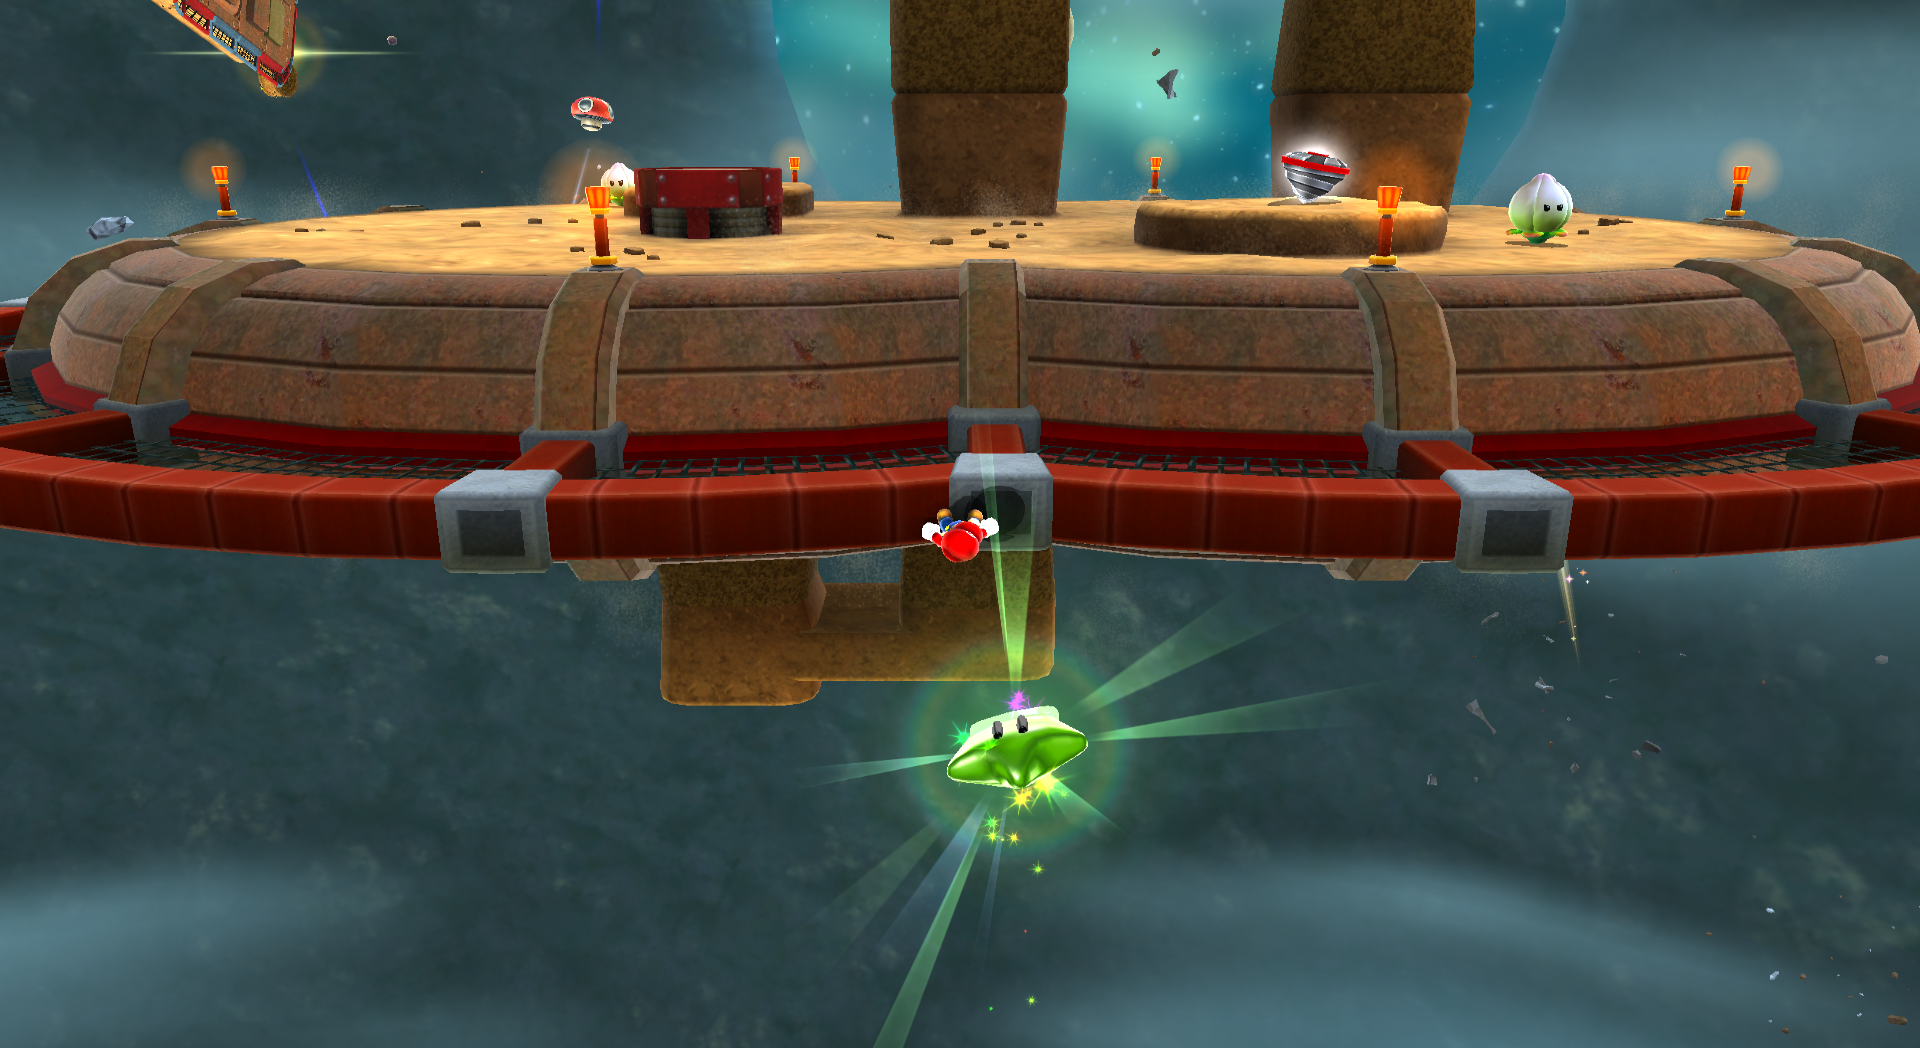
| [[File: | | [[File:SMG2_Yoshi_Star_Green_Star_3.png|frame|center|This Green Star is near the Power Star. Use Yoshi to ride the flowers, and you may have to sacrifice him to reach the Green Star yourself at the end of the flower chain.]] | ||
|} | |} | ||
| Line 46: | Line 46: | ||
!colspan=3 style="background:#3AFF30; font-size:13px; color:black"|Green Star #8: Spin-Dig Galaxy | !colspan=3 style="background:#3AFF30; font-size:13px; color:black"|Green Star #8: Spin-Dig Galaxy | ||
|- | |- | ||
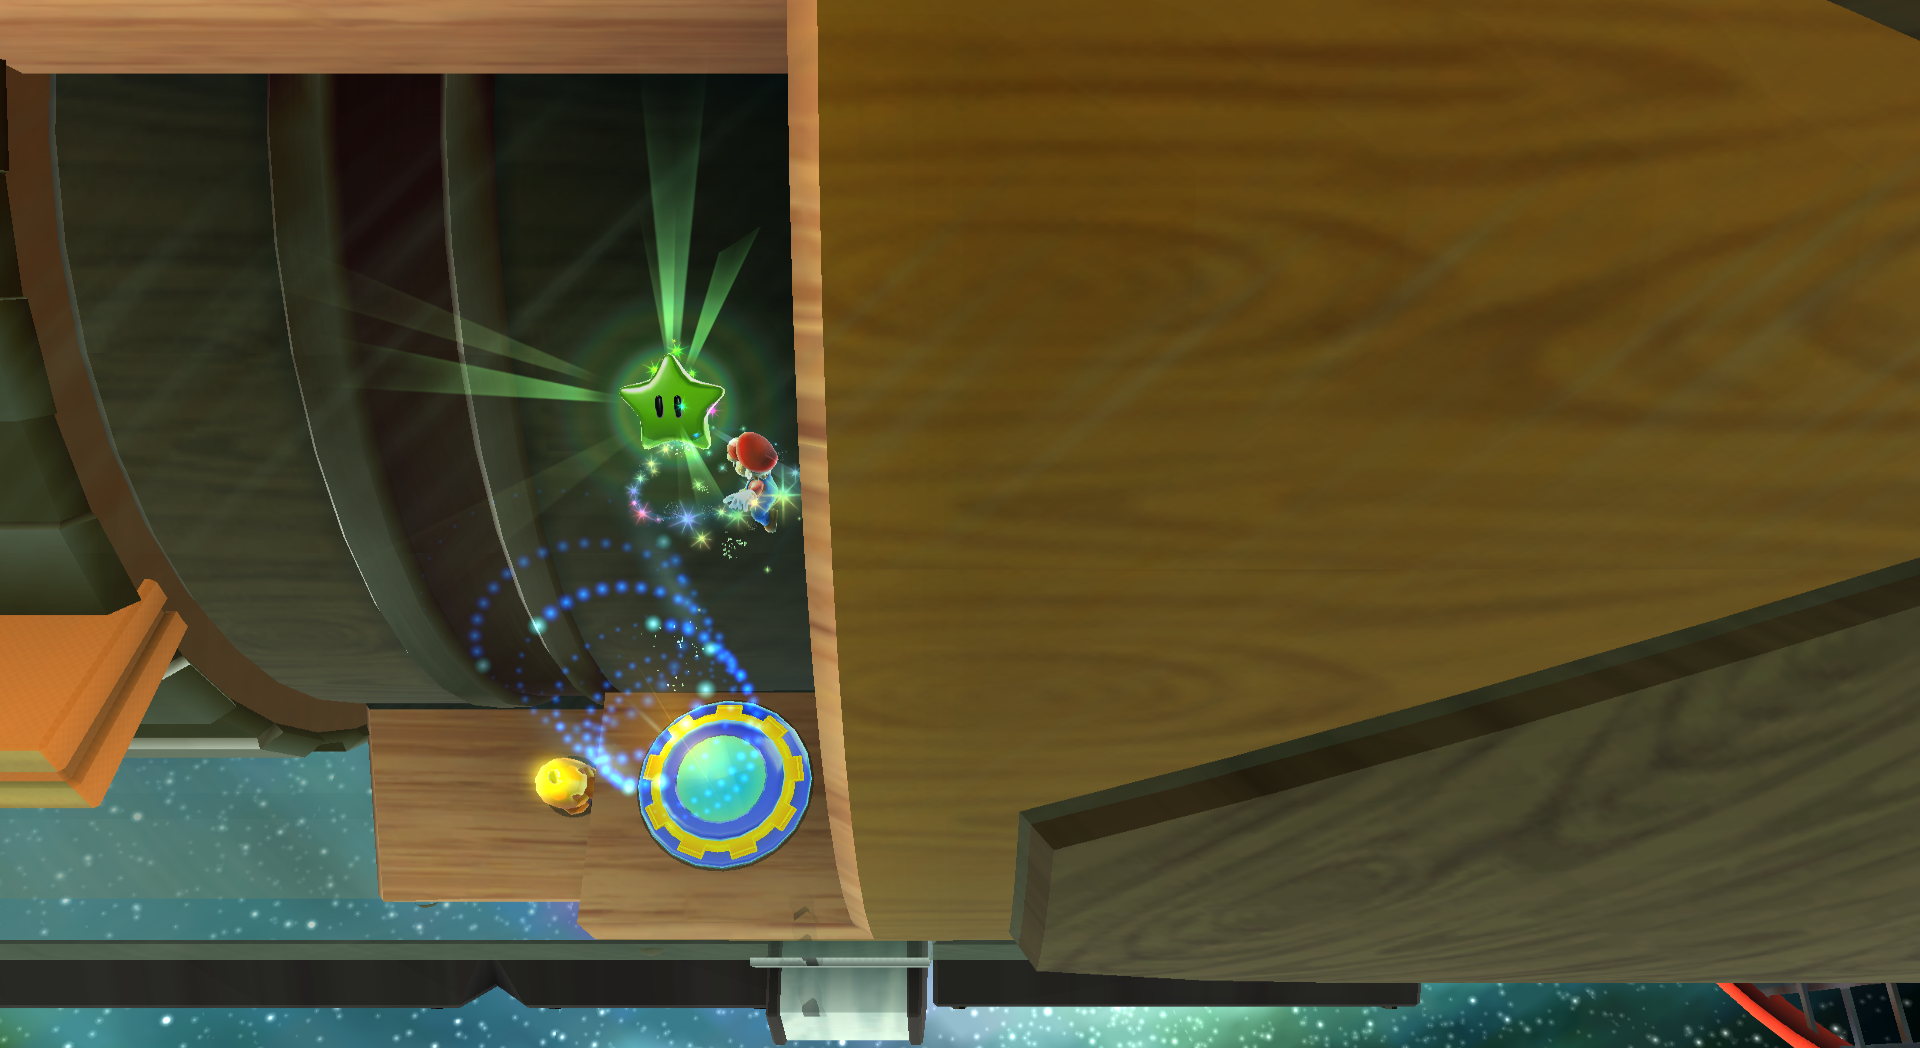
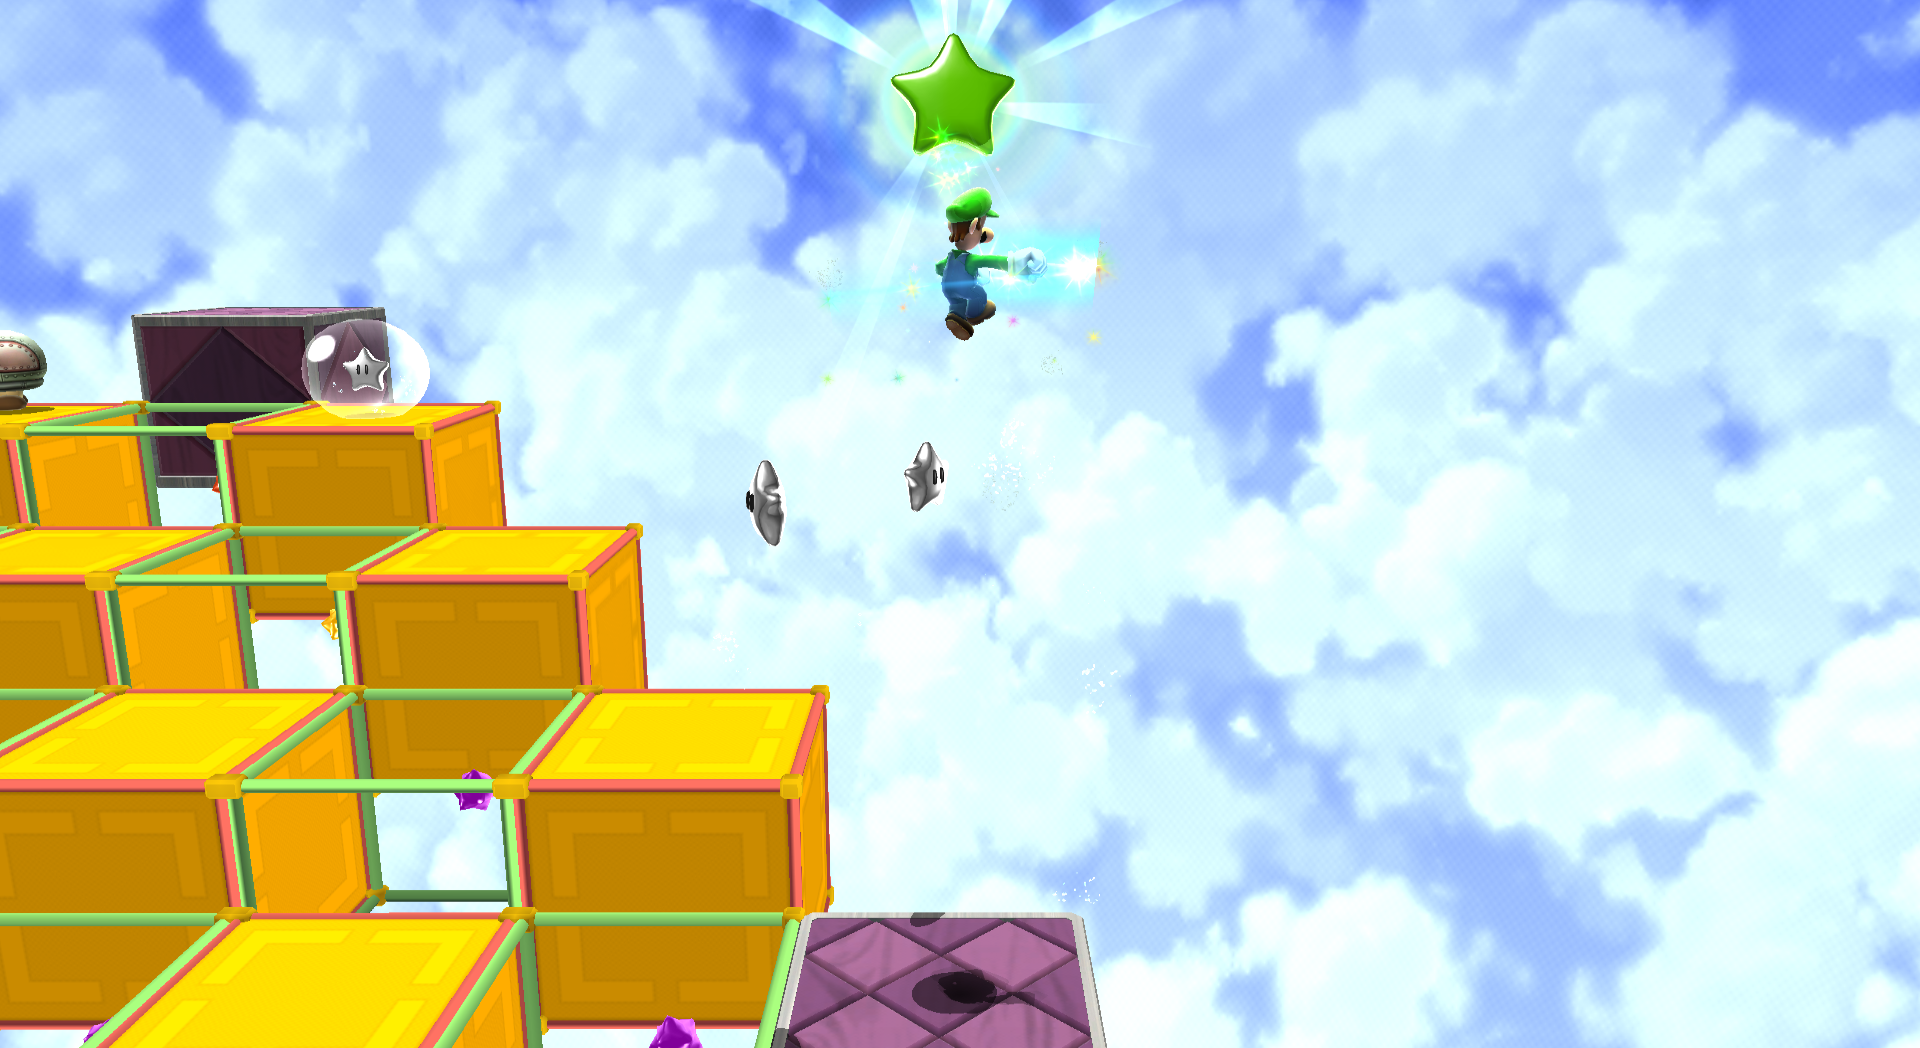
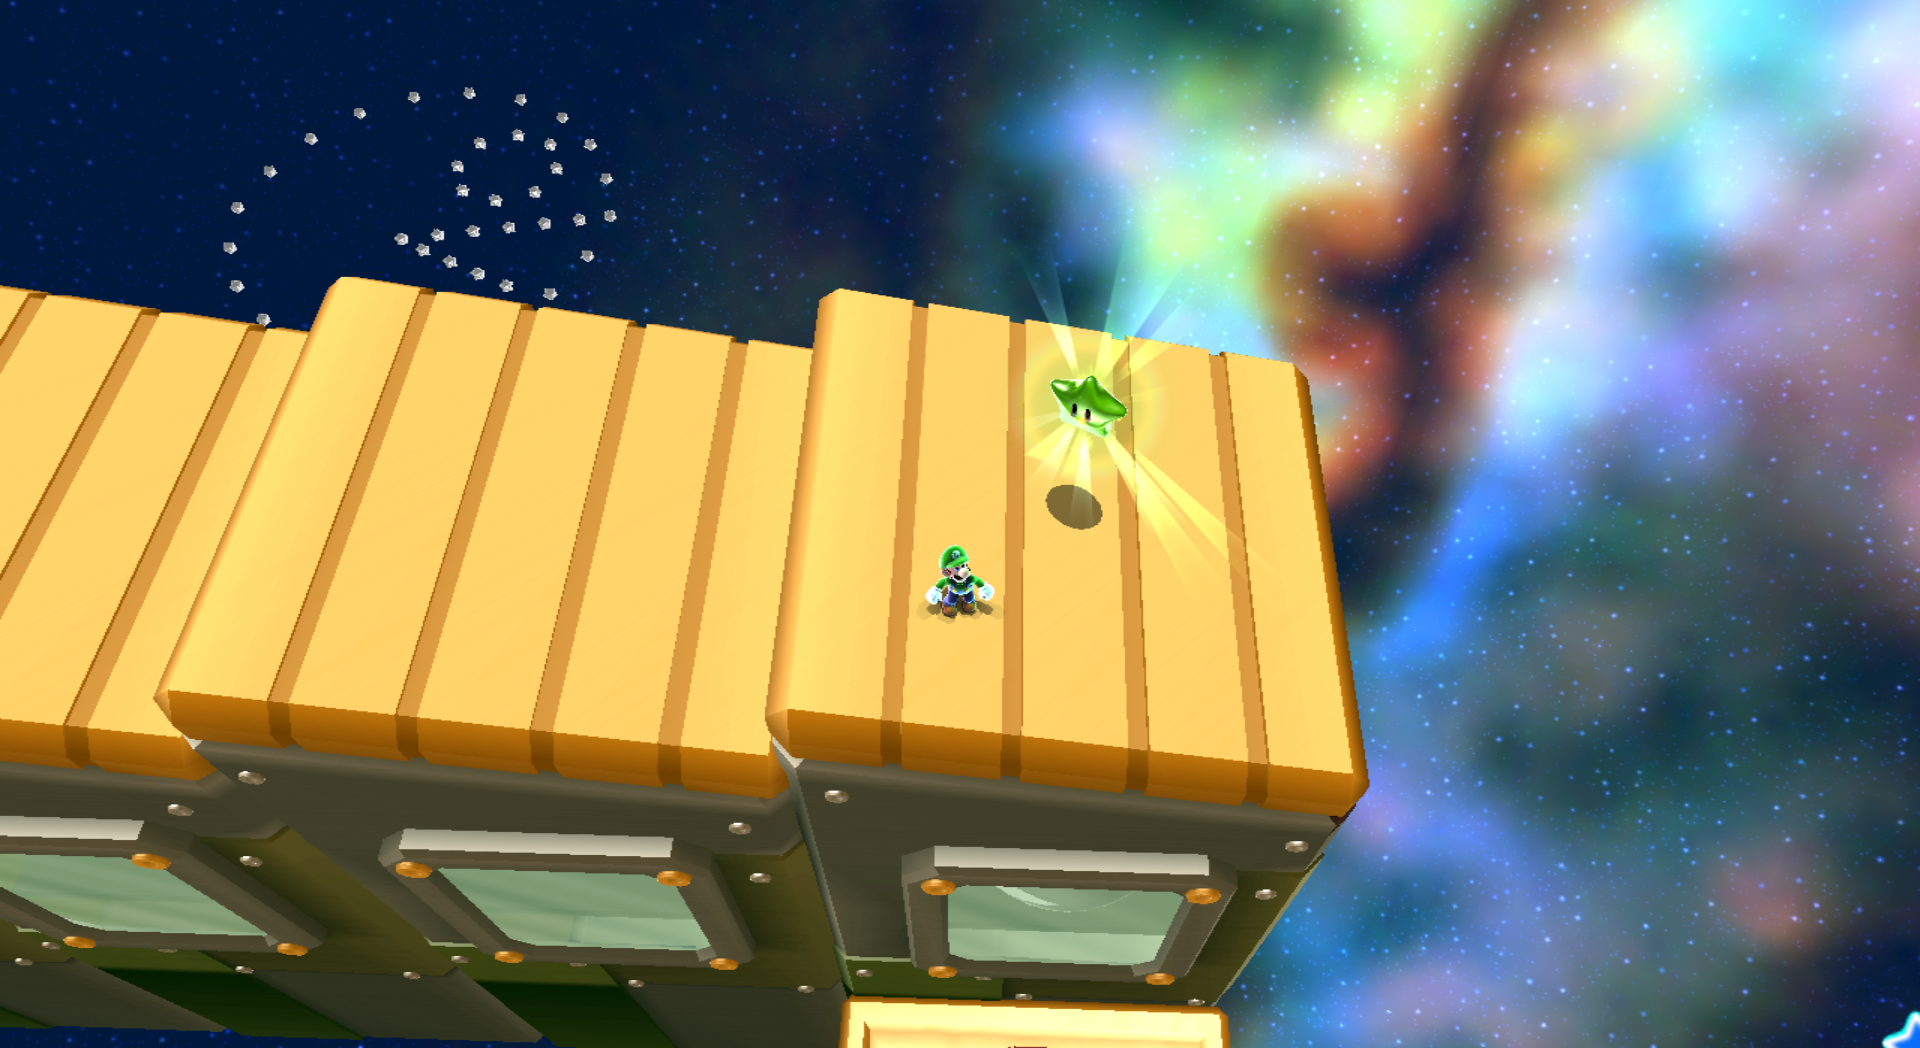
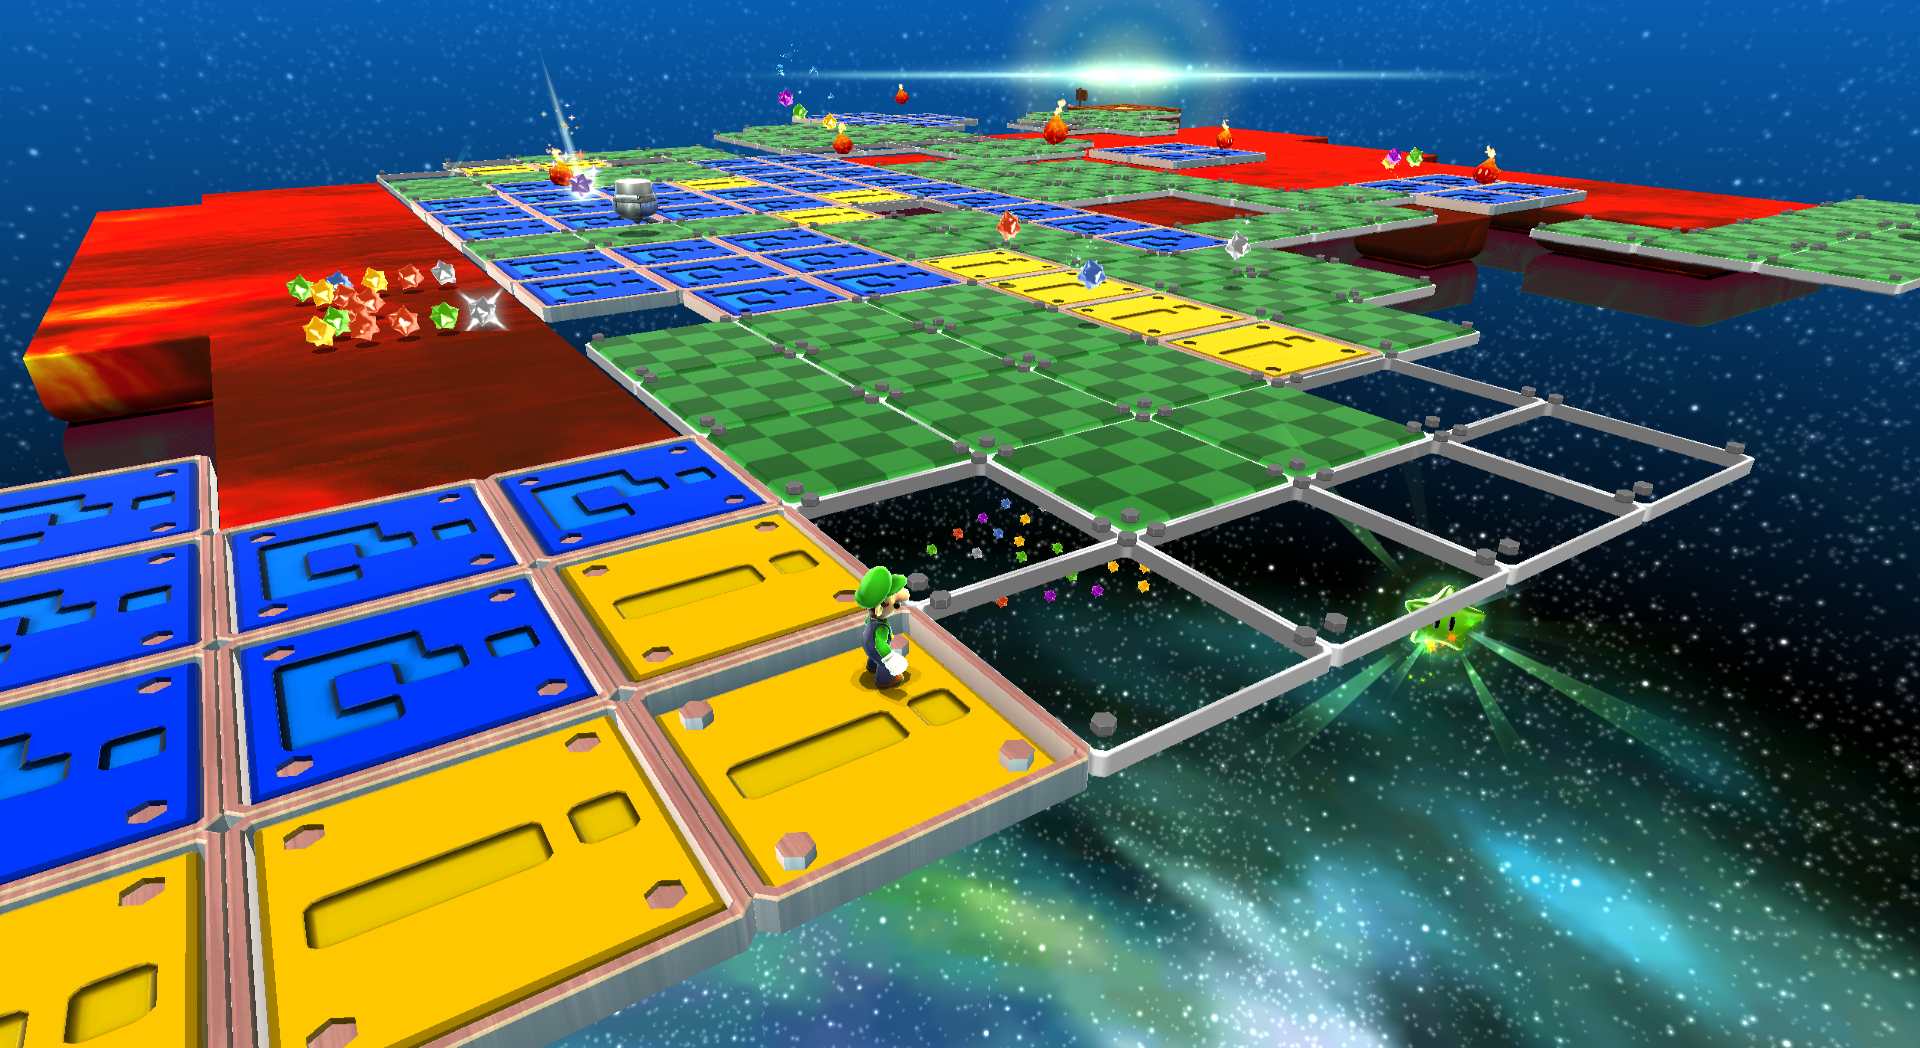
| [[File: | | [[File:SMG2_Spin_Dig_Green_Star_2.png|frame|center|Above a series of disappearing yellow platforms next to a [[Launch Star]].]] | ||
|} | |} | ||
{|class="mw-collapsible mw-collapsed" width=100% | {|class="mw-collapsible mw-collapsed" width=100% | ||
!colspan=3 style="background:#3AFF30; font-size:13px; color:black"|Green Star #9: Spin-Dig Galaxy | !colspan=3 style="background:#3AFF30; font-size:13px; color:black"|Green Star #9: Spin-Dig Galaxy | ||
|- | |- | ||
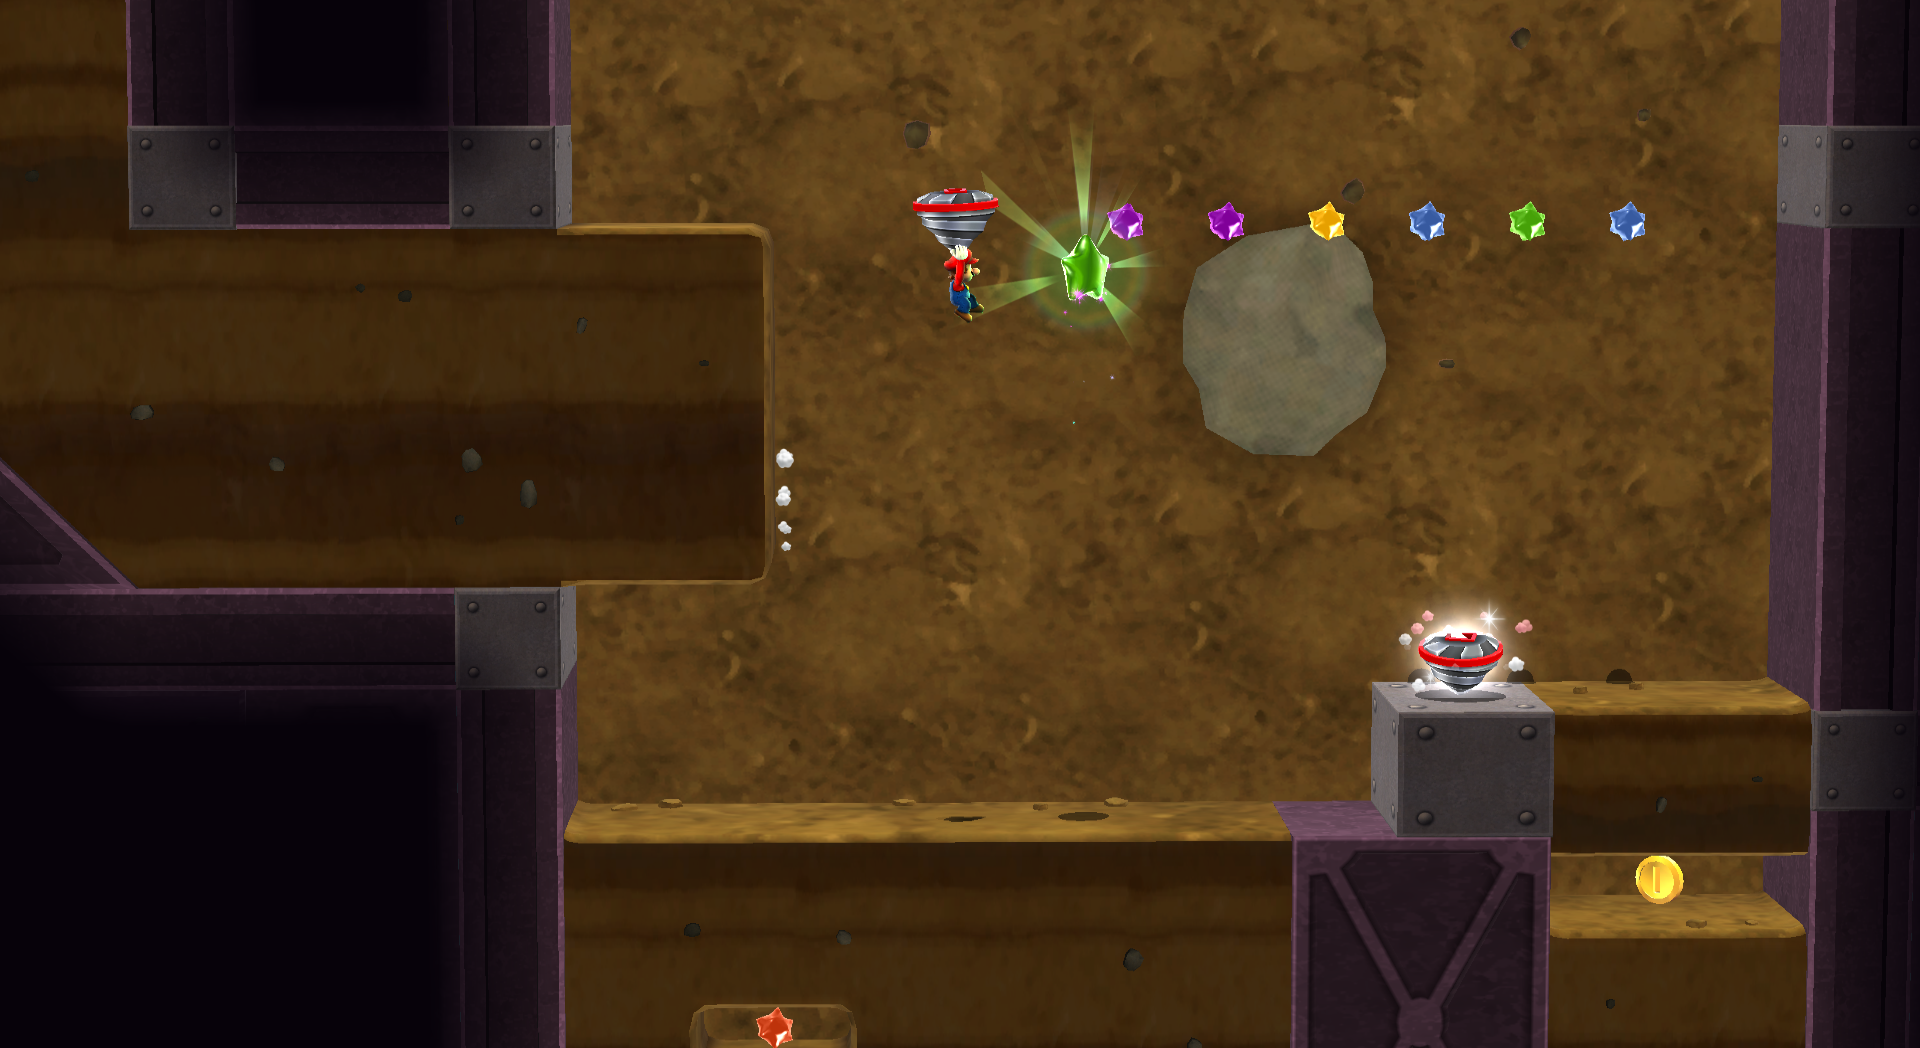
| [[File: | | [[File:SMG2_Spin_Dig_Green_Star_3.png|frame|center|In a large tunnel area, you can use the Drill power-up to try and land on it, or get hit to lose it and jump off the wall.]] | ||
|} | |} | ||
{|class="mw-collapsible mw-collapsed" width=100% | {|class="mw-collapsible mw-collapsed" width=100% | ||
!colspan=3 style="background:#32ED11; font-size:13px; color:black"|Green Star #10: Fluffy Bluff Galaxy | !colspan=3 style="background:#32ED11; font-size:13px; color:black"|Green Star #10: Fluffy Bluff Galaxy | ||
|- | |- | ||
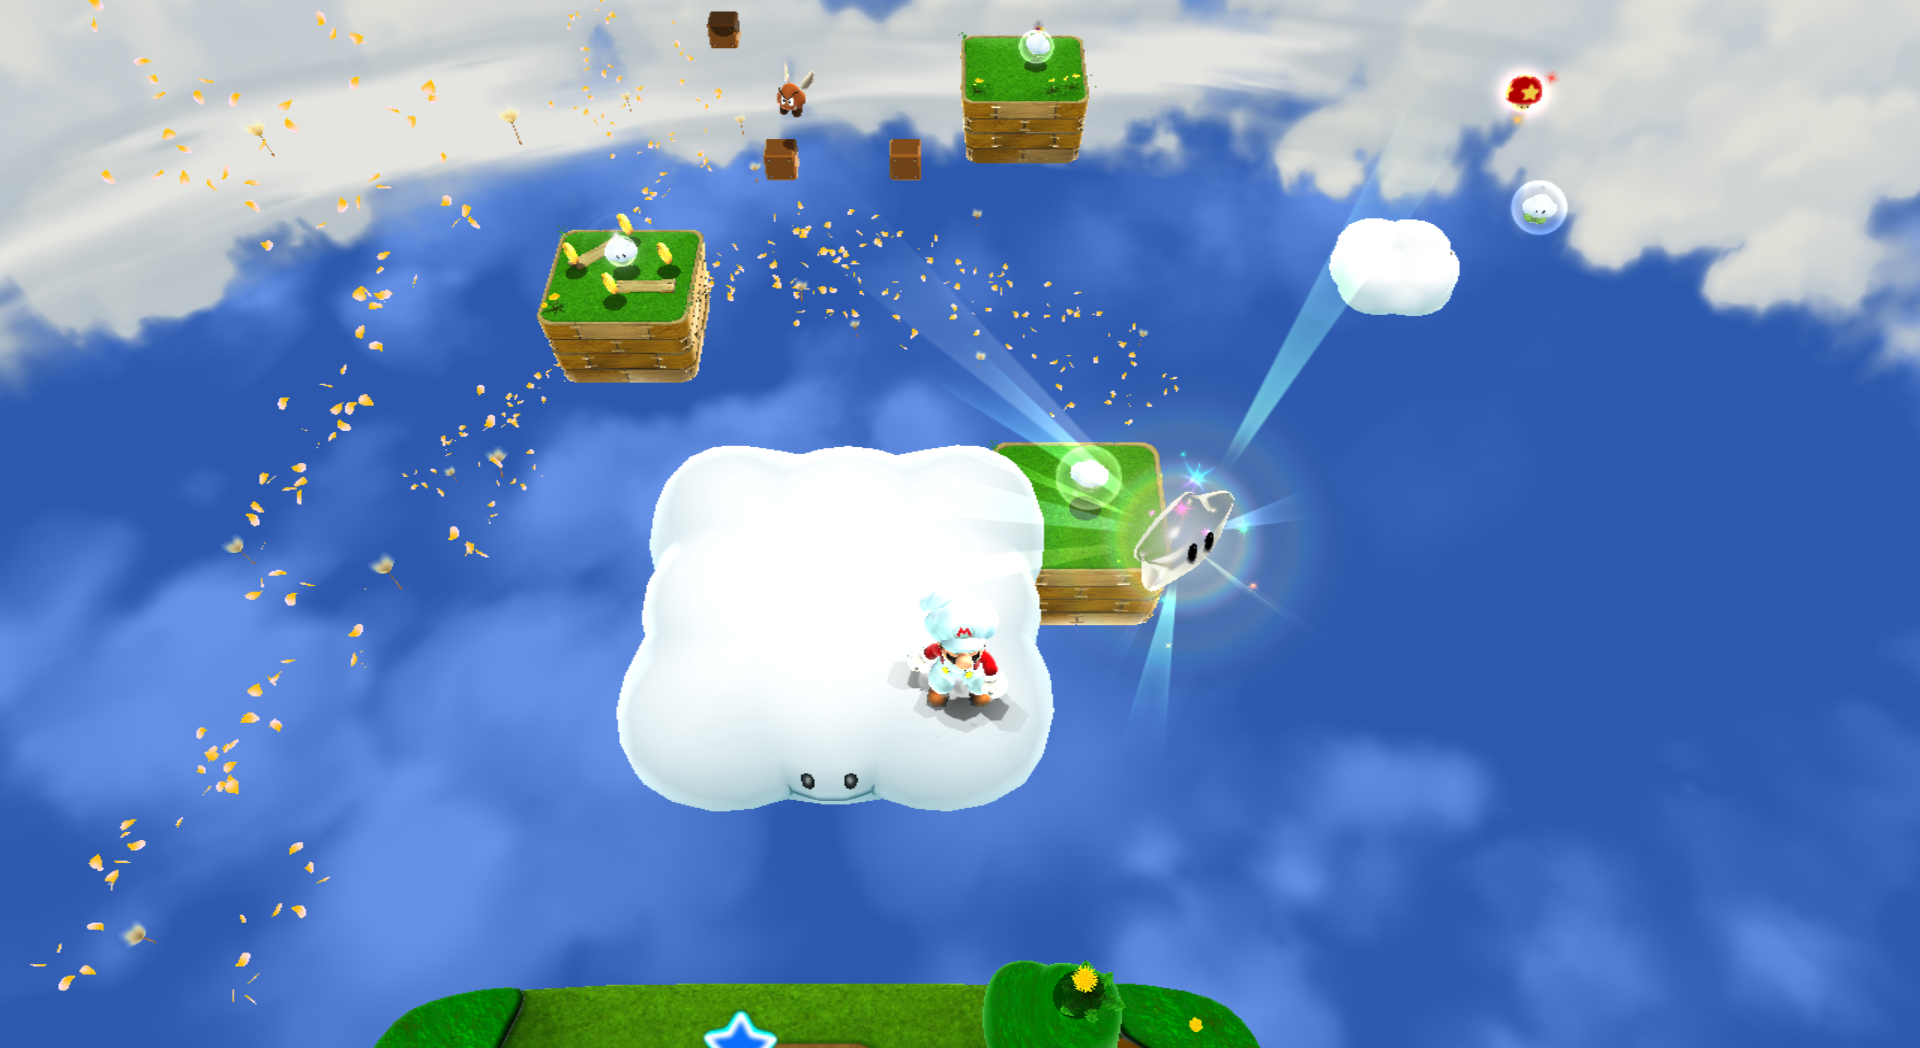
| [[File: | | [[File:SMG2_Fluffy_Bluff_Green_Star_1.png|frame|center|The Green Star is above the start, but you need the [[Cloud Flower]] to reach it. Climbing a nearby tree to gain height can also help.]] | ||
|} | |} | ||
{|class="mw-collapsible mw-collapsed" width=100% | {|class="mw-collapsible mw-collapsed" width=100% | ||
!colspan=3 style="background:#32ED11; font-size:13px; color:black"|Green Star #11: Fluffy Bluff Galaxy | !colspan=3 style="background:#32ED11; font-size:13px; color:black"|Green Star #11: Fluffy Bluff Galaxy | ||
|- | |- | ||
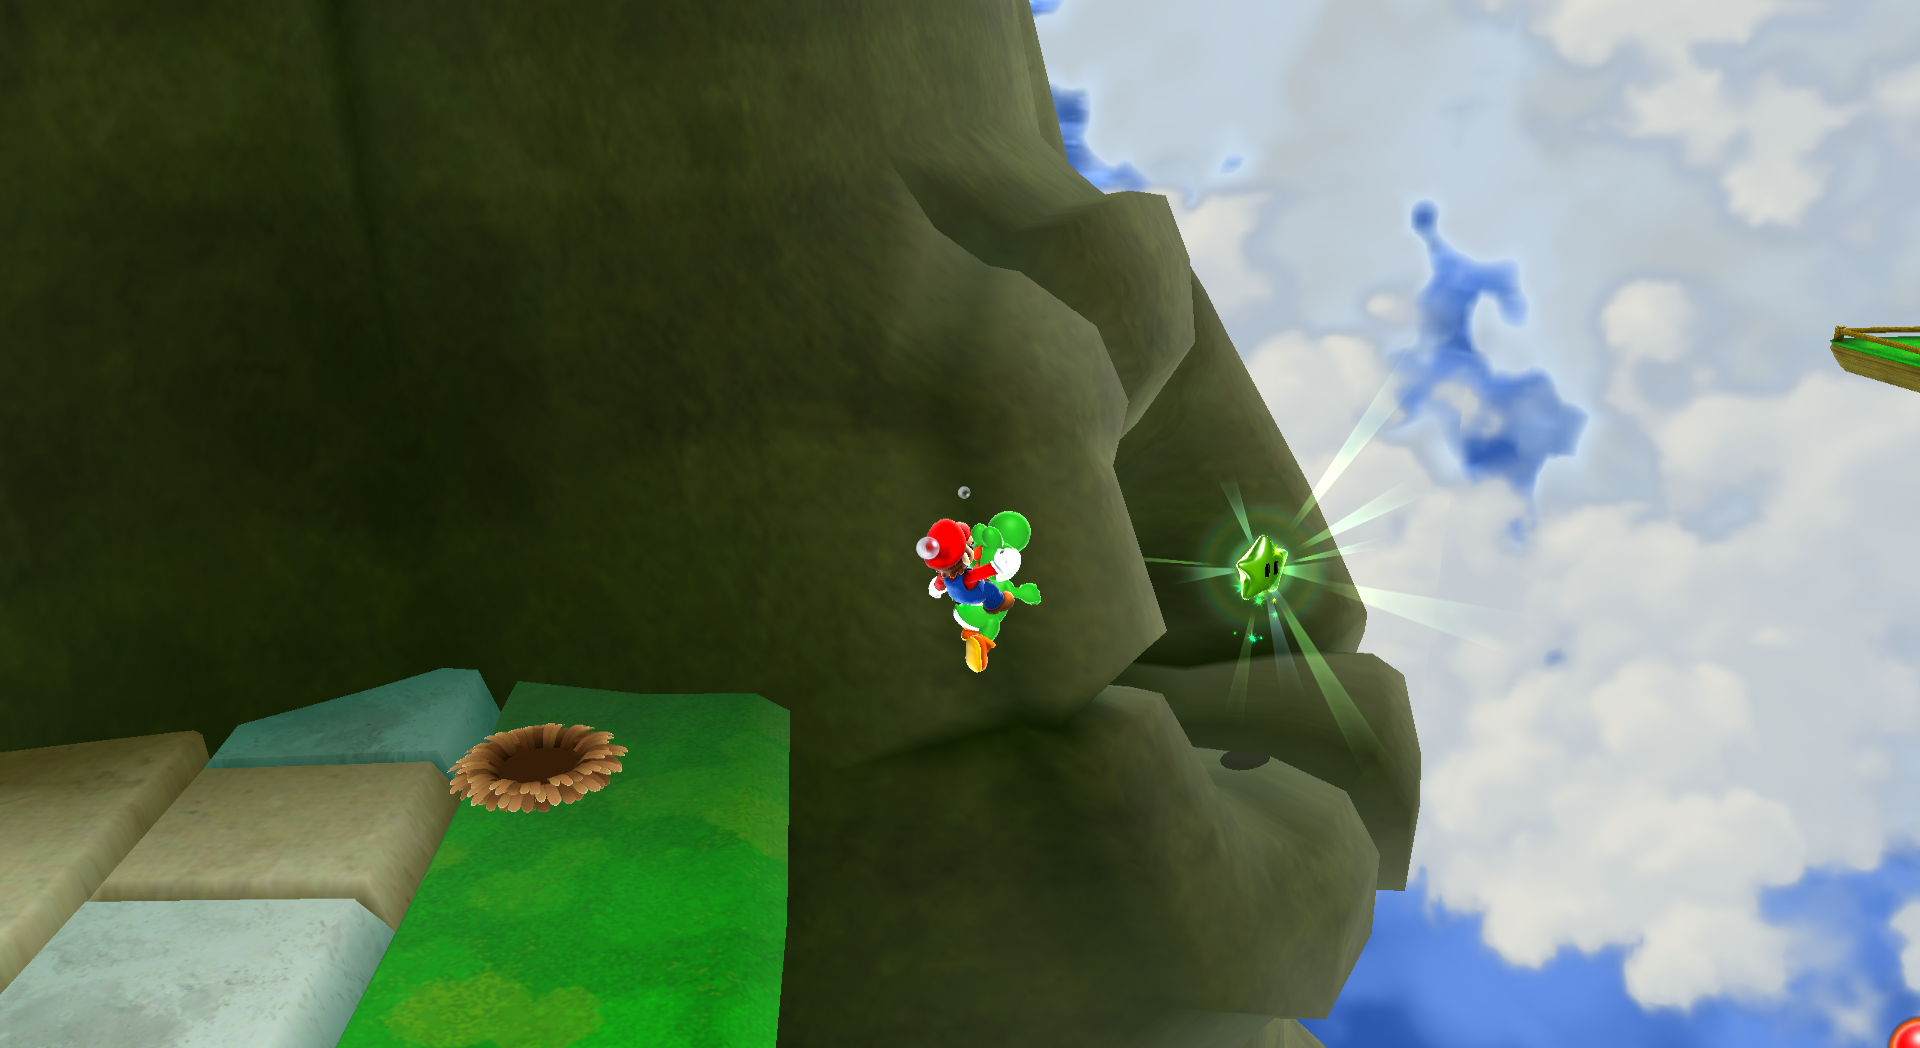
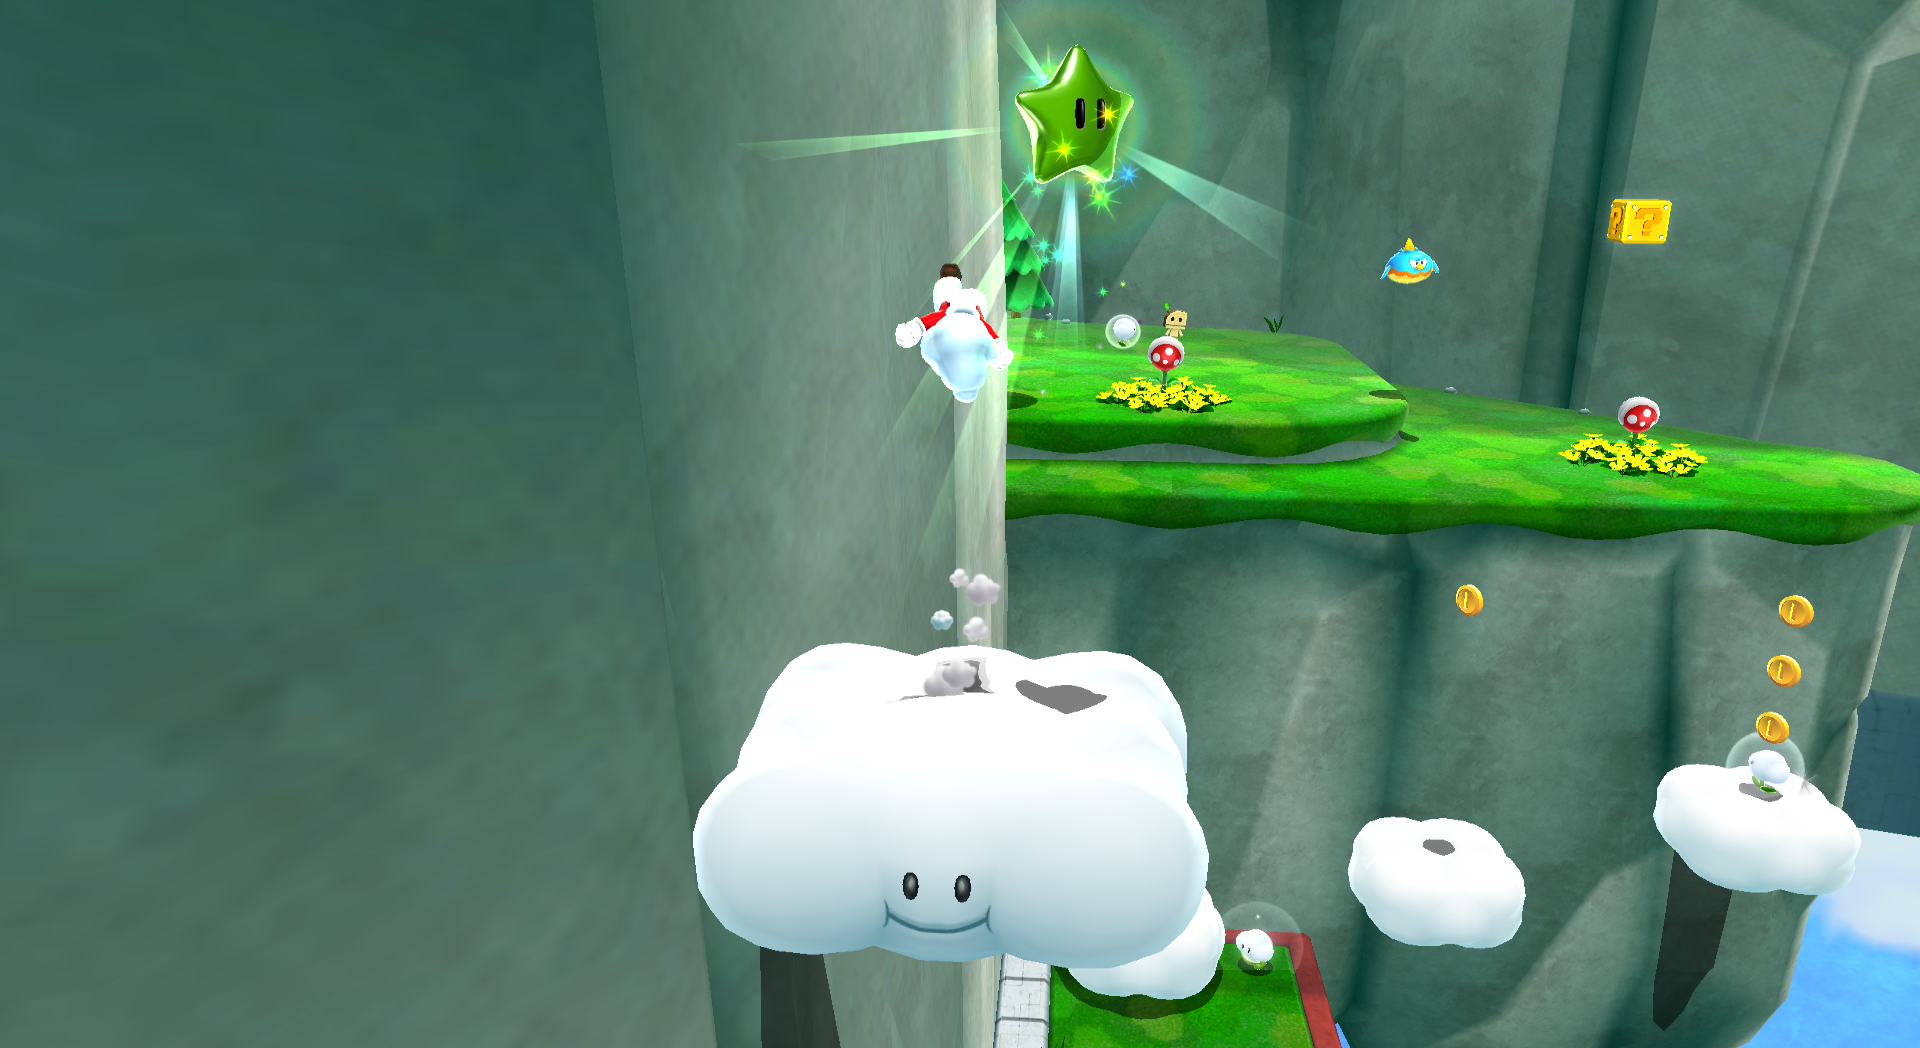
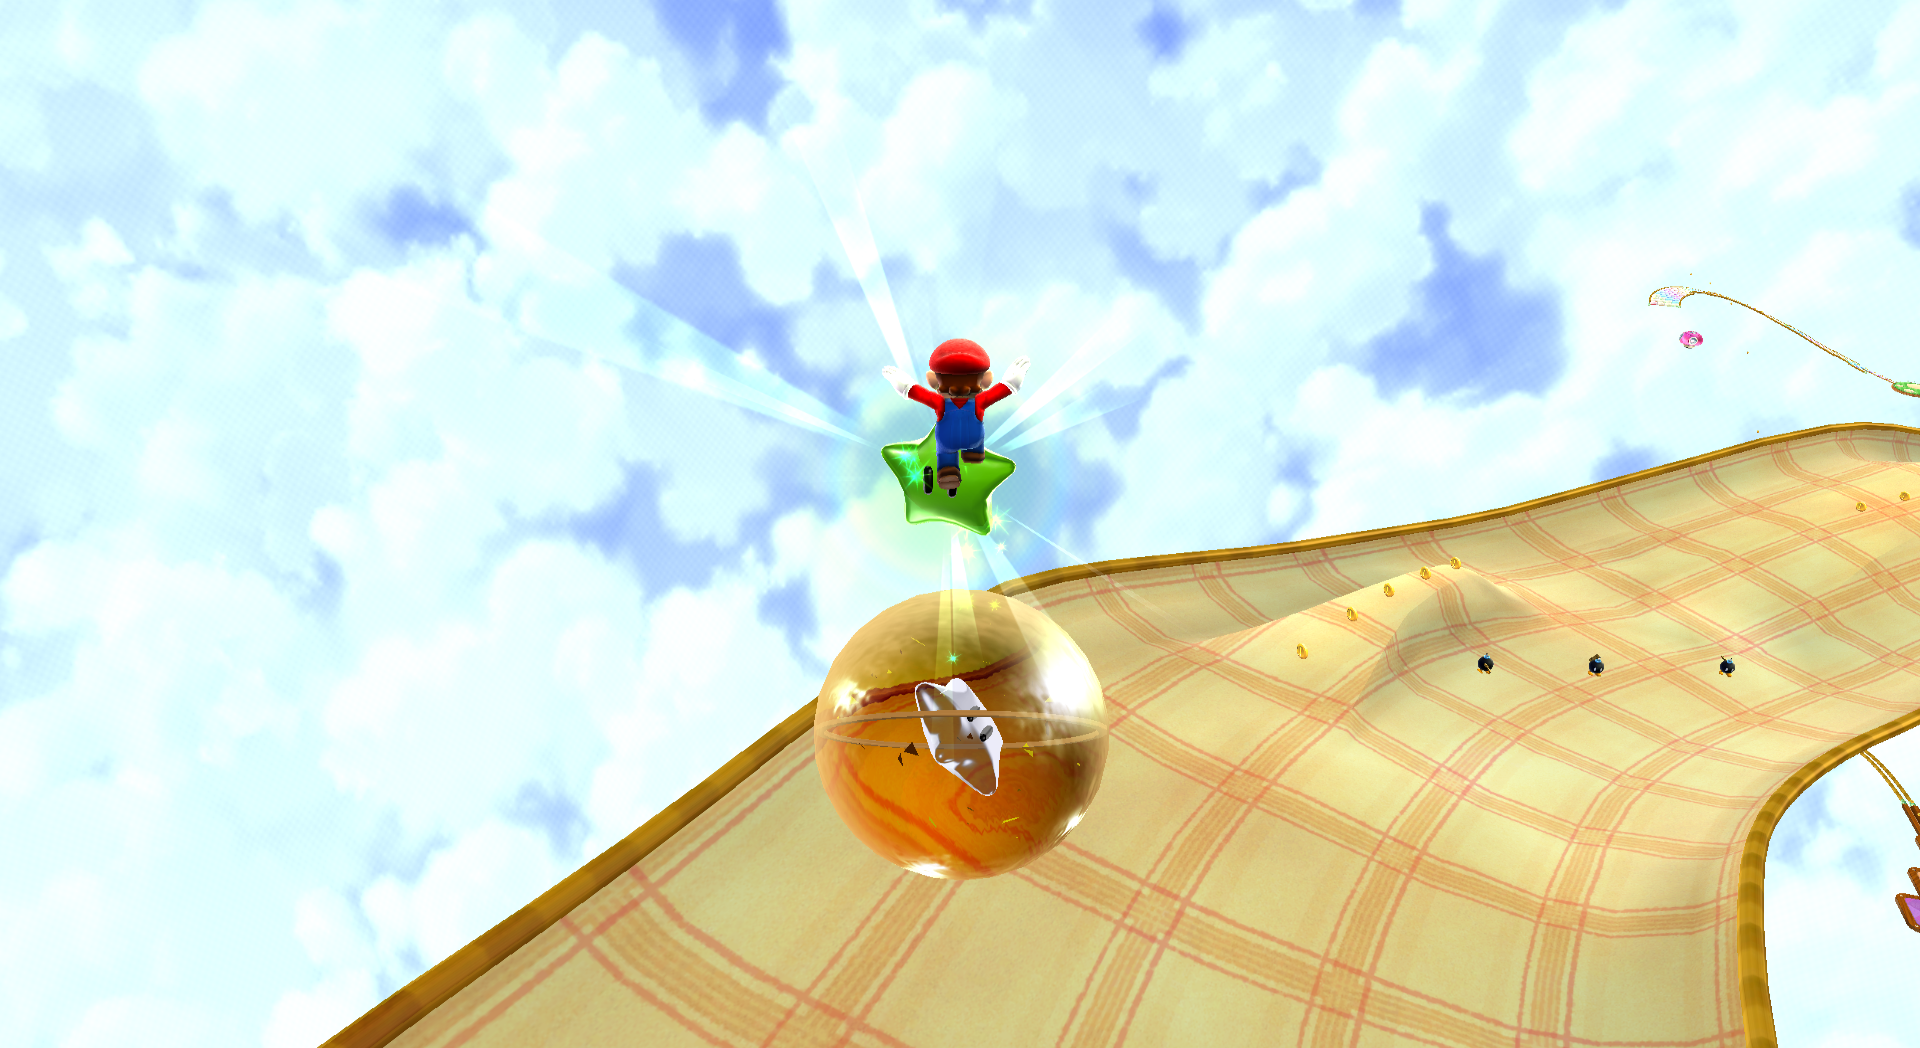
| [[File: | | [[File:SMG2_Fluffy_Bluff_Green_Star_2.png|frame|center|On the side of a mountain in the air, you'll need the Cloud Flower to reach it, and also be careful of the shallow water so that you don't lose the Cloud Flower.]] | ||
|} | |} | ||
{|class="mw-collapsible mw-collapsed" width=100% | {|class="mw-collapsible mw-collapsed" width=100% | ||
!colspan=3 style="background:#32ED11; font-size:13px; color:black"|Green Star #12: Fluffy Bluff Galaxy | !colspan=3 style="background:#32ED11; font-size:13px; color:black"|Green Star #12: Fluffy Bluff Galaxy | ||
|- | |- | ||
| [[File: | | [[File:SMG2_Fluffy_Bluff_Green_Star_3.png|frame|center|On a small mountain to the left of the one where [[The Chimp]] is. You will need the Cloud Flower to reach it.]] | ||
|} | |} | ||
{|class="mw-collapsible mw-collapsed" width=100% | {|class="mw-collapsible mw-collapsed" width=100% | ||
!colspan=3 style="background:#0BD64B; font-size:13px; color:black"|Green Star #13: Flip-Swap Galaxy | !colspan=3 style="background:#0BD64B; font-size:13px; color:black"|Green Star #13: Flip-Swap Galaxy | ||
|- | |- | ||
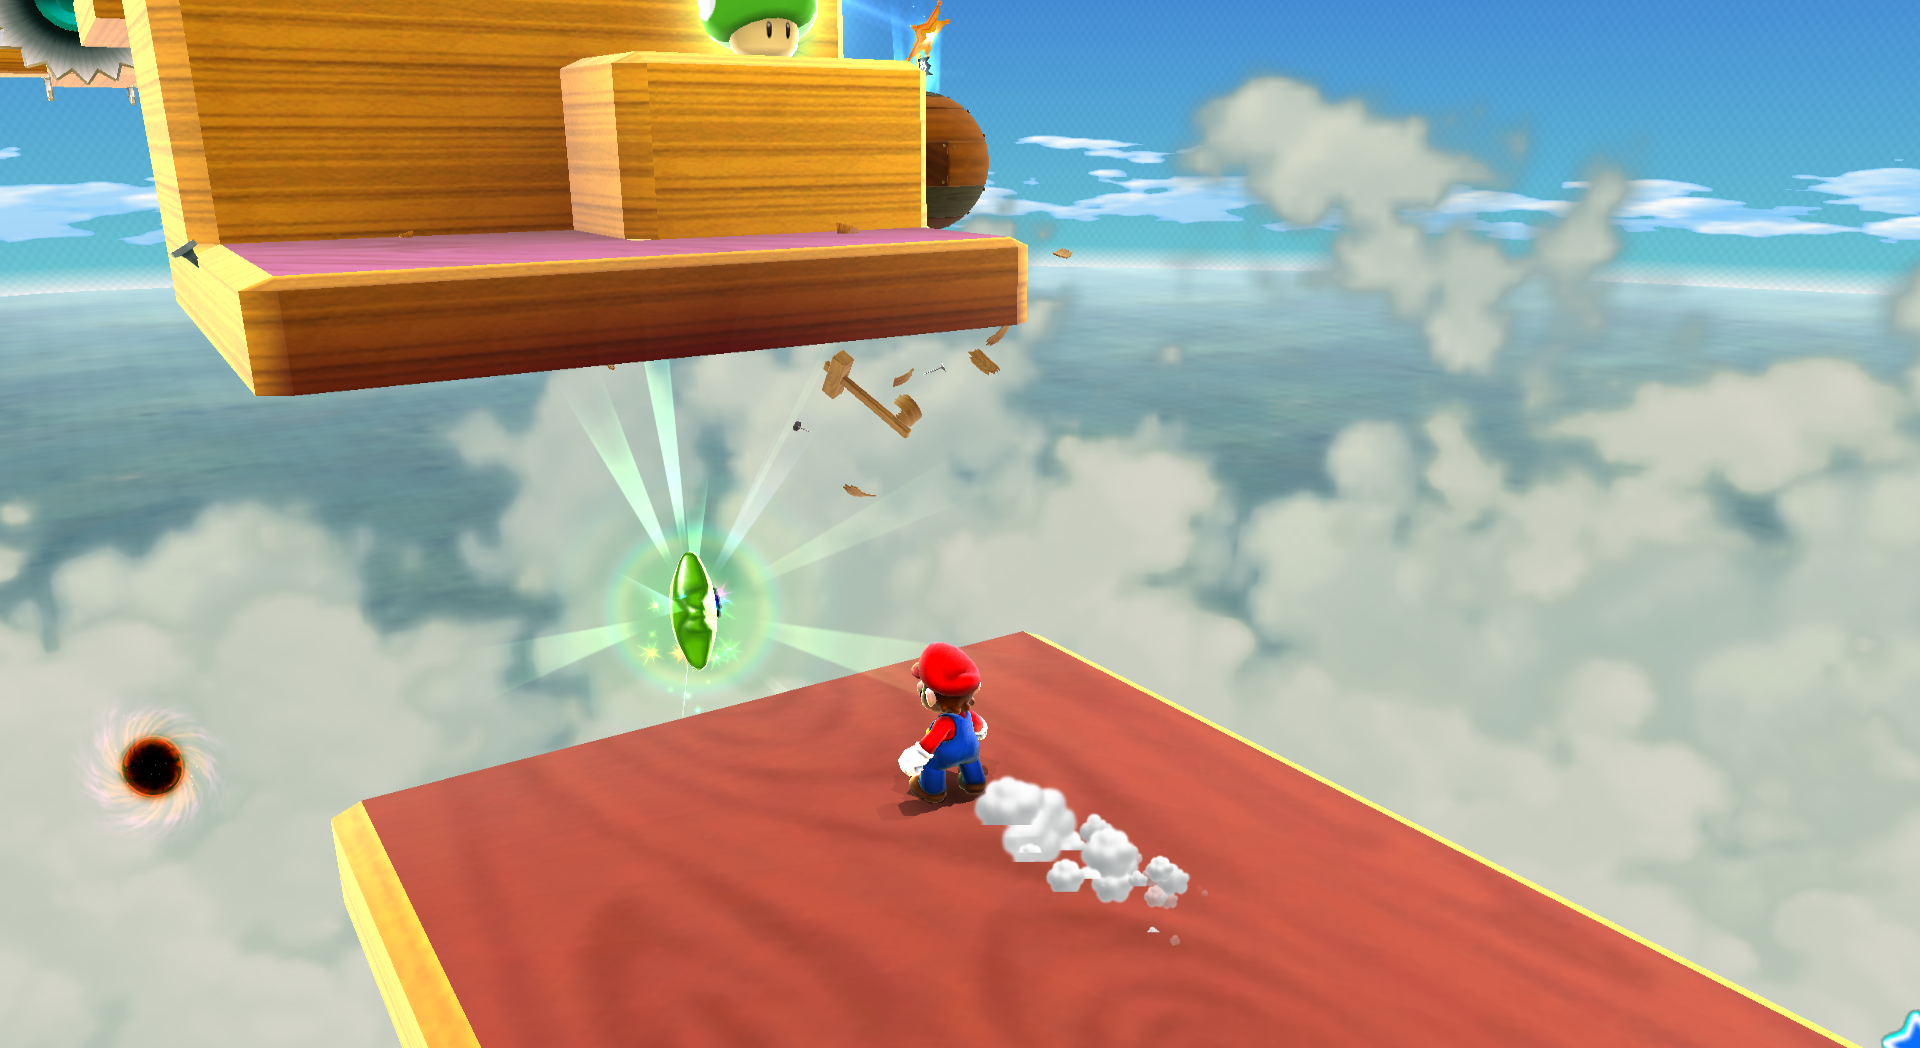
| [[File: | | [[File:SMG2 Flip Swap Green Star 1.png|frame|center|Above a red platform. You'll have to line up a [[Triple Jump]] and then spin to reach it. Be careful to not fall off.]] | ||
|} | |} | ||
{|class="mw-collapsible mw-collapsed" width=100% | {|class="mw-collapsible mw-collapsed" width=100% | ||
!colspan=3 style="background:#0BD64B; font-size:13px; color:black"|Green Star #14: Flip-Swap Galaxy | !colspan=3 style="background:#0BD64B; font-size:13px; color:black"|Green Star #14: Flip-Swap Galaxy | ||
|- | |- | ||
| [[File: | | [[File:SMG2 Flip Swap Green Star 2.png|frame|center|Above a red platform in front of where a Chomp will spawn. Use a backwards somersault and spin to reach it.]] | ||
|} | |} | ||
{|class="mw-collapsible mw-collapsed" width=100% | {|class="mw-collapsible mw-collapsed" width=100% | ||
!colspan=3 style="background:#16B85C; font-size:13px; color:black"|Green Star #15: Rightside Down Galaxy | !colspan=3 style="background:#16B85C; font-size:13px; color:black"|Green Star #15: Rightside Down Galaxy | ||
|- | |- | ||
| [[File: | | [[File:SMG2 Rightside Down Green Star 1.png|frame|center|After the third checkpoint next to where the gravity is dictated by the green flooring. You'll have to be on the green, then jump towards the star.]] | ||
|} | |} | ||
{|class="mw-collapsible mw-collapsed" width=100% | {|class="mw-collapsible mw-collapsed" width=100% | ||
!colspan=3 style="background:#16B85C; font-size:13px; color:black"|Green Star #16: Rightside Down Galaxy | !colspan=3 style="background:#16B85C; font-size:13px; color:black"|Green Star #16: Rightside Down Galaxy | ||
|- | |- | ||
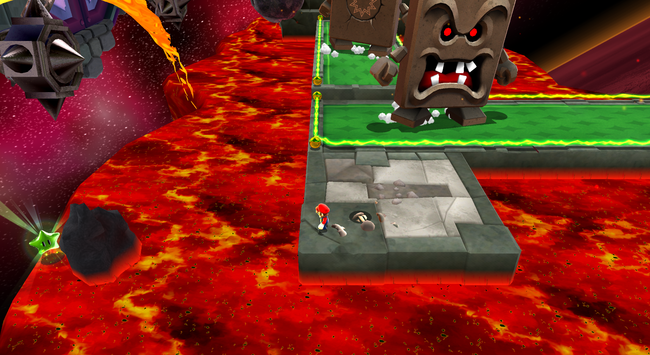
| [[File: | | [[File:SMG2 Rightside Down Green Star 2.png|frame|center|In the second [[Thwomp]] area, jump on the Thwomps to get yourself over to where the Green Toad is. From there, do a backwards somersault and jump off of the wall to reach the Green Star.]] | ||
|} | |} | ||
{|class="mw-collapsible mw-collapsed" width=100% | {|class="mw-collapsible mw-collapsed" width=100% | ||
!colspan=3 style="background:#33AD1D; font-size:13px; color:black"|Green Star #17: Bowser Jr.'s Fiery Flotilla | !colspan=3 style="background:#33AD1D; font-size:13px; color:black"|Green Star #17: Bowser Jr.'s Fiery Flotilla | ||
|- | |- | ||
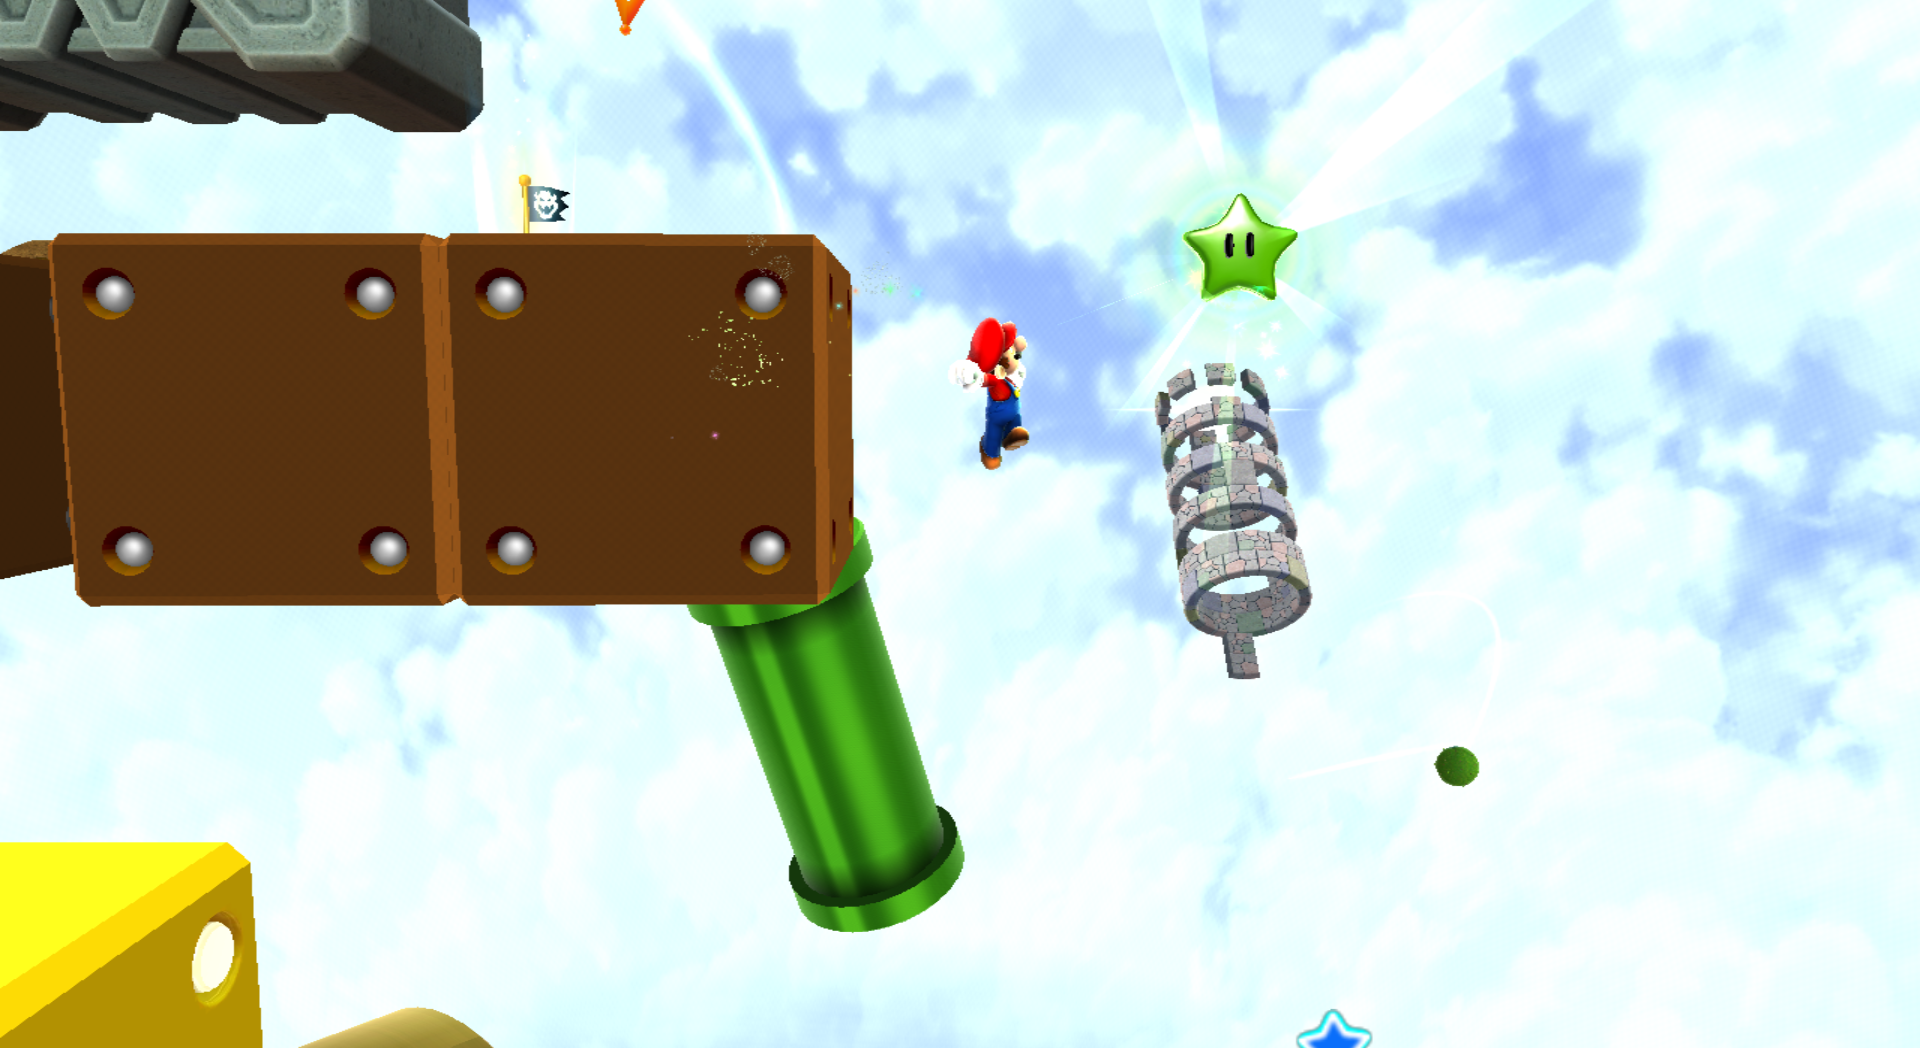
| [[File: | | [[File:SMG2 Fiery Flotilla Green Star 1.png|frame|center|On top of [[Bowser Jr.|Bowser Jr.'s]] fortress, jump on the Thwomp to get to where the Comet Medal is, then jump toward the castle and wall jump to reach the top. From there, walk along the top making your way to the back left corner where the star is.]] | ||
|} | |} | ||
{|class="mw-collapsible mw-collapsed" width=100% | {|class="mw-collapsible mw-collapsed" width=100% | ||
!colspan=3 style="background:#33AD1D; font-size:13px; color:black"|Green Star #18: Bowser Jr.'s Fiery Flotilla | !colspan=3 style="background:#33AD1D; font-size:13px; color:black"|Green Star #18: Bowser Jr.'s Fiery Flotilla | ||
|- | |- | ||
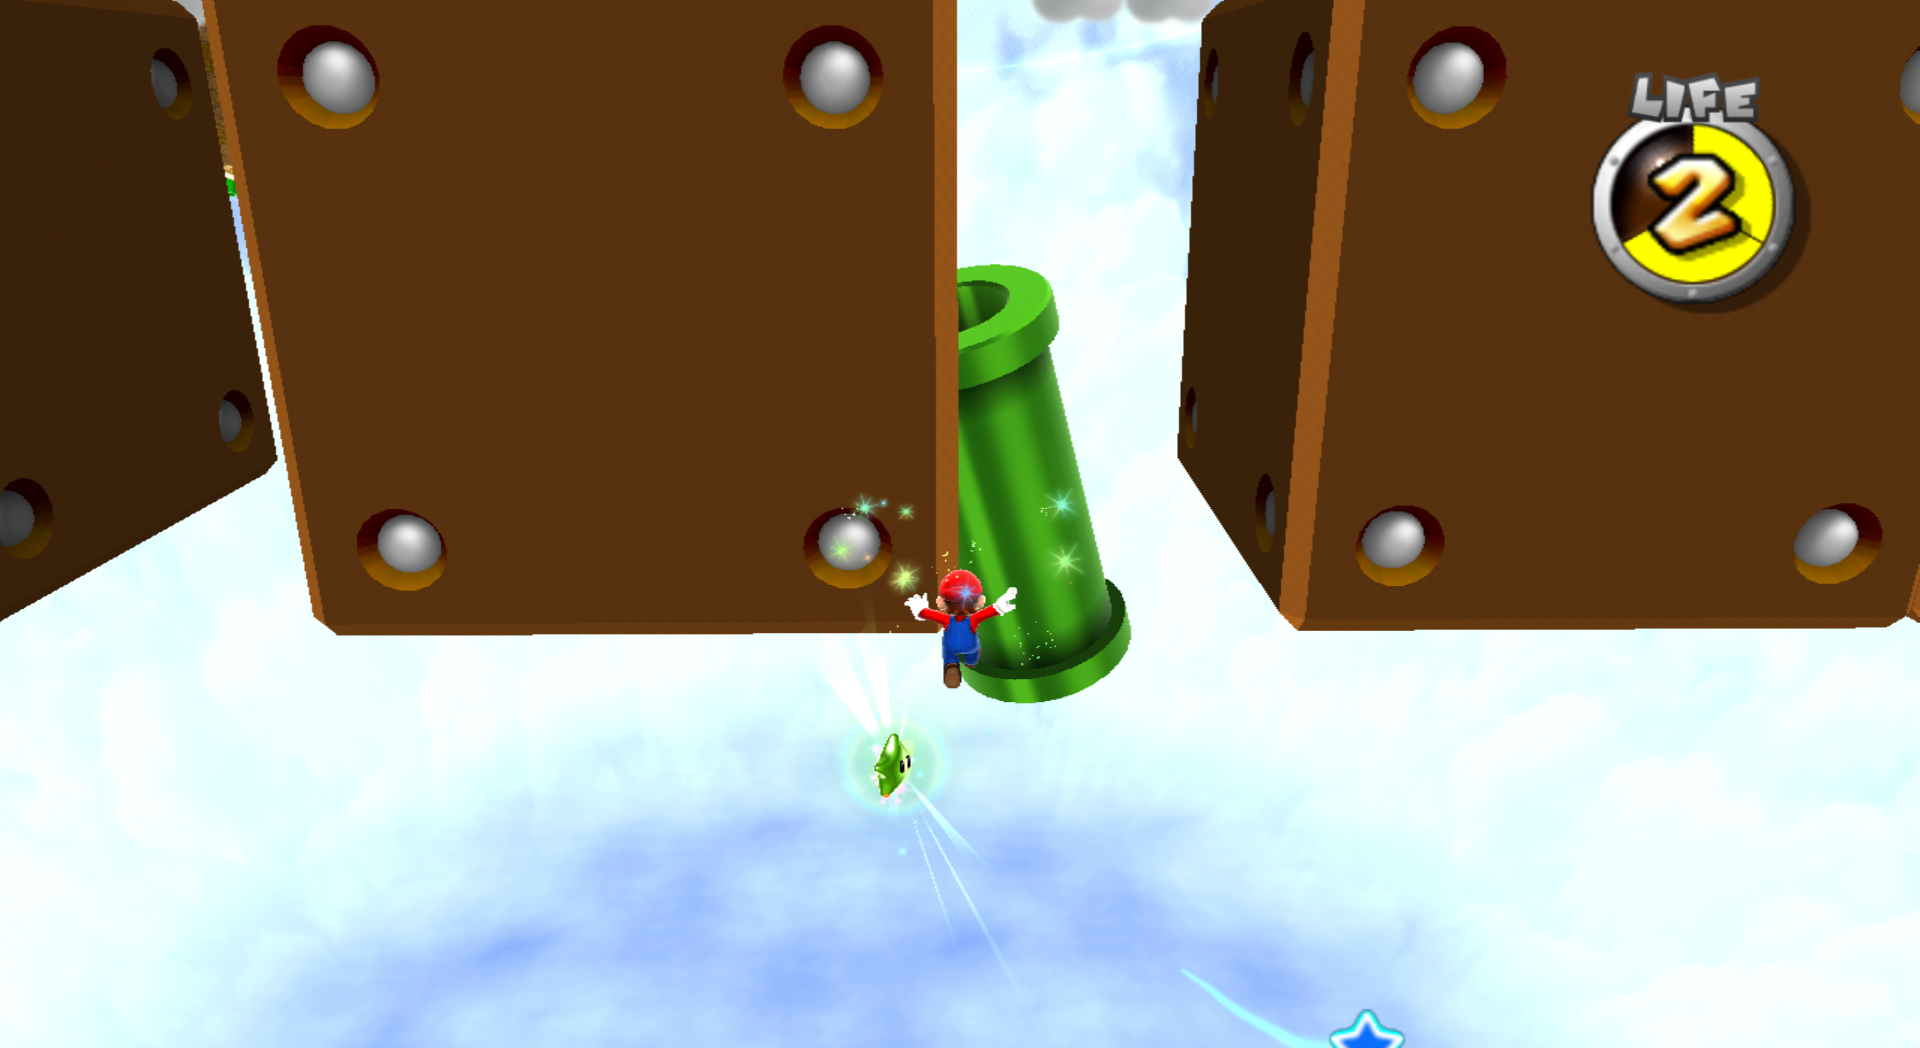
| [[File: | | [[File:SMG2 Fiery Flotilla Green Star 2.png|frame|center|When you get to the Launch Star, you'll have to do a leap of faith in a Long Jump all the way past it to reach the Green Star.]] | ||
|} | |} | ||
{|class="mw-collapsible mw-collapsed" width=100% | {|class="mw-collapsible mw-collapsed" width=100% | ||
!colspan=3 style="background:#5AFA92; font-size:13px; color:black"|Green Star #19: Puzzle Plank Galaxy | !colspan=3 style="background:#5AFA92; font-size:13px; color:black"|Green Star #19: Puzzle Plank Galaxy | ||
|- | |- | ||
| [[File: | | [[File:SMG2 Puzzle Plank Green Star 1.png|frame|center|On the starting planet make your way to a trampoline. Try to land on top of the ? Block and then do a backwards somersault to reach it.]] | ||
|} | |} | ||
{|class="mw-collapsible mw-collapsed" width=100% | {|class="mw-collapsible mw-collapsed" width=100% | ||
!colspan=3 style="background:#5AFA92; font-size:13px; color:black"|Green Star #20: Puzzle Plank Galaxy | !colspan=3 style="background:#5AFA92; font-size:13px; color:black"|Green Star #20: Puzzle Plank Galaxy | ||
|- | |- | ||
| [[File: | | [[File:SMG2_Puzzle_Plank_Green_Star_2.png|frame|center|At the part where the saws are cutting the ground, quickly run to the wall and wall-jump off of it before it falls down.]] | ||
|} | |} | ||
{|class="mw-collapsible mw-collapsed" width=100% | {|class="mw-collapsible mw-collapsed" width=100% | ||
!colspan=3 style="background:#5AFA92; font-size:13px; color:black"|Green Star #21: Puzzle Plank Galaxy | !colspan=3 style="background:#5AFA92; font-size:13px; color:black"|Green Star #21: Puzzle Plank Galaxy | ||
|- | |- | ||
| [[File: | | [[File:SMG2_Puzzle_Plank_Green_Star_3.png|frame|center|In another segment where the saws are trying to make the ground fall. Wait at the edge of the red platform, and as it falls, walk or jump into the Green Star.]] | ||
|} | |} | ||
{|class="mw-collapsible mw-collapsed" width=100% | {|class="mw-collapsible mw-collapsed" width=100% | ||
| Line 121: | Line 121: | ||
!colspan=3 style="background:#07F06C; font-size:13px; color:black"|Green Star #23: Hightail Falls Galaxy | !colspan=3 style="background:#07F06C; font-size:13px; color:black"|Green Star #23: Hightail Falls Galaxy | ||
|- | |- | ||
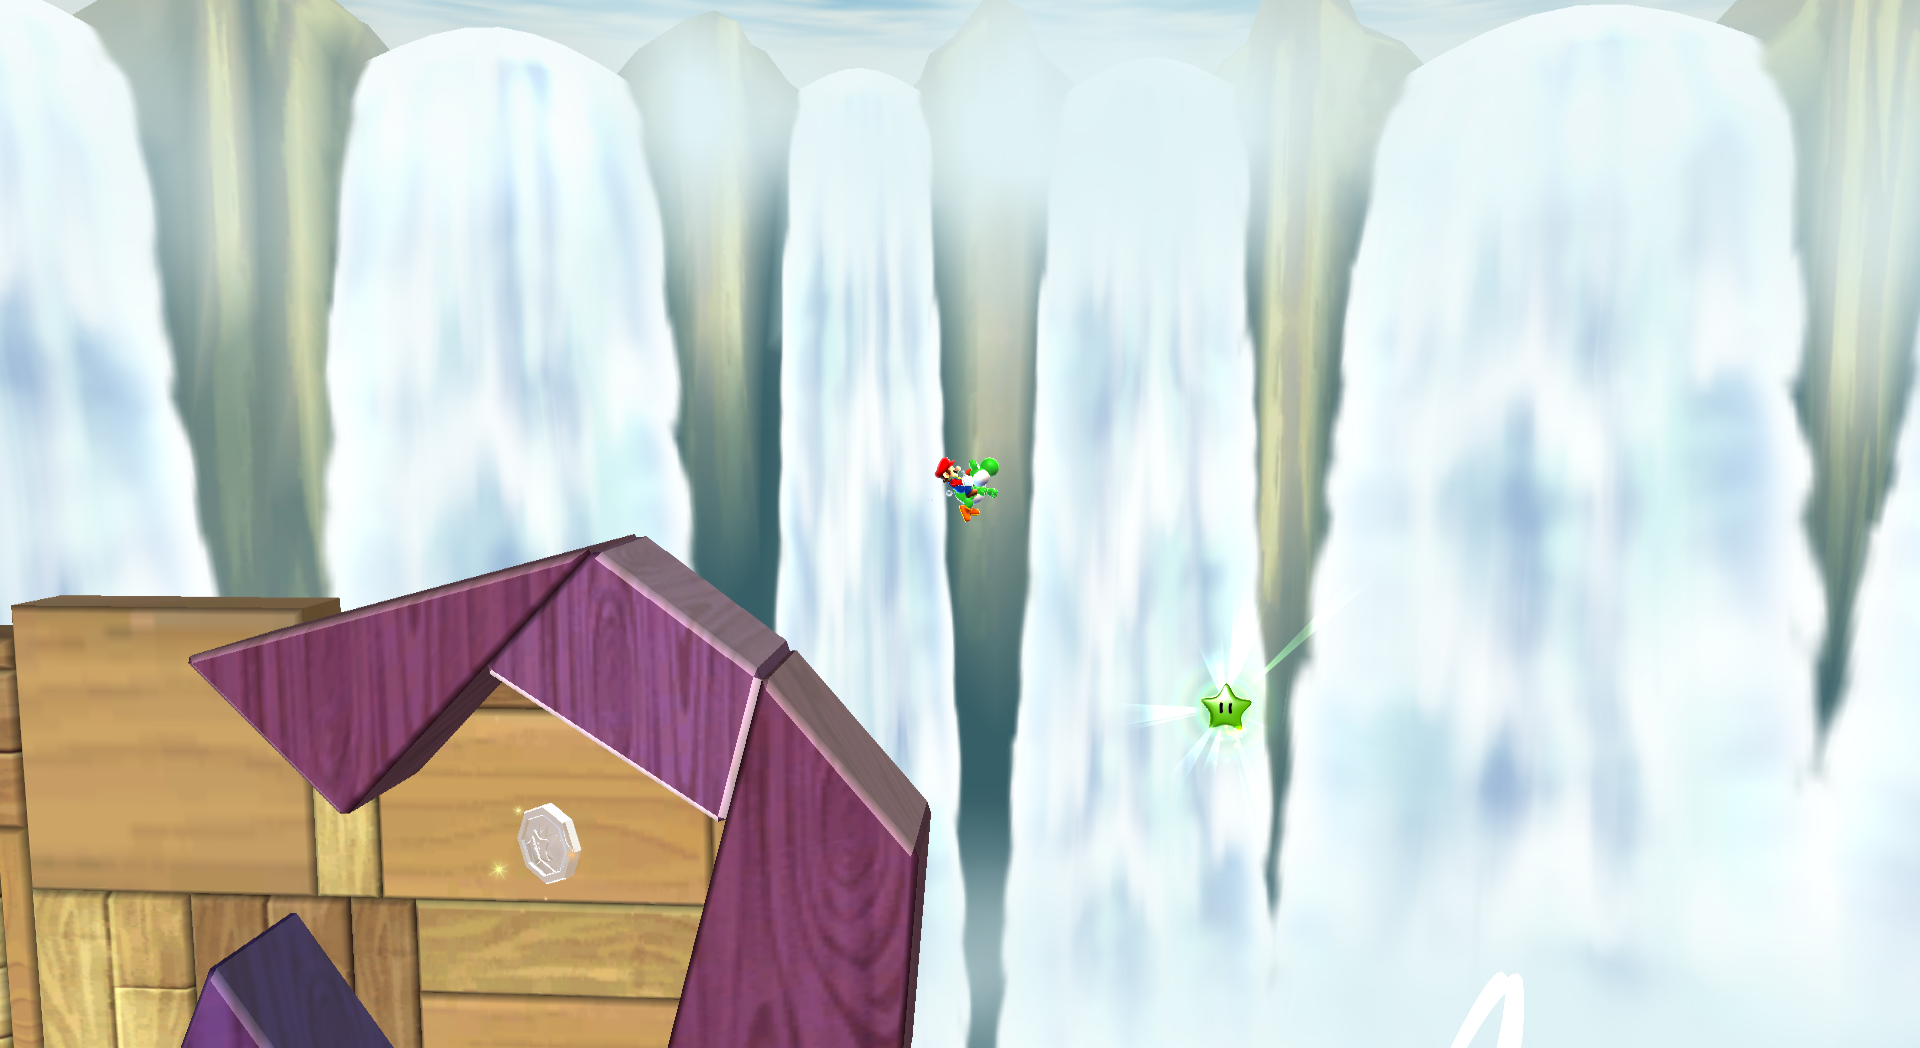
| [[File: | | [[File:SMG2_Hightail_Falls_Green_Star_2.png|frame|center|Near the end of the galaxy, there will be a point where you will have to eat a Dash Pepper and climb another wall, this time you will have to turn with Yoshi in such a way so that you land on top of the purple platform. From there, make your way right and get the star.]] | ||
|} | |} | ||
{|class="mw-collapsible mw-collapsed" width=100% | {|class="mw-collapsible mw-collapsed" width=100% | ||
!colspan=3 style="background:#07F06C; font-size:13px; color:black"|Green Star #24: Hightail Falls Galaxy | !colspan=3 style="background:#07F06C; font-size:13px; color:black"|Green Star #24: Hightail Falls Galaxy | ||
|- | |- | ||
| [[File: | | [[File:SMG2_Hightail_Falls_Green_Star_3.png|frame|center|You'll have to make your way towards the end of the galaxy where there are the [[Flower Grapples]] so that you can use Yoshi to swing your way over to the star.]] | ||
|} | |} | ||
{|class="mw-collapsible mw-collapsed" width=100% | {|class="mw-collapsible mw-collapsed" width=100% | ||
!colspan=3 style="background:#3AFF30; font-size:13px; color:black"|Green Star #25: Boulder Bowl Galaxy | !colspan=3 style="background:#3AFF30; font-size:13px; color:black"|Green Star #25: Boulder Bowl Galaxy | ||
|- | |- | ||
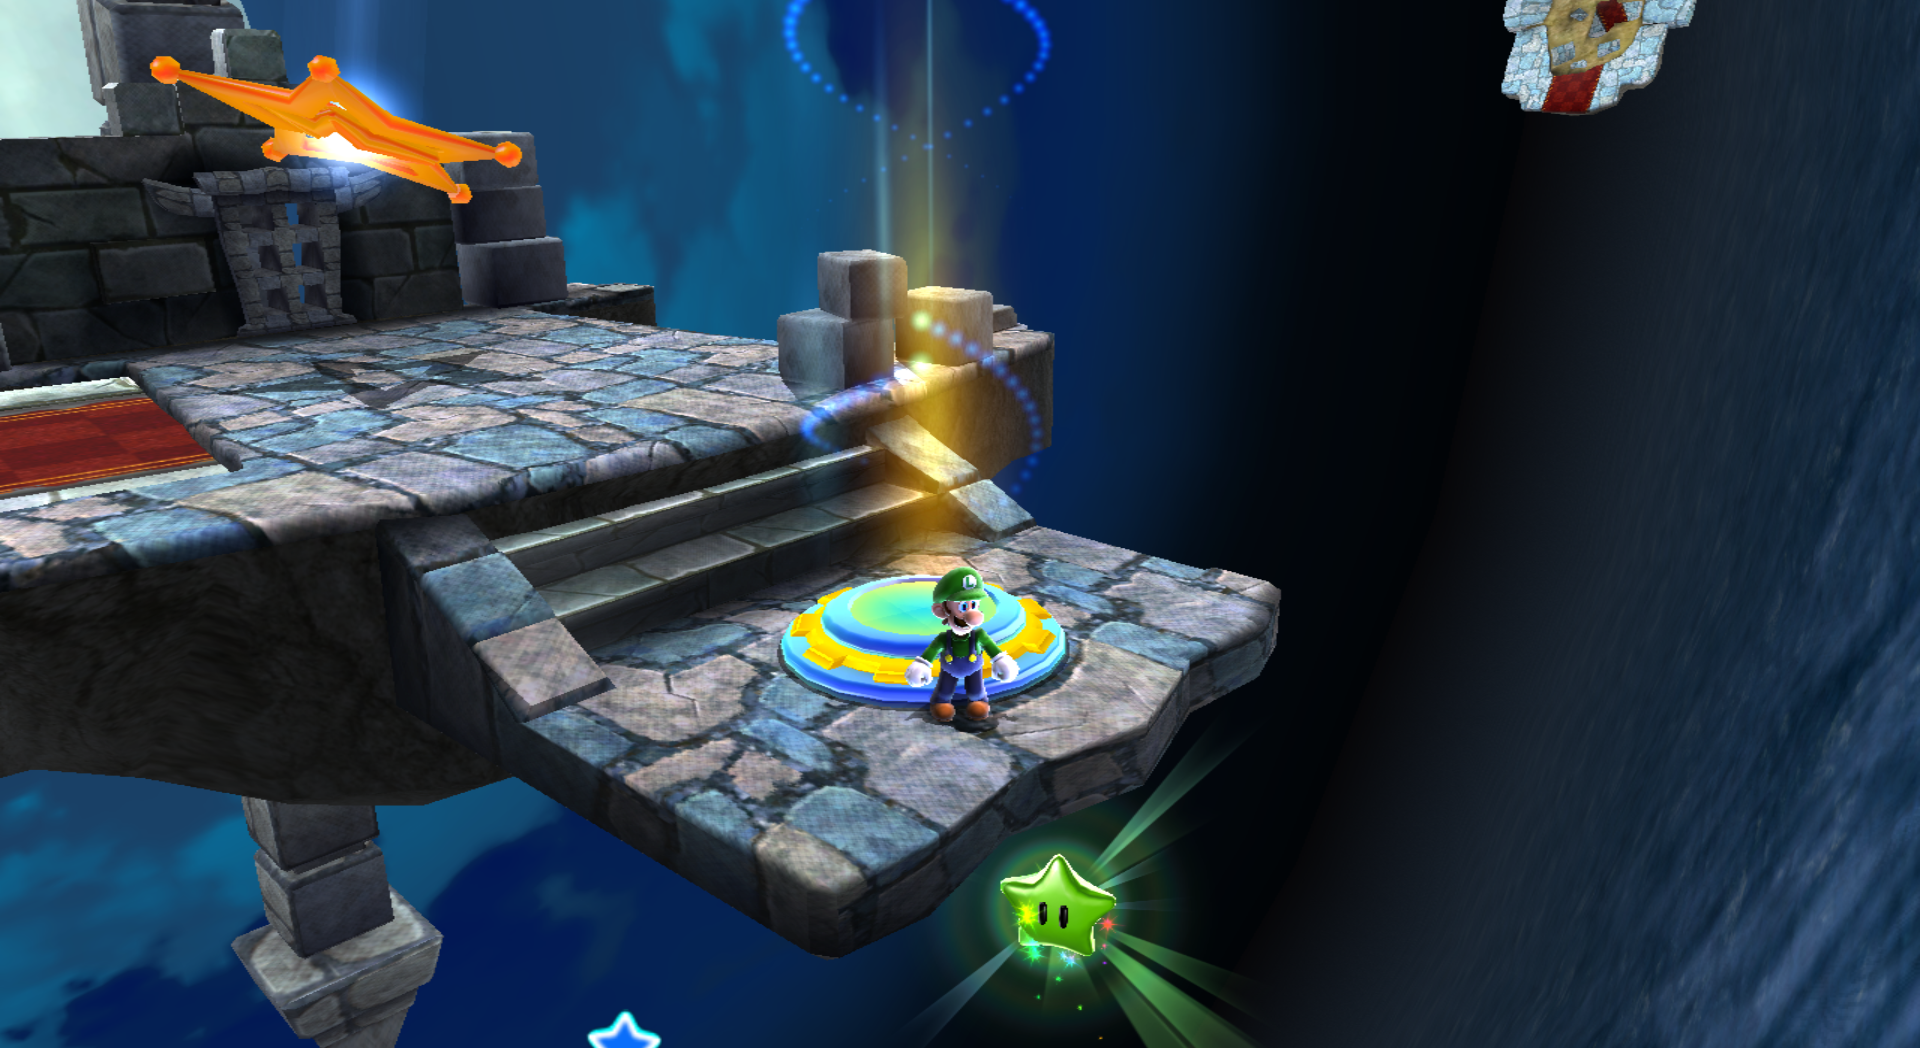
| [[File: | | [[File:SMG2 Boulder Bowl Green Star 1.png|frame|center|Instead of getting the [[Rock Mushroom]], head over to the bridge normally, and use a series of spin wall jumps across the red sides of the bridge as it's upright in order to get to the top. From there, use a backwards somersault and a spin to get it.]] | ||
|} | |} | ||
{|class="mw-collapsible mw-collapsed" width=100% | {|class="mw-collapsible mw-collapsed" width=100% | ||
!colspan=3 style="background:#3AFF30; font-size:13px; color:black"|Green Star #26: Boulder Bowl Galaxy | !colspan=3 style="background:#3AFF30; font-size:13px; color:black"|Green Star #26: Boulder Bowl Galaxy | ||
|- | |- | ||
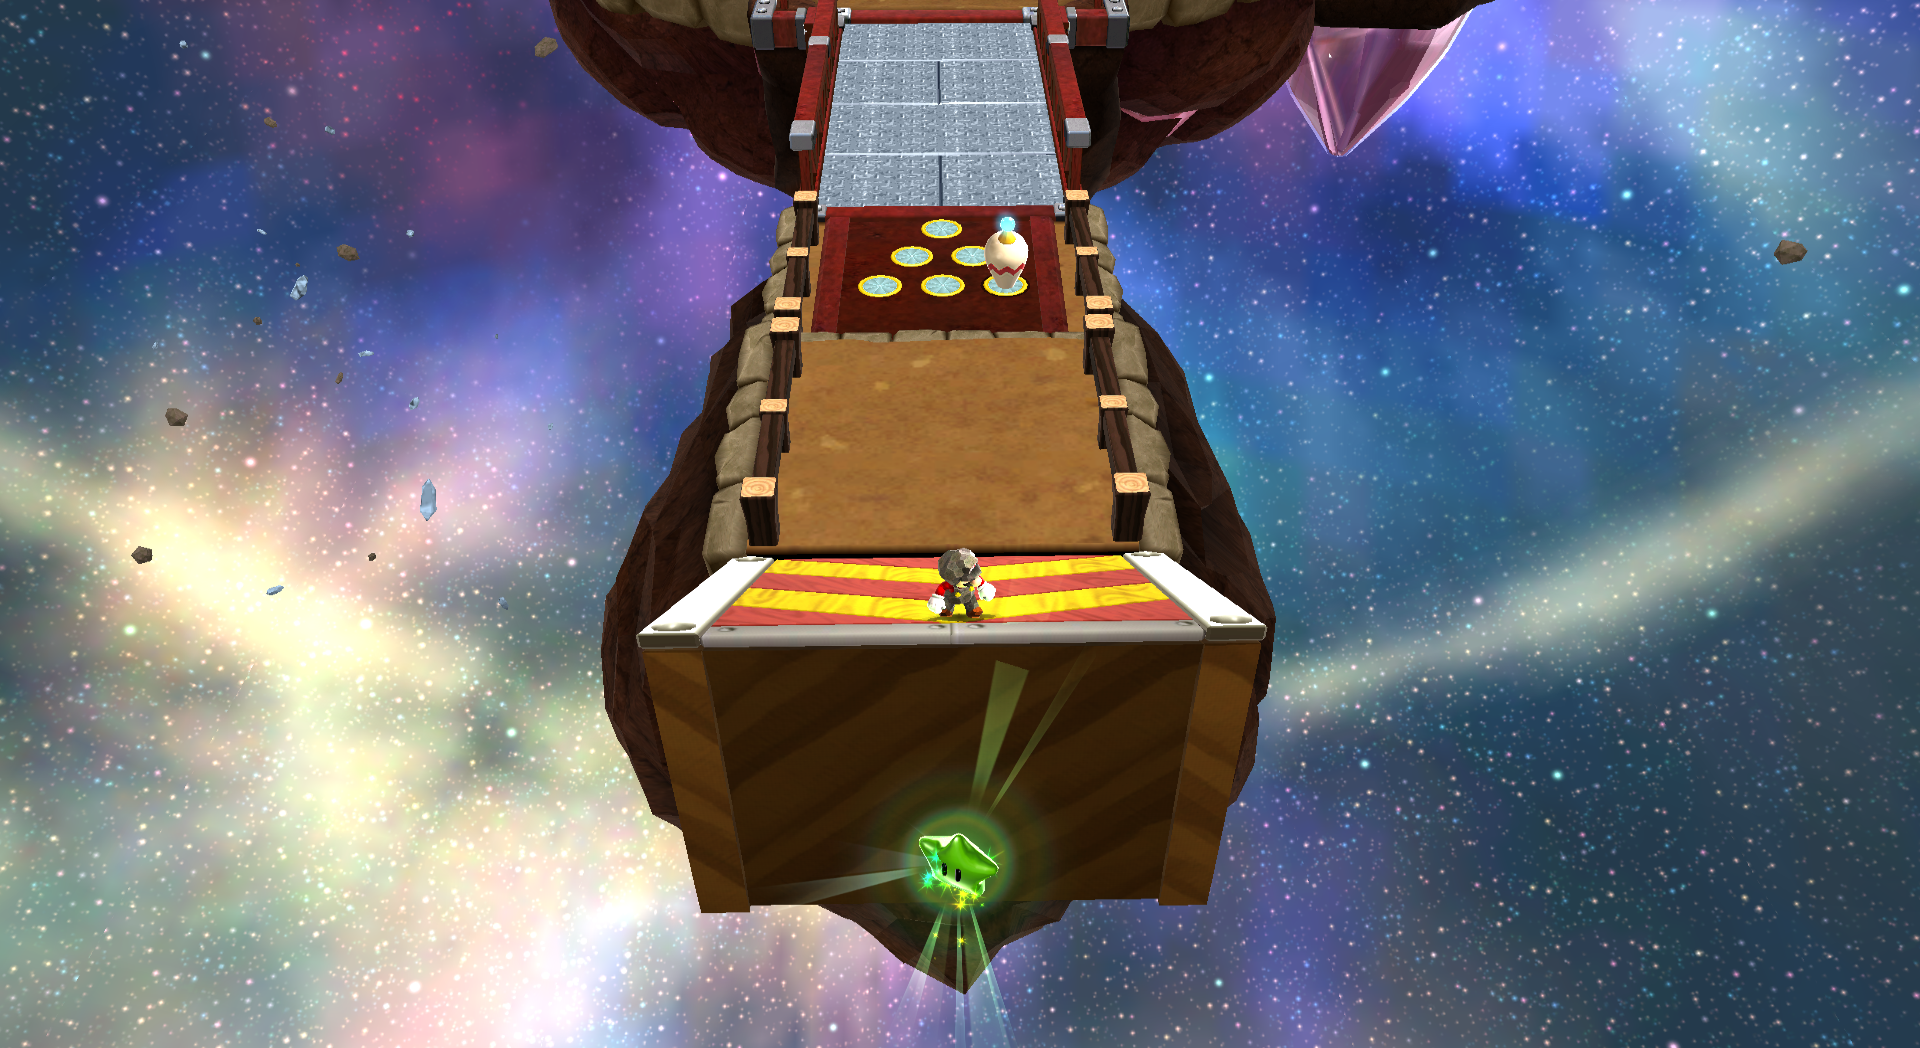
| [[File: | | [[File:SMG2 Boulder Bowl Green Star 2.png|frame|center|This time, use the Rock Mushroom to make the bridge go down. You will see a red and yellow striped ramp. Do not roll off of it. Instead, walk over there normally, and jump off of the ramp to get the star.]] | ||
|} | |} | ||
{|class="mw-collapsible mw-collapsed" width=100% | {|class="mw-collapsible mw-collapsed" width=100% | ||
!colspan=3 style="background:#3AFF30; font-size:13px; color:black"|Green Star #27: Boulder Bowl Galaxy | !colspan=3 style="background:#3AFF30; font-size:13px; color:black"|Green Star #27: Boulder Bowl Galaxy | ||
|- | |- | ||
| [[File: | | [[File:SMG2 Boulder Bowl Green Star 3.png|frame|center|On the planet where there are several [[Octoguys]], make your way over to where the Rock Mushroom is. Instead of getting it, walk past it and go past the fence. You should be able to see the Green Star in the air over a bottomless pit. You'll have to take a leap-of-faith in order to get it.]] | ||
|} | |} | ||
{|class="mw-collapsible mw-collapsed" width=100% | {|class="mw-collapsible mw-collapsed" width=100% | ||
| Line 161: | Line 161: | ||
!colspan=3 style="background:#0BD64B; font-size:13px; color:black"|Green Star #31: Wild Glide Galaxy | !colspan=3 style="background:#0BD64B; font-size:13px; color:black"|Green Star #31: Wild Glide Galaxy | ||
|- | |- | ||
| [[File: | | [[File:Wild Glide Galaxy SMG2 Green Star 1.png|frame|center|After the third gate that would lead to a Comet Medal, dive down extremely close to the water. There is a small opening with the Green Star.]] | ||
|} | |} | ||
{|class="mw-collapsible mw-collapsed" width=100% | {|class="mw-collapsible mw-collapsed" width=100% | ||
!colspan=3 style="background:#0BD64B; font-size:13px; color:black"|Green Star #32: Wild Glide Galaxy | !colspan=3 style="background:#0BD64B; font-size:13px; color:black"|Green Star #32: Wild Glide Galaxy | ||
|- | |- | ||
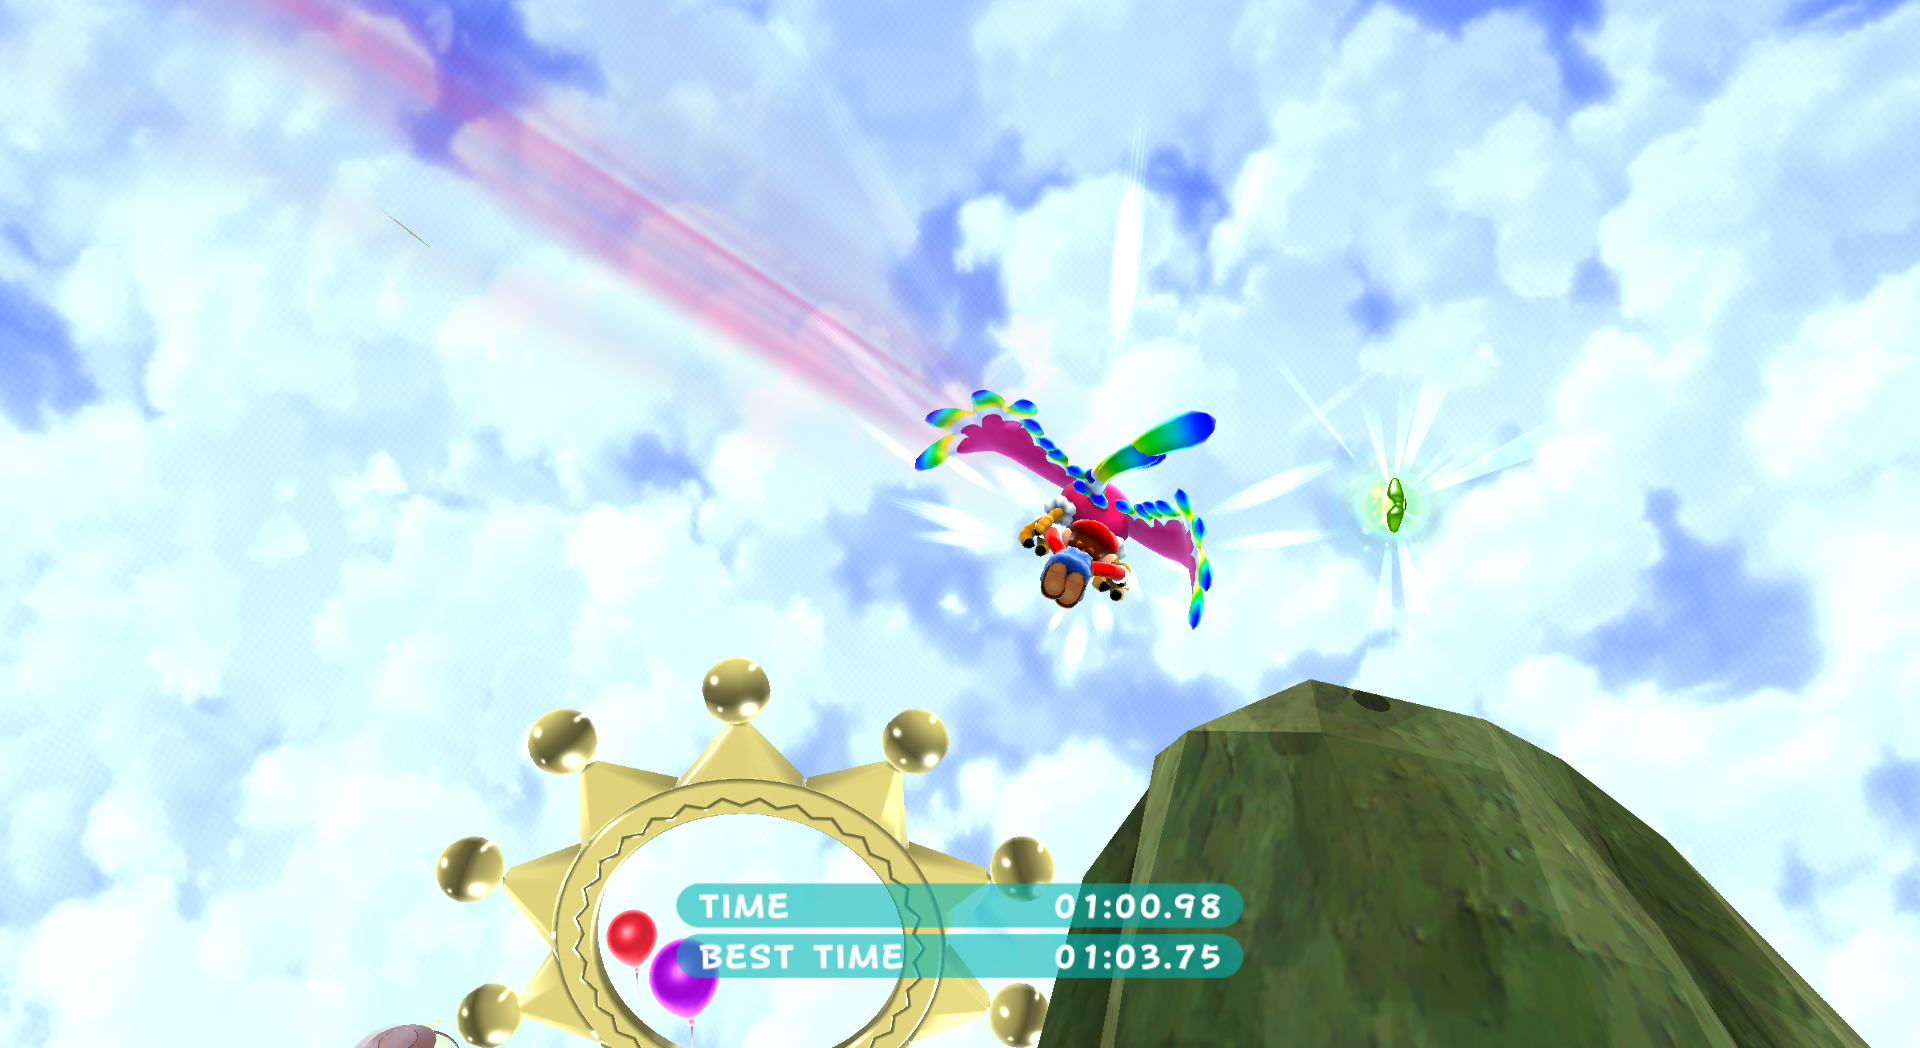
| [[File: | | [[File:Wild Glide Galaxy SMG2 Green Star 2.png|frame|center|Near the end of the level, you'll have to fly right and carefully aim so that you fly into it.]] | ||
|} | |} | ||
{|class="mw-collapsible mw-collapsed" width=100% | {|class="mw-collapsible mw-collapsed" width=100% | ||
| Line 191: | Line 191: | ||
!colspan=3 style="background:#5AFA92; font-size:13px; color:black"|Green Star #37: Tall Trunk Galaxy | !colspan=3 style="background:#5AFA92; font-size:13px; color:black"|Green Star #37: Tall Trunk Galaxy | ||
|- | |- | ||
| [[File: | | [[File:SMG2 Tall Trunk Green Star 1.png|frame|center|You will need to use [[Blimp Yoshi]] to climb the tree at the very beginning. The Green Star is by the [[Life Shroom]], use a backwards somersault and jump off the wall to reach it.]] | ||
|} | |} | ||
{|class="mw-collapsible mw-collapsed" width=100% | {|class="mw-collapsible mw-collapsed" width=100% | ||
!colspan=3 style="background:#5AFA92; font-size:13px; color:black"|Green Star #38: Tall Trunk Galaxy | !colspan=3 style="background:#5AFA92; font-size:13px; color:black"|Green Star #38: Tall Trunk Galaxy | ||
|- | |- | ||
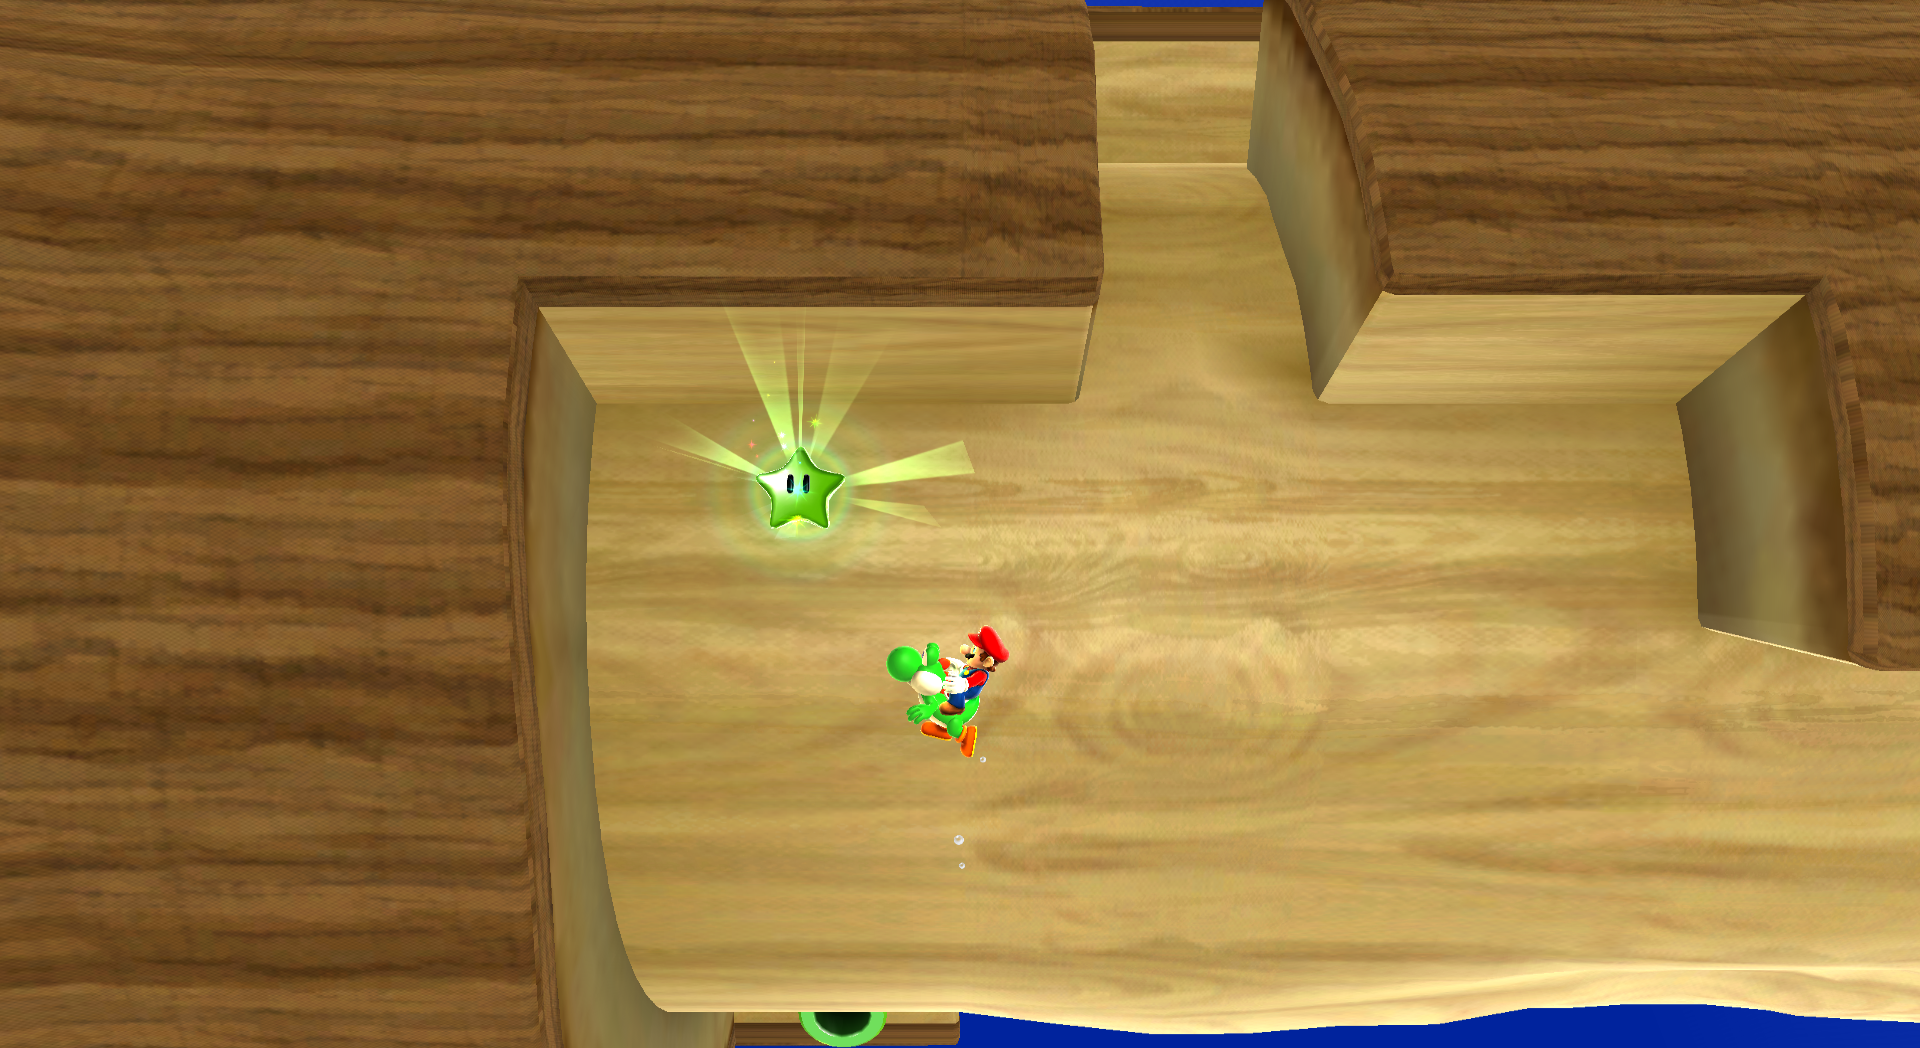
| [[File: | | [[File:SMG2 Tall Trunk Green Star 2.png|frame|center|In the log tunnel planet, the Green Star is in plain sight. You may have to sacrifice Yoshi to reach it.]] | ||
|} | |} | ||
{|class="mw-collapsible mw-collapsed" width=100% | {|class="mw-collapsible mw-collapsed" width=100% | ||
!colspan=3 style="background:#5AFA92; font-size:13px; color:black"|Green Star #39: Tall Trunk Galaxy | !colspan=3 style="background:#5AFA92; font-size:13px; color:black"|Green Star #39: Tall Trunk Galaxy | ||
|- | |- | ||
| [[File: | | [[File:SMG2 Tall Trunk Green Star 3.png|frame|center|In the dangerous slide, when you're going through the log tube with several [[Wiggler|Wigglers]] and spiked weeds. You will have to carefully line up your angle and jump into the star.]] | ||
|} | |} | ||
{|class="mw-collapsible mw-collapsed" width=100% | {|class="mw-collapsible mw-collapsed" width=100% | ||
!colspan=3 style="background:#07F06C; font-size:13px; color:black"|Green Star #40: Cloudy Court Galaxy | !colspan=3 style="background:#07F06C; font-size:13px; color:black"|Green Star #40: Cloudy Court Galaxy | ||
|- | |- | ||
| [[File: | | [[File:SMG2 Cloudy Court Green Star 1.png|frame|center|On the first planet, there is a dinosaur-shaped hedge. Use the Cloud Flower to get above it and reach the star.]] | ||
|} | |} | ||
{|class="mw-collapsible mw-collapsed" width=100% | {|class="mw-collapsible mw-collapsed" width=100% | ||
!colspan=3 style="background:#07F06C; font-size:13px; color:black"|Green Star #41: Cloudy Court Galaxy | !colspan=3 style="background:#07F06C; font-size:13px; color:black"|Green Star #41: Cloudy Court Galaxy | ||
|- | |- | ||
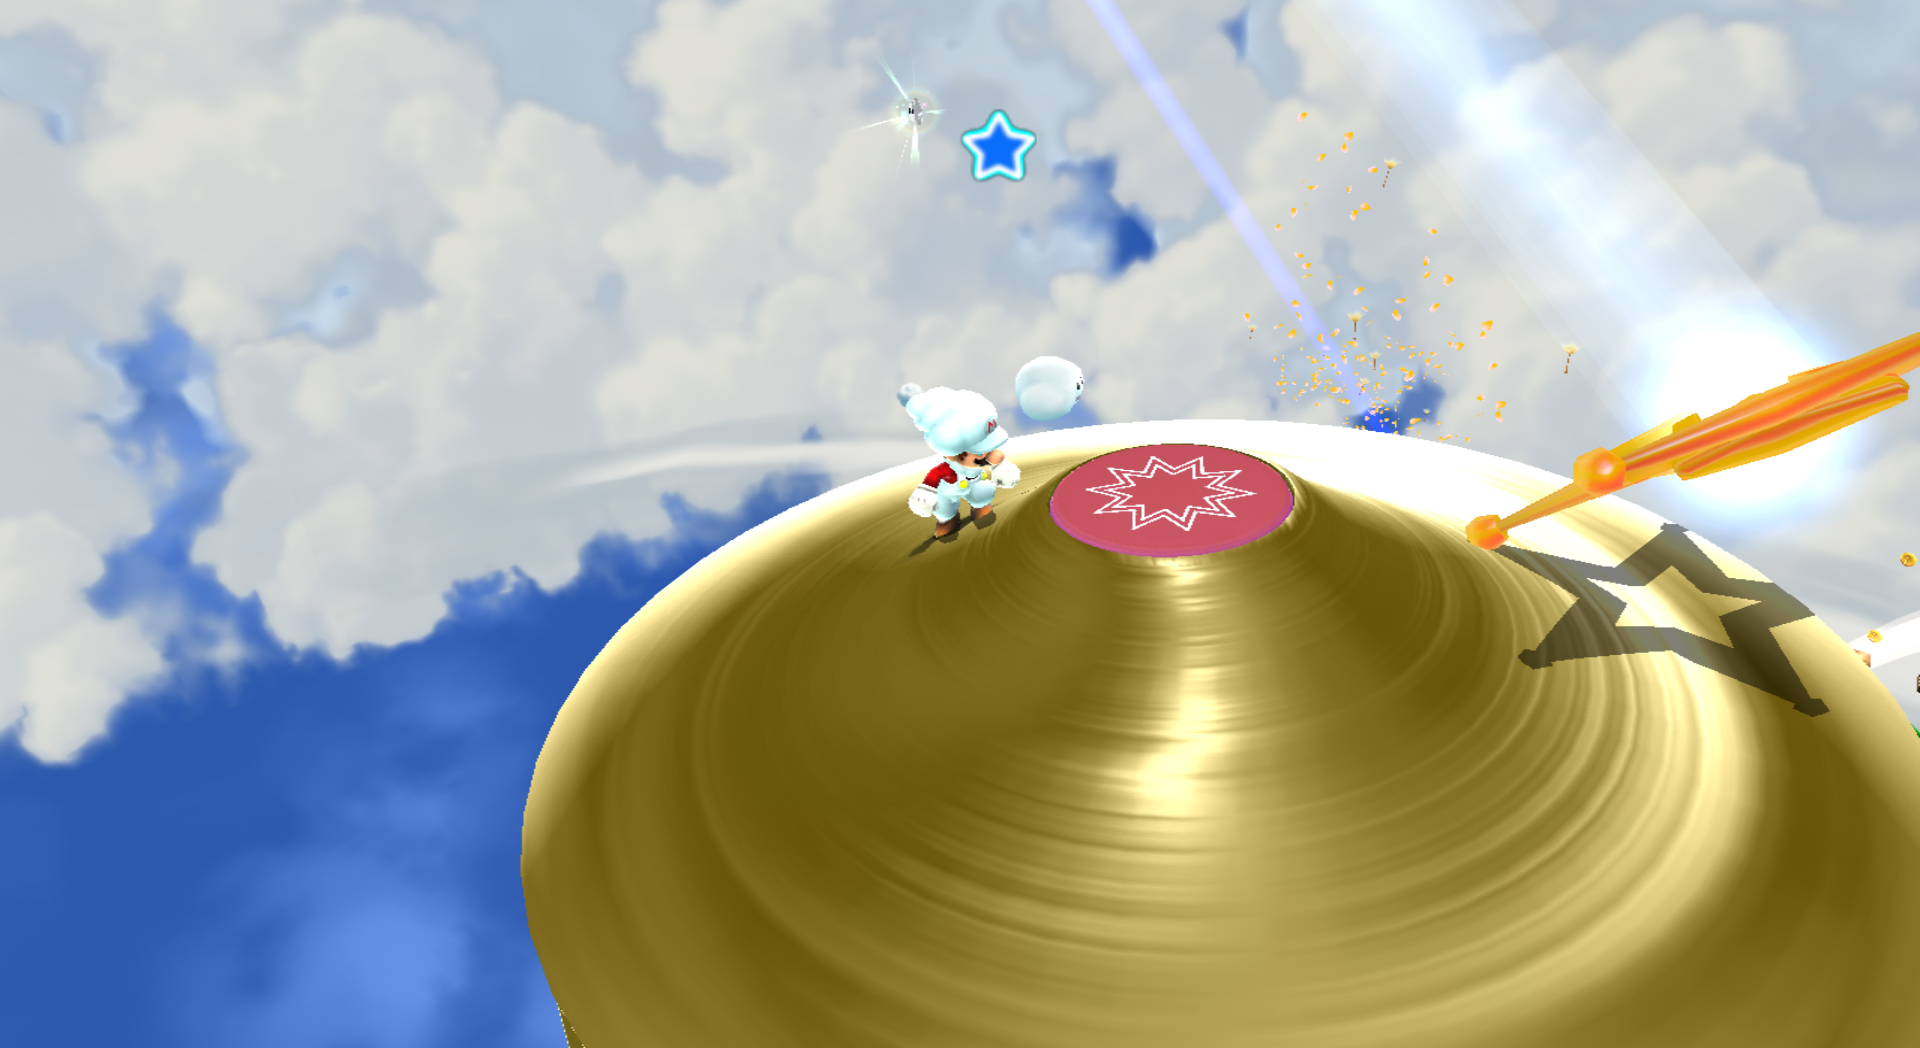
| [[File: | | [[File:SMG2 Cloudy Court Green Star 2.png|frame|center|On the cymbals next to a Launch Star, the Green Star is way out in the distance. You'll need the Cloud Flower and several long jumps to reach it.]] | ||
|} | |} | ||
{|class="mw-collapsible mw-collapsed" width=100% | {|class="mw-collapsible mw-collapsed" width=100% | ||
!colspan=3 style="background:#07F06C; font-size:13px; color:black"|Green Star #42: Cloudy Court Galaxy | !colspan=3 style="background:#07F06C; font-size:13px; color:black"|Green Star #42: Cloudy Court Galaxy | ||
|- | |- | ||
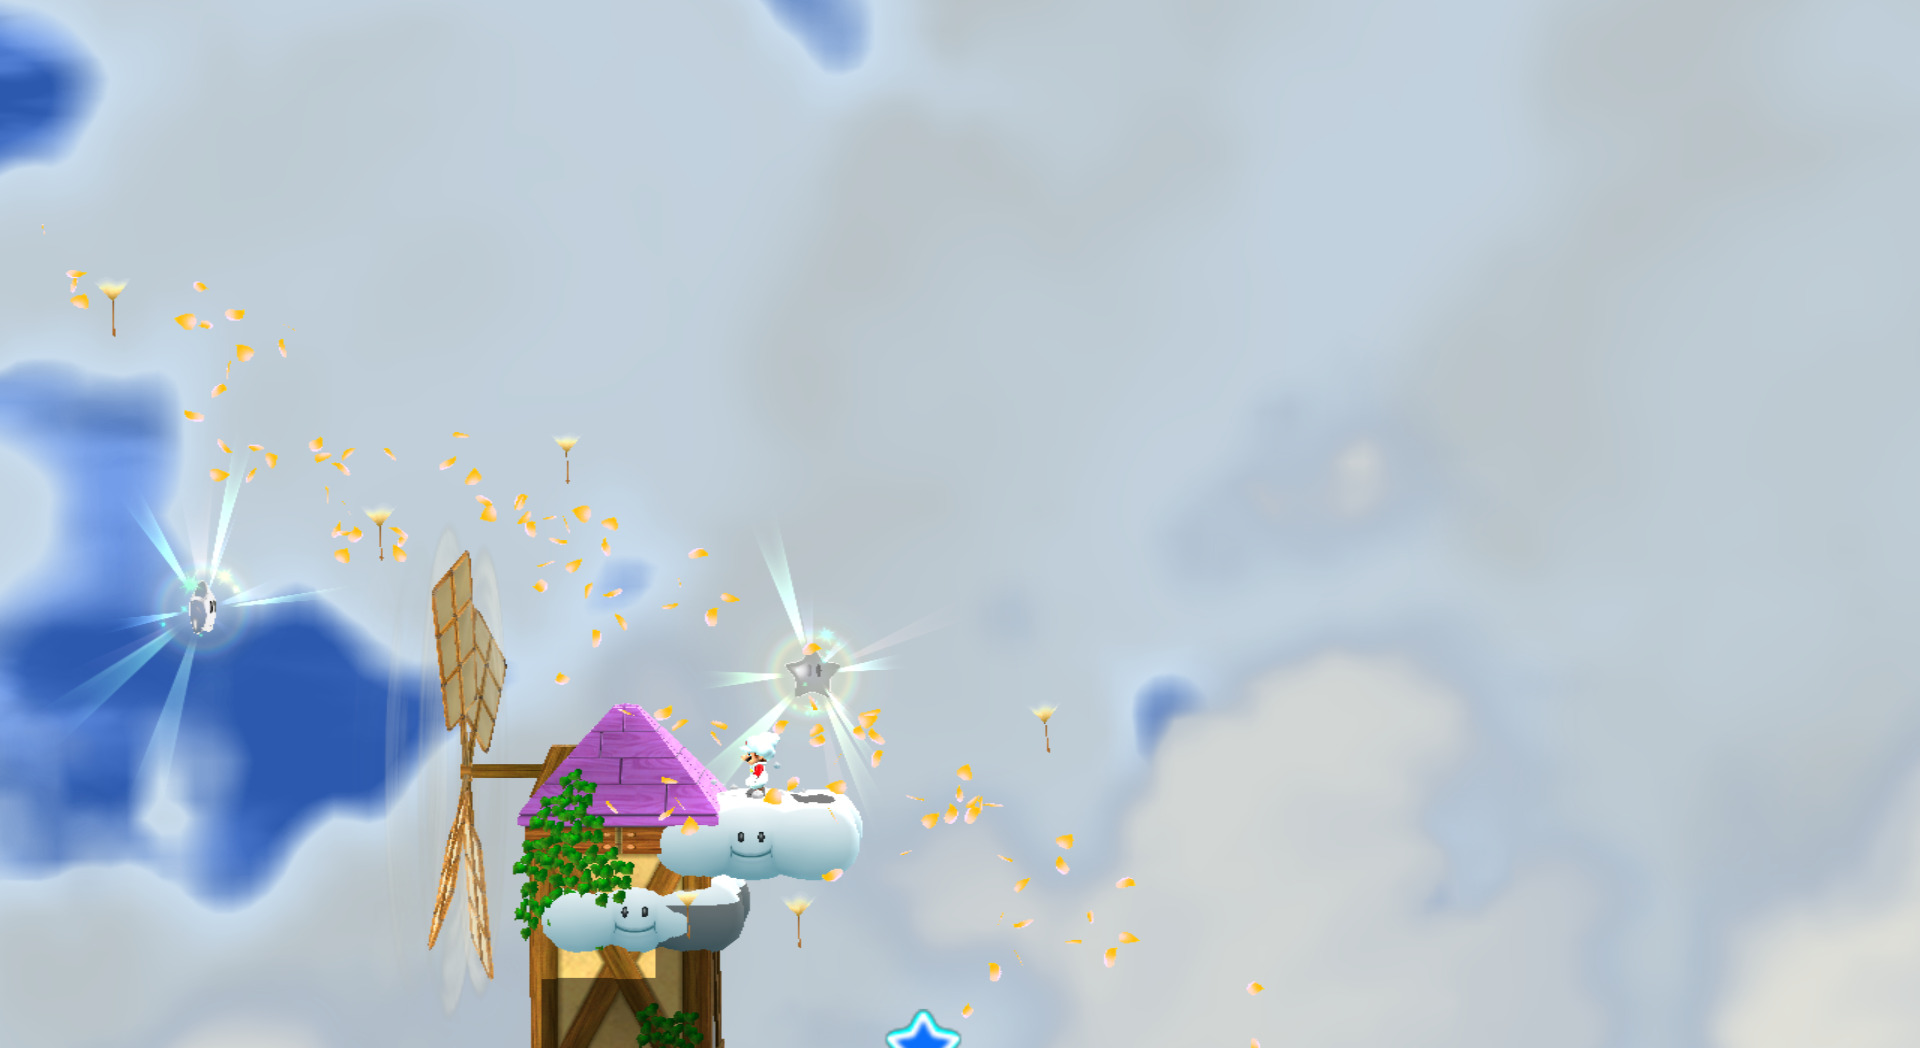
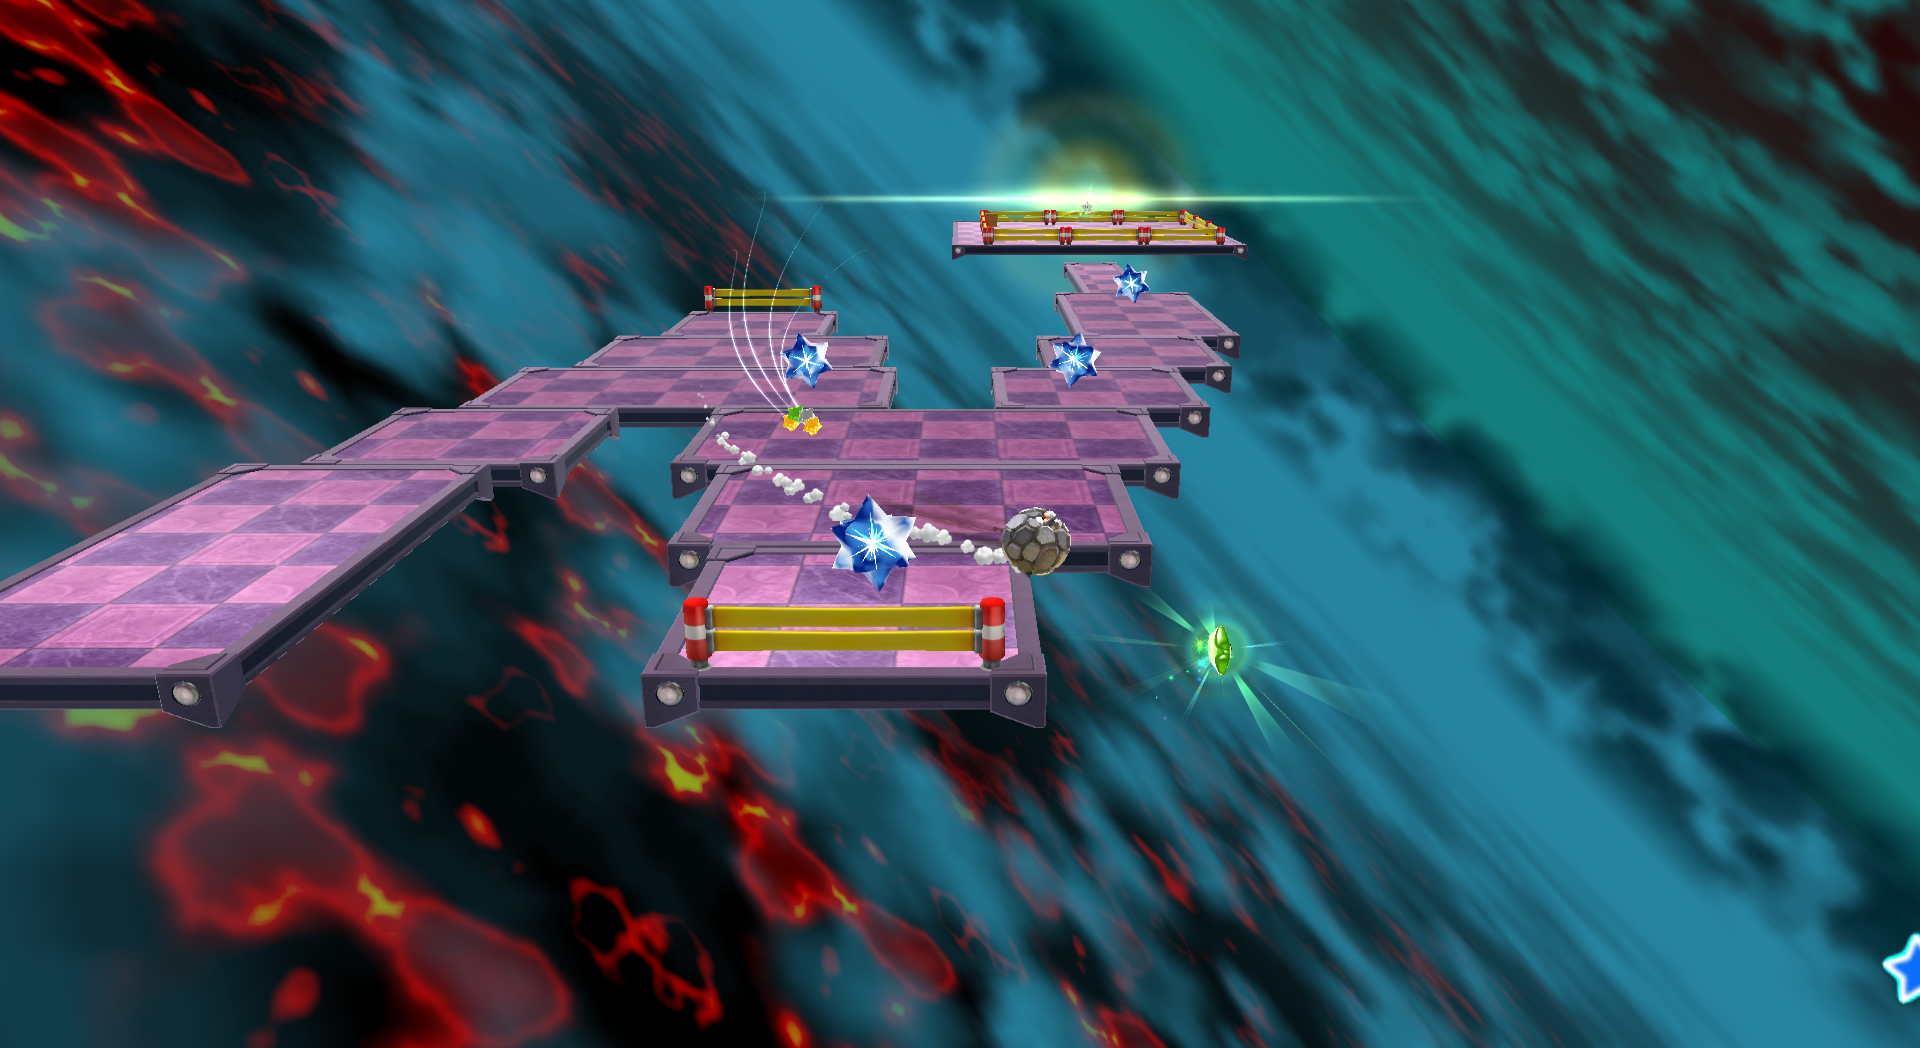
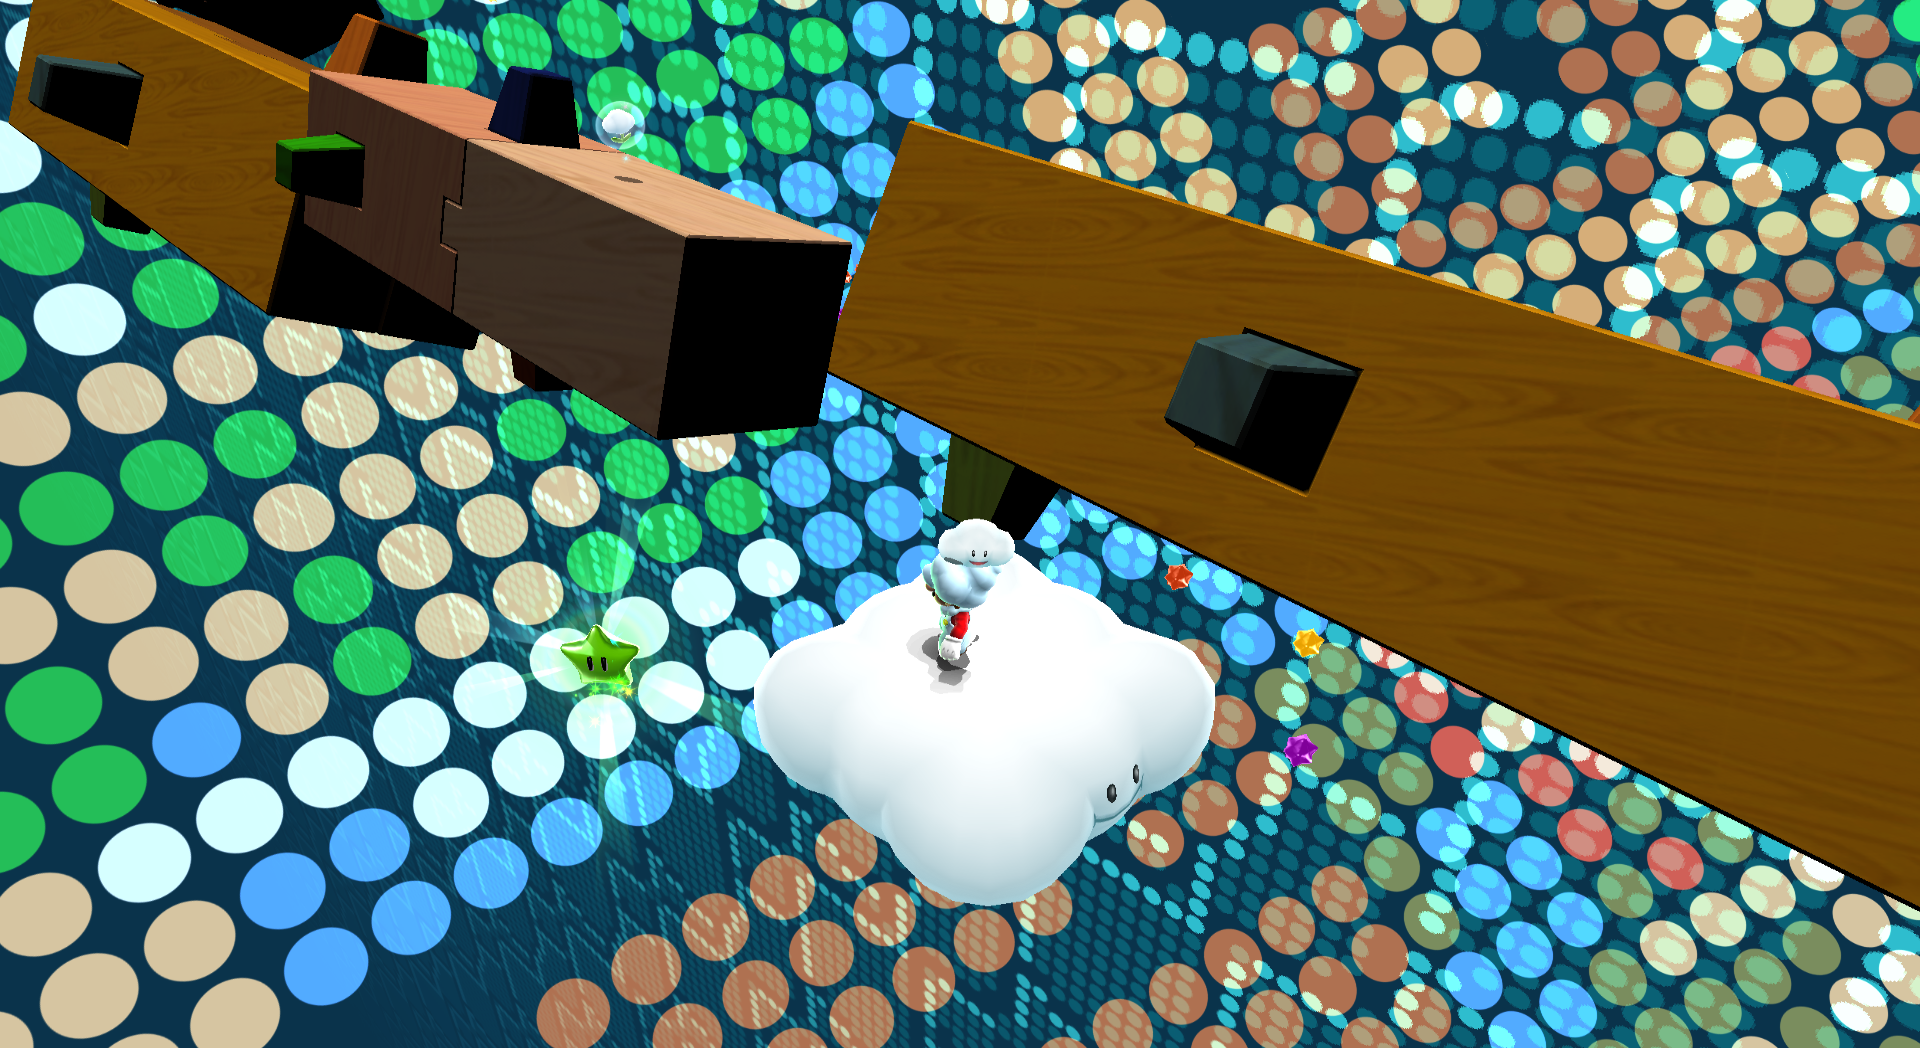
| [[File: | | [[File:SMG2 Cloudy Court Green Star 3.png|frame|center|Behind the windmill by the Power Star. You'll have to use the Cloud Flower to go under the windmill. Then when you are behind the windmill, you can use another cloud to reach up to the star.]] | ||
|} | |} | ||
{|class="mw-collapsible mw-collapsed" width=100% | {|class="mw-collapsible mw-collapsed" width=100% | ||
!colspan=3 style="background:#3AFF30; font-size:13px; color:black"|Green Star #43: Haunty Halls Galaxy | !colspan=3 style="background:#3AFF30; font-size:13px; color:black"|Green Star #43: Haunty Halls Galaxy | ||
|- | |- | ||
| [[File: | | [[File:SMG2_Haunty_Halls_Green_Star_1.png|frame|center|Under the platform with the Teleporter to the right of the Launch Star on the first planet. You'll have to jump under and spin to reach it.]] | ||
|} | |} | ||
{|class="mw-collapsible mw-collapsed" width=100% | {|class="mw-collapsible mw-collapsed" width=100% | ||
!colspan=3 style="background:#3AFF30; font-size:13px; color:black"|Green Star #44: Haunty Halls Galaxy | !colspan=3 style="background:#3AFF30; font-size:13px; color:black"|Green Star #44: Haunty Halls Galaxy | ||
|- | |- | ||
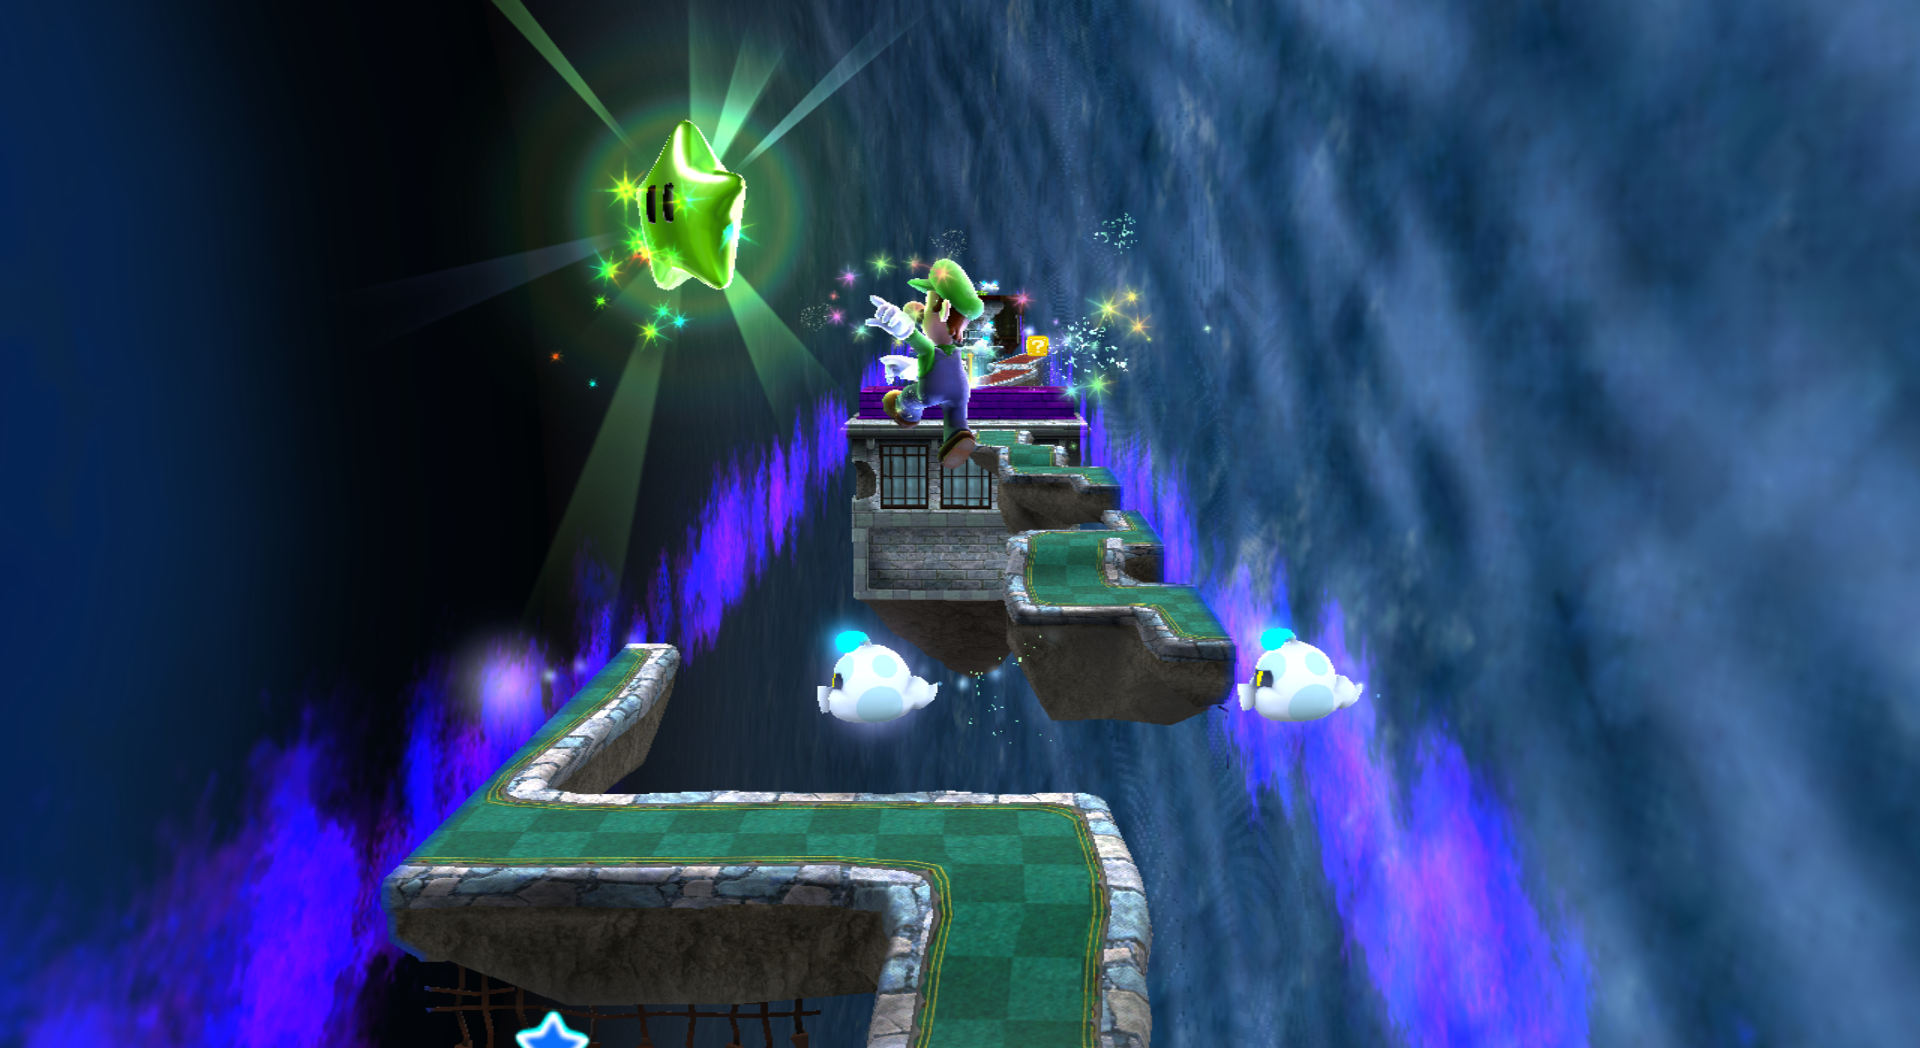
| [[File: | | [[File:SMG2_Haunty_Halls_Green_Star_2.png|frame|center|In the area where there's anti-matter making a long corridor with moving platforms, you will have to line up a Triple Jump to reach the star. You can also use a well-timed backwards somersault.]] | ||
|} | |} | ||
{|class="mw-collapsible mw-collapsed" width=100% | {|class="mw-collapsible mw-collapsed" width=100% | ||
!colspan=3 style="background:#3AFF30; font-size:13px; color:black"|Green Star #45: Haunty Halls Galaxy | !colspan=3 style="background:#3AFF30; font-size:13px; color:black"|Green Star #45: Haunty Halls Galaxy | ||
|- | |- | ||
| [[File: | | [[File:SMG2_Haunty_Halls_Green_Star_3.png|frame|center|When being chased by the [[Boos]], the Green Star will be in the center of the hallway. Use a carefully timed backwards somersault or Triple Jump to reach it.]] | ||
|} | |} | ||
{|class="mw-collapsible mw-collapsed" width=100% | {|class="mw-collapsible mw-collapsed" width=100% | ||
!colspan=3 style="background:#32ED11; font-size:13px; color:black"|Green Star #46: Freezy Flake Galaxy | !colspan=3 style="background:#32ED11; font-size:13px; color:black"|Green Star #46: Freezy Flake Galaxy | ||
|- | |- | ||
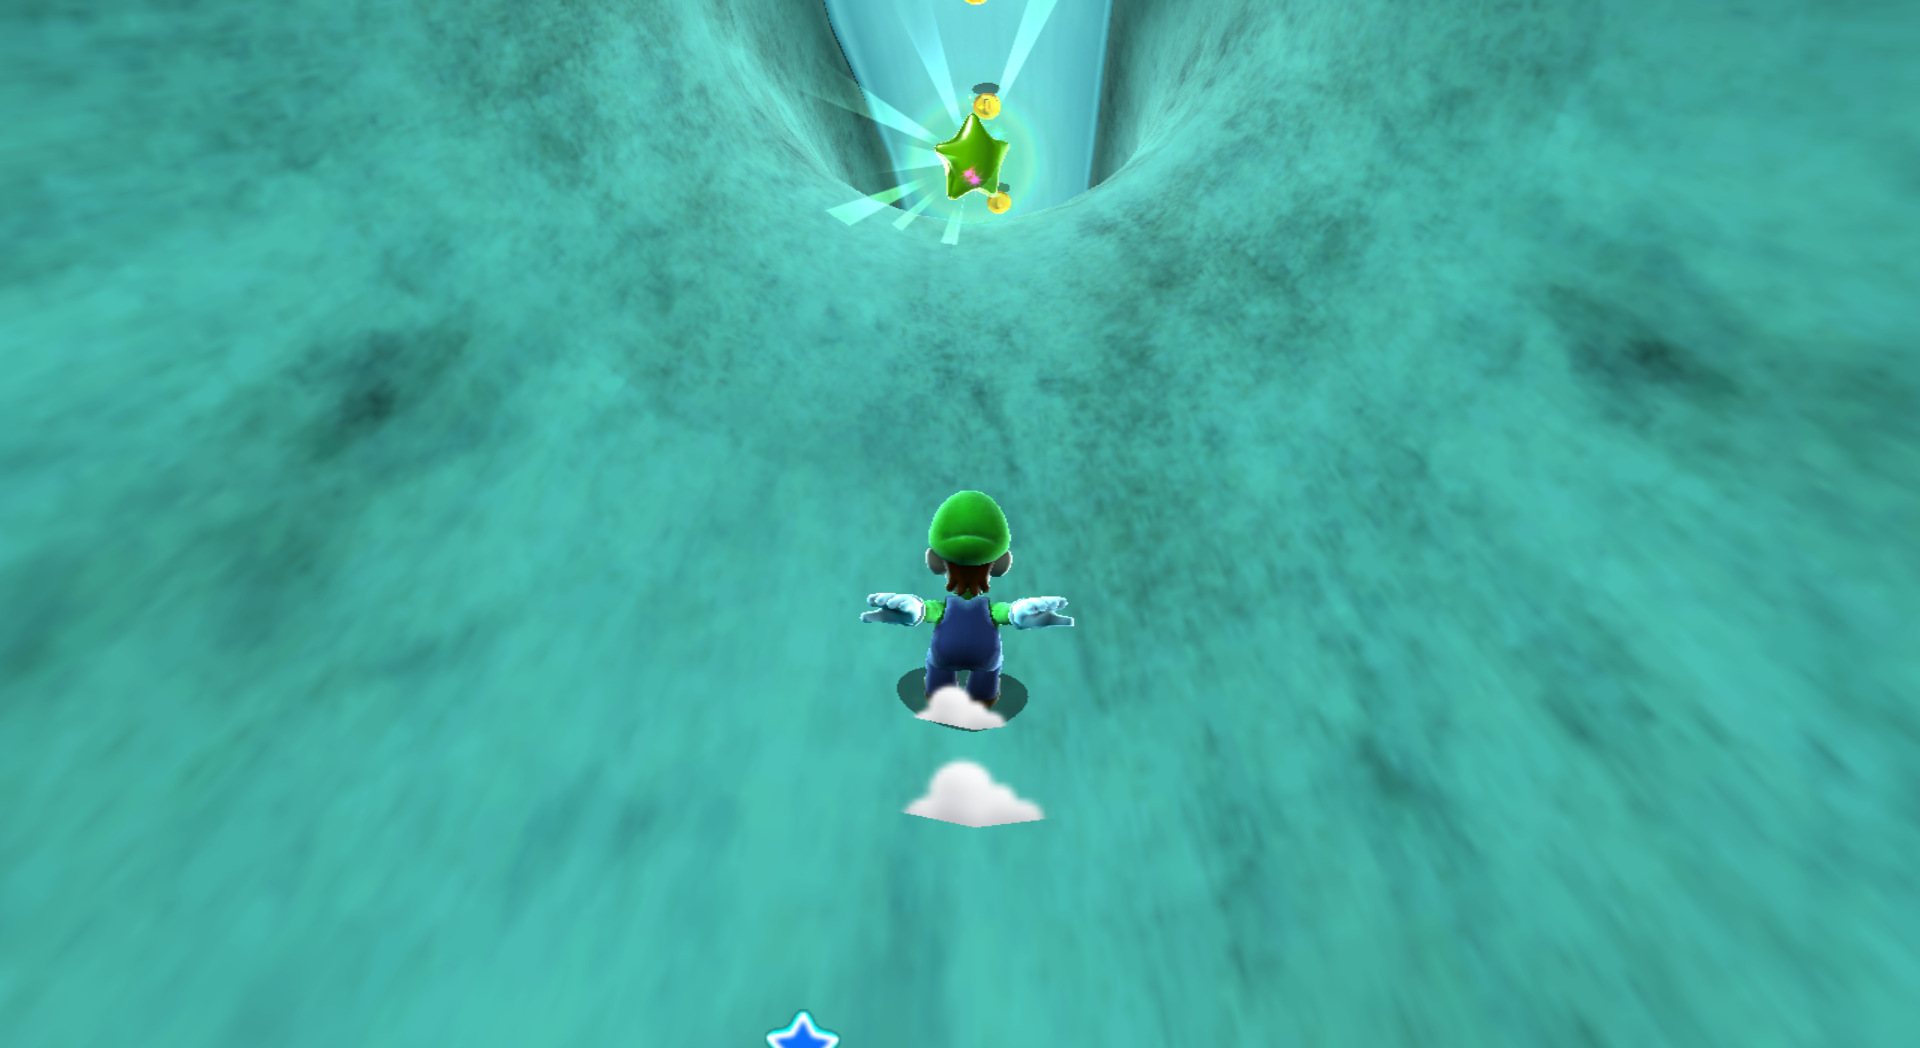
| [[File: | | [[File:SMG2 Freezy Flake Green Star 1.png|frame|center|When entering the ice tunnel to slide, the Green Star will show up very quickly. Line up your angle and jump to reach it.]] | ||
|} | |} | ||
{|class="mw-collapsible mw-collapsed" width=100% | {|class="mw-collapsible mw-collapsed" width=100% | ||
!colspan=3 style="background:#32ED11; font-size:13px; color:black"|Green Star #47: Freezy Flake Galaxy | !colspan=3 style="background:#32ED11; font-size:13px; color:black"|Green Star #47: Freezy Flake Galaxy | ||
|- | |- | ||
| [[File: | | [[File:SMG2 Freezy Flake Green Star 2.png|frame|center|On the lava planet where the large [[Bowser]] ice sculpture is, to the southwest of the statue lies the Green Star. Unfortunately, the camera angle is pretty bad, and since you don't have much of a sight available, you'll have to make a risky leap-of-faith.]] | ||
|} | |} | ||
{|class="mw-collapsible mw-collapsed" width=100% | {|class="mw-collapsible mw-collapsed" width=100% | ||
!colspan=3 style="background:#32ED11; font-size:13px; color:black"|Green Star #48: Freezy Flake Galaxy | !colspan=3 style="background:#32ED11; font-size:13px; color:black"|Green Star #48: Freezy Flake Galaxy | ||
|- | |- | ||
| [[File: | | [[File:SMG2 Freezy Flake Green Star 3.png|frame|center|On the Blizzard Planet, you'll have to go by the bunny, and jump off the platform to land on another star-shaped platform with snow on it. The Green Star is in plain sight there.]] | ||
|} | |} | ||
{|class="mw-collapsible mw-collapsed" width=100% | {|class="mw-collapsible mw-collapsed" width=100% | ||
| Line 261: | Line 261: | ||
!colspan=3 style="background:#16B85C; font-size:13px; color:black"|Green Star #51: Beat Block Galaxy | !colspan=3 style="background:#16B85C; font-size:13px; color:black"|Green Star #51: Beat Block Galaxy | ||
|- | |- | ||
| [[File: | | [[File:SMG2 Beat Block Green Star 1.png|frame|center|When you get to the purple platforms that are connecting two series of moving platforms, the star is in the top left corner in the air. You'll have to do a backwards somersault and spin to get it.]] | ||
|} | |} | ||
{|class="mw-collapsible mw-collapsed" width=100% | {|class="mw-collapsible mw-collapsed" width=100% | ||
!colspan=3 style="background:#16B85C; font-size:13px; color:black"|Green Star #52: Beat Block Galaxy | !colspan=3 style="background:#16B85C; font-size:13px; color:black"|Green Star #52: Beat Block Galaxy | ||
|- | |- | ||
| [[File: | | [[File:SMG2 Beat Block Green Star 2.png|frame|center|To the right of the moving blocks that form a staircase-like structure. Head all the way right on the yellow block, and do a backwards somersault with a spin combo to get it.]] | ||
|} | |} | ||
{|class="mw-collapsible mw-collapsed" width=100% | {|class="mw-collapsible mw-collapsed" width=100% | ||
!colspan=3 style="background:#33AD1D; font-size:13px; color:black"|Green Star #53: Bowser Jr.'s Fearsome Fleet | !colspan=3 style="background:#33AD1D; font-size:13px; color:black"|Green Star #53: Bowser Jr.'s Fearsome Fleet | ||
|- | |- | ||
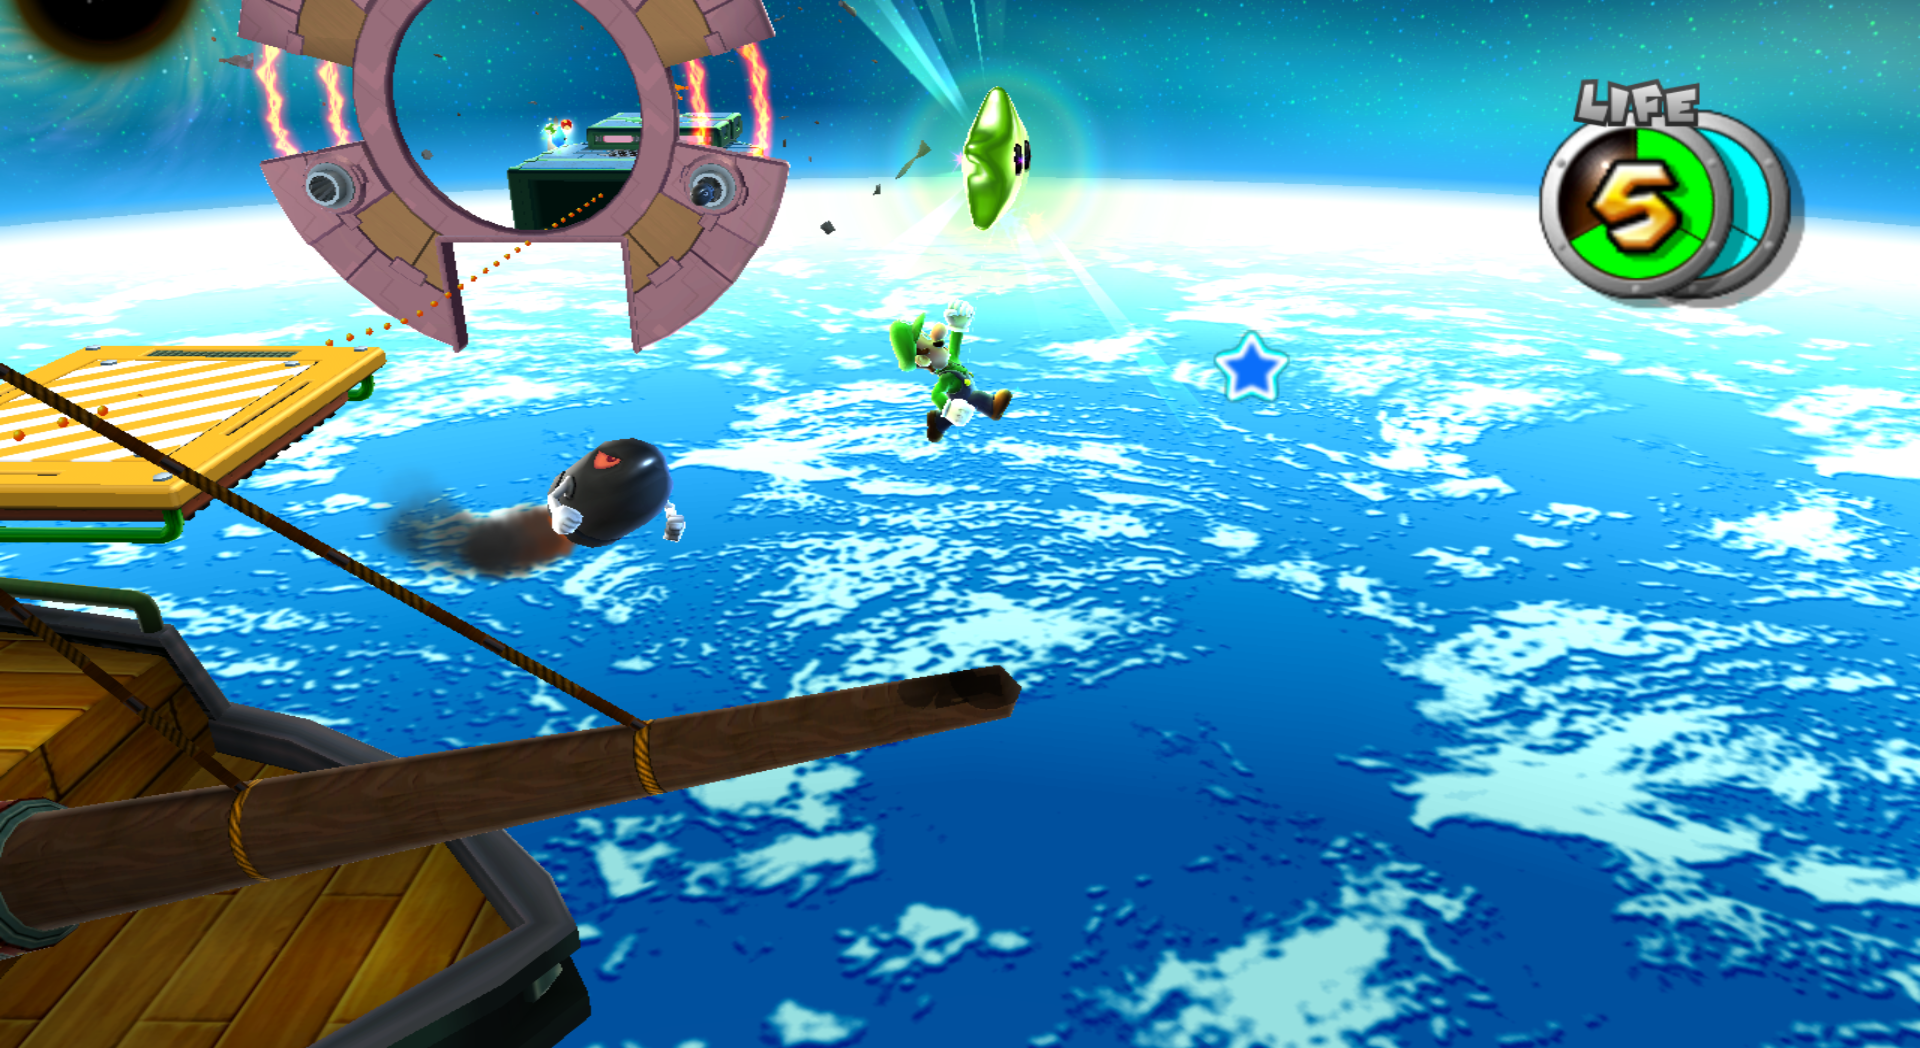
| [[File: | | [[File:SMG2 Fearsome Fleet Green Star 1.png|frame|center|When riding the yellow moving platform, the Green Star is behind the [[Undergrunt Gunner]] that is all the way to the right. Use Yoshi to eat [[Bullet Bill|Bullet Bills]] to break it. Then jump over to it.]] | ||
|} | |} | ||
{|class="mw-collapsible mw-collapsed" width=100% | {|class="mw-collapsible mw-collapsed" width=100% | ||
!colspan=3 style="background:#33AD1D; font-size:13px; color:black"|Green Star #54: Bowser Jr.'s Fearsome Fleet | !colspan=3 style="background:#33AD1D; font-size:13px; color:black"|Green Star #54: Bowser Jr.'s Fearsome Fleet | ||
|- | |- | ||
| [[File: | | [[File:SMG2 Fearsome Fleet Green Star 2.png|frame|center|Also by the yellow moving platform, but instead you will have to jump on a nearby Airship, and walk towards the bow of the ship. Then you can jump up and get the star.]] | ||
|} | |} | ||
{|class="mw-collapsible mw-collapsed" width=100% | {|class="mw-collapsible mw-collapsed" width=100% | ||
!colspan=3 style="background:#5AFA92; font-size:13px; color:black"|Green Star #55: Supermassive Galaxy | !colspan=3 style="background:#5AFA92; font-size:13px; color:black"|Green Star #55: Supermassive Galaxy | ||
|- | |- | ||
| [[File: | | [[File:SMG2_Supermassive_Green_Star_1.png|frame|center|On the first planet, you'll have to do a Triple Jump off of a giant coin in order to reach the star.]] | ||
|} | |} | ||
{|class="mw-collapsible mw-collapsed" width=100% | {|class="mw-collapsible mw-collapsed" width=100% | ||
!colspan=3 style="background:#5AFA92; font-size:13px; color:black"|Green Star #56: Supermassive Galaxy | !colspan=3 style="background:#5AFA92; font-size:13px; color:black"|Green Star #56: Supermassive Galaxy | ||
|- | |- | ||
| [[File: | | [[File:SMG2_Supermassive_Green_Star_2.png|frame|center|Where the series of Thwomps are, in the second bottomless pit where the bricks are, the Green Star is there. This is another one of those leap-to-your-death or get the star kind of stars.]] | ||
|} | |} | ||
{|class="mw-collapsible mw-collapsed" width=100% | {|class="mw-collapsible mw-collapsed" width=100% | ||
!colspan=3 style="background:#5AFA92; font-size:13px; color:black"|Green Star #57: Supermassive Galaxy | !colspan=3 style="background:#5AFA92; font-size:13px; color:black"|Green Star #57: Supermassive Galaxy | ||
|- | |- | ||
| [[File: | | [[File:SMG2_Supermassive_Green_Star_3.png|frame|center|On the planet that is just a circle with giant [[Koopa Troopa|Koopa Troopas]], you'll be able to backwards somersault and spin to get the star.]] | ||
|} | |} | ||
{|class="mw-collapsible mw-collapsed" width=100% | {|class="mw-collapsible mw-collapsed" width=100% | ||
!colspan=3 style="background:#07F06C; font-size:13px; color:black"|Green Star #58: Flipsville Galaxy | !colspan=3 style="background:#07F06C; font-size:13px; color:black"|Green Star #58: Flipsville Galaxy | ||
|- | |- | ||
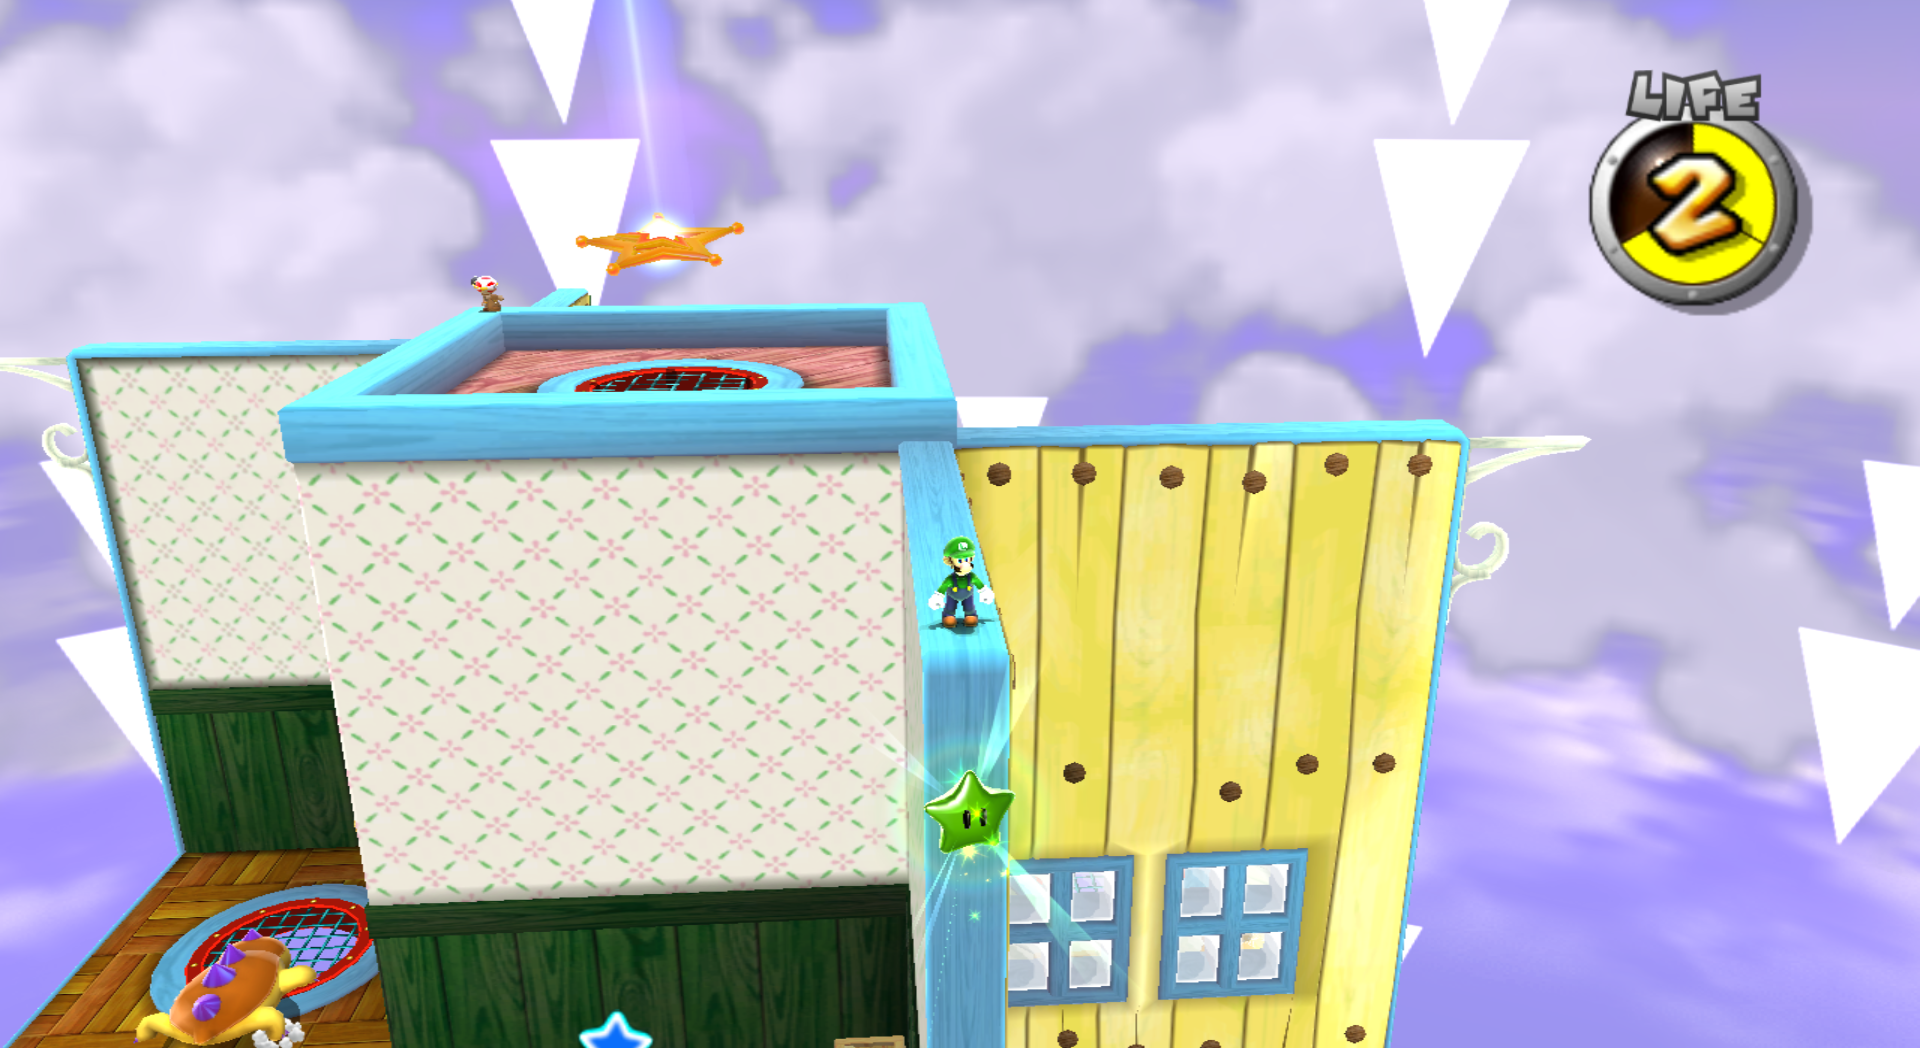
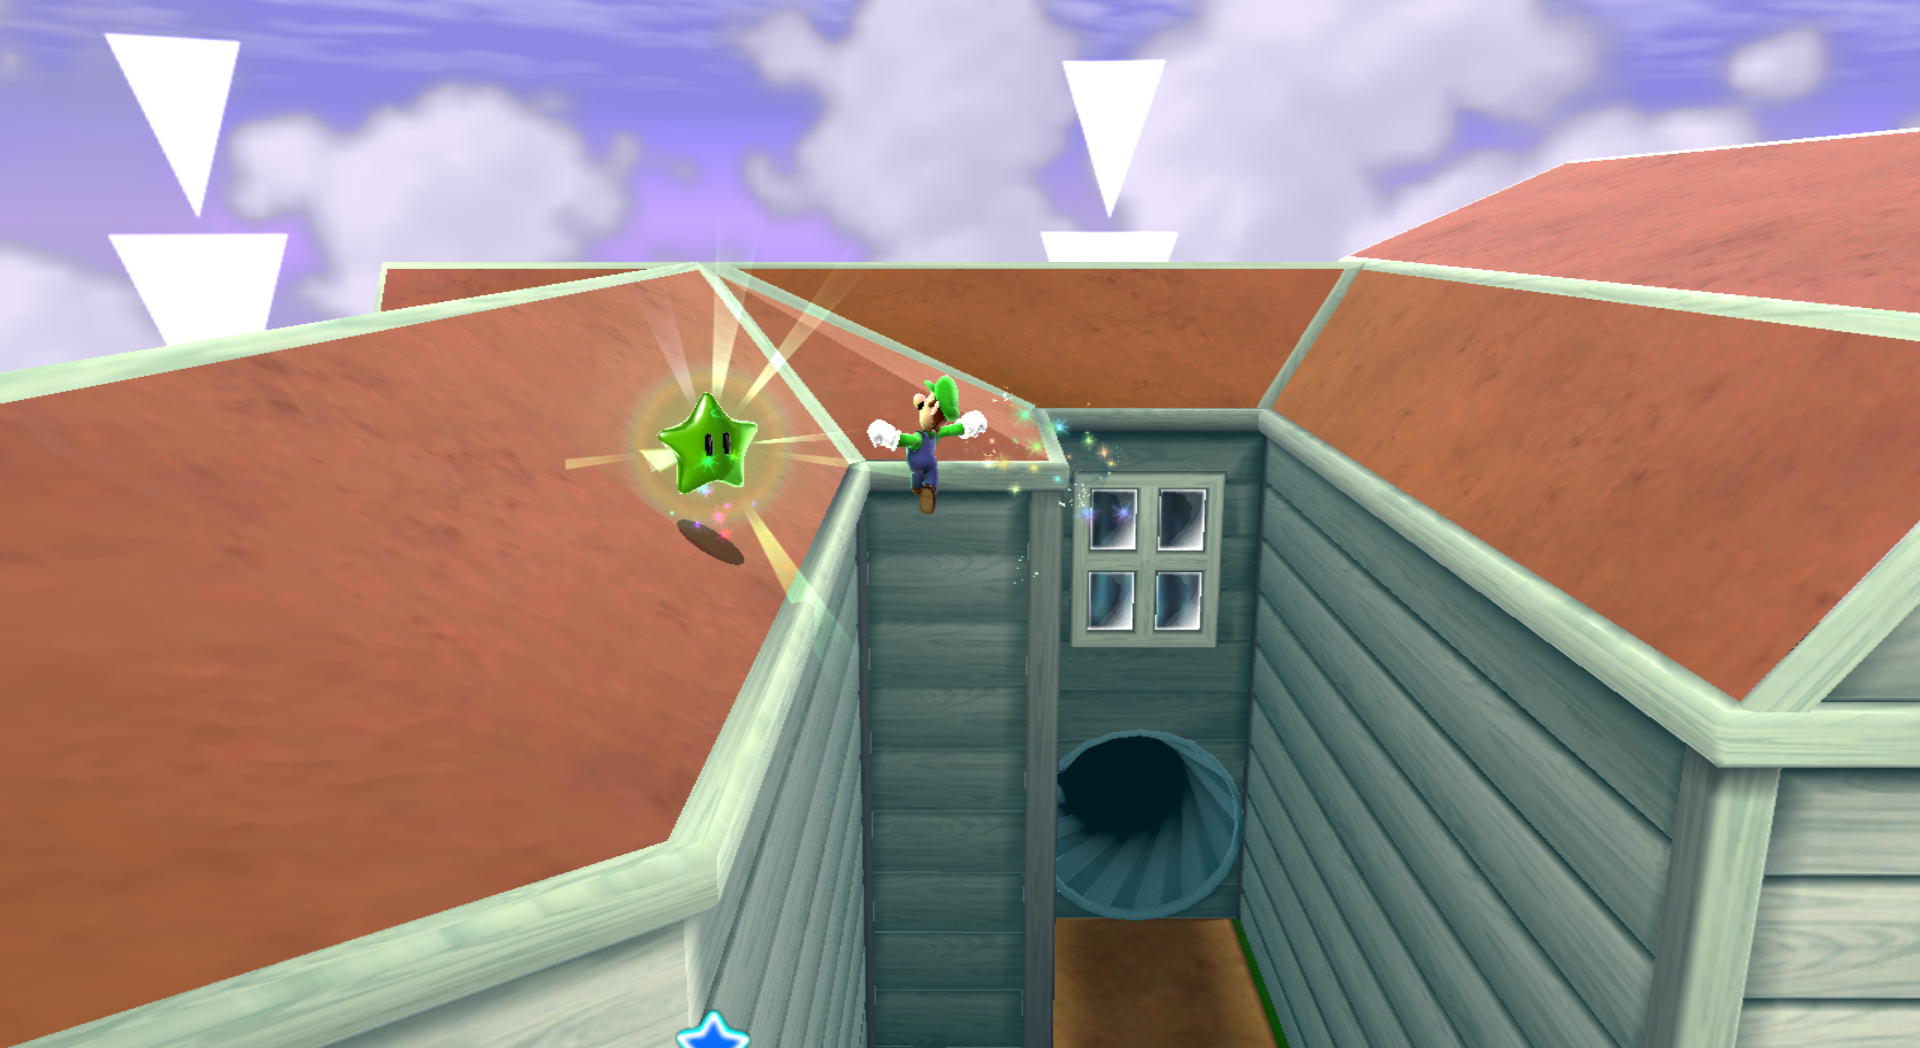
| [[File: | | [[File:SMG2_Flipsville_Green_Star_1.png|frame|center|When you get to the top of the Inner House planet by the Launch Star, walk along the blue lined roof, the Green Star is nearby.]] | ||
|} | |} | ||
{|class="mw-collapsible mw-collapsed" width=100% | {|class="mw-collapsible mw-collapsed" width=100% | ||
!colspan=3 style="background:#07F06C; font-size:13px; color:black"|Green Star #59: Flipsville Galaxy | !colspan=3 style="background:#07F06C; font-size:13px; color:black"|Green Star #59: Flipsville Galaxy | ||
|- | |- | ||
| [[File: | | [[File:SMG2_Flipsville_Green_Star_2.png|frame|center|In the Outer House planet, in front of where the Chomp will spawn, the Green Star is on the roof. You'll have to do some clever jump tricks to gain as much height as possible and get the star.]] | ||
|} | |} | ||
{|class="mw-collapsible mw-collapsed" width=100% | {|class="mw-collapsible mw-collapsed" width=100% | ||
!colspan=3 style="background:#07F06C; font-size:13px; color:black"|Green Star #60: Flipsville Galaxy | !colspan=3 style="background:#07F06C; font-size:13px; color:black"|Green Star #60: Flipsville Galaxy | ||
|- | |- | ||
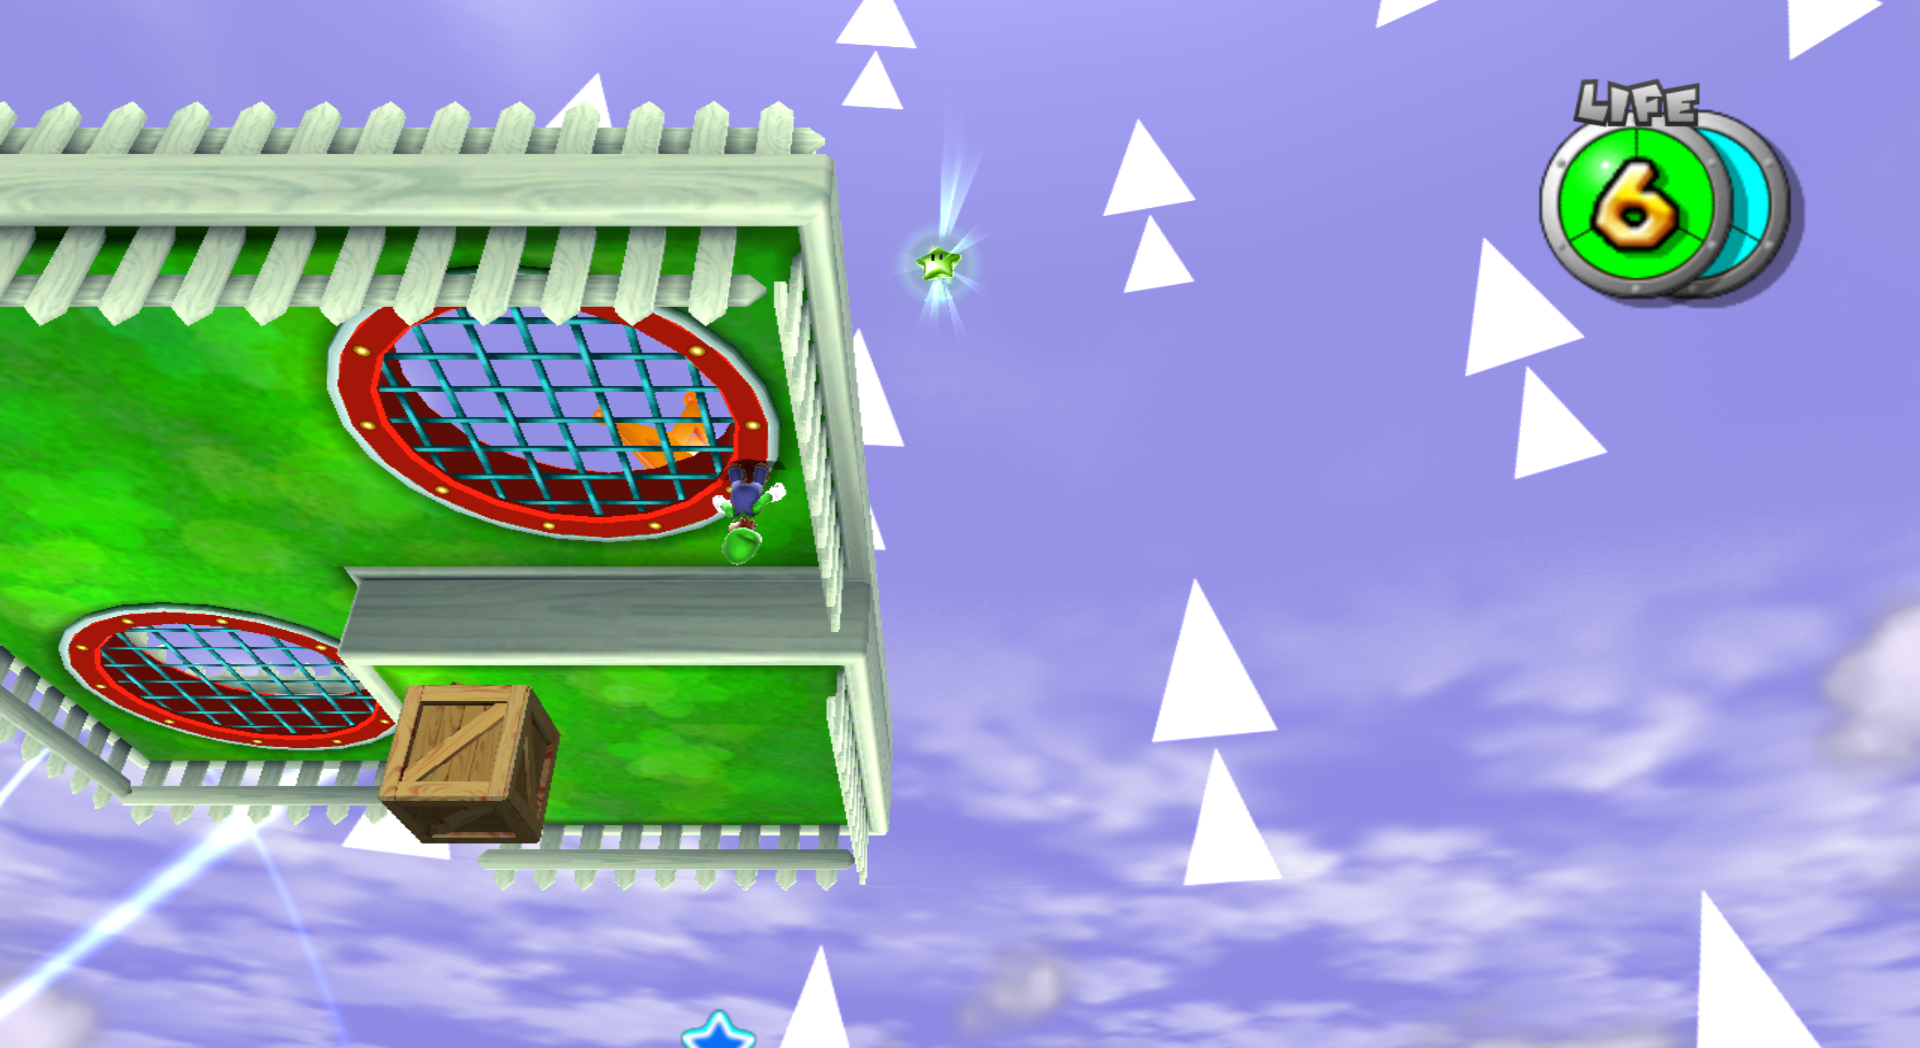
| [[File: | | [[File:SMG2_Flipsville_Green_Star_3.png|frame|center|When you get to the end of the moving platforms after the checkpoint where you need to flip the grates to avoid spikes, the Green Star is close. You will need to flip gravity so it's moving upwards, and then jump off the edge to get the star. This Green Star in particular is one of the worst ones ever, because if you miss you die.]] | ||
|} | |} | ||
{|class="mw-collapsible mw-collapsed" width=100% | {|class="mw-collapsible mw-collapsed" width=100% | ||
!colspan=3 style="background:#3AFF30; font-size:13px; color:black"|Green Star #61: Starshine Beach Galaxy | !colspan=3 style="background:#3AFF30; font-size:13px; color:black"|Green Star #61: Starshine Beach Galaxy | ||
|- | |- | ||
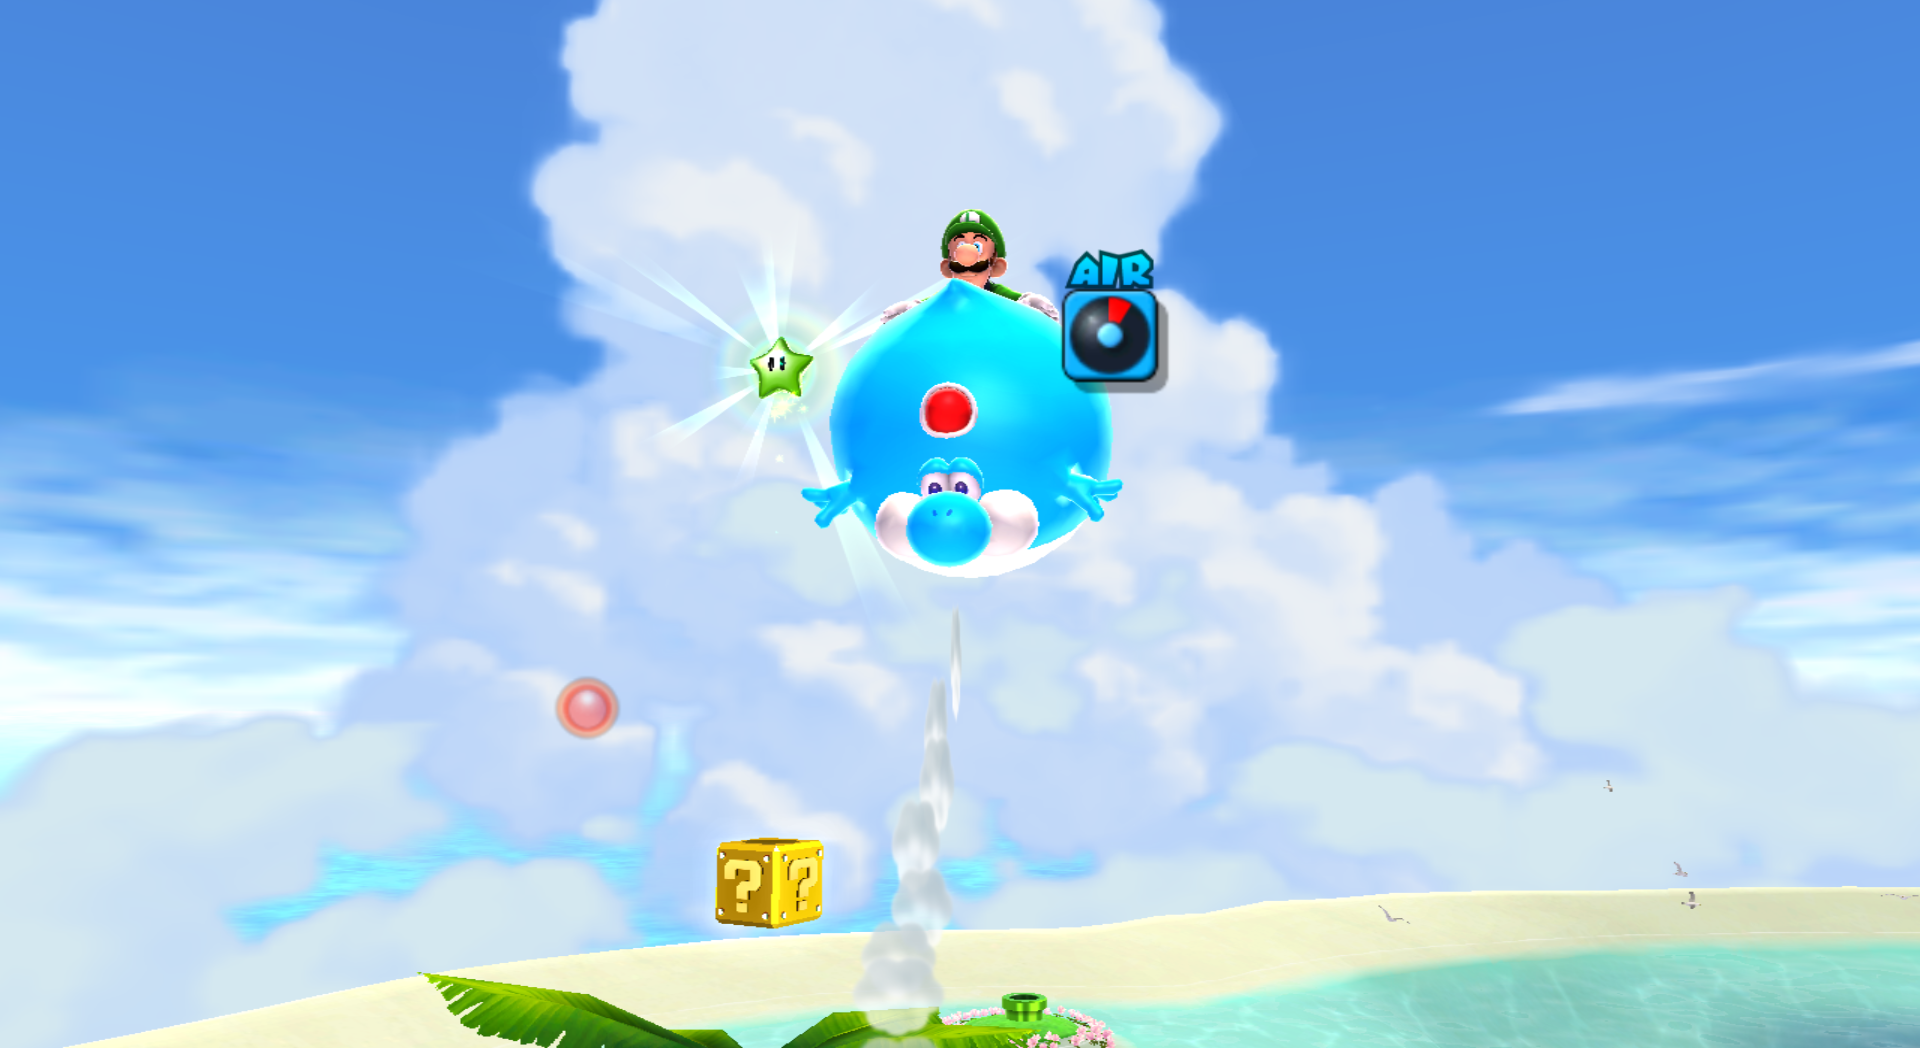
| [[File: | | [[File:SMG2_Starshine_Beach_Green_Star_1.png|frame|center|Above a ? Block that in itself is on top of a palm tree near a buoy. You will need to use Yoshi and a Blimp Fruit in order to reach it. Alternatively, you could sacrifice Yoshi to get extra height and reach it.]] | ||
|} | |} | ||
{|class="mw-collapsible mw-collapsed" width=100% | {|class="mw-collapsible mw-collapsed" width=100% | ||
!colspan=3 style="background:#3AFF30; font-size:13px; color:black"|Green Star #62: Starshine Beach Galaxy | !colspan=3 style="background:#3AFF30; font-size:13px; color:black"|Green Star #62: Starshine Beach Galaxy | ||
|- | |- | ||
| [[File: | | [[File:SMG2_Starshine_Beach_Green_Star_2.png|frame|center|Near where the Cloud Flower switch is. You will have to use Yoshi to eat a Dash Pepper, line up an angle to run at the Green Star, then do a flutter jump and somersault off of Yoshi. It's all in the timing for this Green Star.]] | ||
|} | |} | ||
{|class="mw-collapsible mw-collapsed" width=100% | {|class="mw-collapsible mw-collapsed" width=100% | ||
!colspan=3 style="background:#3AFF30; font-size:13px; color:black"|Green Star #63: Starshine Beach Galaxy | !colspan=3 style="background:#3AFF30; font-size:13px; color:black"|Green Star #63: Starshine Beach Galaxy | ||
|- | |- | ||
| [[File: | | [[File:SMG2_Starshine_Beach_Green_Star_3.png|frame|center|You will need to grab a Cloud Flower, then ride a [[Leaf Raft]] over to the floating trampoline object in the water. Carefully turn the object so the highest point is up. Then, do a series of backwards somersaults with the Cloud Flower in order to gain height and grab the star.]] | ||
|} | |} | ||
{|class="mw-collapsible mw-collapsed" width=100% | {|class="mw-collapsible mw-collapsed" width=100% | ||
!colspan=3 style="background:#32ED11; font-size:13px; color:black"|Green Star #64: Chompworks Galaxy | !colspan=3 style="background:#32ED11; font-size:13px; color:black"|Green Star #64: Chompworks Galaxy | ||
|- | |- | ||
| [[File: | | [[File:SMG2 Chompworks Green Star 1.png|frame|center|On the starting planet, make your way to where the Chomps are spawning without the [[Spring Mushroom]]. You'll have to do backwards somersault to jump over the Chomps along the way. When you get to the spawn point, Long Jump out towards the Green Star.]] | ||
|} | |} | ||
{|class="mw-collapsible mw-collapsed" width=100% | {|class="mw-collapsible mw-collapsed" width=100% | ||
!colspan=3 style="background:#32ED11; font-size:13px; color:black"|Green Star #65: Chompworks Galaxy | !colspan=3 style="background:#32ED11; font-size:13px; color:black"|Green Star #65: Chompworks Galaxy | ||
|- | |- | ||
| [[File: | | [[File:SMG2 Chompworks Green Star 2.png|frame|center|On the planet with the flipping platforms, perform a series of wall jumps and backwards somersaults to get on top of the building where the Chomps can be seen rolling inside. You can use the platform next to the switch by some flipping platforms. When you are on the roof, walk all the way to the right and claim the Green Star.]] | ||
|} | |} | ||
{|class="mw-collapsible mw-collapsed" width=100% | {|class="mw-collapsible mw-collapsed" width=100% | ||
!colspan=3 style="background:#32ED11; font-size:13px; color:black"|Green Star #66: Chompworks Galaxy | !colspan=3 style="background:#32ED11; font-size:13px; color:black"|Green Star #66: Chompworks Galaxy | ||
|- | |- | ||
| [[File: | | [[File:SMG2 Chompworks Green Star 3.png|frame|center|You'll have to use the Spring Mushroom to climb up a series of platforms. To the right you will see a cone-shaped structure. Use the spring power-up to try and make your way to the top of the roof of this structure, and jump to reach for the star.]] | ||
|} | |} | ||
{|class="mw-collapsible mw-collapsed" width=100% | {|class="mw-collapsible mw-collapsed" width=100% | ||
!colspan=3 style="background:#0BD64B; font-size:13px; color:black"|Green Star #67: Sweet Mystery Galaxy | !colspan=3 style="background:#0BD64B; font-size:13px; color:black"|Green Star #67: Sweet Mystery Galaxy | ||
|- | |- | ||
| [[File: | | [[File:SMG2_Sweet_Mystery_Green_Star_1.png|frame|center|After a checkpoint, the Green Star can be seen in the distance. To get it, you'll need to get a [[Bulb Berry]] with Yoshi, then walk over above it. Then, wait for the effects to wear off so you can grab it.]] | ||
|} | |} | ||
{|class="mw-collapsible mw-collapsed" width=100% | {|class="mw-collapsible mw-collapsed" width=100% | ||
!colspan=3 style="background:#0BD64B; font-size:13px; color:black"|Green Star #68: Sweet Mystery Galaxy | !colspan=3 style="background:#0BD64B; font-size:13px; color:black"|Green Star #68: Sweet Mystery Galaxy | ||
|- | |- | ||
| [[File: | | [[File:SMG2_Sweet_Mystery_Green_Star_2.png|frame|center|To the right of where the Comet Medal was. Flutter jump to reach the Green Star.]] | ||
|} | |} | ||
{|class="mw-collapsible mw-collapsed" width=100% | {|class="mw-collapsible mw-collapsed" width=100% | ||
| Line 371: | Line 371: | ||
!colspan=3 style="background:#5AFA92; font-size:13px; color:black"|Green Star #73: Space Storm Galaxy | !colspan=3 style="background:#5AFA92; font-size:13px; color:black"|Green Star #73: Space Storm Galaxy | ||
|- | |- | ||
| [[File: | | [[File:SMG2_Space_Storm_Green_Star_1.png|frame|center|On the starting series of planetoids, use the [[Pull Star|Pull Stars]] to pull yourself past the Launch Star and grab the Green Star.]] | ||
|} | |} | ||
{|class="mw-collapsible mw-collapsed" width=100% | {|class="mw-collapsible mw-collapsed" width=100% | ||
!colspan=3 style="background:#5AFA92; font-size:13px; color:black"|Green Star #74: Space Storm Galaxy | !colspan=3 style="background:#5AFA92; font-size:13px; color:black"|Green Star #74: Space Storm Galaxy | ||
|- | |- | ||
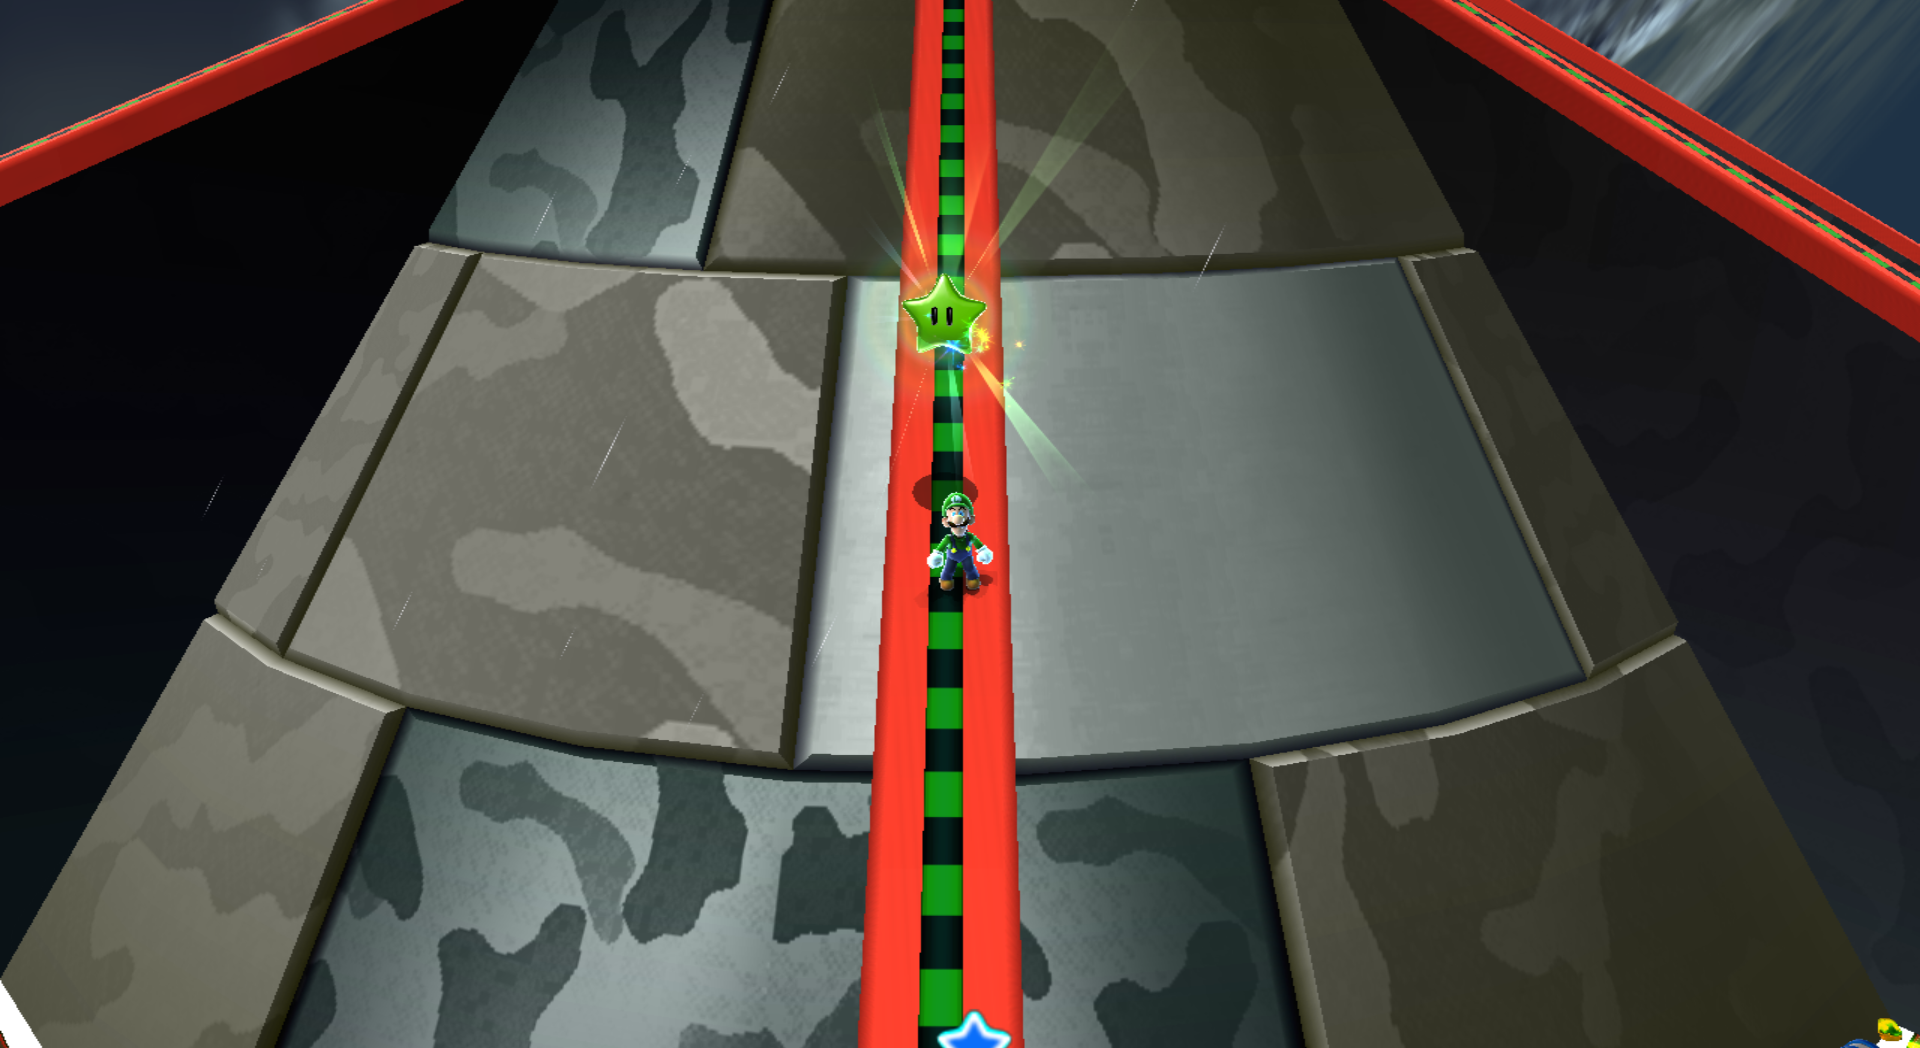
| [[File: | | [[File:SMG2_Space_Storm_Green_Star_2.png|frame|center|On the Topman Tower, hit the switch and move past the first Thwomp. Then, you'll have to jump on a red and black platform with some neon-green. You'll have to walk down along it, and make sure to jump over the electricity to reach the platform. The Green Star will await you at the end.]] | ||
|} | |} | ||
{|class="mw-collapsible mw-collapsed" width=100% | {|class="mw-collapsible mw-collapsed" width=100% | ||
!colspan=3 style="background:#5AFA92; font-size:13px; color:black"|Green Star #75: Space Storm Galaxy | !colspan=3 style="background:#5AFA92; font-size:13px; color:black"|Green Star #75: Space Storm Galaxy | ||
|- | |- | ||
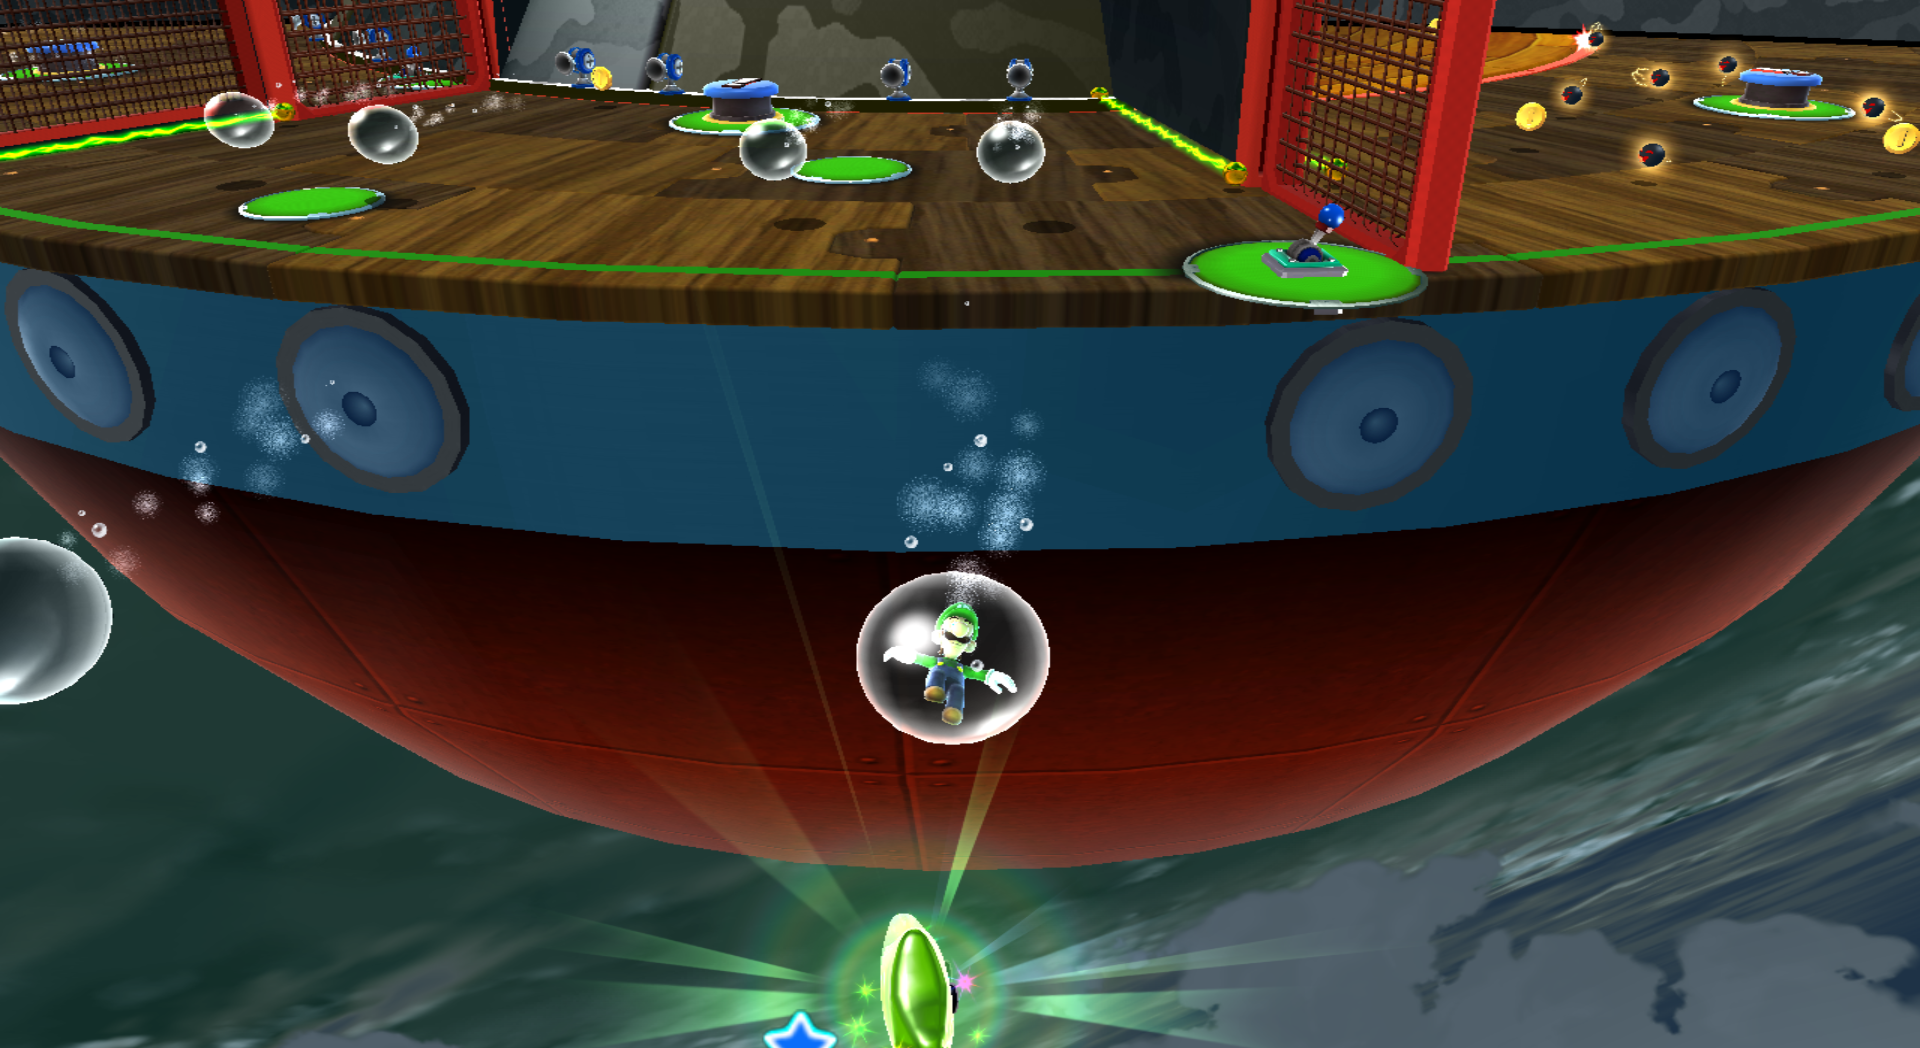
| [[File: | | [[File:SMG2_Space_Storm_Green_Star_3.png|frame|center|On the Topman Tower, hit the lever to open the first gate. Then make your way to the water shooter on the far right. Let yourself get hit in a bubble and it will push you into the star.]] | ||
|} | |} | ||
{|class="mw-collapsible mw-collapsed" width=100% | {|class="mw-collapsible mw-collapsed" width=100% | ||
!colspan=3 style="background:#07F06C; font-size:13px; color:black"|Green Star #76: Slipsand Galaxy | !colspan=3 style="background:#07F06C; font-size:13px; color:black"|Green Star #76: Slipsand Galaxy | ||
|- | |- | ||
| [[File: | | [[File:SMG2_Slipsand_Green_Star_1.png|frame|center|When you get to the checkpoint flag at the top of the sand waterfall by a Launch Star, you'll have to jump off and slide down the sandy waterfall. The Green Star is in the air there.]] | ||
|} | |} | ||
{|class="mw-collapsible mw-collapsed" width=100% | {|class="mw-collapsible mw-collapsed" width=100% | ||
!colspan=3 style="background:#07F06C; font-size:13px; color:black"|Green Star #77: Slipsand Galaxy | !colspan=3 style="background:#07F06C; font-size:13px; color:black"|Green Star #77: Slipsand Galaxy | ||
|- | |- | ||
| [[File: | | [[File:SMG2_Slipsand_Green_Star_2.png|frame|center|On the large slide. As soon as you land on the slide, you should immediately move to the far left as the star is right there.]] | ||
|} | |} | ||
{|class="mw-collapsible mw-collapsed" width=100% | {|class="mw-collapsible mw-collapsed" width=100% | ||
!colspan=3 style="background:#07F06C; font-size:13px; color:black"|Green Star #78: Slipsand Galaxy | !colspan=3 style="background:#07F06C; font-size:13px; color:black"|Green Star #78: Slipsand Galaxy | ||
|- | |- | ||
| [[File: | | [[File:SMG2_Slipsand_Green_Star_3.png|frame|center|Also on the slide. After avoiding the [[Rhomp|Rhomps]] you should slide all the way to the right as the star will be right there.]] | ||
|} | |} | ||
{|class="mw-collapsible mw-collapsed" width=100% | {|class="mw-collapsible mw-collapsed" width=100% | ||
!colspan=3 style="background:#3AFF30; font-size:13px; color:black"|Green Star #79: Shiverburn Galaxy | !colspan=3 style="background:#3AFF30; font-size:13px; color:black"|Green Star #79: Shiverburn Galaxy | ||
|- | |- | ||
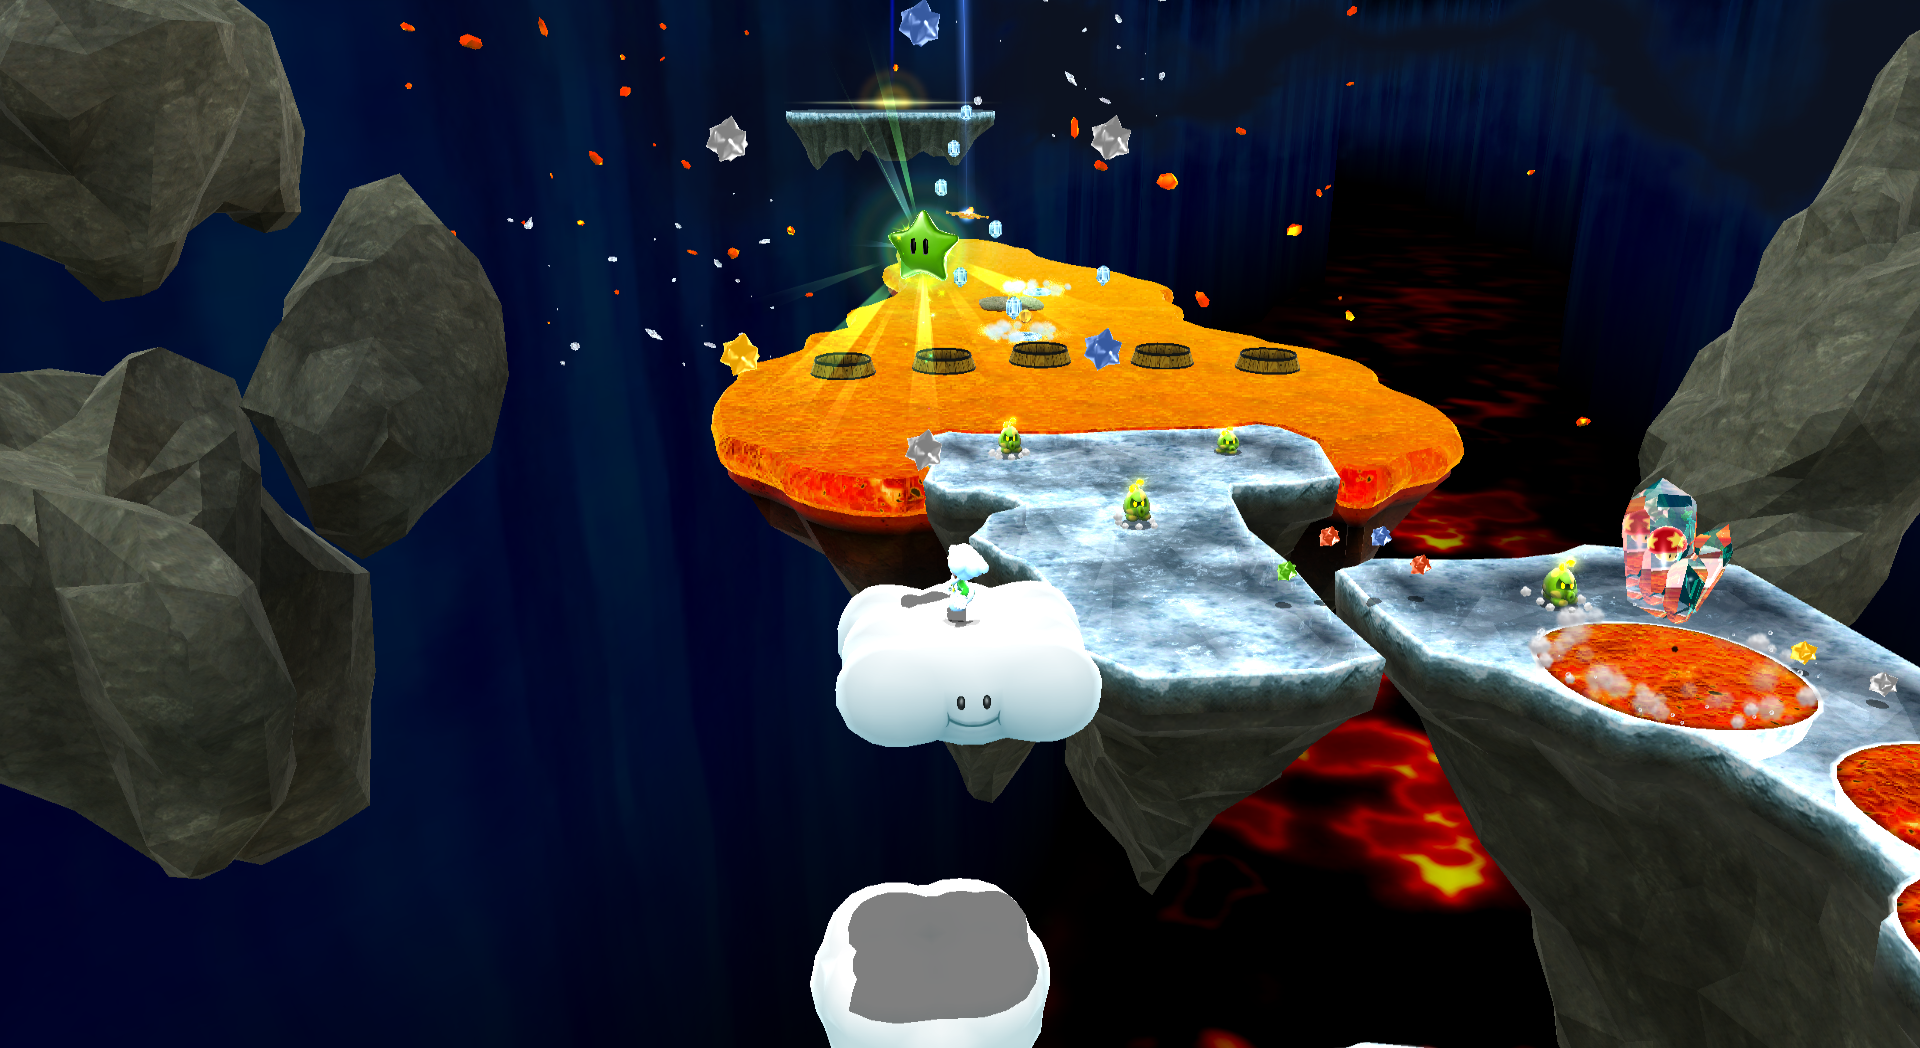
| [[File: | | [[File:SMG2_Shiverburn_Green_Star_1.png|frame|center|In the volcano on the first planet. Change the planet to ice, then grab a Cloud Flower. From there, perform several Long Jumps in order to make it to the volcano.]] | ||
|} | |} | ||
{|class="mw-collapsible mw-collapsed" width=100% | {|class="mw-collapsible mw-collapsed" width=100% | ||
!colspan=3 style="background:#3AFF30; font-size:13px; color:black"|Green Star #80: Shiverburn Galaxy | !colspan=3 style="background:#3AFF30; font-size:13px; color:black"|Green Star #80: Shiverburn Galaxy | ||
|- | |- | ||
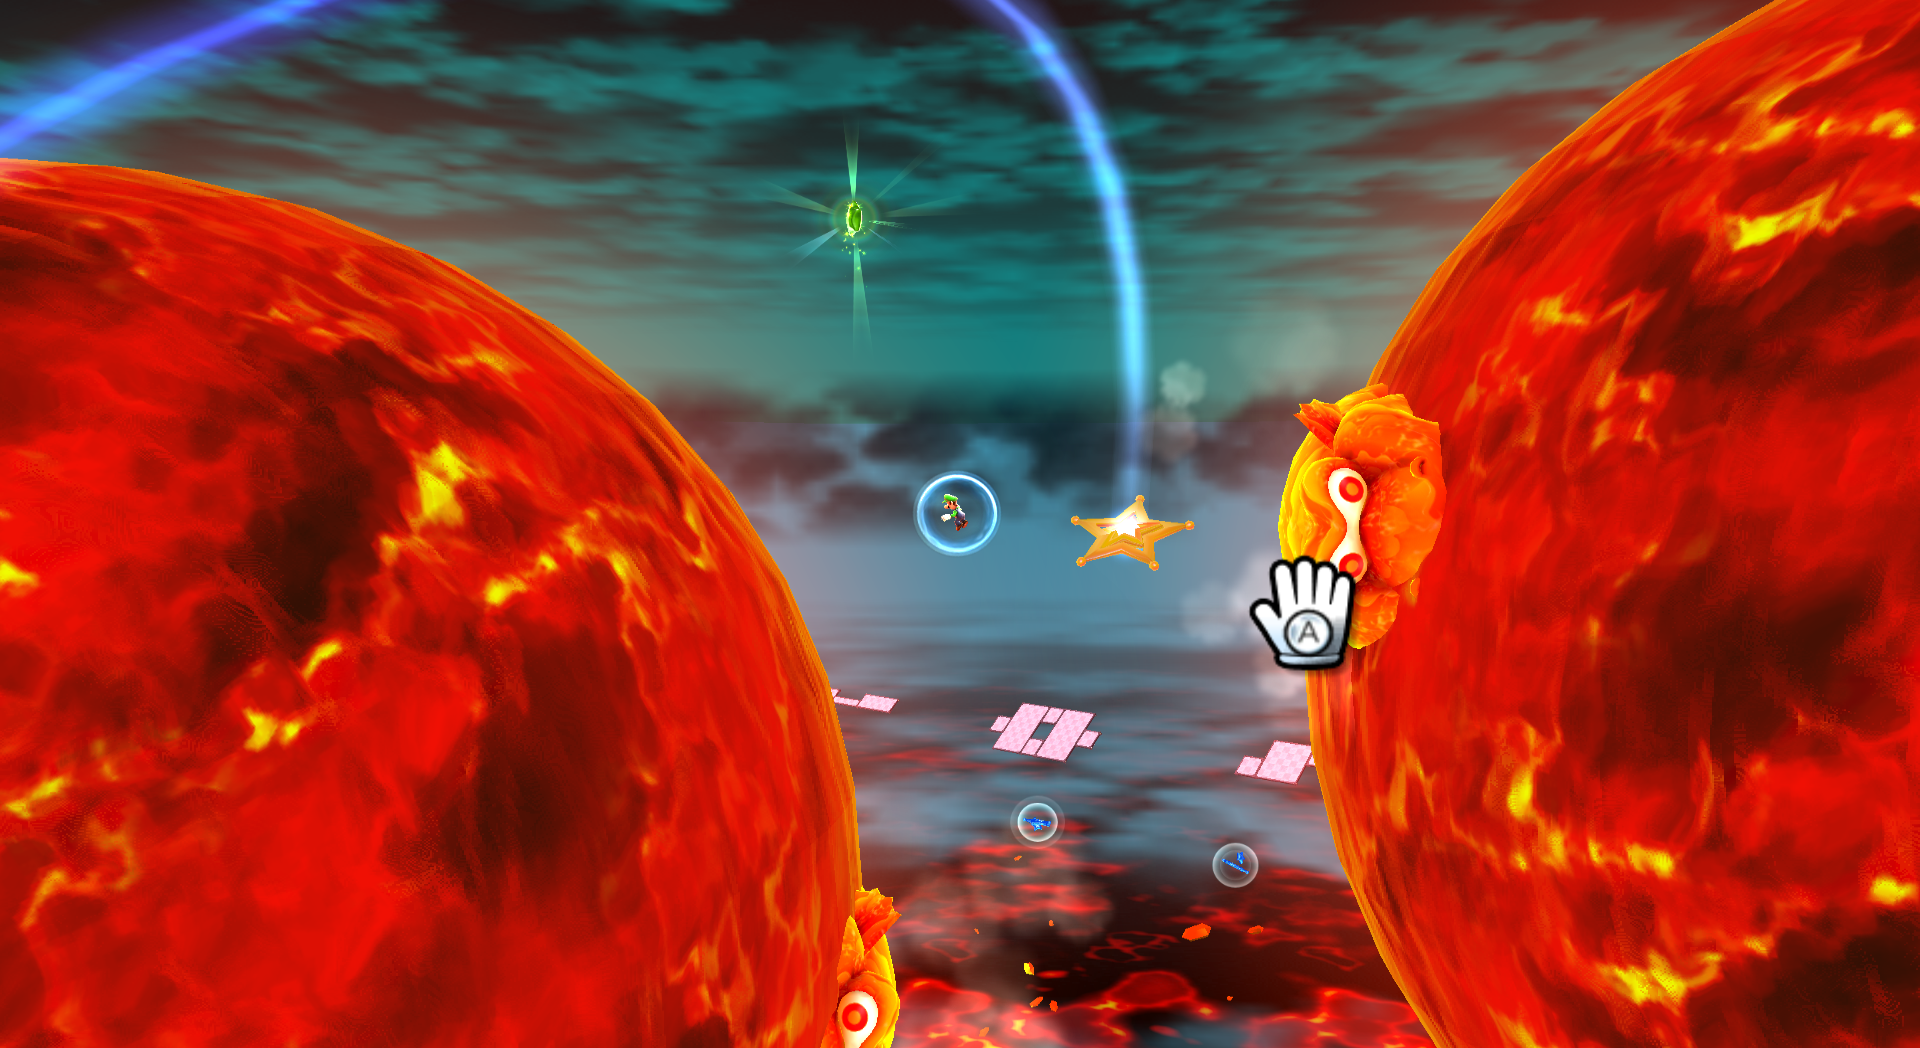
| [[File: | | [[File:SMG2_Shiverburn_Green_Star_2.png|frame|center|On the lava planet, there are several moving platforms. Move past the Launch Star, and to the right there is a Green Star. You will have to move against the flowing direction of the platforms. Time your jumps and be careful not to fall in the lava.]] | ||
|} | |} | ||
{|class="mw-collapsible mw-collapsed" width=100% | {|class="mw-collapsible mw-collapsed" width=100% | ||
!colspan=3 style="background:#3AFF30; font-size:13px; color:black"|Green Star #81: Shiverburn Galaxy | !colspan=3 style="background:#3AFF30; font-size:13px; color:black"|Green Star #81: Shiverburn Galaxy | ||
|- | |- | ||
| [[File: | | [[File:SMG2_Shiverburn_Green_Star_3.png|frame|center|On the last planet with ice and the falling meteorites that form lava. You'll actually have to bring a Cloud Flower with you from a previous planet in order to get the Green Star. When you have it, Long Jump to the cloud with a 1-Up Mushroom on it. Then gain height with a backwards somersault and use a cloud. The star will be in your grasp.]] | ||
|} | |} | ||
{|class="mw-collapsible mw-collapsed" width=100% | {|class="mw-collapsible mw-collapsed" width=100% | ||
| Line 441: | Line 441: | ||
!colspan=3 style="background:#16B85C; font-size:13px; color:black"|Green Star #87: Fleet Glide Galaxy | !colspan=3 style="background:#16B85C; font-size:13px; color:black"|Green Star #87: Fleet Glide Galaxy | ||
|- | |- | ||
| [[File: | | [[File:SMG2 Fleet Glide Green Star 1.png|frame|center|Immediately at the start, dive straight down full force. You'll run right into the star.]] | ||
|} | |} | ||
{|class="mw-collapsible mw-collapsed" width=100% | {|class="mw-collapsible mw-collapsed" width=100% | ||
!colspan=3 style="background:#16B85C; font-size:13px; color:black"|Green Star #88: Fleet Glide Galaxy | !colspan=3 style="background:#16B85C; font-size:13px; color:black"|Green Star #88: Fleet Glide Galaxy | ||
|- | |- | ||
| [[File: | | [[File:SMG2_Fleet_Glide_Green_Star_2.png|frame|center|Near the end of the galaxy there will be some falling purple pipe-like structures. Fly to the left and stay up. The Green Star is behind one of these falling pipes on the left side.]] | ||
|} | |} | ||
{|class="mw-collapsible mw-collapsed" width=100% | {|class="mw-collapsible mw-collapsed" width=100% | ||
| Line 491: | Line 491: | ||
!colspan=3 style="background:#3AFF30; font-size:13px; color:black"|Green Star #97: Throwback Galaxy | !colspan=3 style="background:#3AFF30; font-size:13px; color:black"|Green Star #97: Throwback Galaxy | ||
|- | |- | ||
| [[File: | | [[File:SMG2 Throwback Green Star 1.png|frame|center|At the moving platforms near the beginning of the level, you'll have to fall in the pit to get this star. They will be in the last pit near the neighboring Thwomp.]] | ||
|} | |} | ||
{|class="mw-collapsible mw-collapsed" width=100% | {|class="mw-collapsible mw-collapsed" width=100% | ||
!colspan=3 style="background:#3AFF30; font-size:13px; color:black"|Green Star #98: Throwback Galaxy | !colspan=3 style="background:#3AFF30; font-size:13px; color:black"|Green Star #98: Throwback Galaxy | ||
|- | |- | ||
| [[File: | | [[File:SMG2 Throwback Green Star 2.png|frame|center|At the top of the tower. You will have to jump on top of the Whomp, and then gain lots of height in order to reach the Star.]] | ||
|} | |} | ||
{|class="mw-collapsible mw-collapsed" width=100% | {|class="mw-collapsible mw-collapsed" width=100% | ||
!colspan=3 style="background:#3AFF30; font-size:13px; color:black"|Green Star #99: Throwback Galaxy | !colspan=3 style="background:#3AFF30; font-size:13px; color:black"|Green Star #99: Throwback Galaxy | ||
|- | |- | ||
| [[File: | | [[File:SMG2 Throwback Green Star 3.png|frame|center|Go to the clouds above the water area of the fortress. Make sure you have a Cloud Flower and all three clouds equipped. Make your way to the edge of the cloud platforms. The Green Star is way out there, you'll have to use the clouds and Long Jumps to get it.]] | ||
|} | |} | ||
{|class="mw-collapsible mw-collapsed" width=100% | {|class="mw-collapsible mw-collapsed" width=100% | ||
| Line 531: | Line 531: | ||
!colspan=3 style="background:#16B85C; font-size:13px; color:black"|Green Star #105: Slimy Spring Galaxy | !colspan=3 style="background:#16B85C; font-size:13px; color:black"|Green Star #105: Slimy Spring Galaxy | ||
|- | |- | ||
| [[File: | | [[File:SMG2 Slimy Spring Green Star 1.png|frame|center|Behind one of the left pillars in the second area of the first planet. It might be a good idea to keep an ear out for the jingle of the star to make it easy to identify.]] | ||
|} | |} | ||
{|class="mw-collapsible mw-collapsed" width=100% | {|class="mw-collapsible mw-collapsed" width=100% | ||
!colspan=3 style="background:#16B85C; font-size:13px; color:black"|Green Star #106: Slimy Spring Galaxy | !colspan=3 style="background:#16B85C; font-size:13px; color:black"|Green Star #106: Slimy Spring Galaxy | ||
|- | |- | ||
| [[File: | | [[File:SMG2 Slimy Spring Green Star 2.png|frame|center|When moving past the eels down a narrow water tunnel, you'll end up in a Launch Star. Instead of taking the Launch Star, drop down. You'll be able to see the Green Star behind a little alcove. Go grab it.]] | ||
|} | |} | ||
{|class="mw-collapsible mw-collapsed" width=100% | {|class="mw-collapsible mw-collapsed" width=100% | ||
| Line 561: | Line 561: | ||
!colspan=3 style="background:#07F06C; font-size:13px; color:black"|Green Star #111: Rolling Coaster Galaxy | !colspan=3 style="background:#07F06C; font-size:13px; color:black"|Green Star #111: Rolling Coaster Galaxy | ||
|- | |- | ||
| [[File: | | [[File:SMG2 Rolling Coaster Green Star 1.png|frame|center|When coming across a branching path, take the one on the left (the beginner path). Then, stay in the center to remain on the top part of the slope. When nearing the end of the slope, you will need to increase your speed, aim, and jump into the center of a Star Bit ring. The Green Star is there. This one can be annoying as expected.]] | ||
|} | |} | ||
{|class="mw-collapsible mw-collapsed" width=100% | {|class="mw-collapsible mw-collapsed" width=100% | ||
!colspan=3 style="background:#07F06C; font-size:13px; color:black"|Green Star #112: Rolling Coaster Galaxy | !colspan=3 style="background:#07F06C; font-size:13px; color:black"|Green Star #112: Rolling Coaster Galaxy | ||
|- | |- | ||
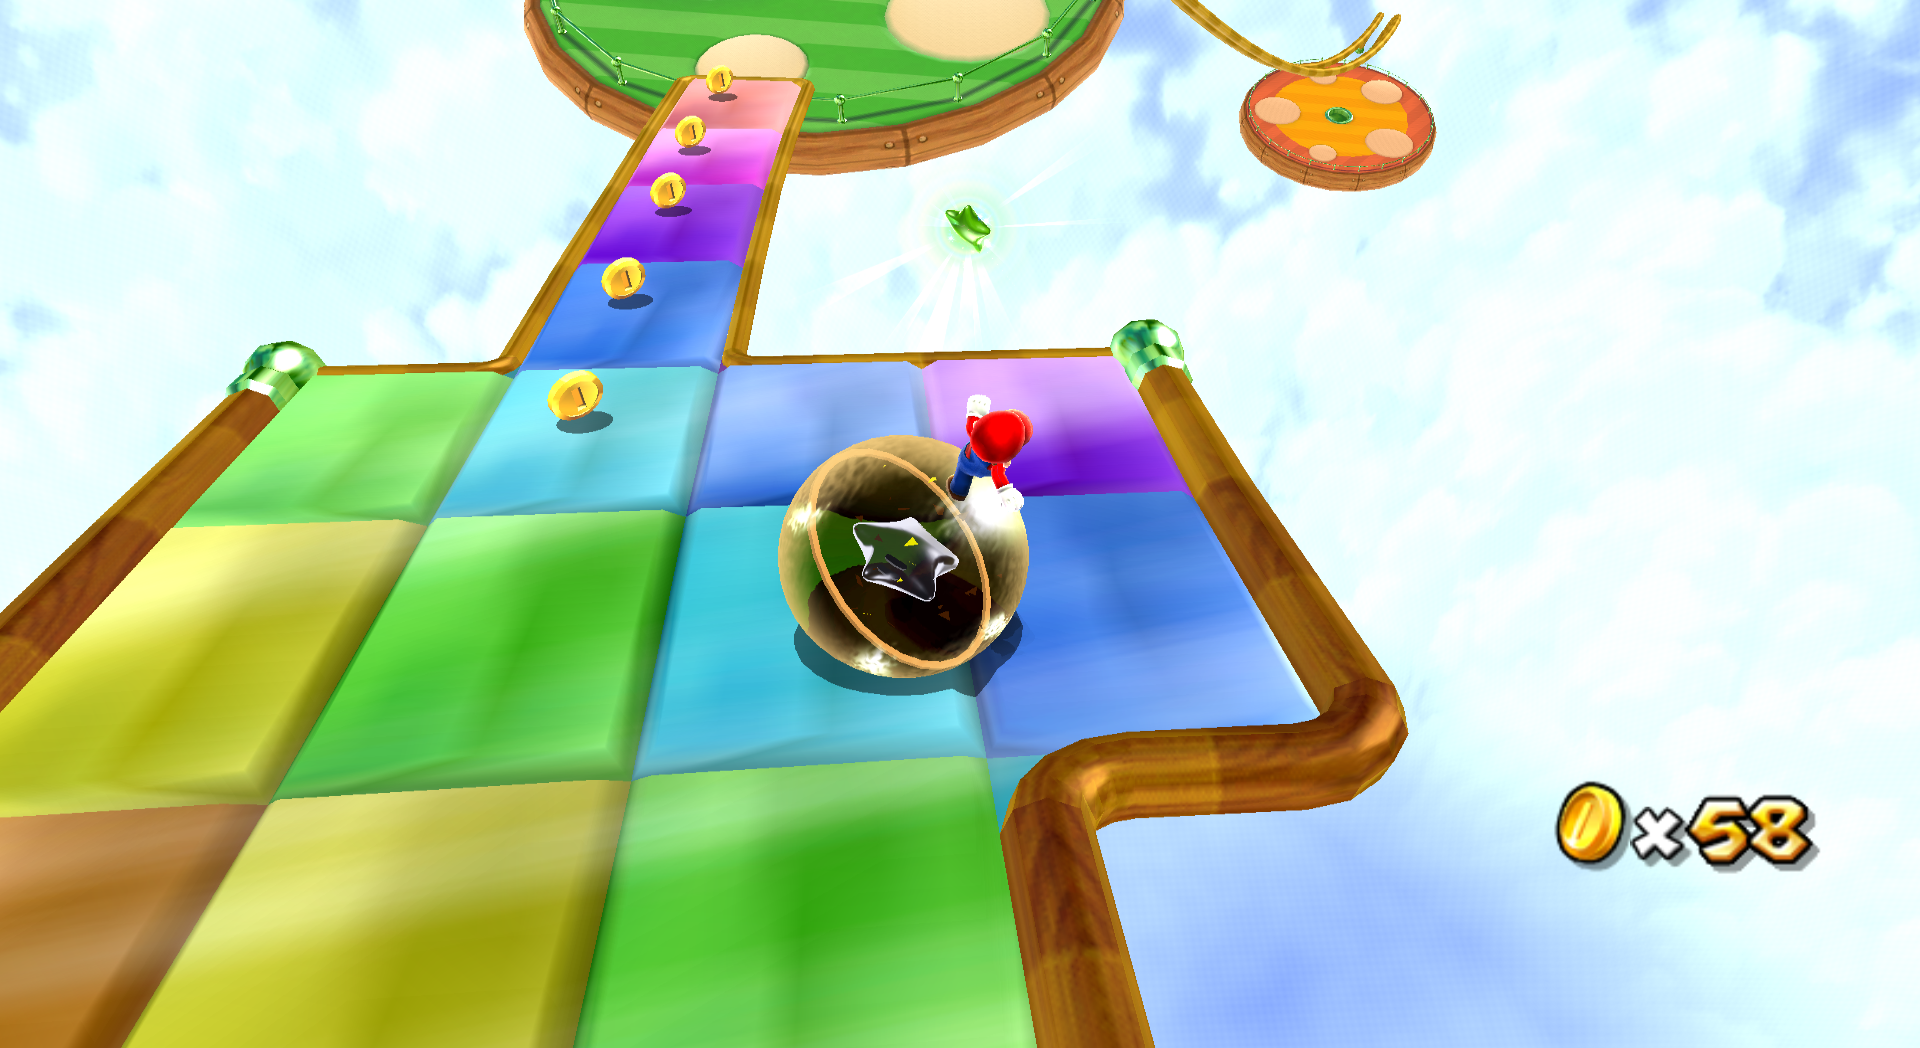
| [[File: | | [[File:SMG2 Rolling Coaster Green Star 2.png|frame|center|This one is near the end of the galaxy. When the rainbow road is getting very thin, just before the final green platform, you will have to roll off the right side to land on the Green Star. All of these leap-of-faith pecision Green Stars can be pretty frustrating.]] | ||
|} | |} | ||
{|class="mw-collapsible mw-collapsed" width=100% | {|class="mw-collapsible mw-collapsed" width=100% | ||
| Line 581: | Line 581: | ||
!colspan=3 style="background:#0BD64B; font-size:13px; color:black"|Green Star #115: Stone Cyclone Galaxy | !colspan=3 style="background:#0BD64B; font-size:13px; color:black"|Green Star #115: Stone Cyclone Galaxy | ||
|- | |- | ||
| [[File: | | [[File:SMG2 Stone Cyclone Green Star 1.png|frame|center|About halfway through the course, you will need to perform an extremely well-timed Triple Jump and be careful to not get squished by the [[Tox Box]]. The Green Star is high up in the air, and may take a couple tries before you can snag it.]] | ||
|} | |} | ||
{|class="mw-collapsible mw-collapsed" width=100% | {|class="mw-collapsible mw-collapsed" width=100% | ||
!colspan=3 style="background:#0BD64B; font-size:13px; color:black"|Green Star #116: Stone Cyclone Galaxy | !colspan=3 style="background:#0BD64B; font-size:13px; color:black"|Green Star #116: Stone Cyclone Galaxy | ||
|- | |- | ||
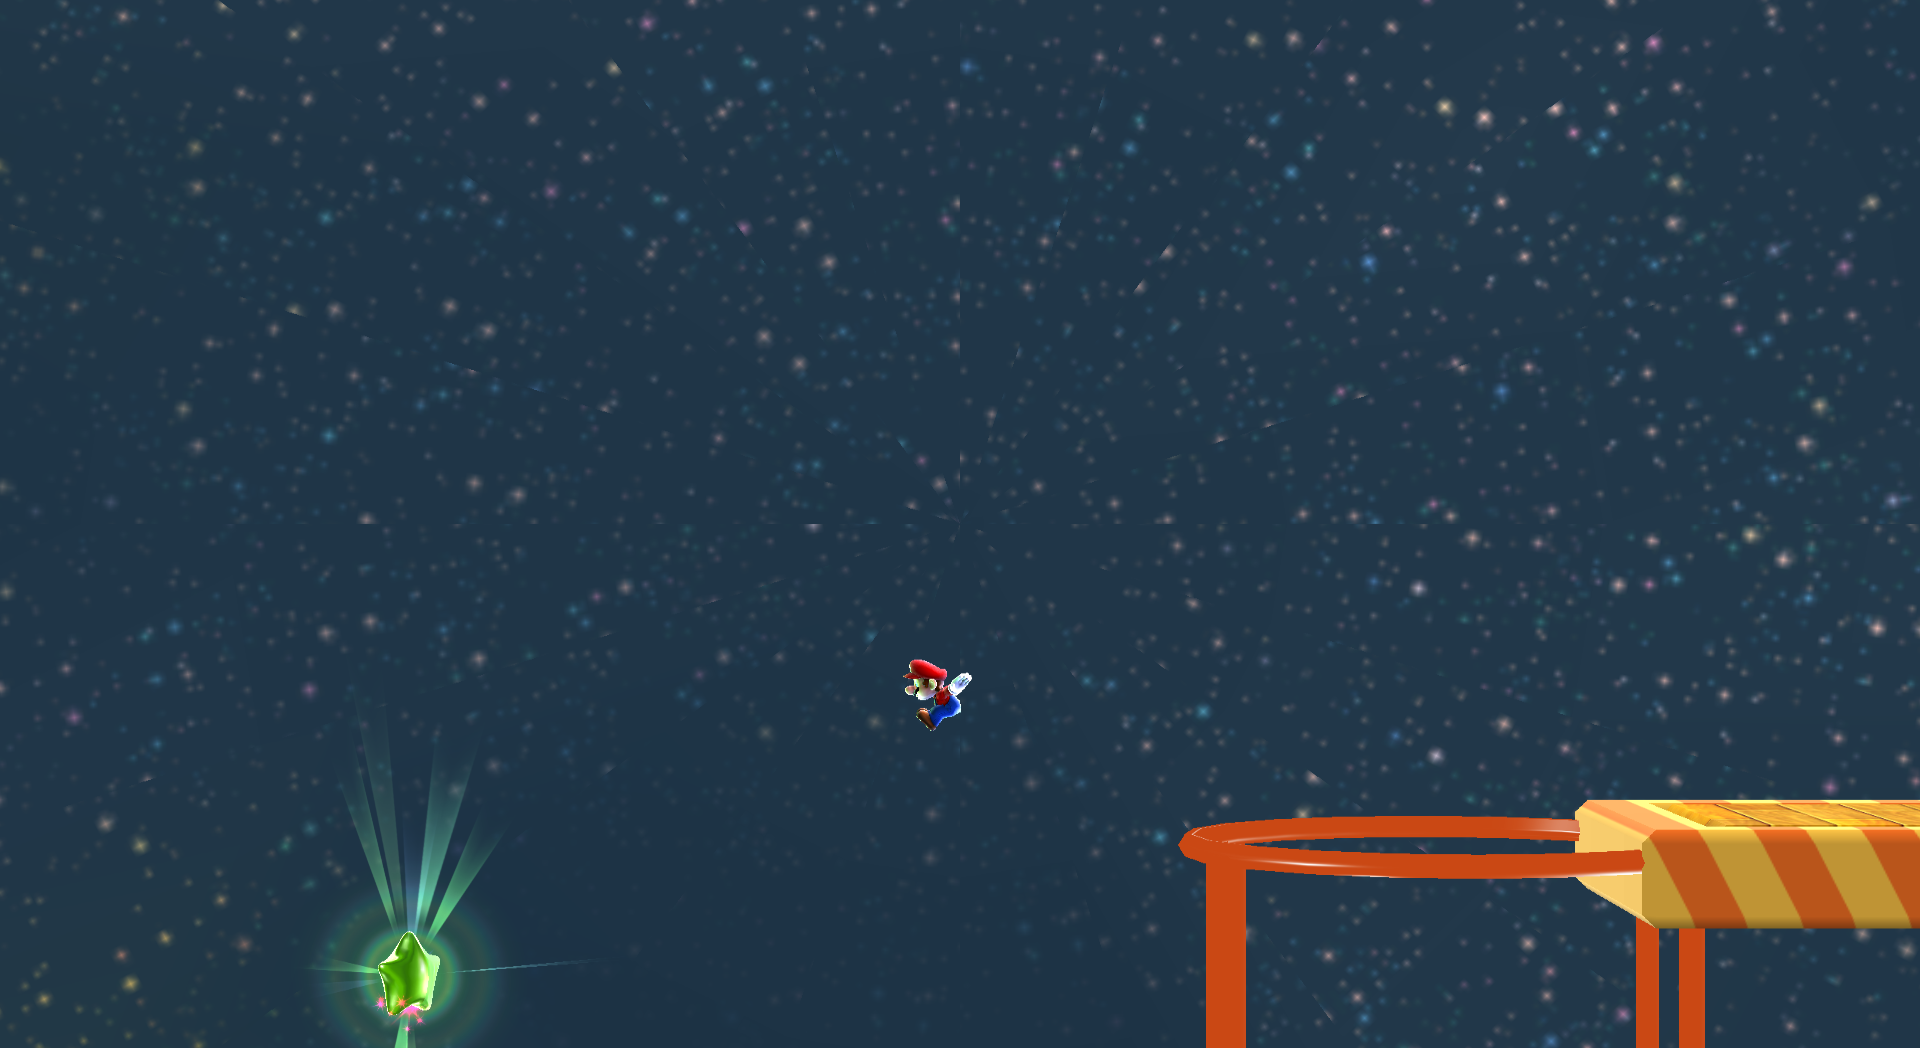
| [[File: | | [[File:SMG2 Stone Cyclone Green Star 2.png|frame|center|Near the end of the stage, over a Black Hole. You have to aim a jump to catch the star or else the Black Hole will catch you.]] | ||
|} | |} | ||
{|class="mw-collapsible mw-collapsed" width=100% | {|class="mw-collapsible mw-collapsed" width=100% | ||
| Line 601: | Line 601: | ||
!colspan=3 style="background:#33AD1D; font-size:13px; color:black"|Green Star #119: Flip-Out Galaxy | !colspan=3 style="background:#33AD1D; font-size:13px; color:black"|Green Star #119: Flip-Out Galaxy | ||
|- | |- | ||
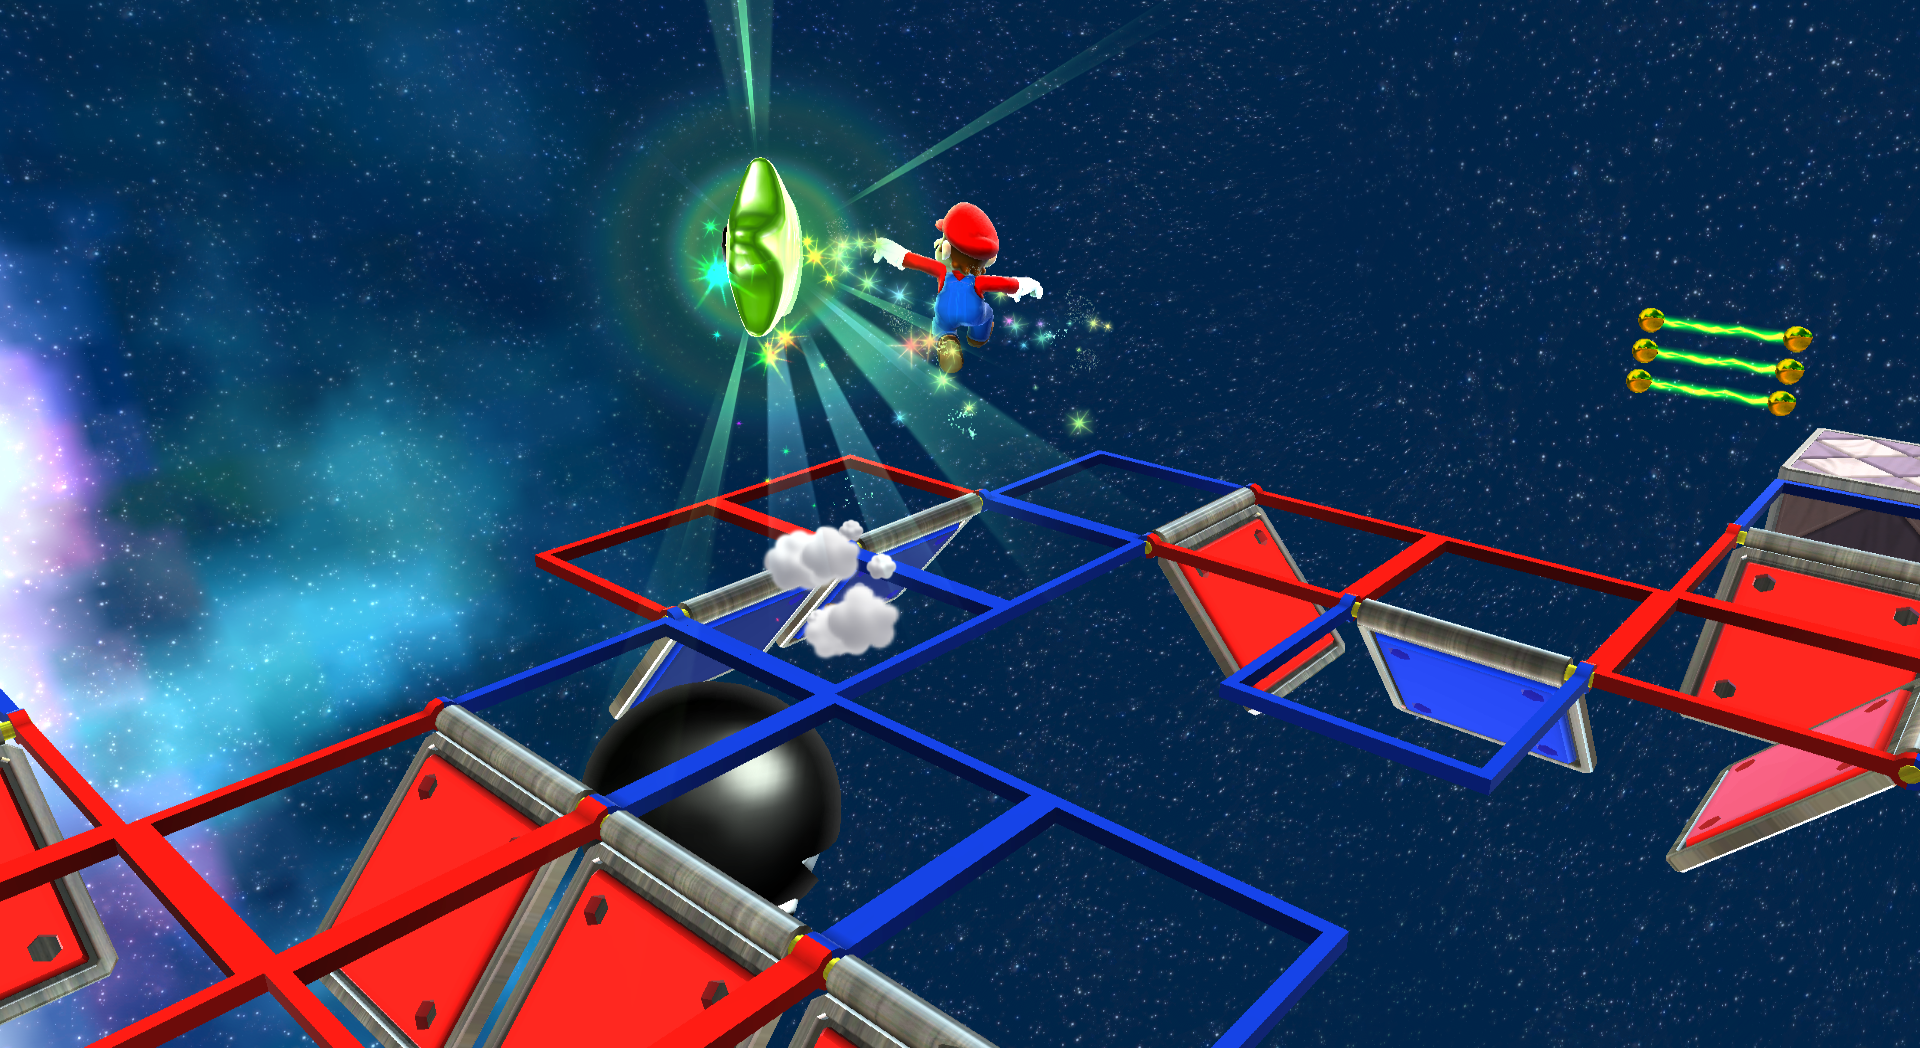
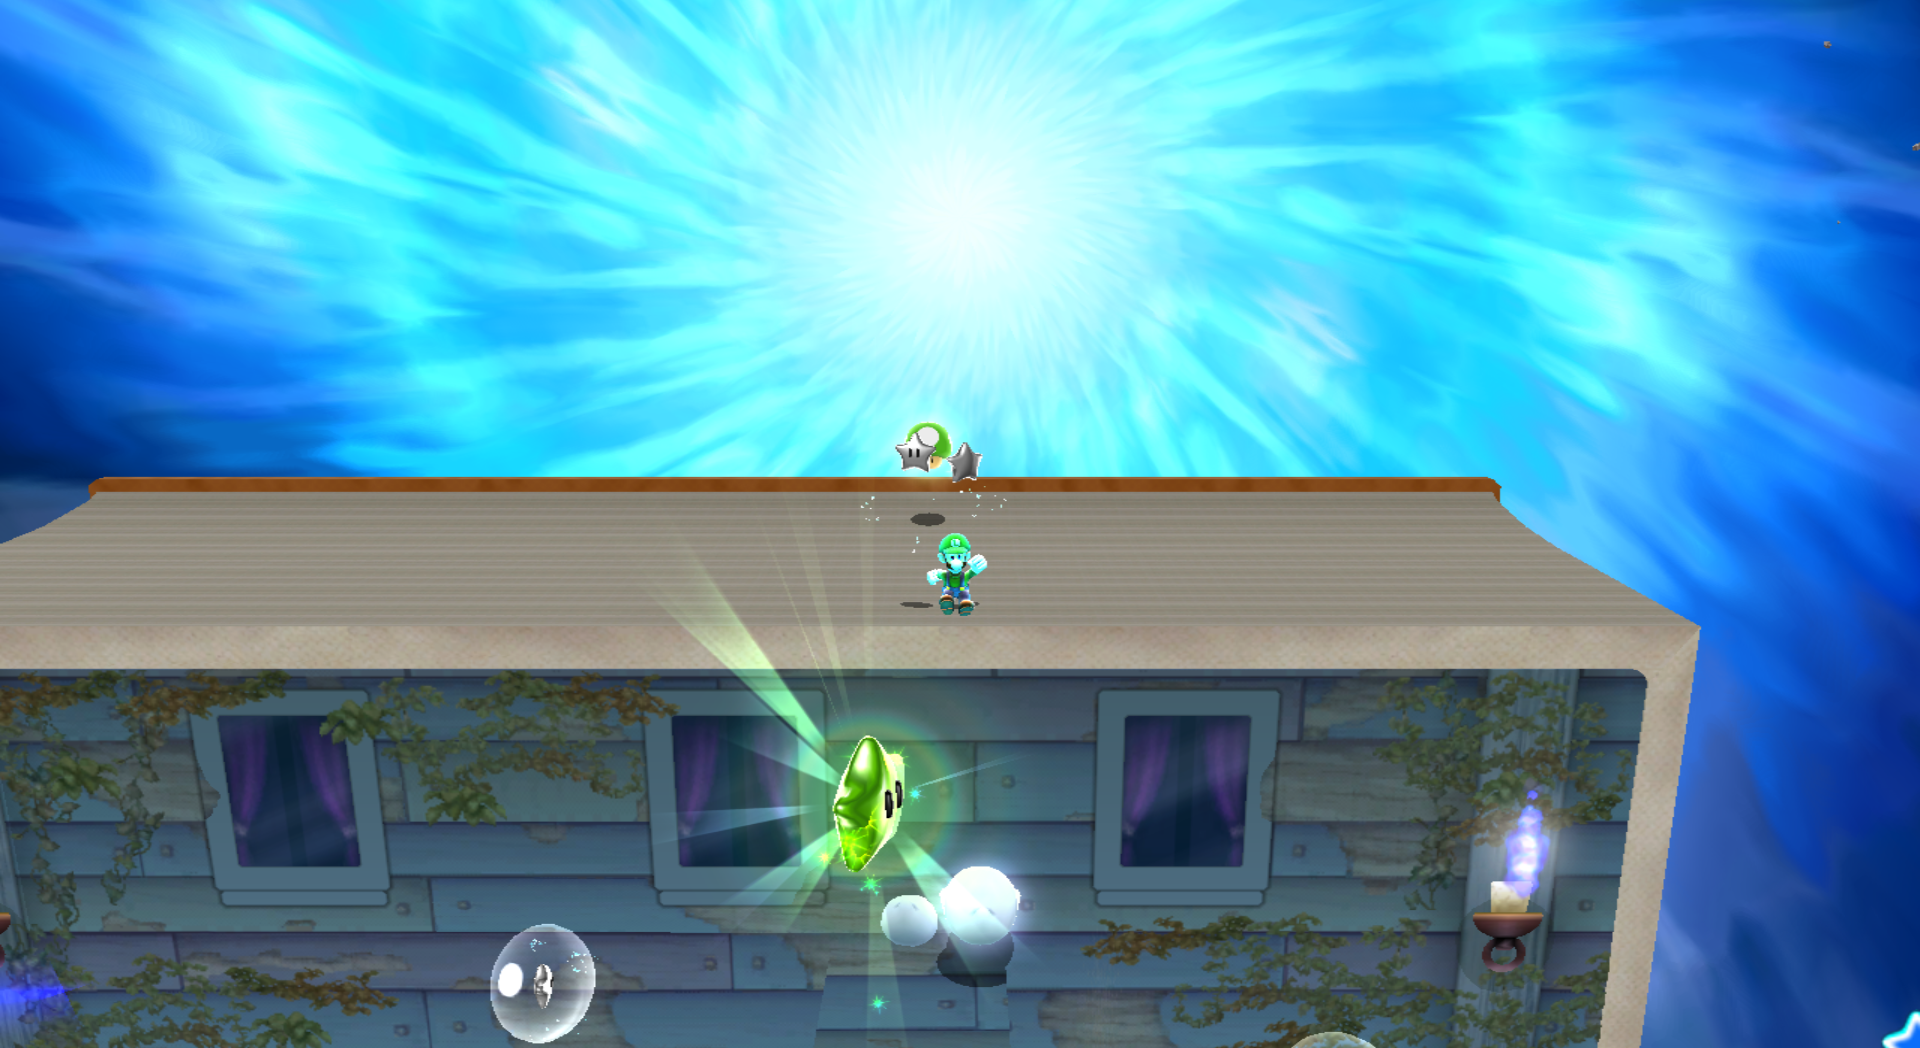
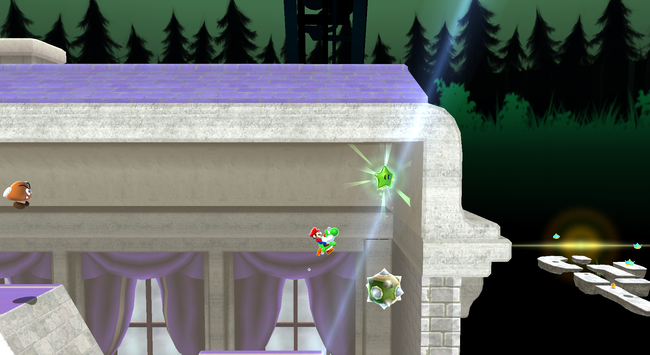
| [[File: | | [[File:SMG2_Flip_Out_Green_Star_1.png|thumb|center|650px|Wall Jump in betweet the red and blue wall at the start to get to the top of the platform. Then make your way right along the rooftops to get to a 1-Up Mushroom. You will have to jump off to the right and aim to land on the Green Star.]] | ||
|} | |} | ||
{|class="mw-collapsible mw-collapsed" width=100% | {|class="mw-collapsible mw-collapsed" width=100% | ||
!colspan=3 style="background:#33AD1D; font-size:13px; color:black"|Green Star #120: Flip-Out Galaxy | !colspan=3 style="background:#33AD1D; font-size:13px; color:black"|Green Star #120: Flip-Out Galaxy | ||
|- | |- | ||
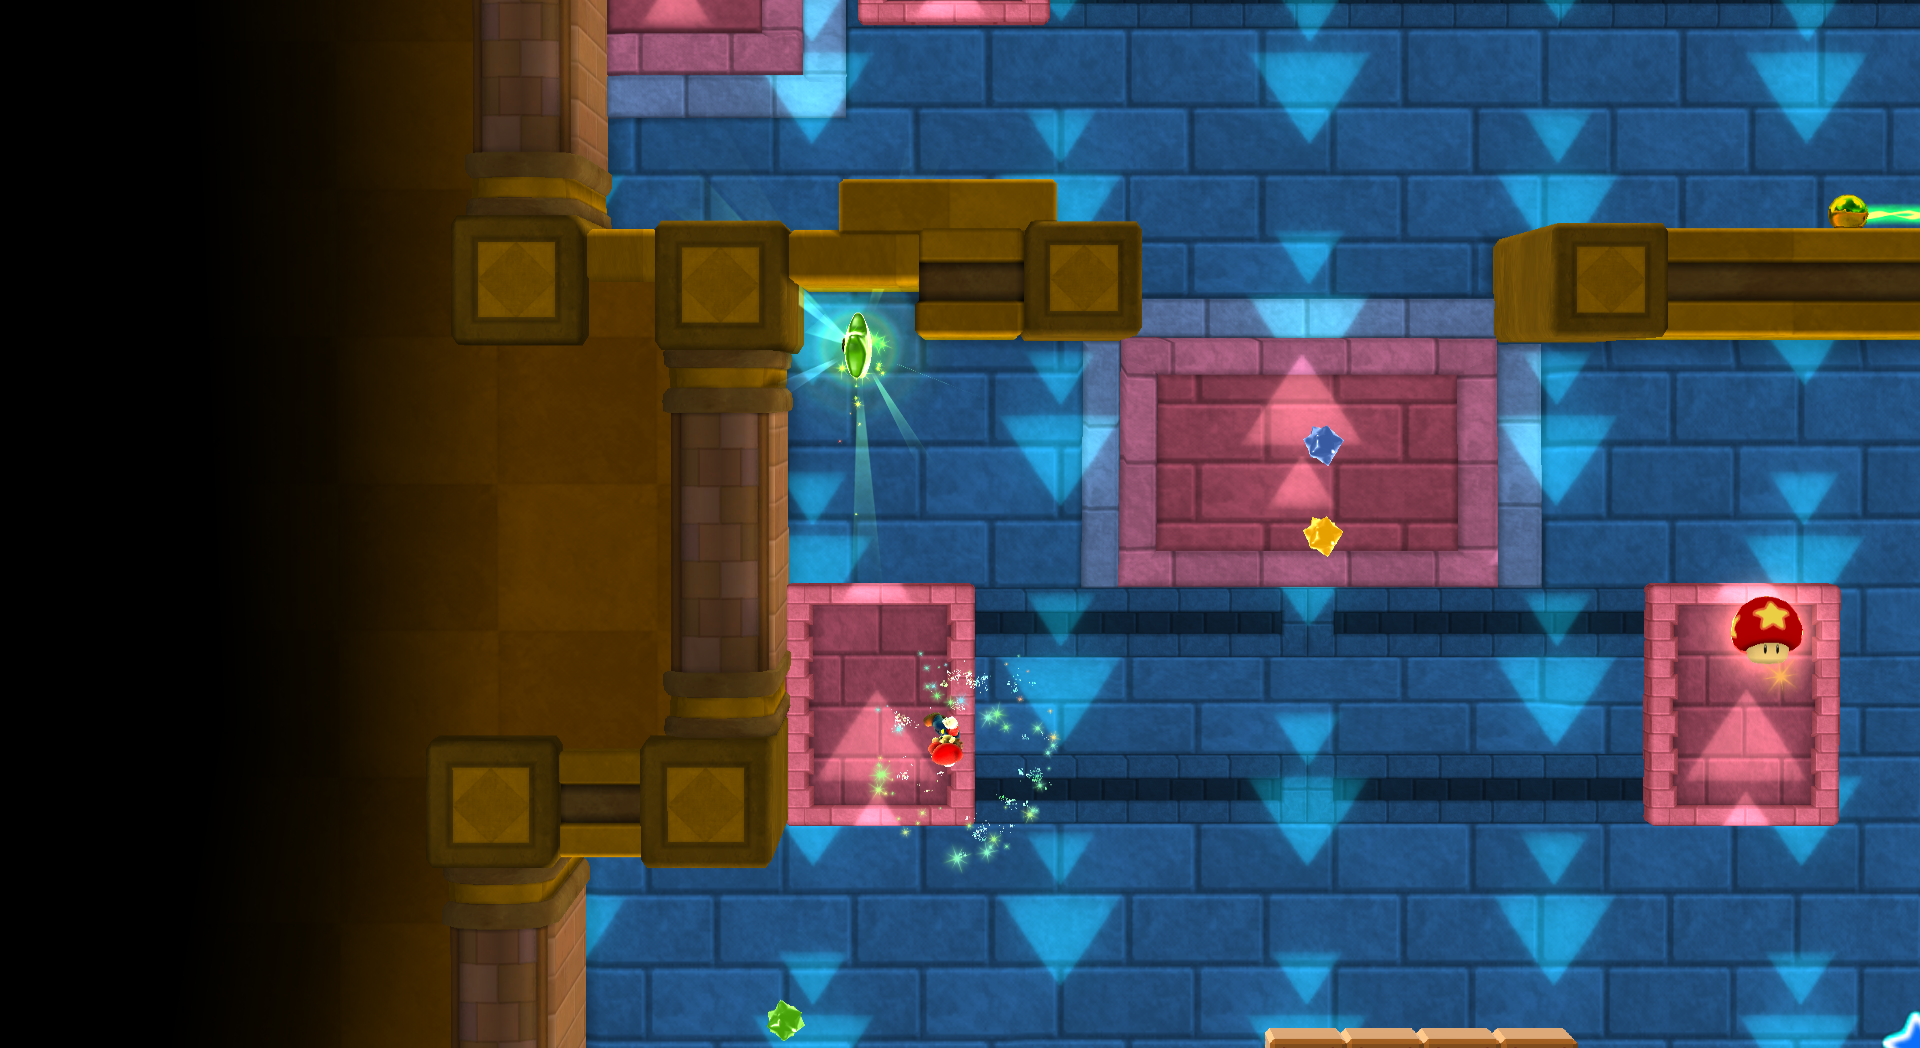
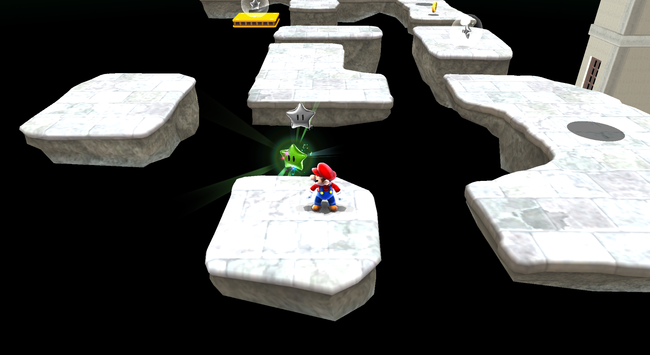
| [[File: | | [[File:SMG2_Flip_Out_Green_Star_2.png|thumb|center|650px|Near the end of the galaxy, with the tall series of red and blue walls right below the Power Star, the Green Star is in plain sight. Jump off of a red wall to reach the Green Star but don't spin until you are past the blue wall if you need to.]] | ||
|} | |} | ||
<center>{{Shroomnav2017|120|spring|S1=The 'Shroom Spotlight|G1=Counting 120 Green Stars}}</center> | <center>{{Shroomnav2017|120|spring|S1=The 'Shroom Spotlight|G1=Counting 120 Green Stars}}</center> | ||
{{shroomfooter}} | {{shroomfooter}} | ||
Latest revision as of 20:38, December 22, 2019
Well this is Issue 120, and as I'm sure many of you are aware, we have been theming this around 3D Mario games such as Super Mario 64, Sunshine, Galaxy, and Galaxy 2. Well to celebrate, I decided to go out and hunt down all 120 Green Stars from Galaxy 2, and put them all in this one place. Special thanks to Lord Bowser (talk) for helping out with some of the screenshots that were missing. Be sure to check out his section as well. Now then, here are your 120 Green Stars. I should mention that quite a few of them are annoying.
| Green Star #1: Sky Station Galaxy | ||
|---|---|---|
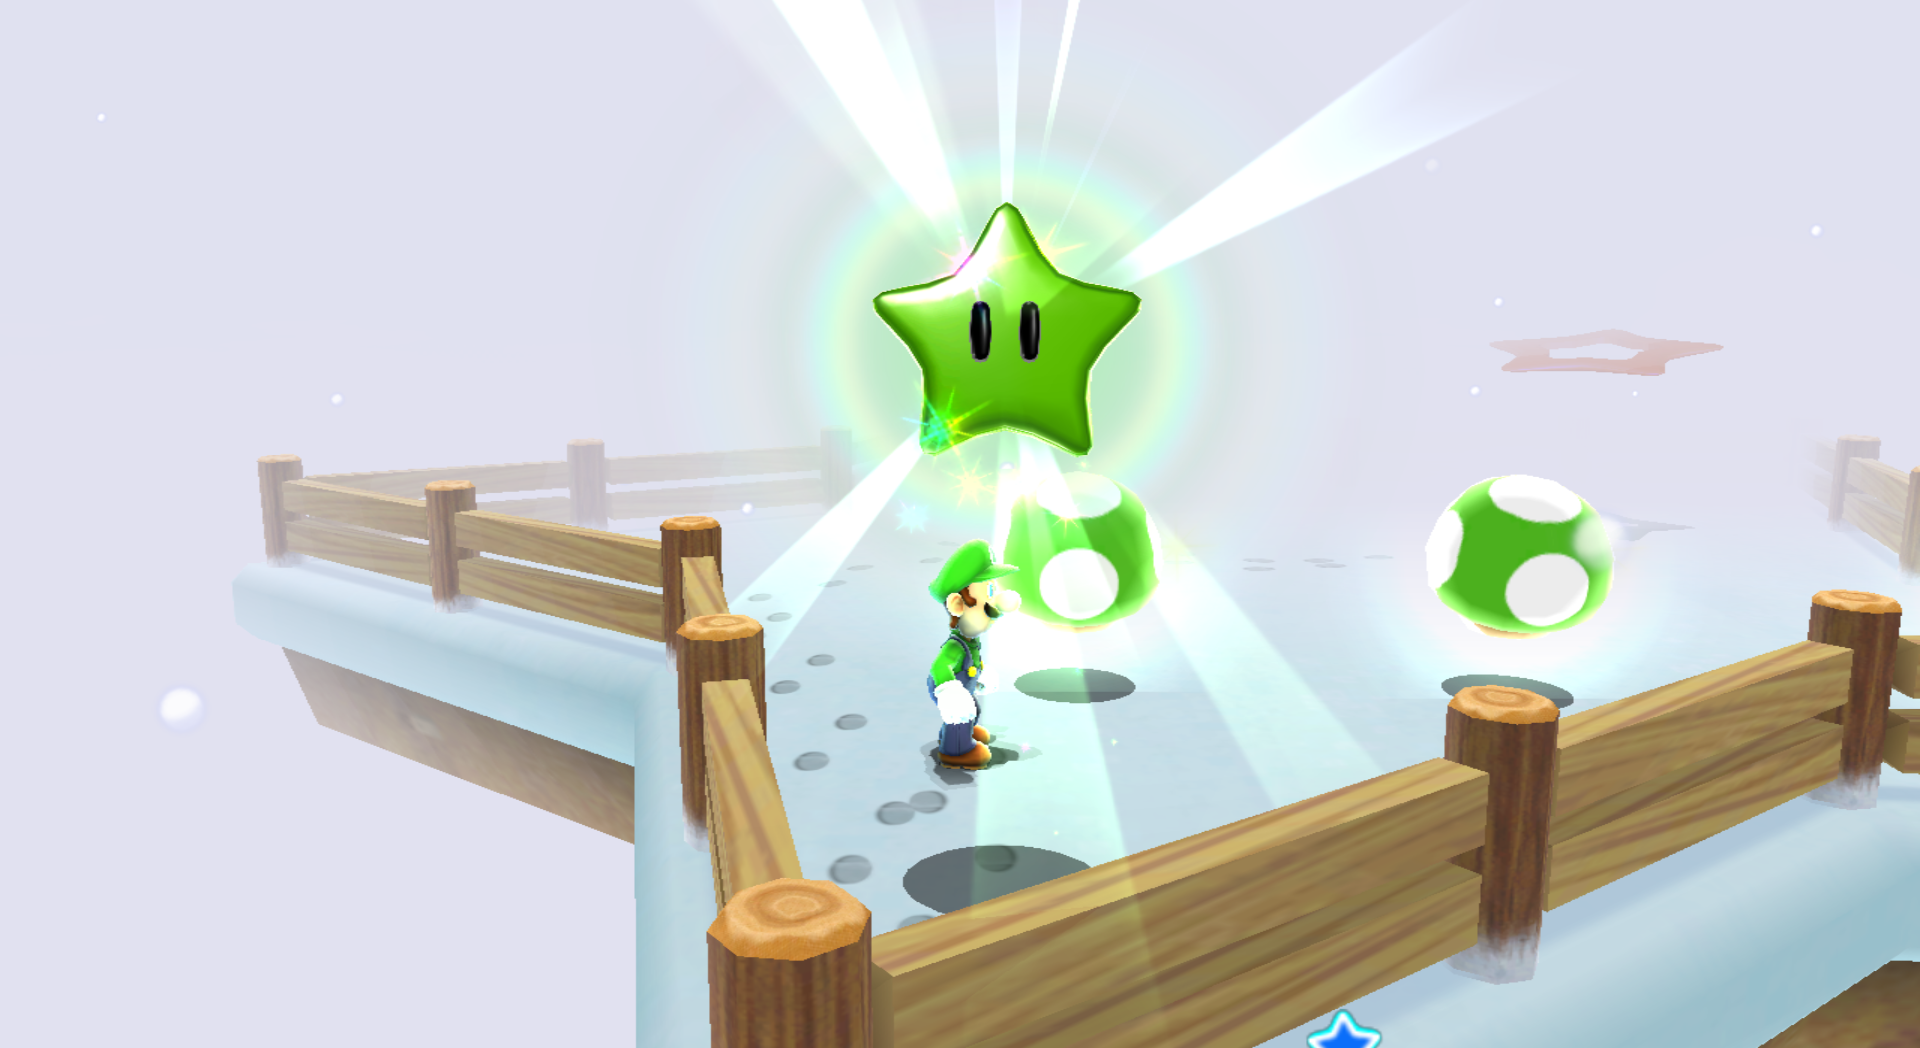
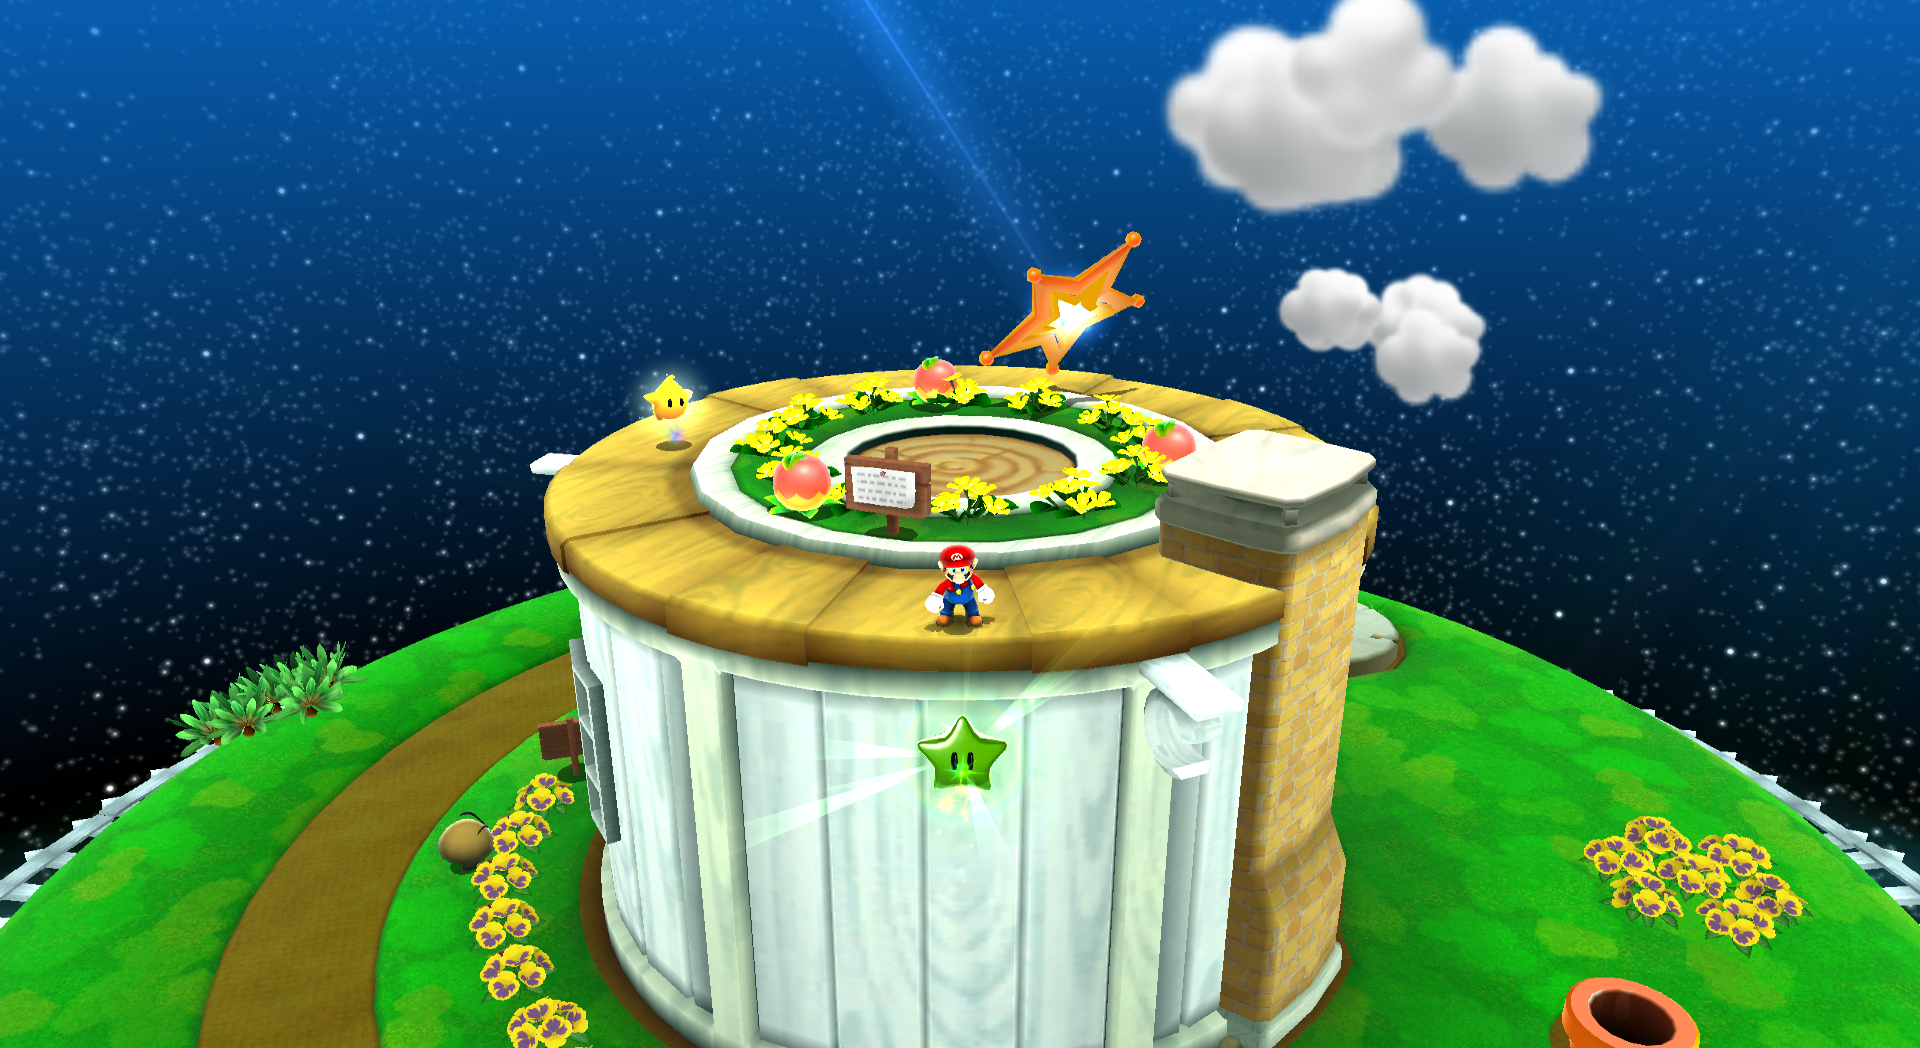 In plain sight in front of Yoshi's house by the start on the first planet. Some clever wall jump tricks and spins can help you easily get it. | ||
| Green Star #2: Sky Station Galaxy | ||
|---|---|---|
| Green Star #3: Sky Station Galaxy | ||
|---|---|---|
| Green Star #4: Yoshi Star Galaxy | ||
|---|---|---|
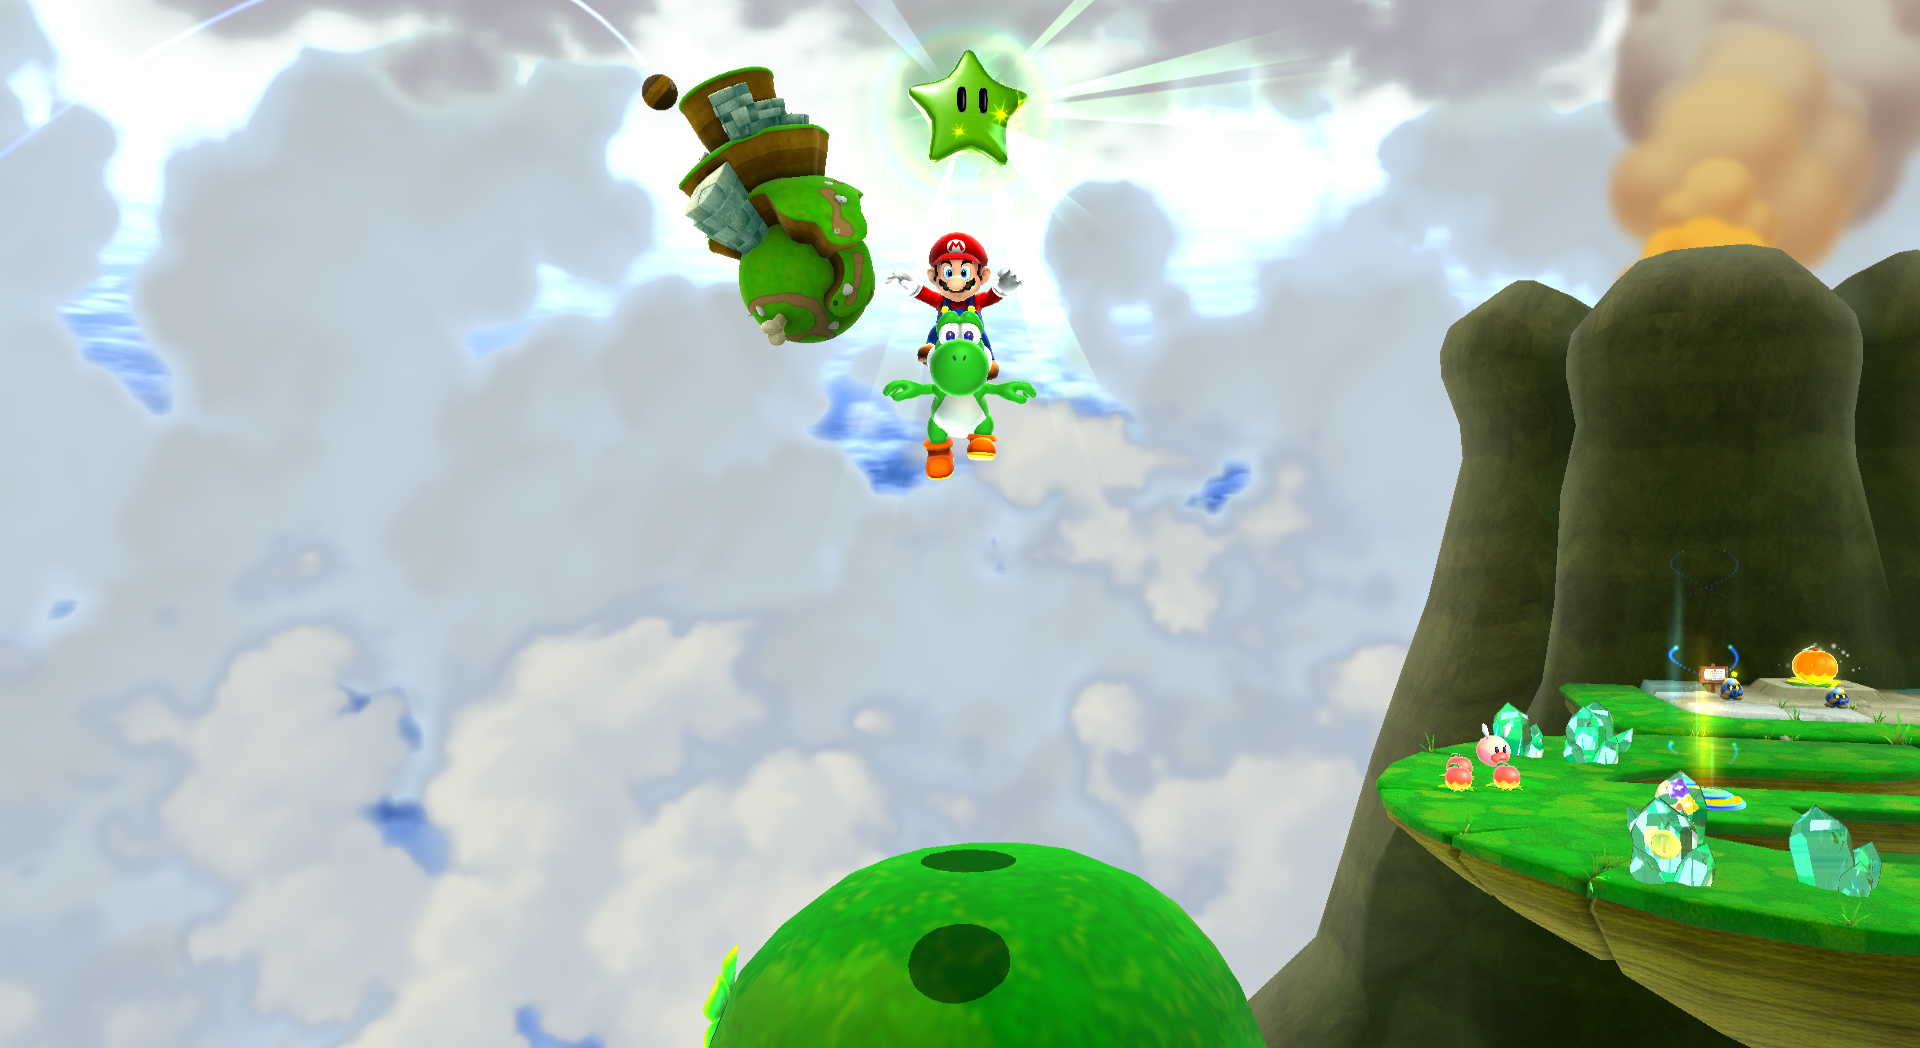 On the first planet, in the large area with several Octogoombas there is a blue spring that leads to the Comet Medal. Use Yoshi to fly above from the top of the platform and grab the star. | ||
| Green Star #5: Yoshi Star Galaxy | ||
|---|---|---|
| Green Star #6: Yoshi Star Galaxy | ||
|---|---|---|
| Green Star #7: Spin-Dig Galaxy | ||
|---|---|---|
| Green Star #8: Spin-Dig Galaxy | ||
|---|---|---|
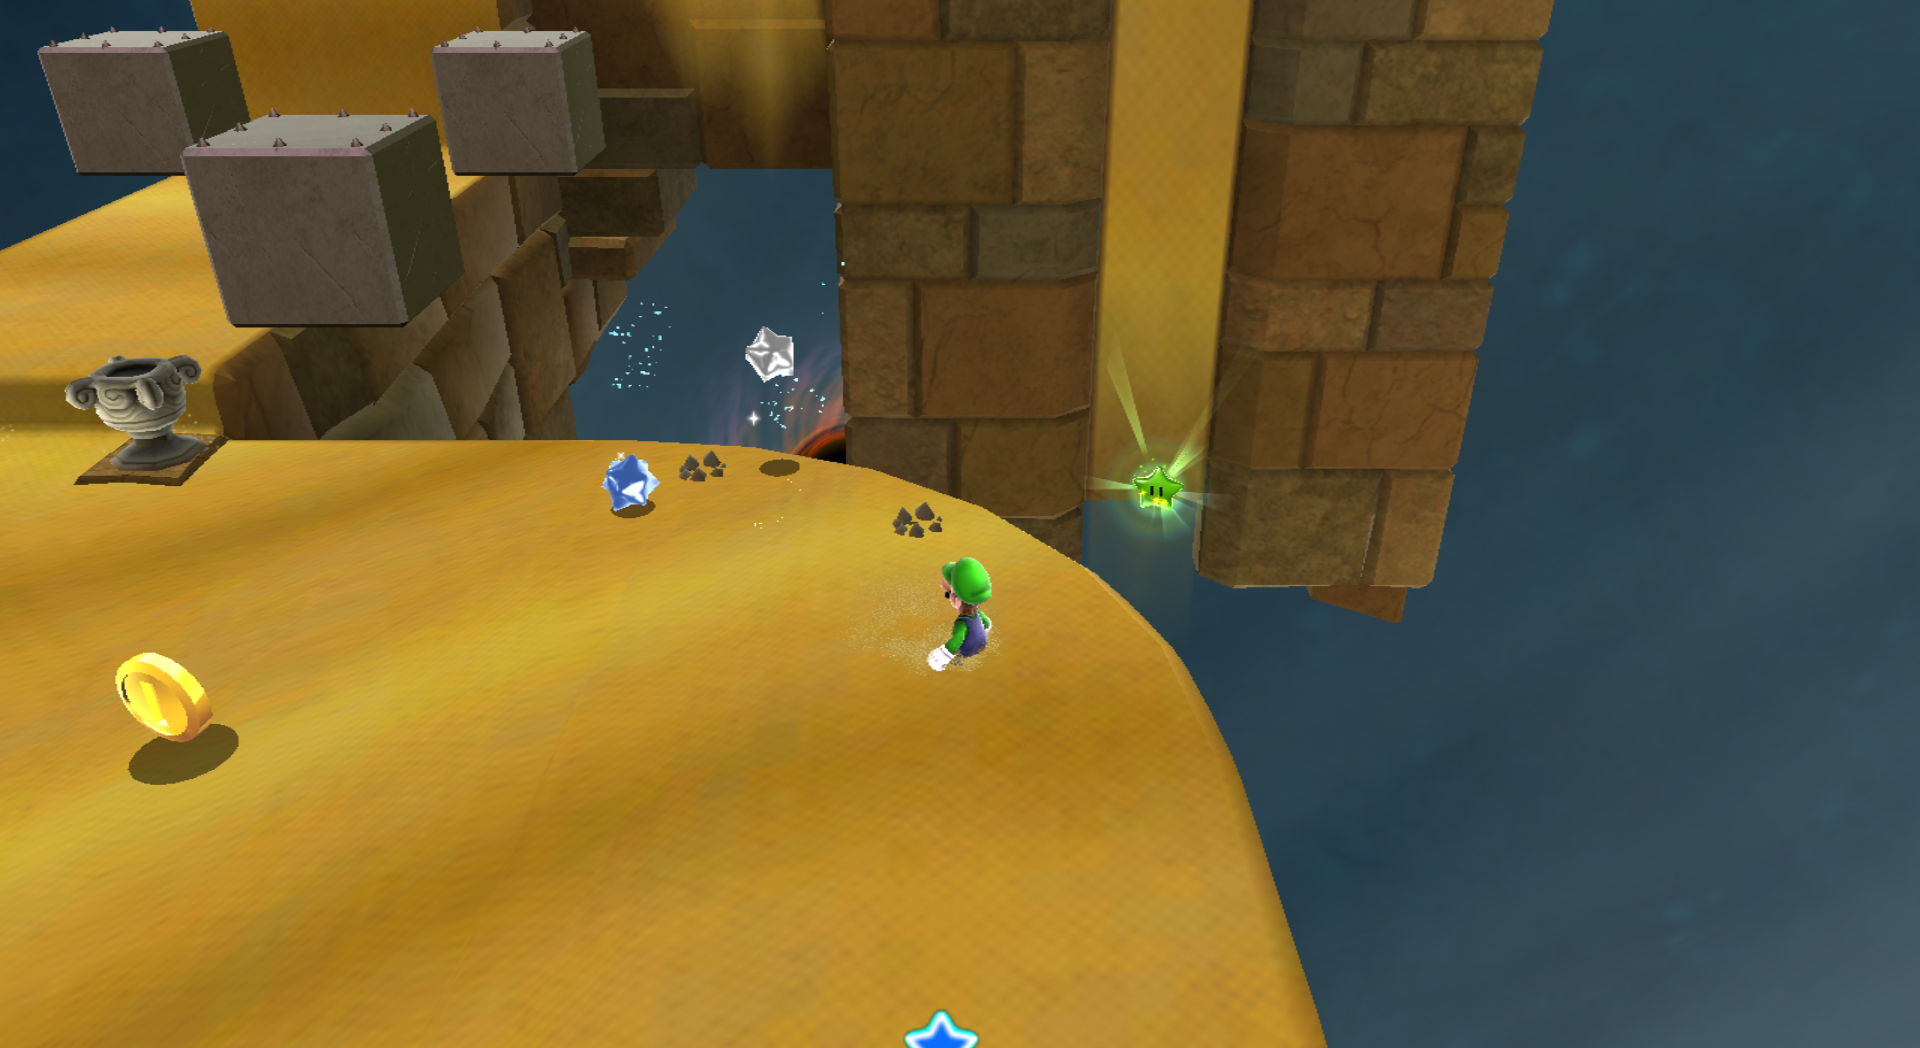
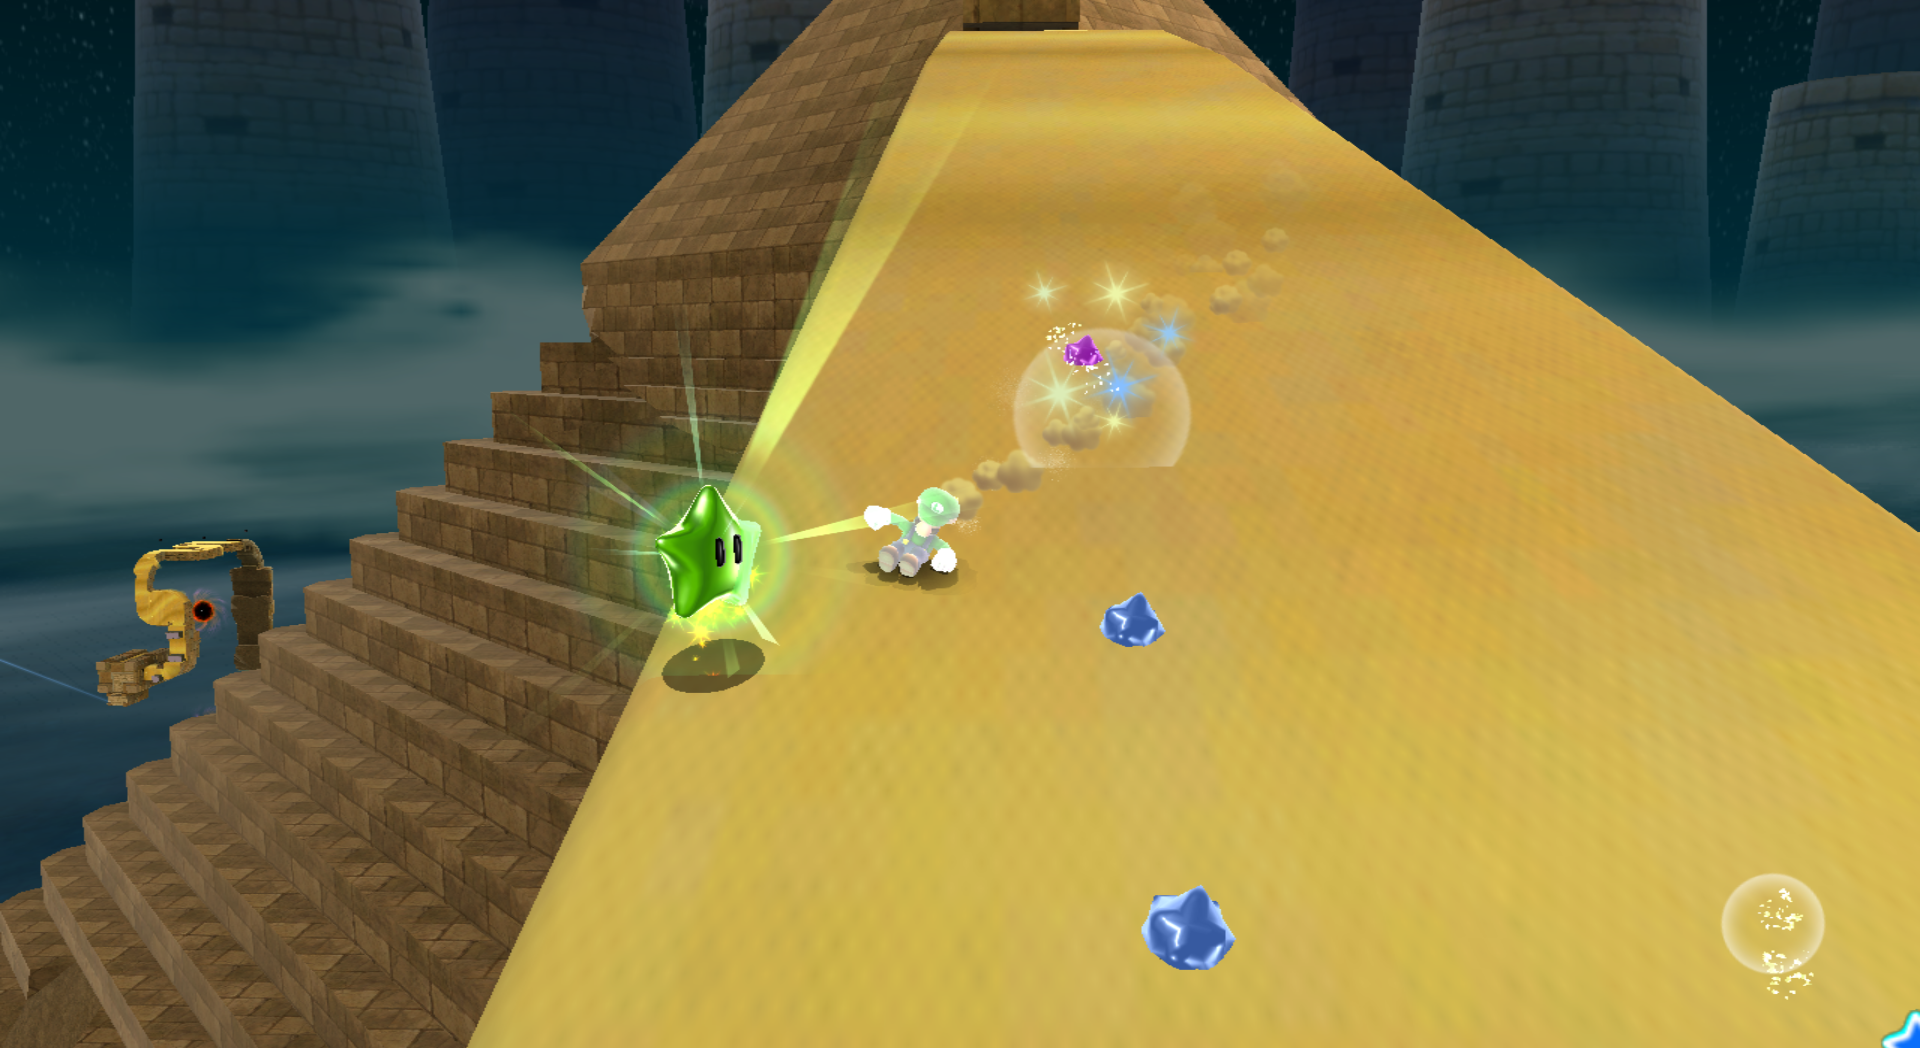
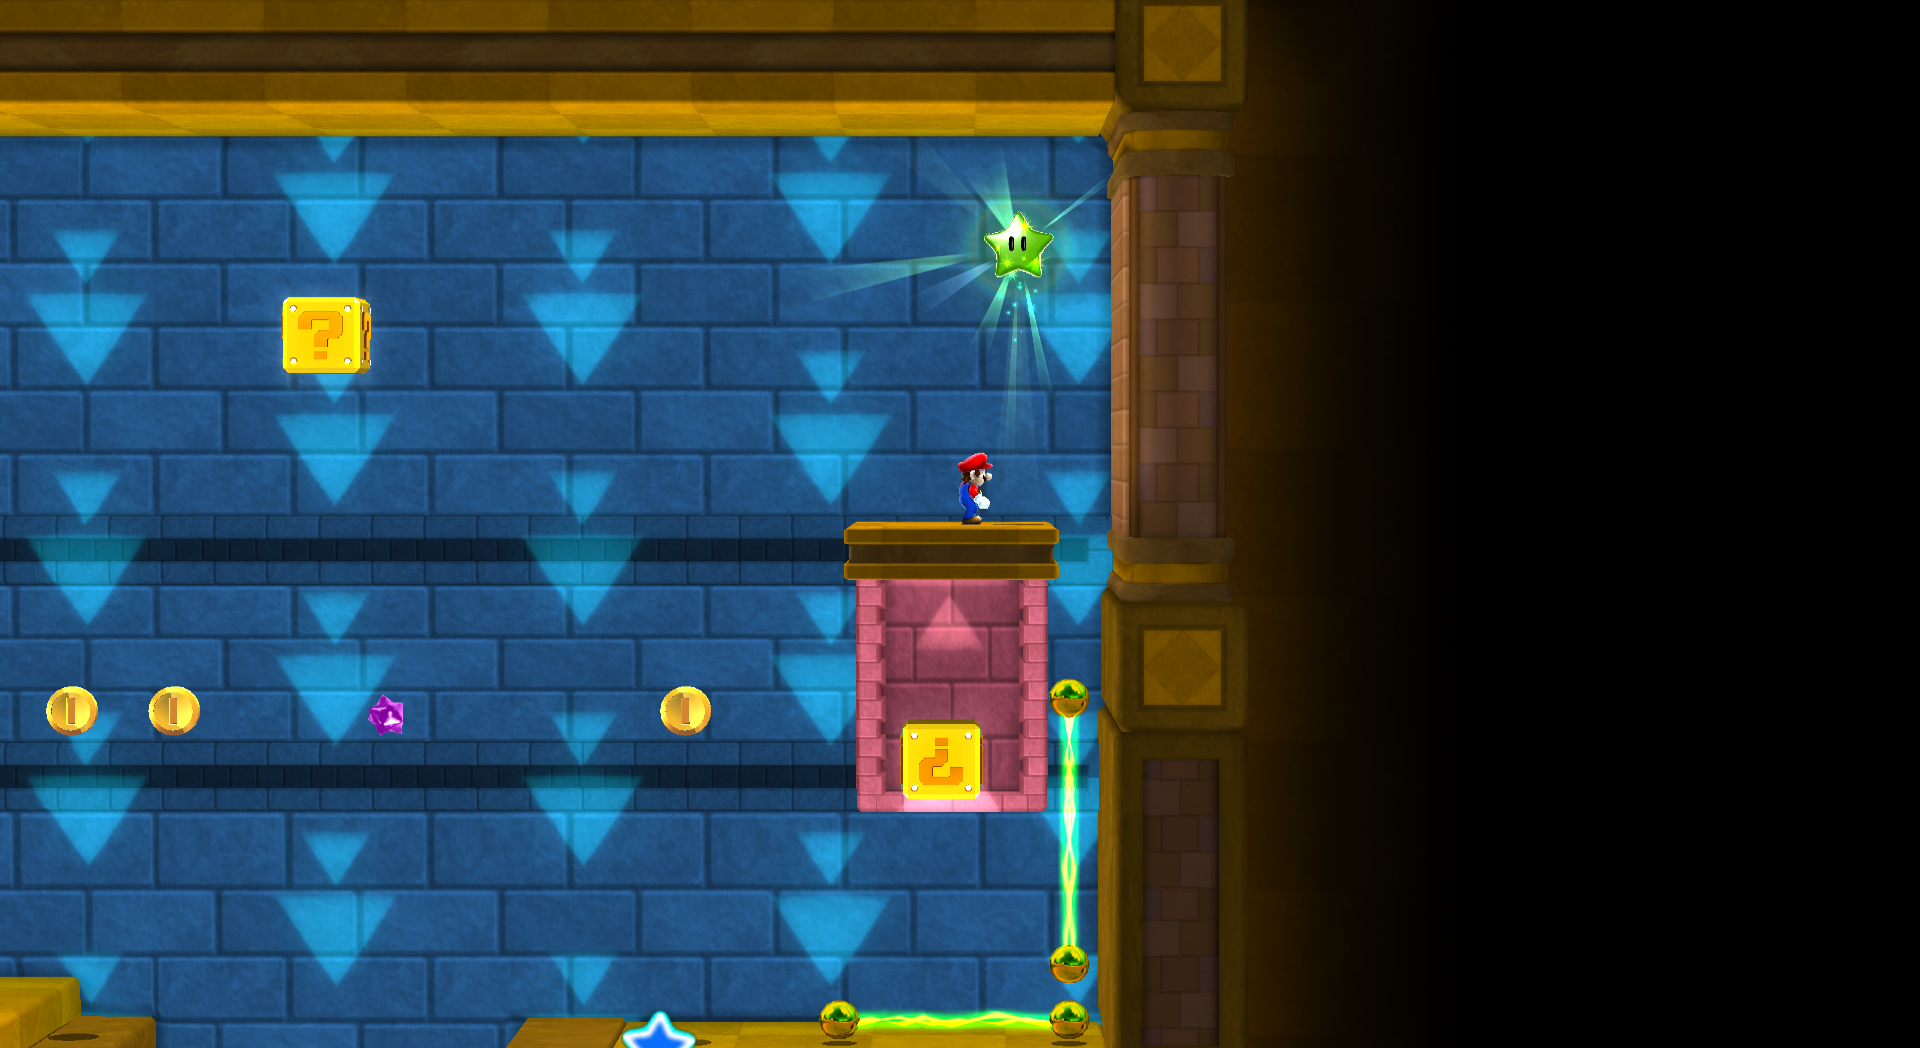
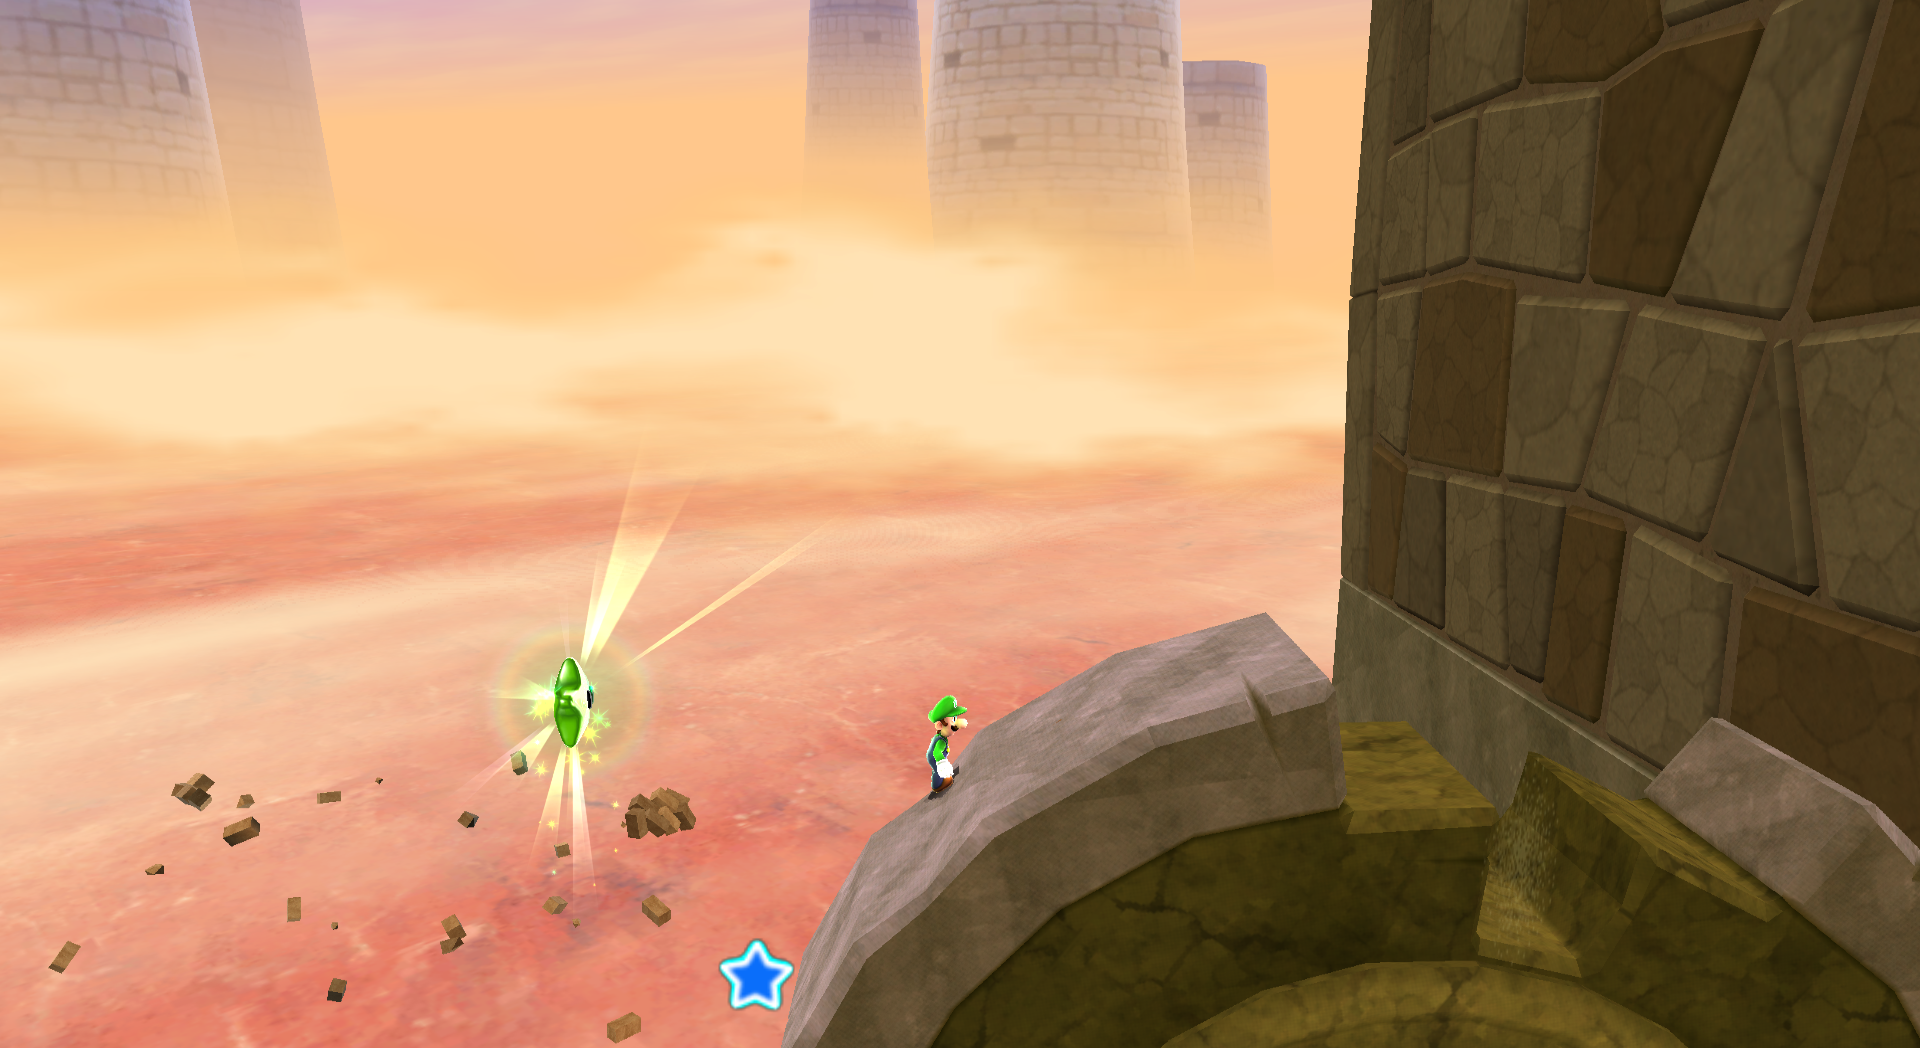
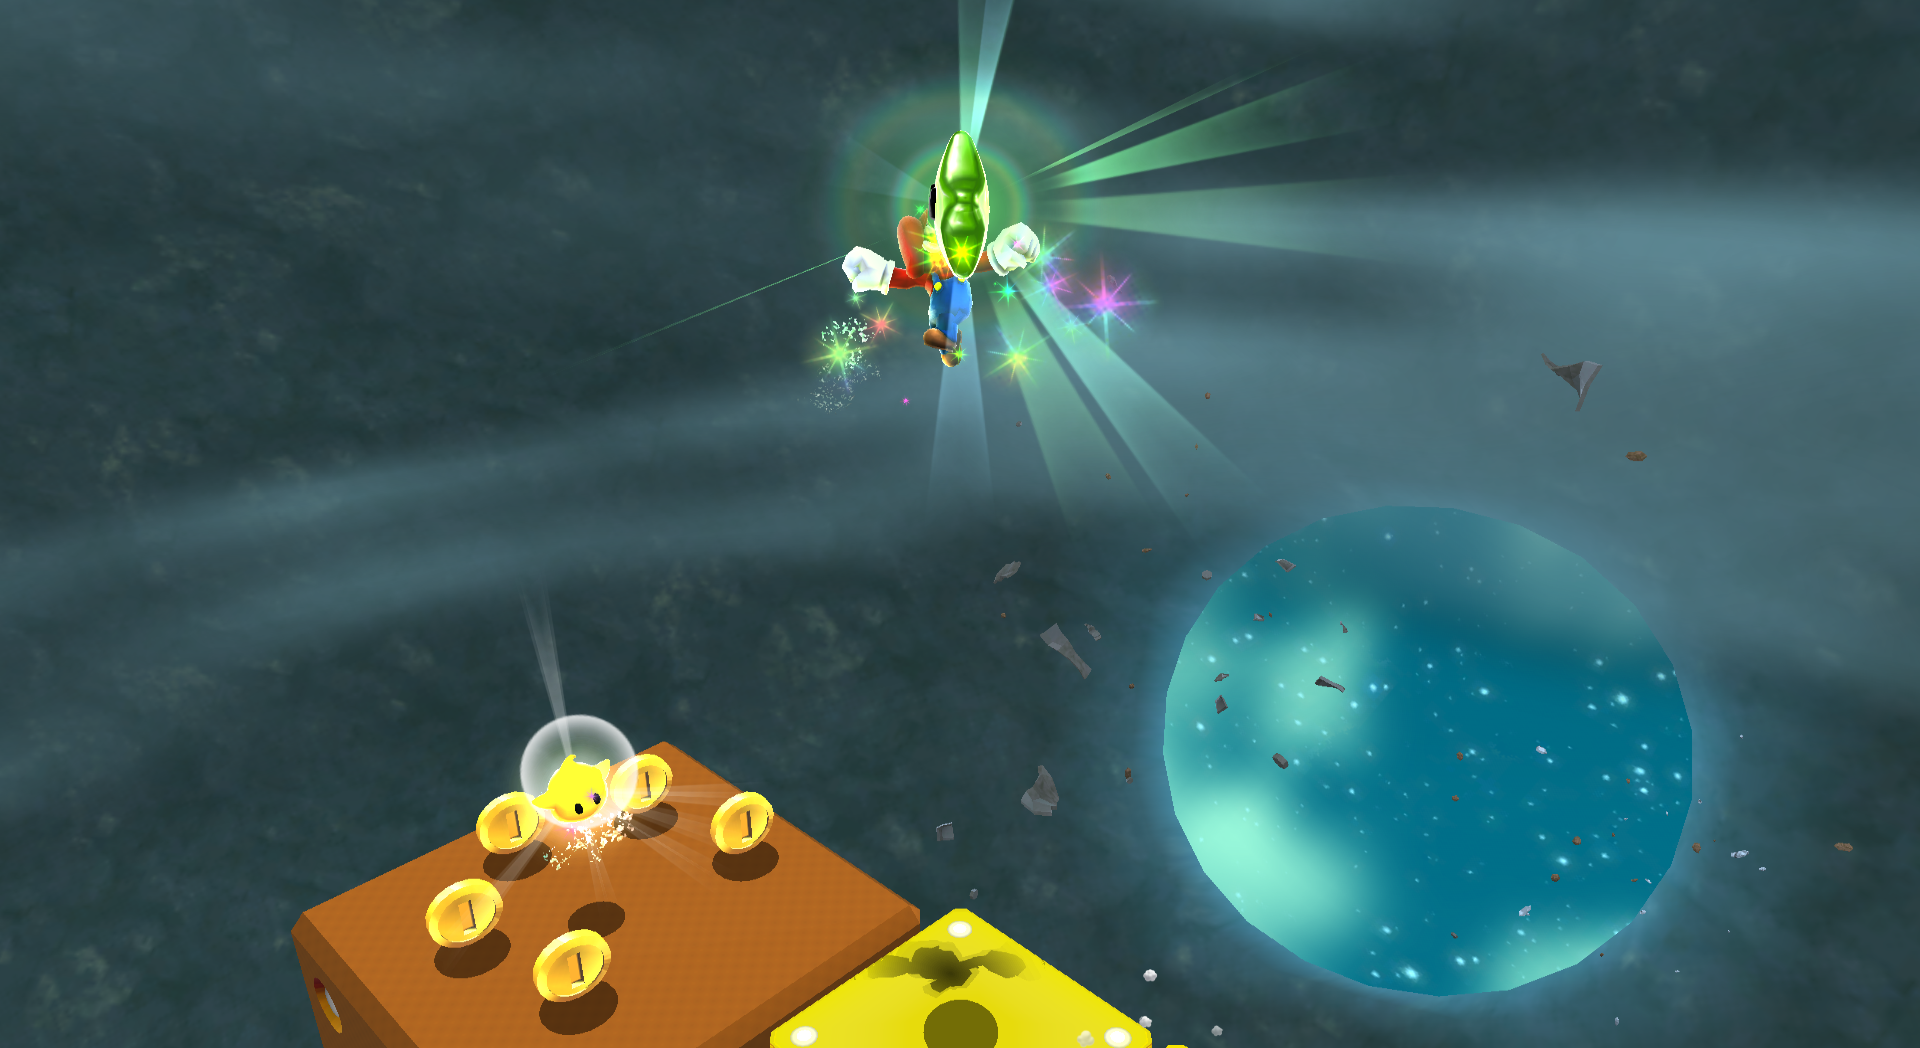 Above a series of disappearing yellow platforms next to a Launch Star. | ||
| Green Star #9: Spin-Dig Galaxy | ||
|---|---|---|
| Green Star #10: Fluffy Bluff Galaxy | ||
|---|---|---|
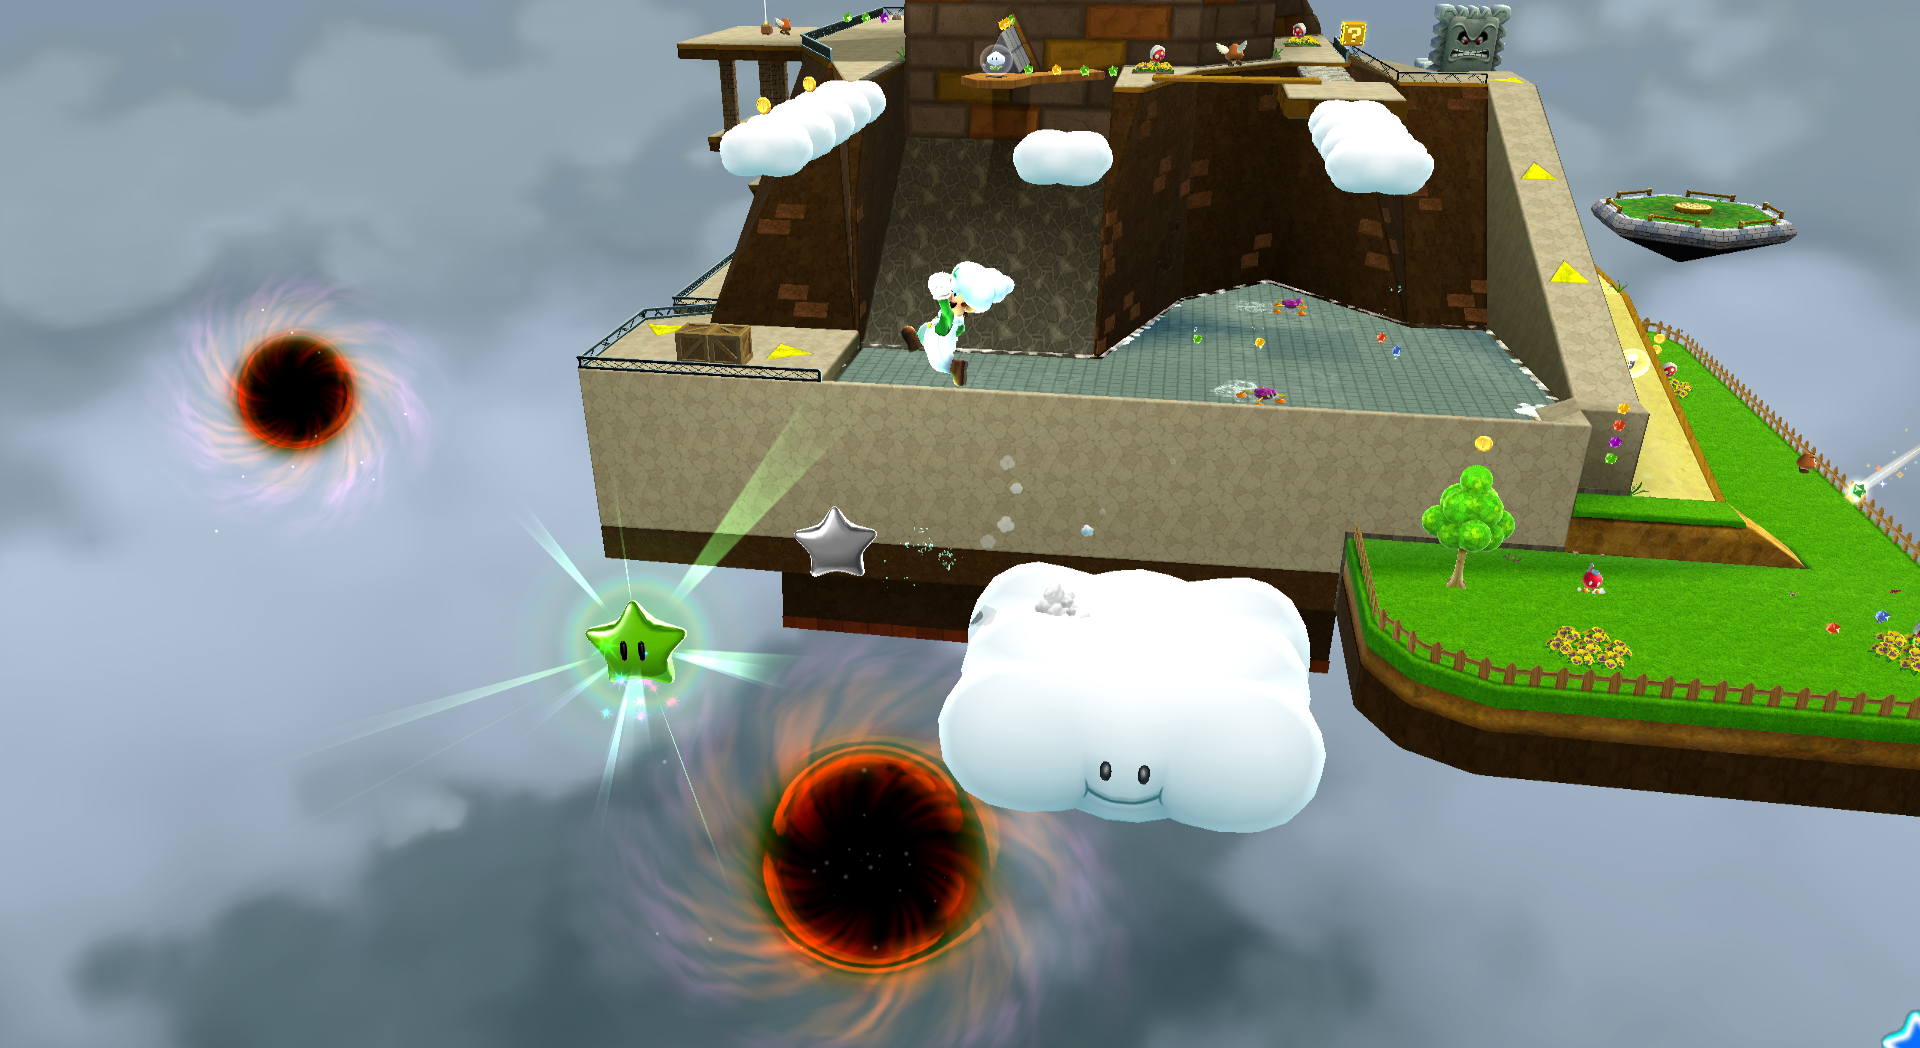
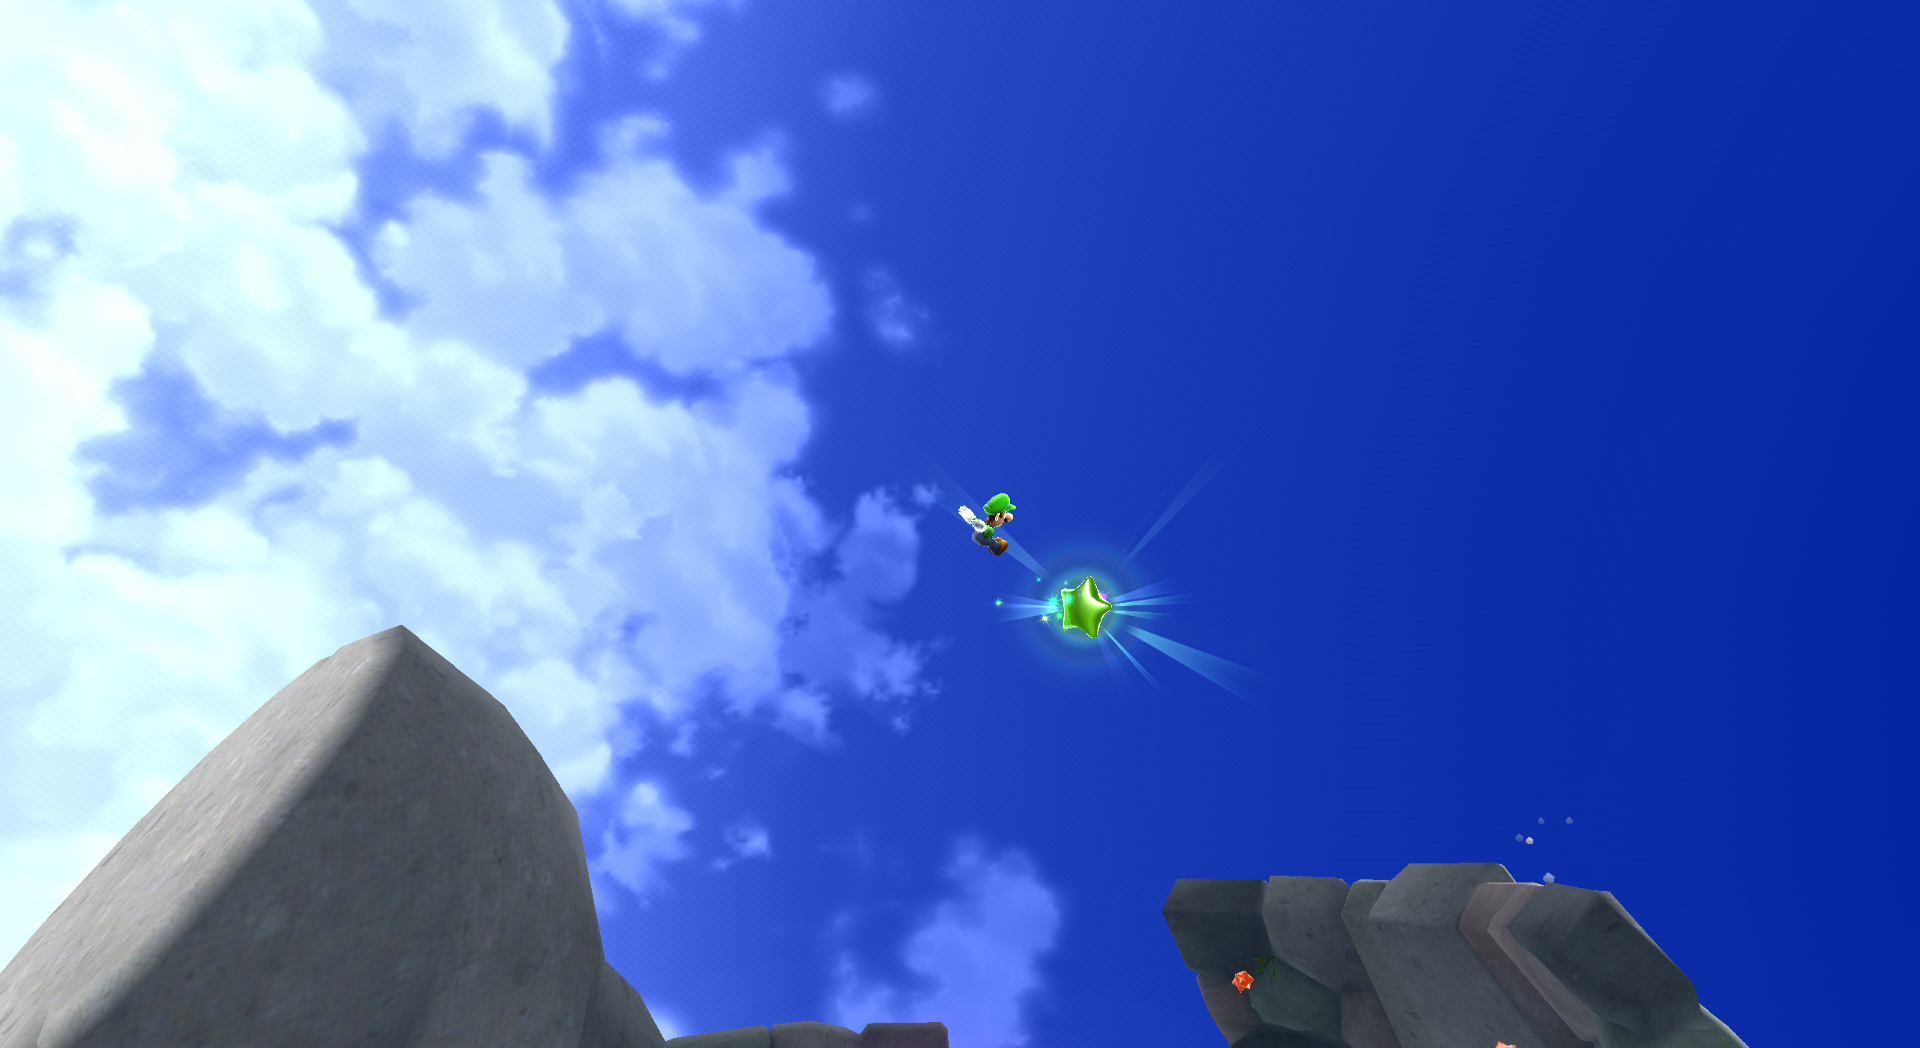
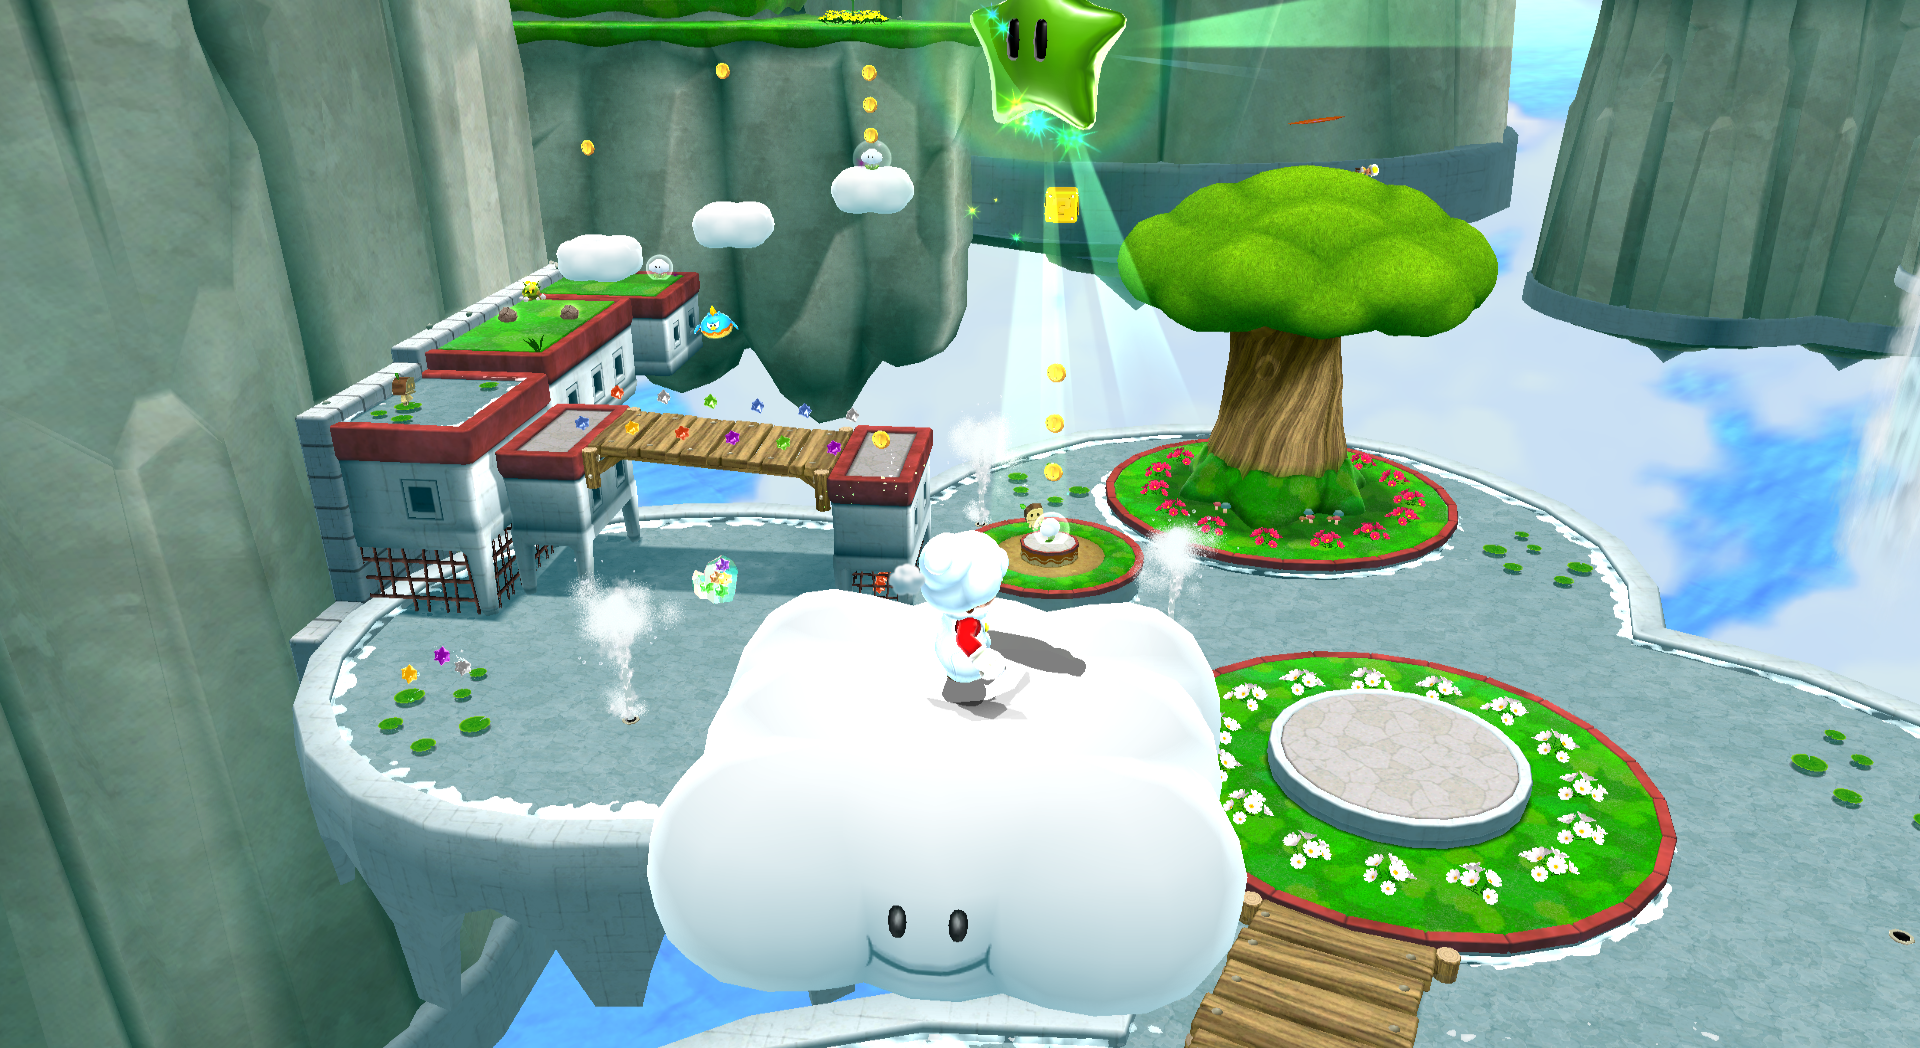 The Green Star is above the start, but you need the Cloud Flower to reach it. Climbing a nearby tree to gain height can also help. | ||
| Green Star #11: Fluffy Bluff Galaxy | ||
|---|---|---|
| Green Star #12: Fluffy Bluff Galaxy | ||
|---|---|---|
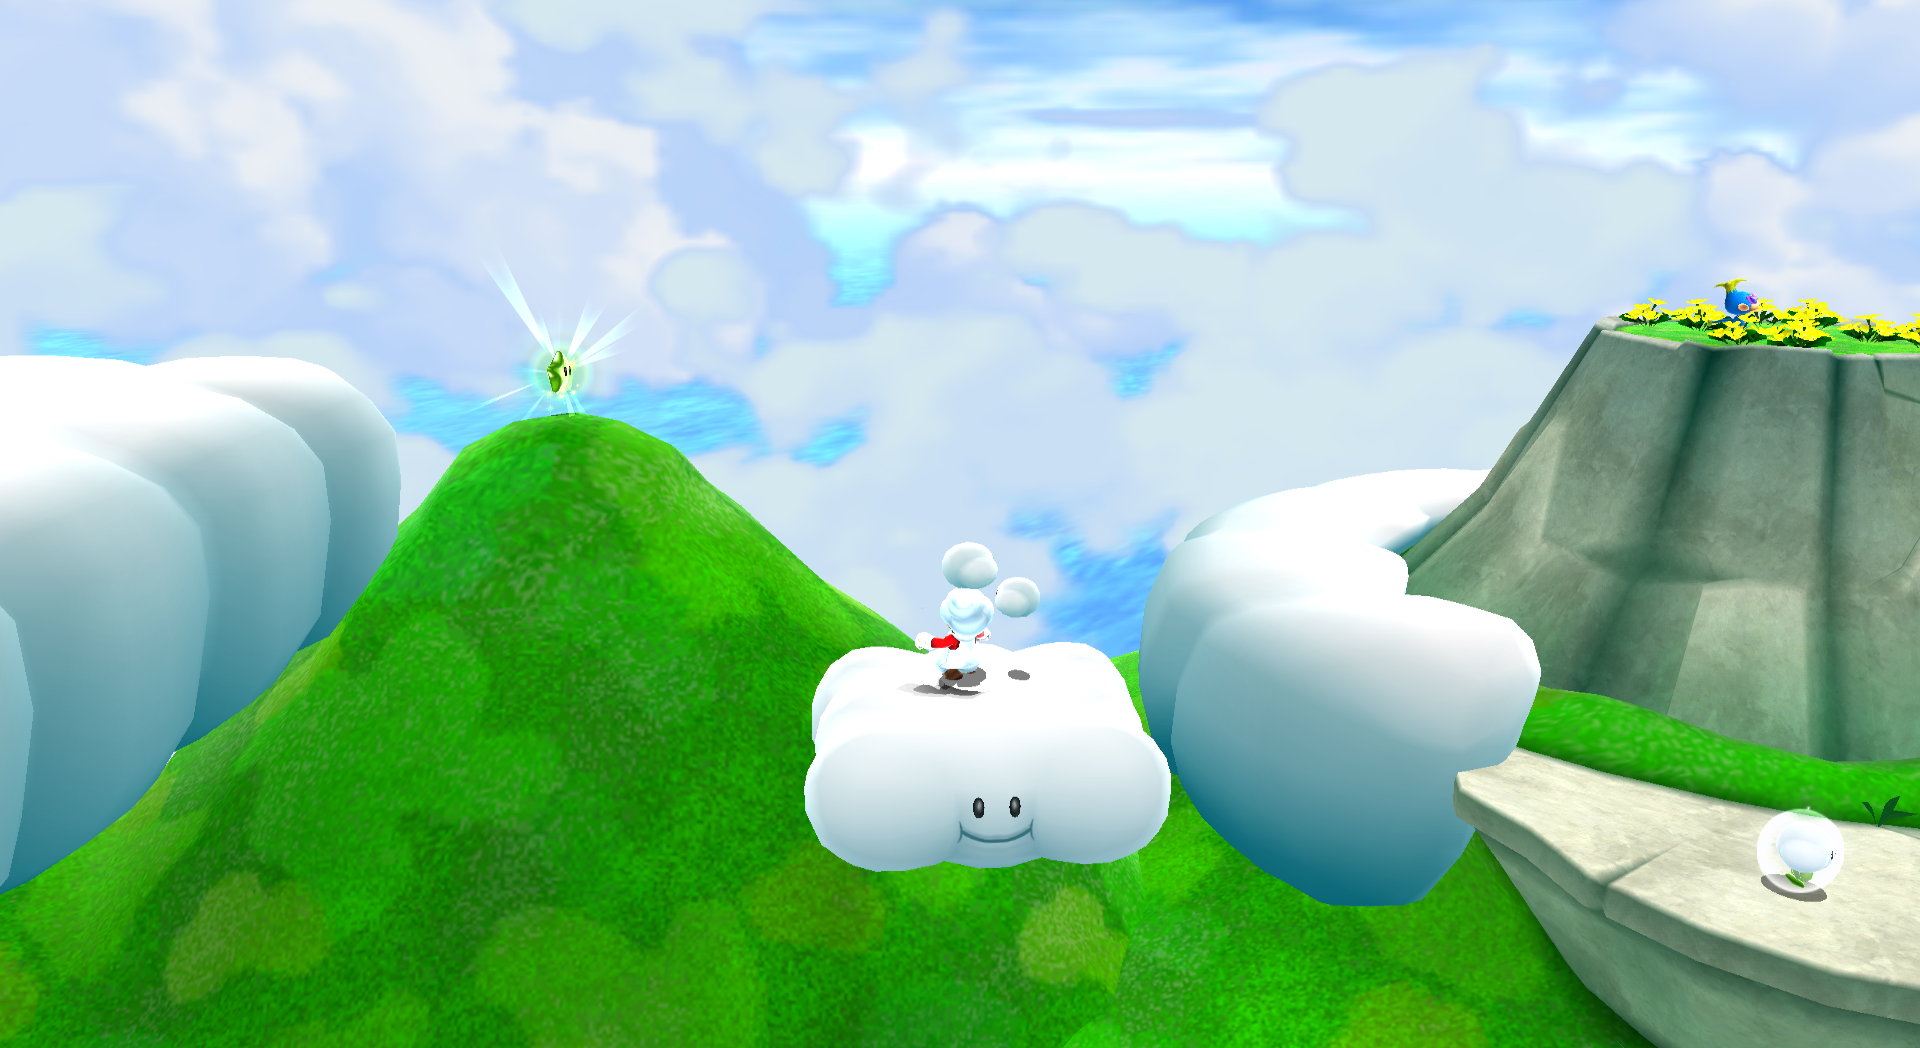 On a small mountain to the left of the one where The Chimp is. You will need the Cloud Flower to reach it. | ||
| Green Star #13: Flip-Swap Galaxy | ||
|---|---|---|
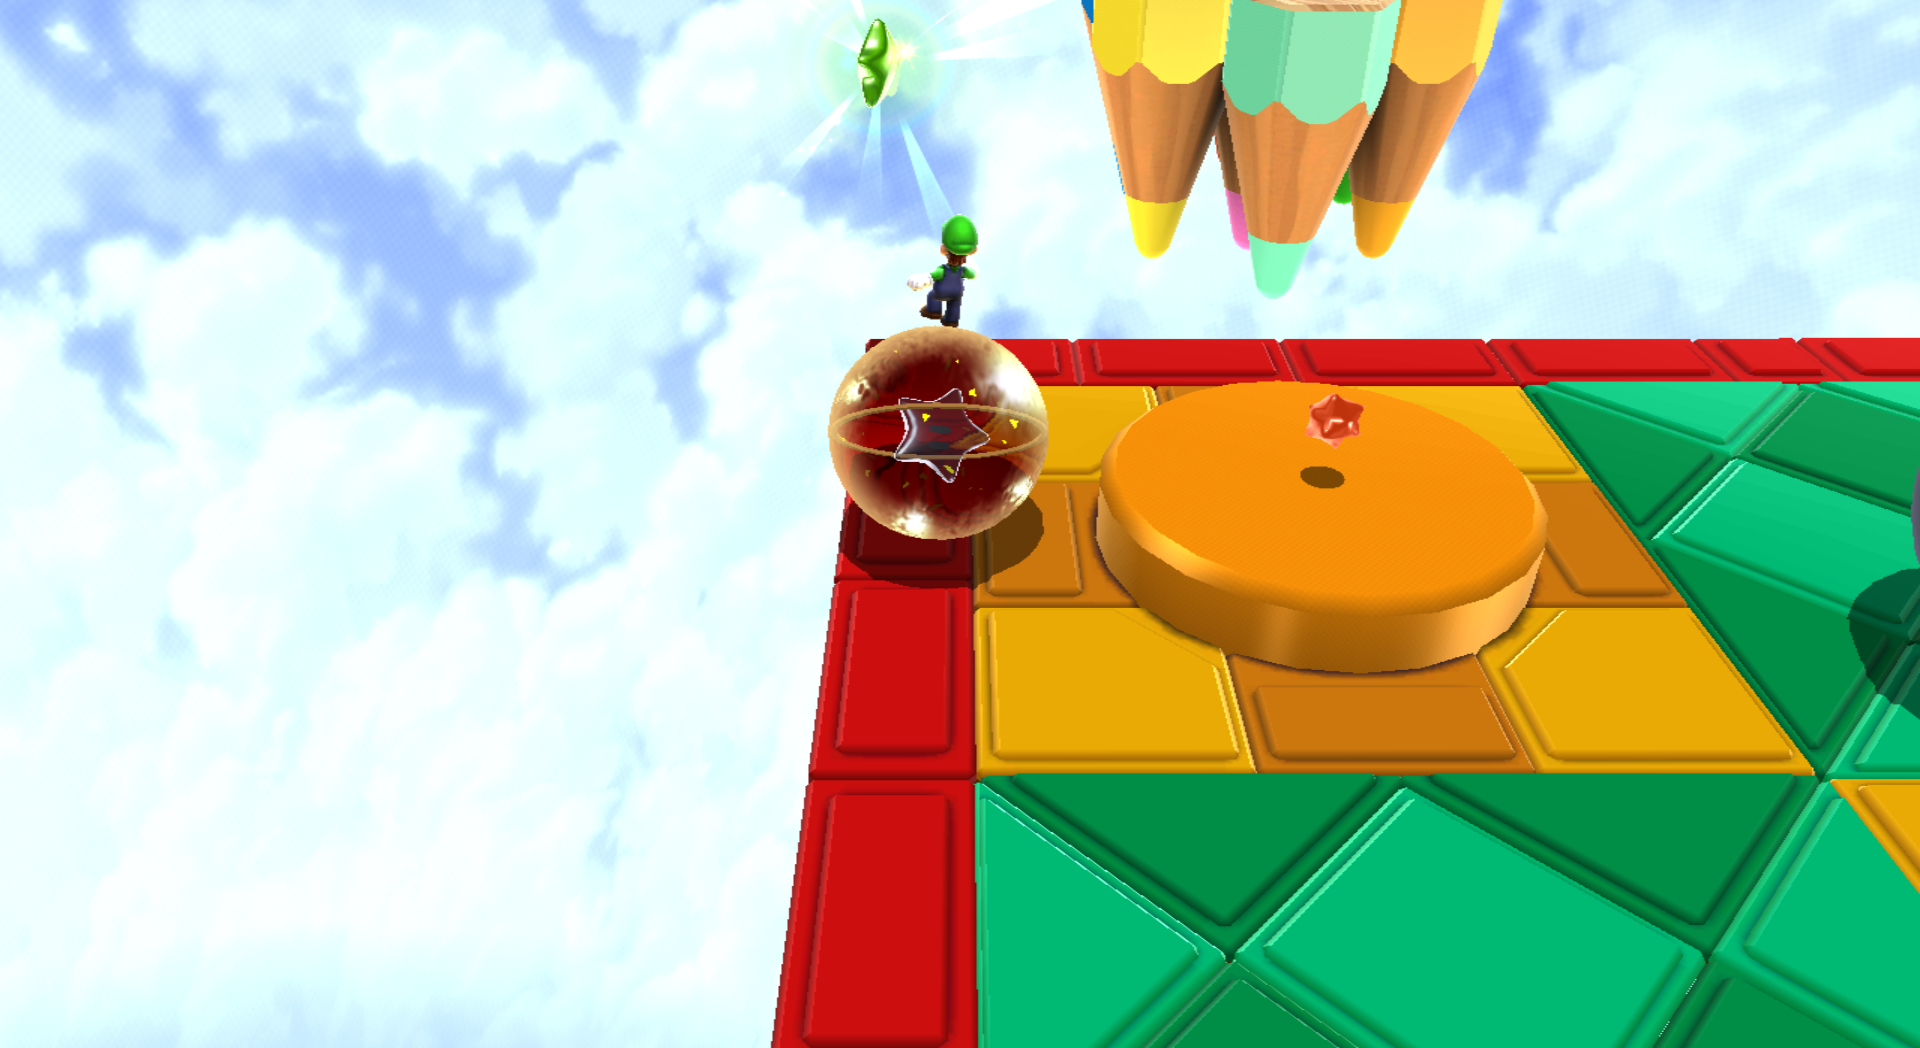
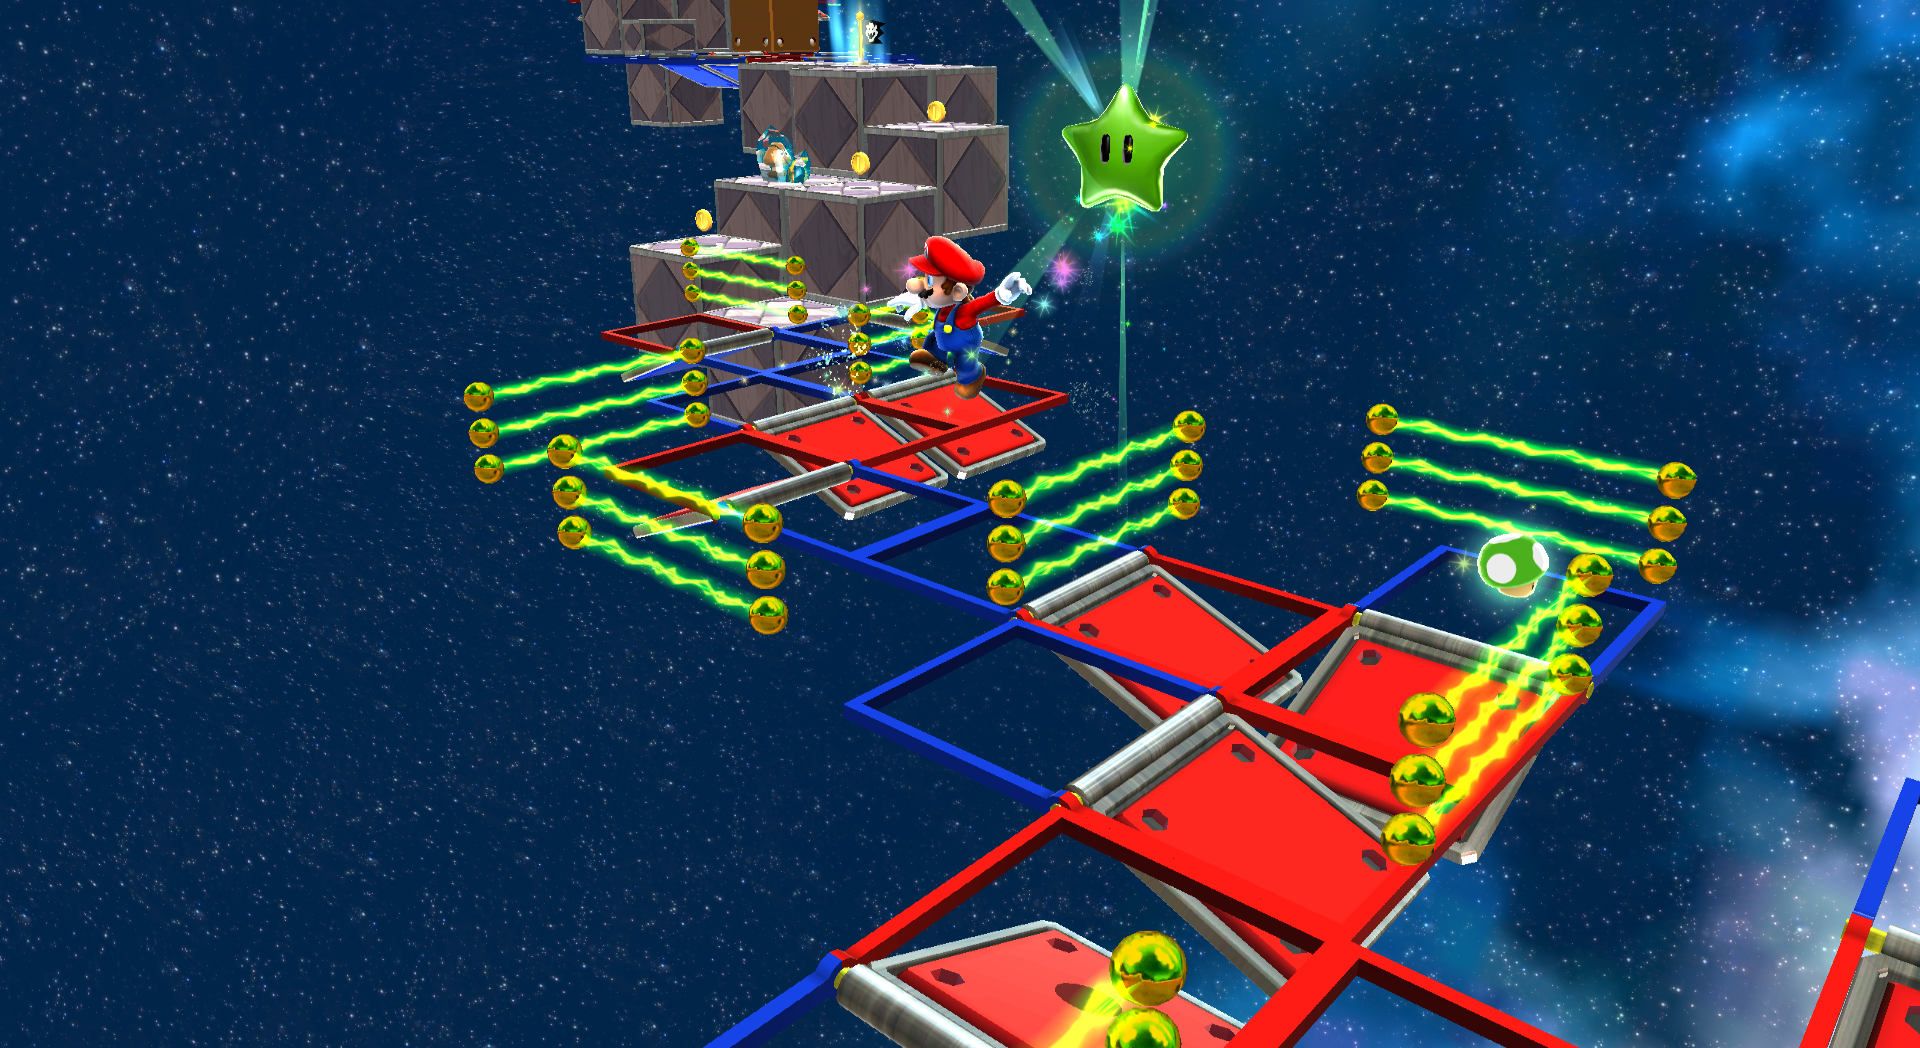 Above a red platform. You'll have to line up a Triple Jump and then spin to reach it. Be careful to not fall off. | ||
| Green Star #14: Flip-Swap Galaxy | ||
|---|---|---|
| Green Star #15: Rightside Down Galaxy | ||
|---|---|---|
| Green Star #16: Rightside Down Galaxy | ||
|---|---|---|
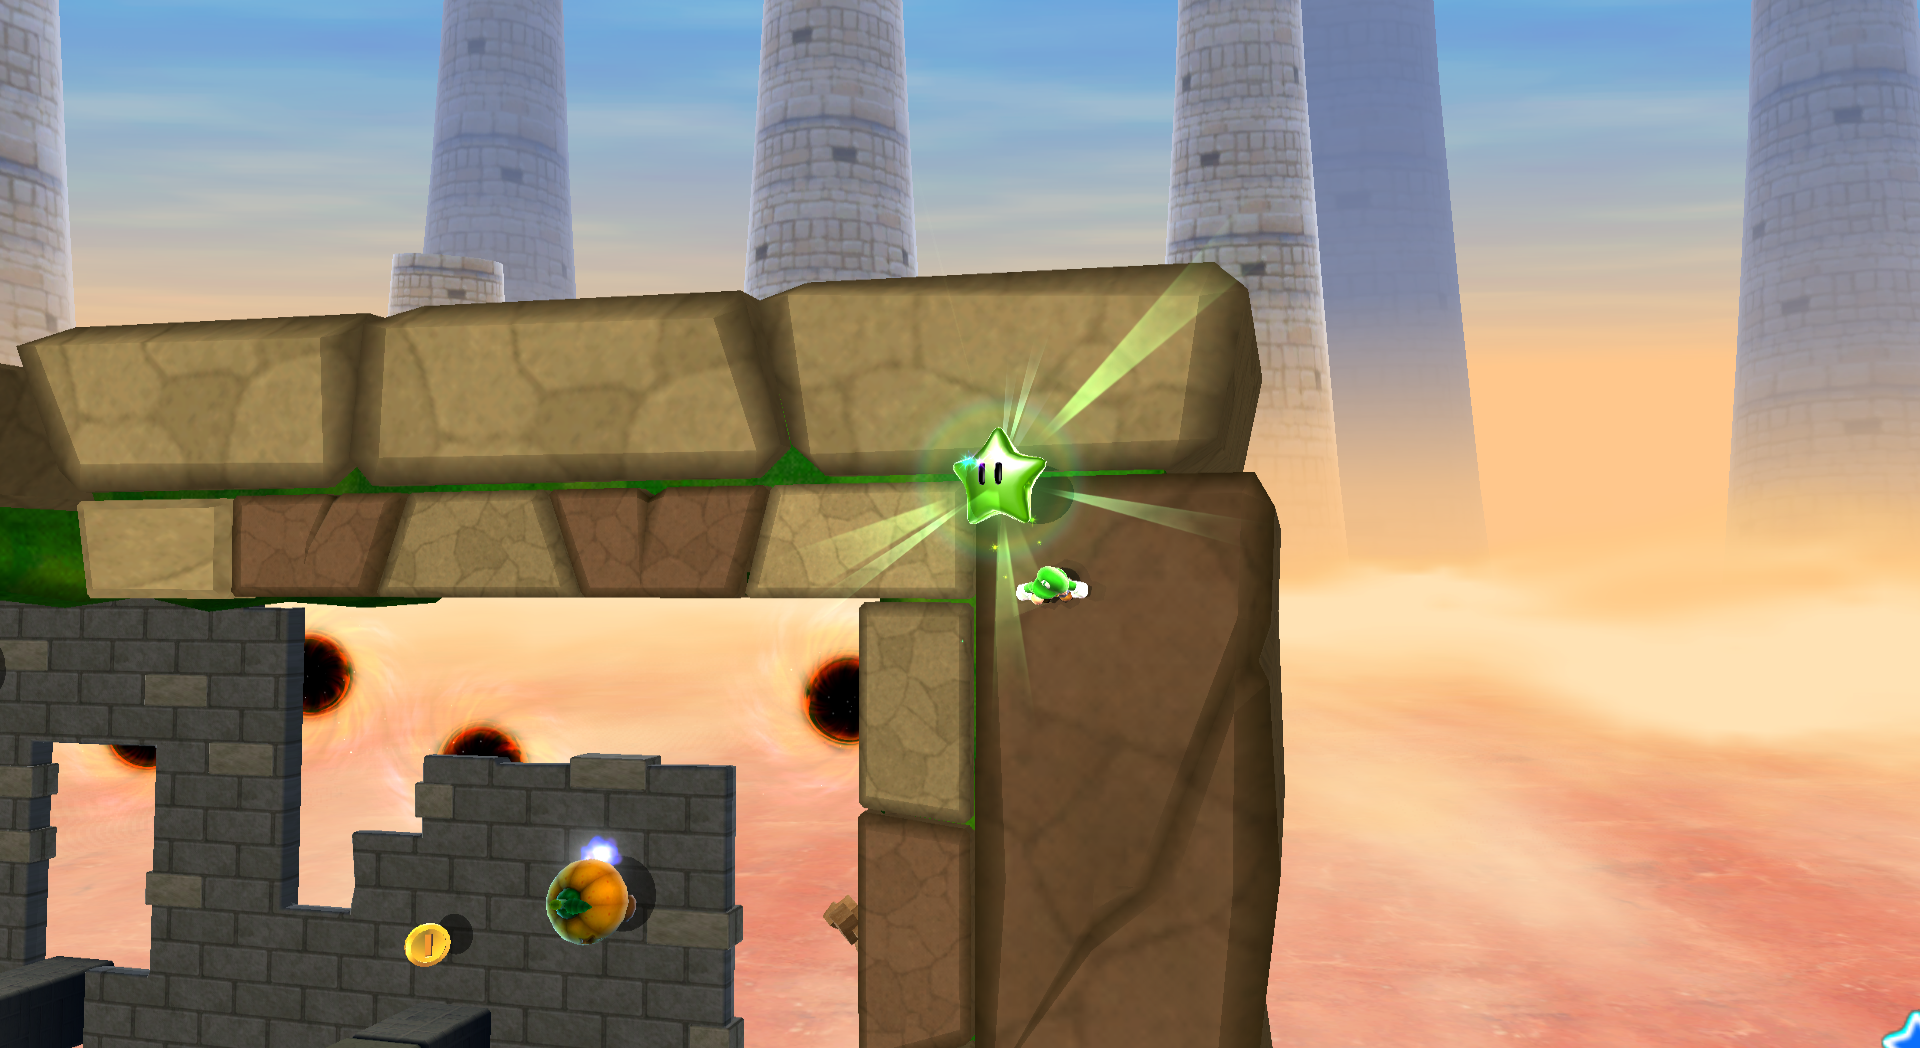
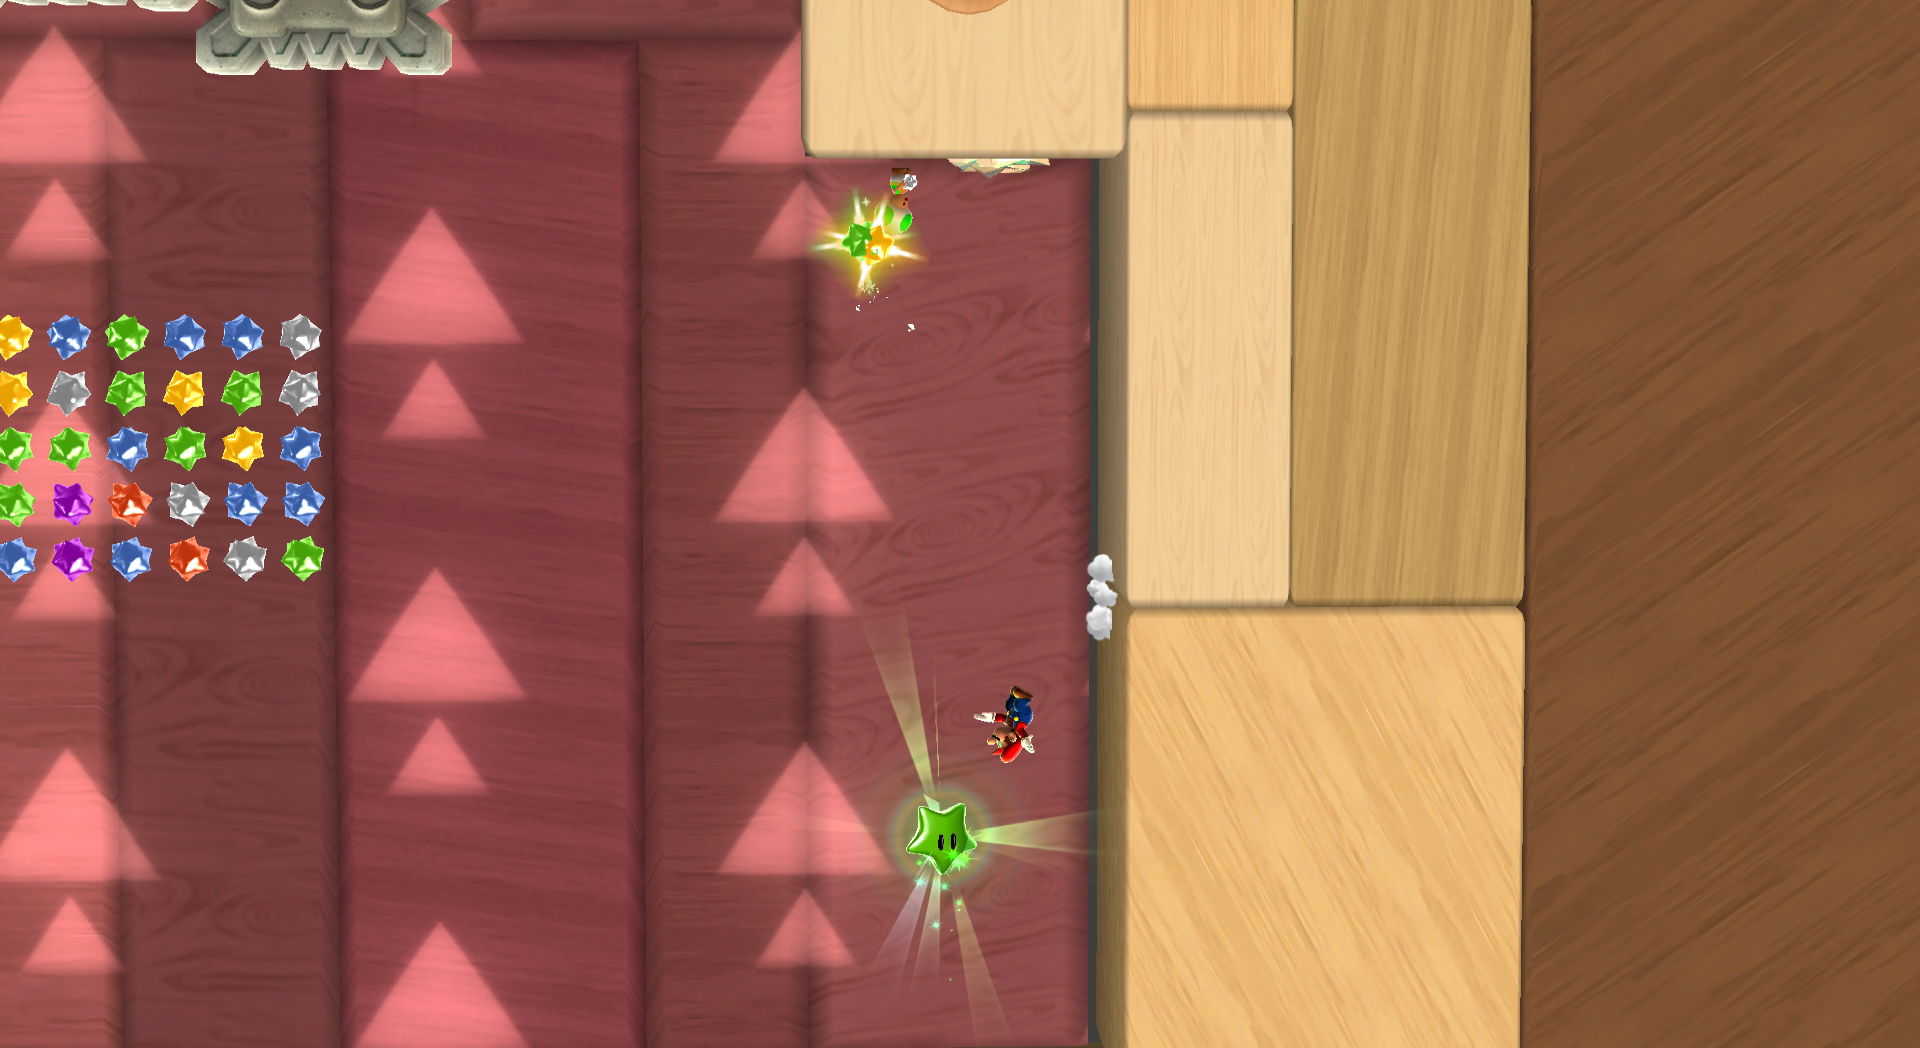 In the second Thwomp area, jump on the Thwomps to get yourself over to where the Green Toad is. From there, do a backwards somersault and jump off of the wall to reach the Green Star. | ||
| Green Star #17: Bowser Jr.'s Fiery Flotilla | ||
|---|---|---|
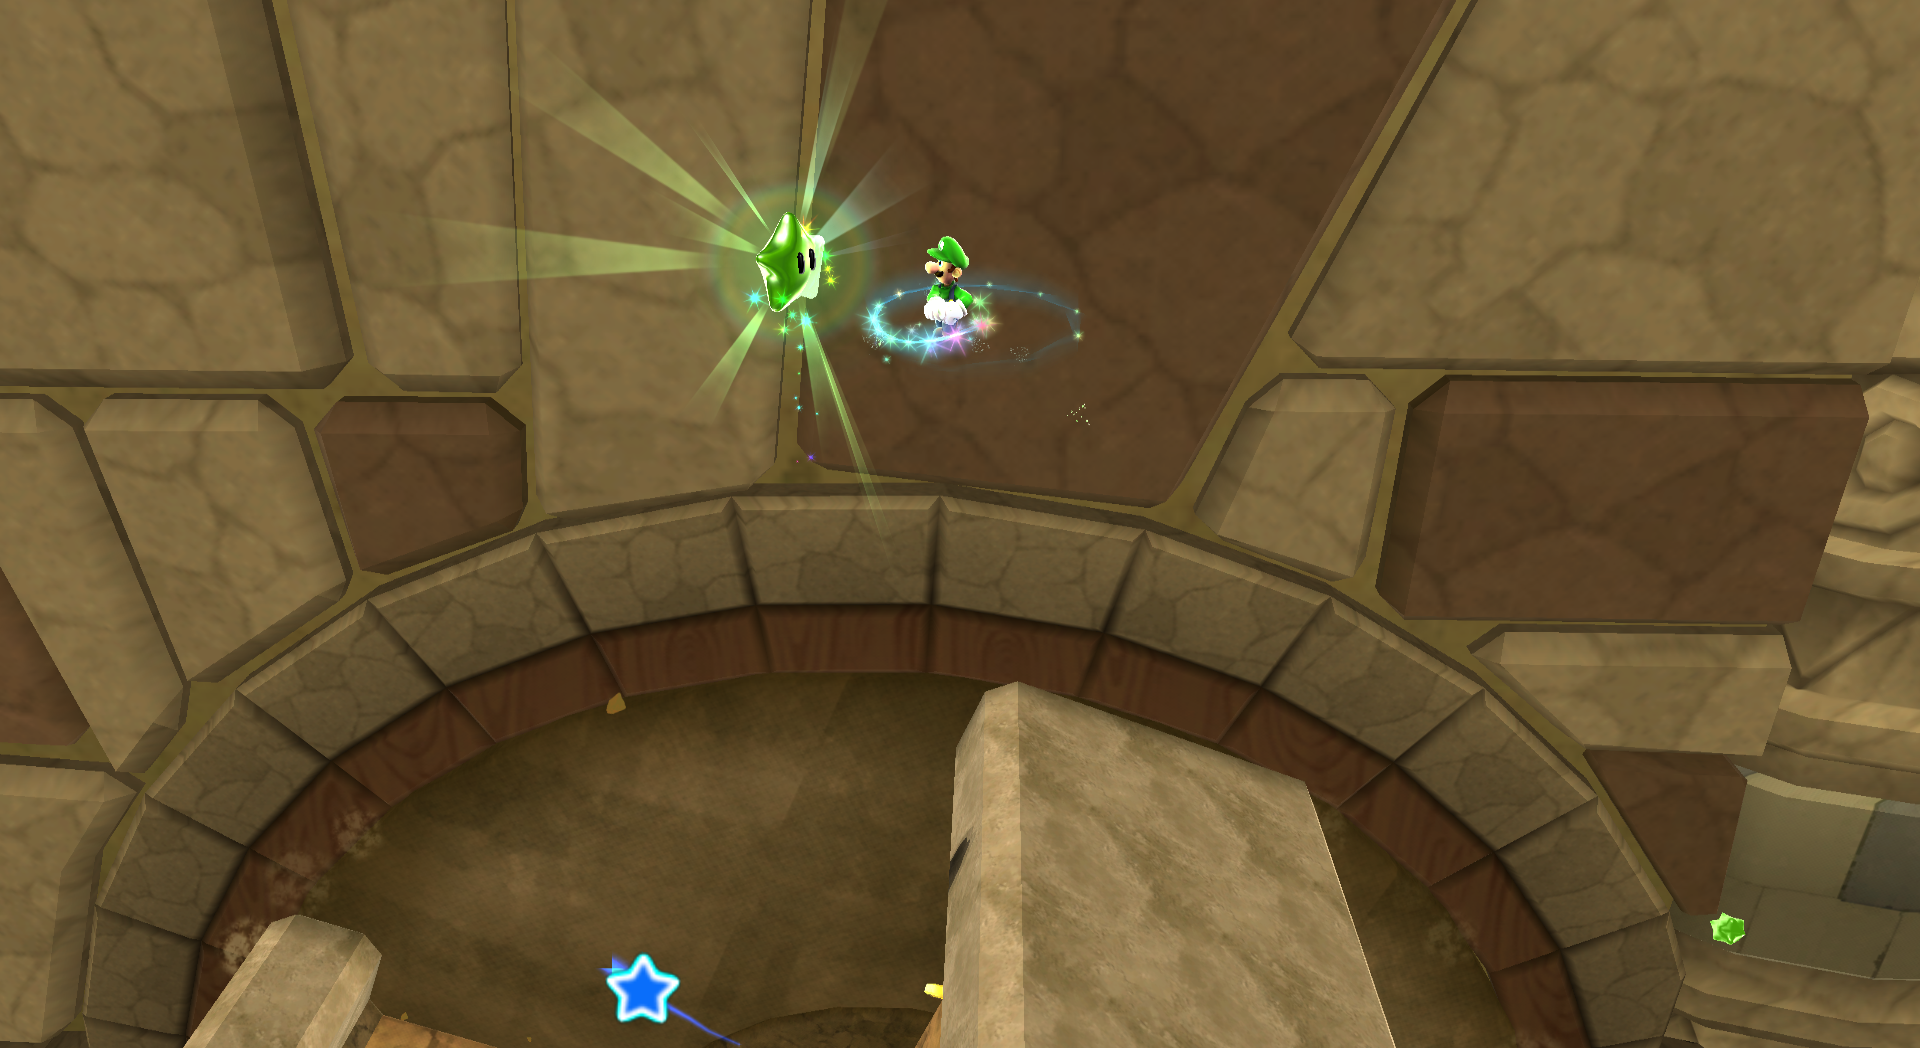
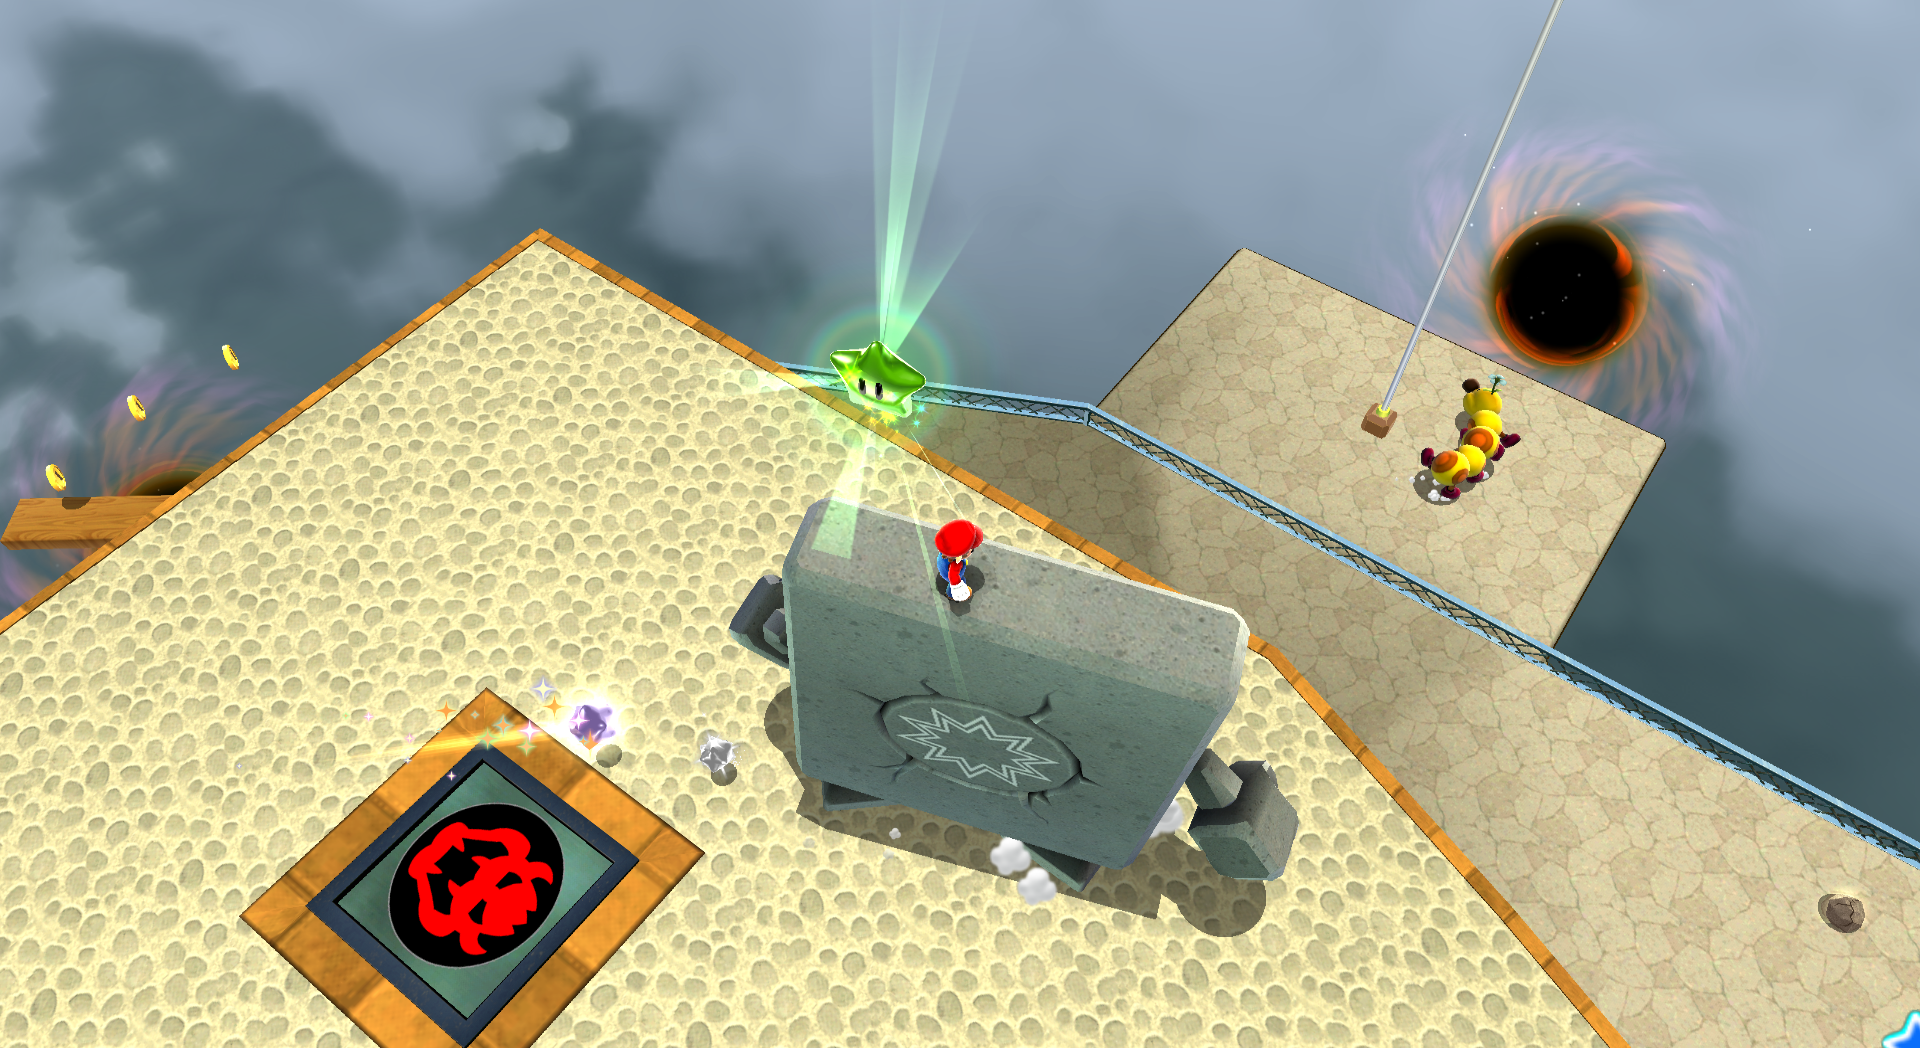
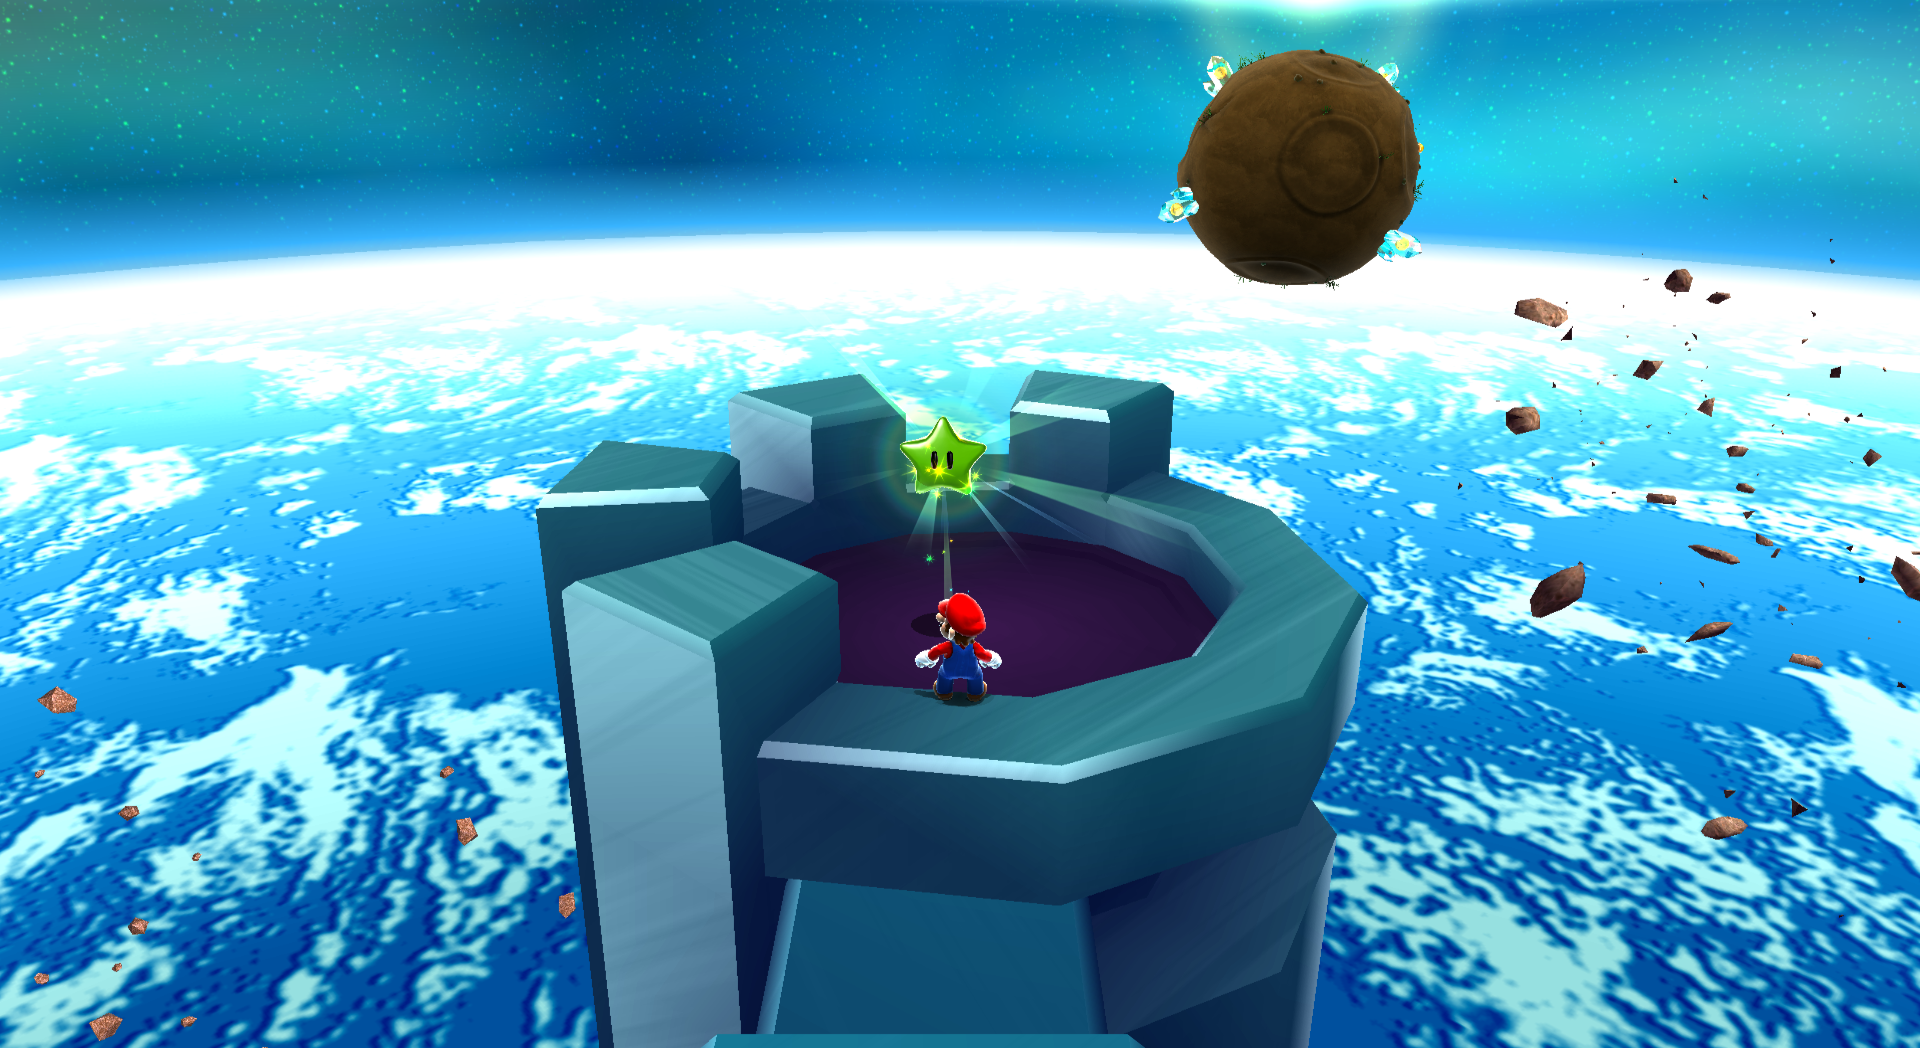 On top of Bowser Jr.'s fortress, jump on the Thwomp to get to where the Comet Medal is, then jump toward the castle and wall jump to reach the top. From there, walk along the top making your way to the back left corner where the star is. | ||
| Green Star #18: Bowser Jr.'s Fiery Flotilla | ||
|---|---|---|
| Green Star #19: Puzzle Plank Galaxy | ||
|---|---|---|
| Green Star #20: Puzzle Plank Galaxy | ||
|---|---|---|
| Green Star #21: Puzzle Plank Galaxy | ||
|---|---|---|
| Green Star #22: Hightail Falls Galaxy | ||
|---|---|---|
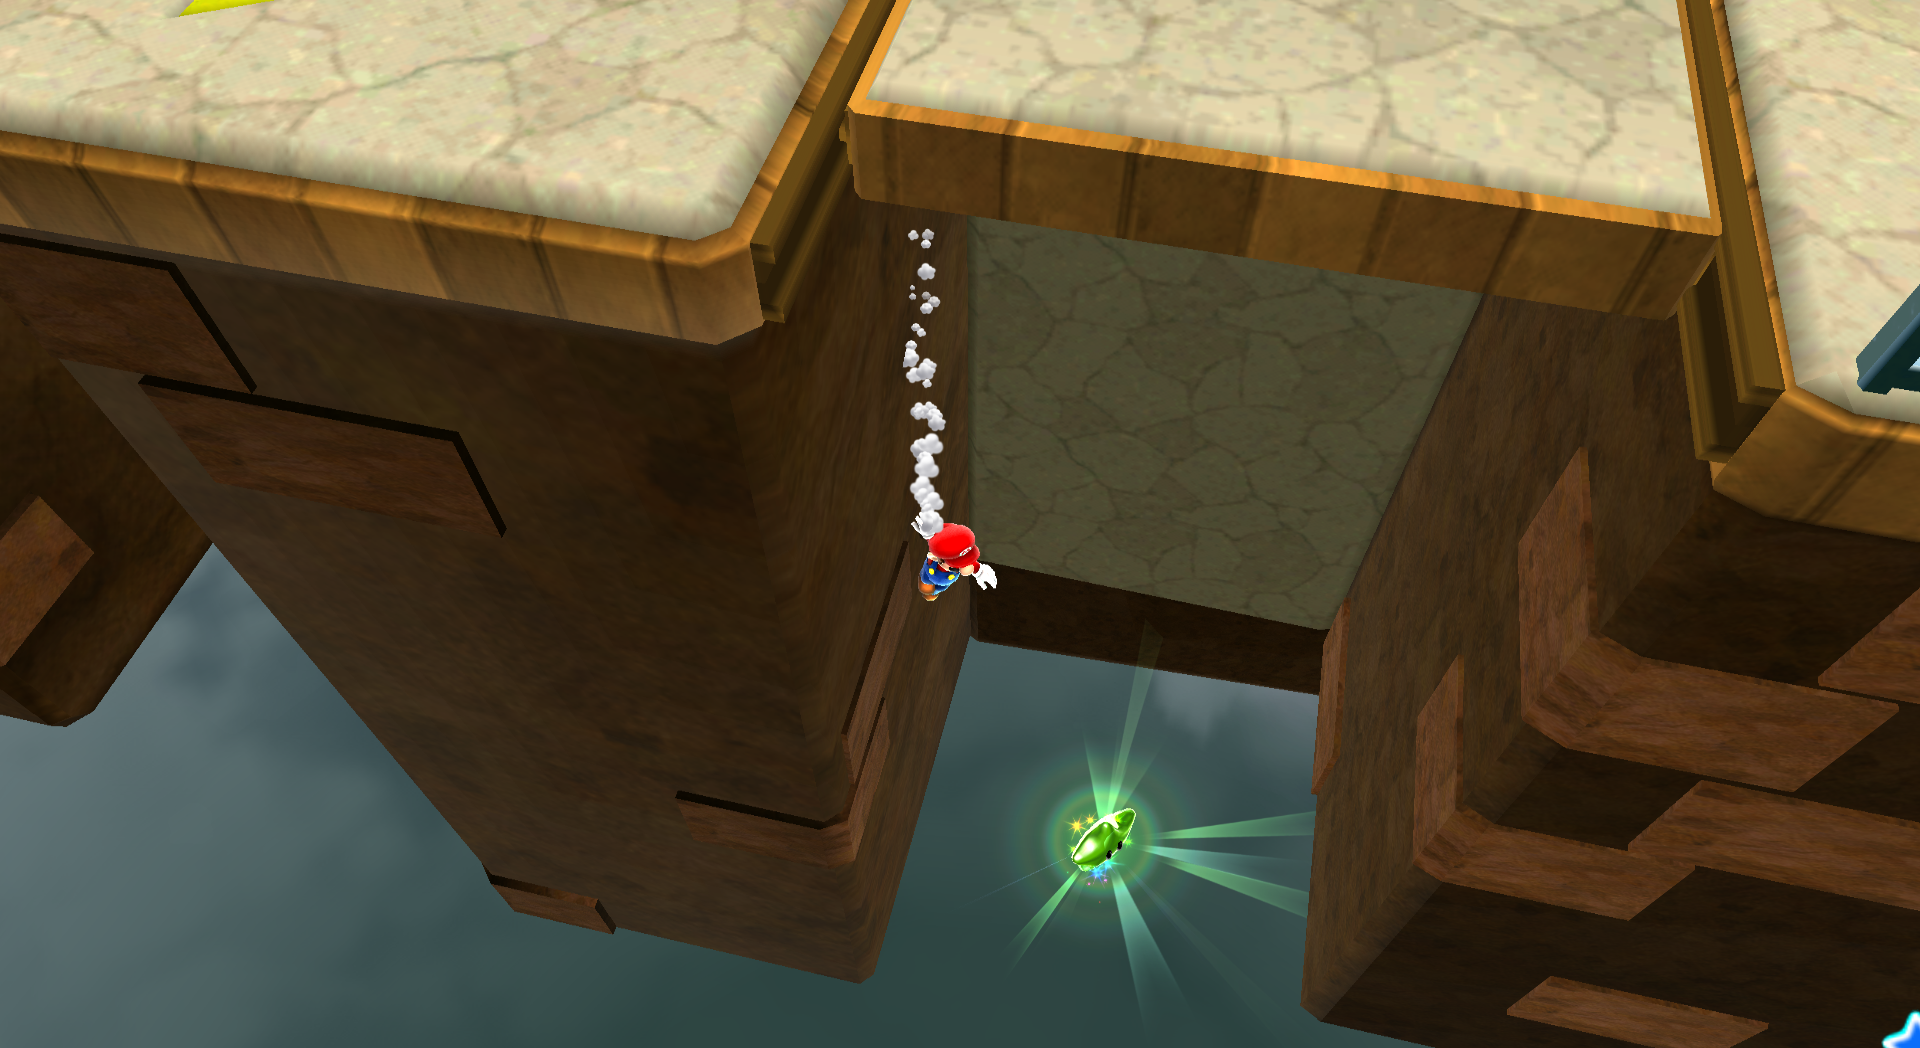
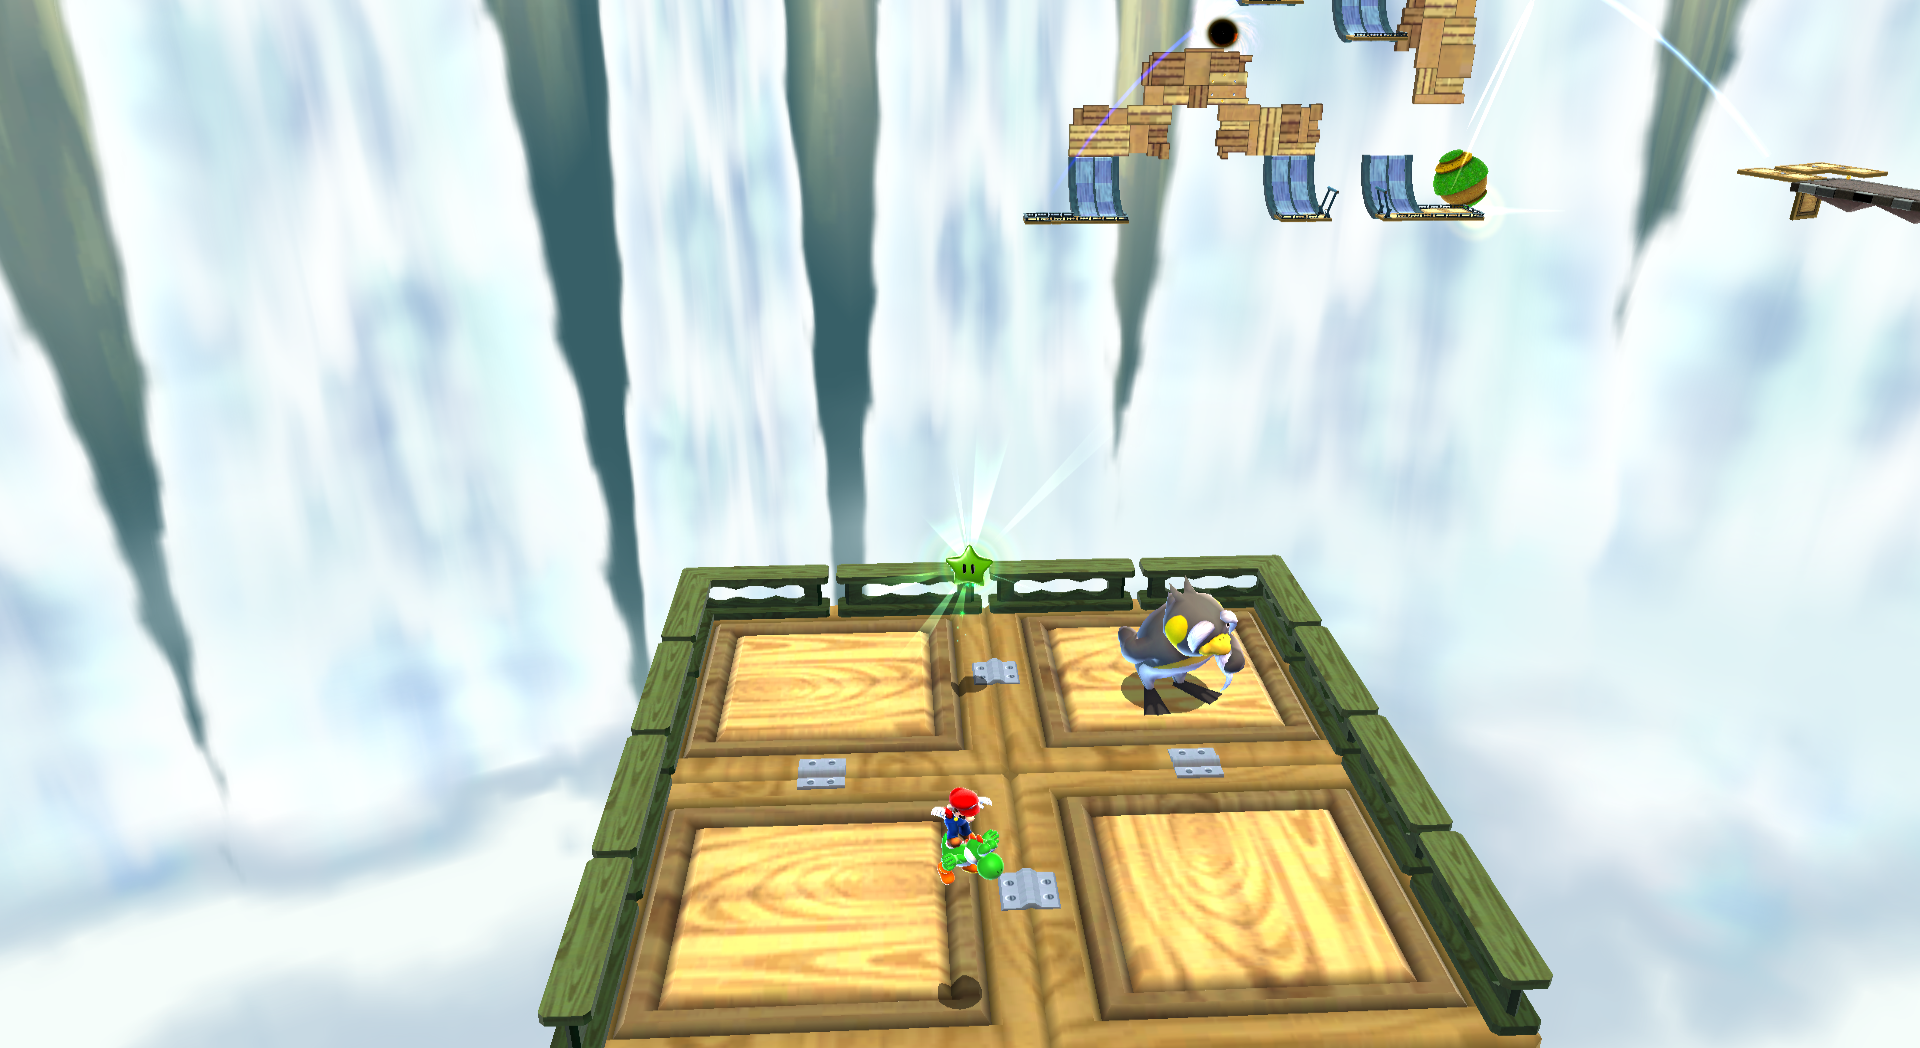 When Yoshi eats the Dash Pepper, he will have to climb all the way to the top of a very tall ramp, navigating around the obstacles and getting a chain of peppers. When you get to the top, the Green Star is there next to Penguru. | ||
| Green Star #23: Hightail Falls Galaxy | ||
|---|---|---|
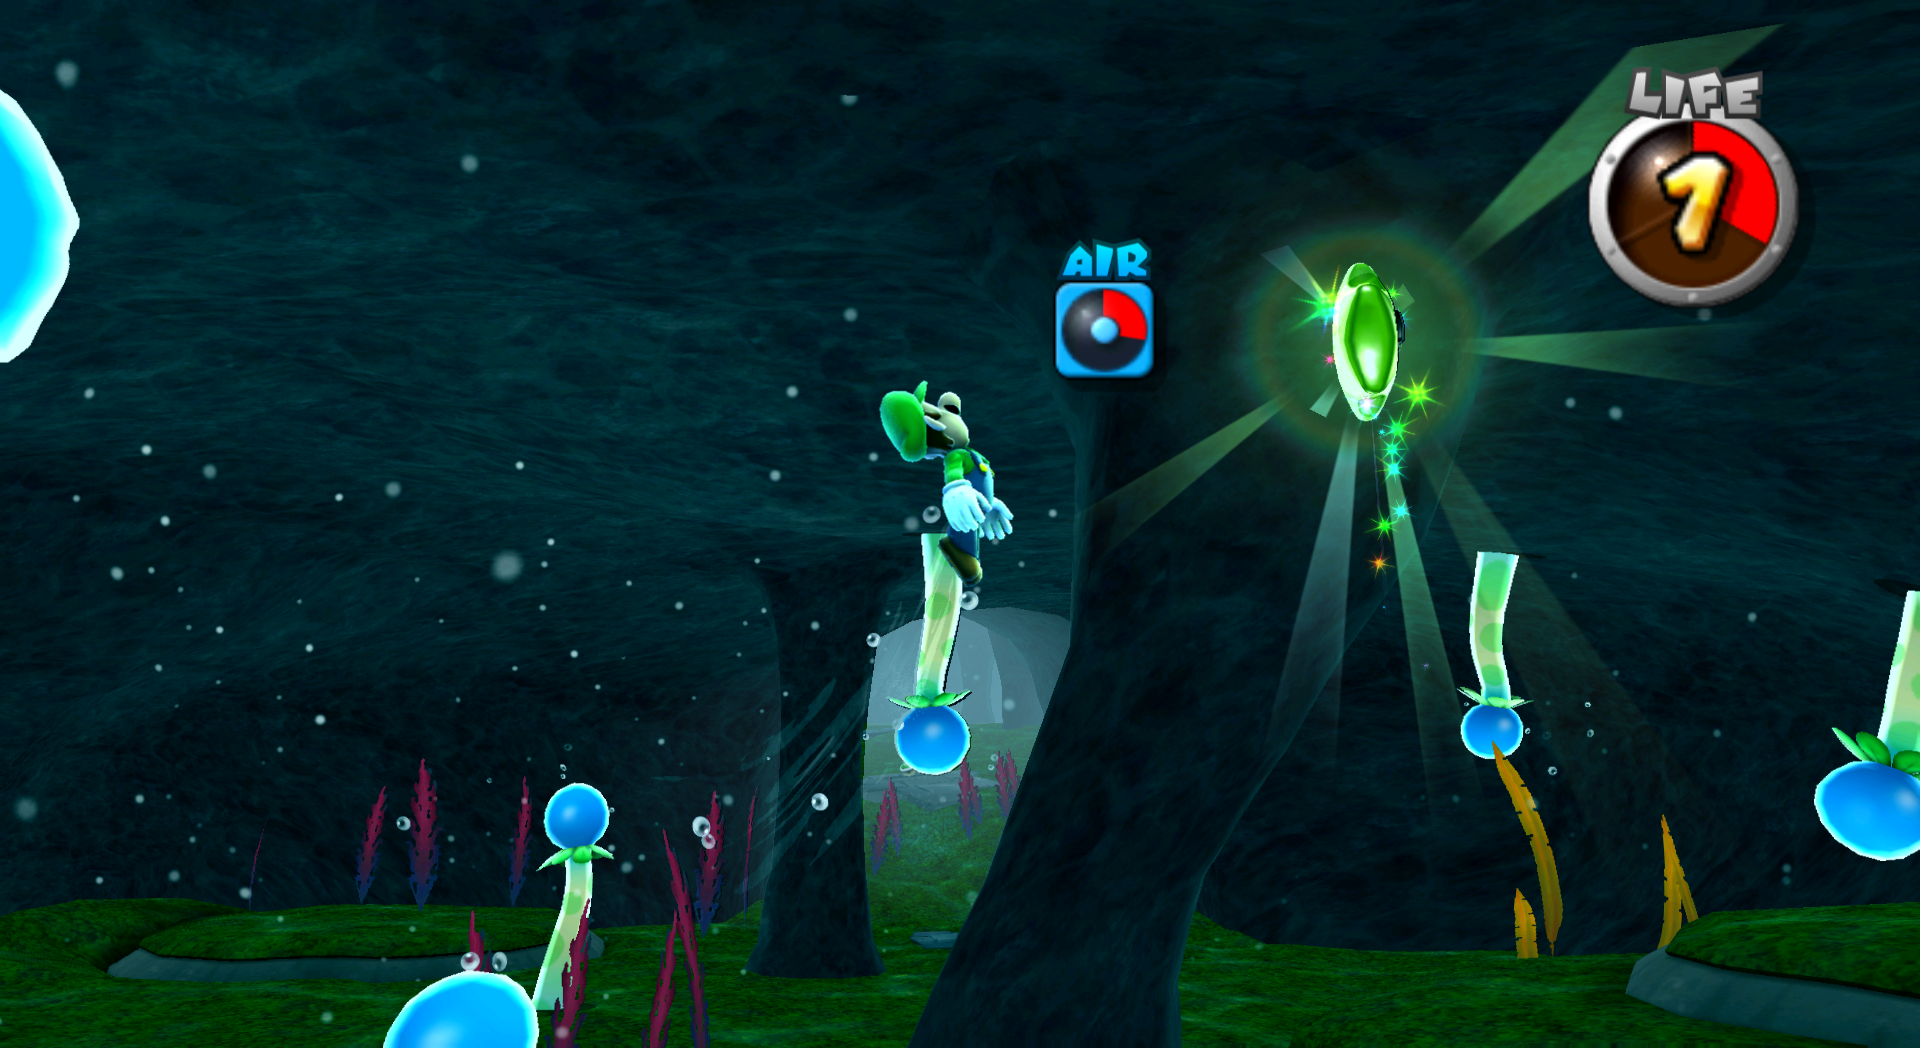
| Green Star #24: Hightail Falls Galaxy | ||
|---|---|---|
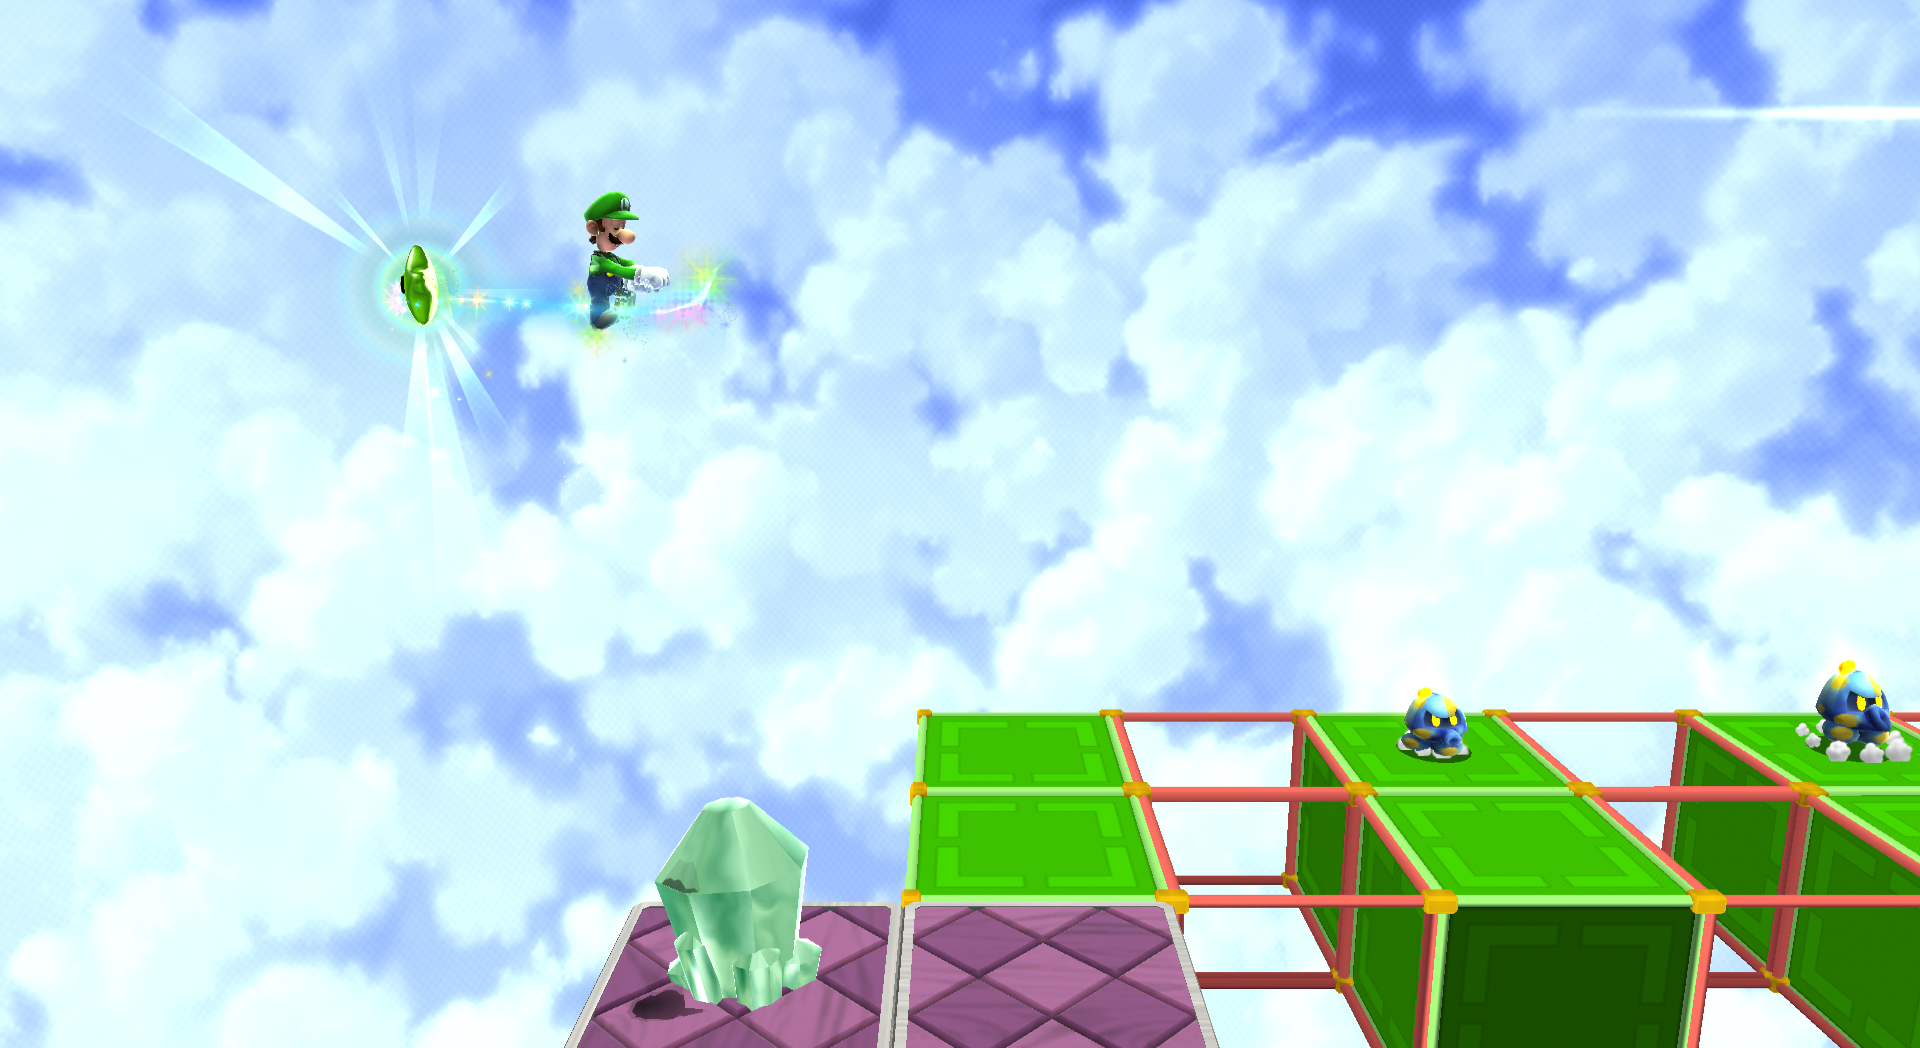
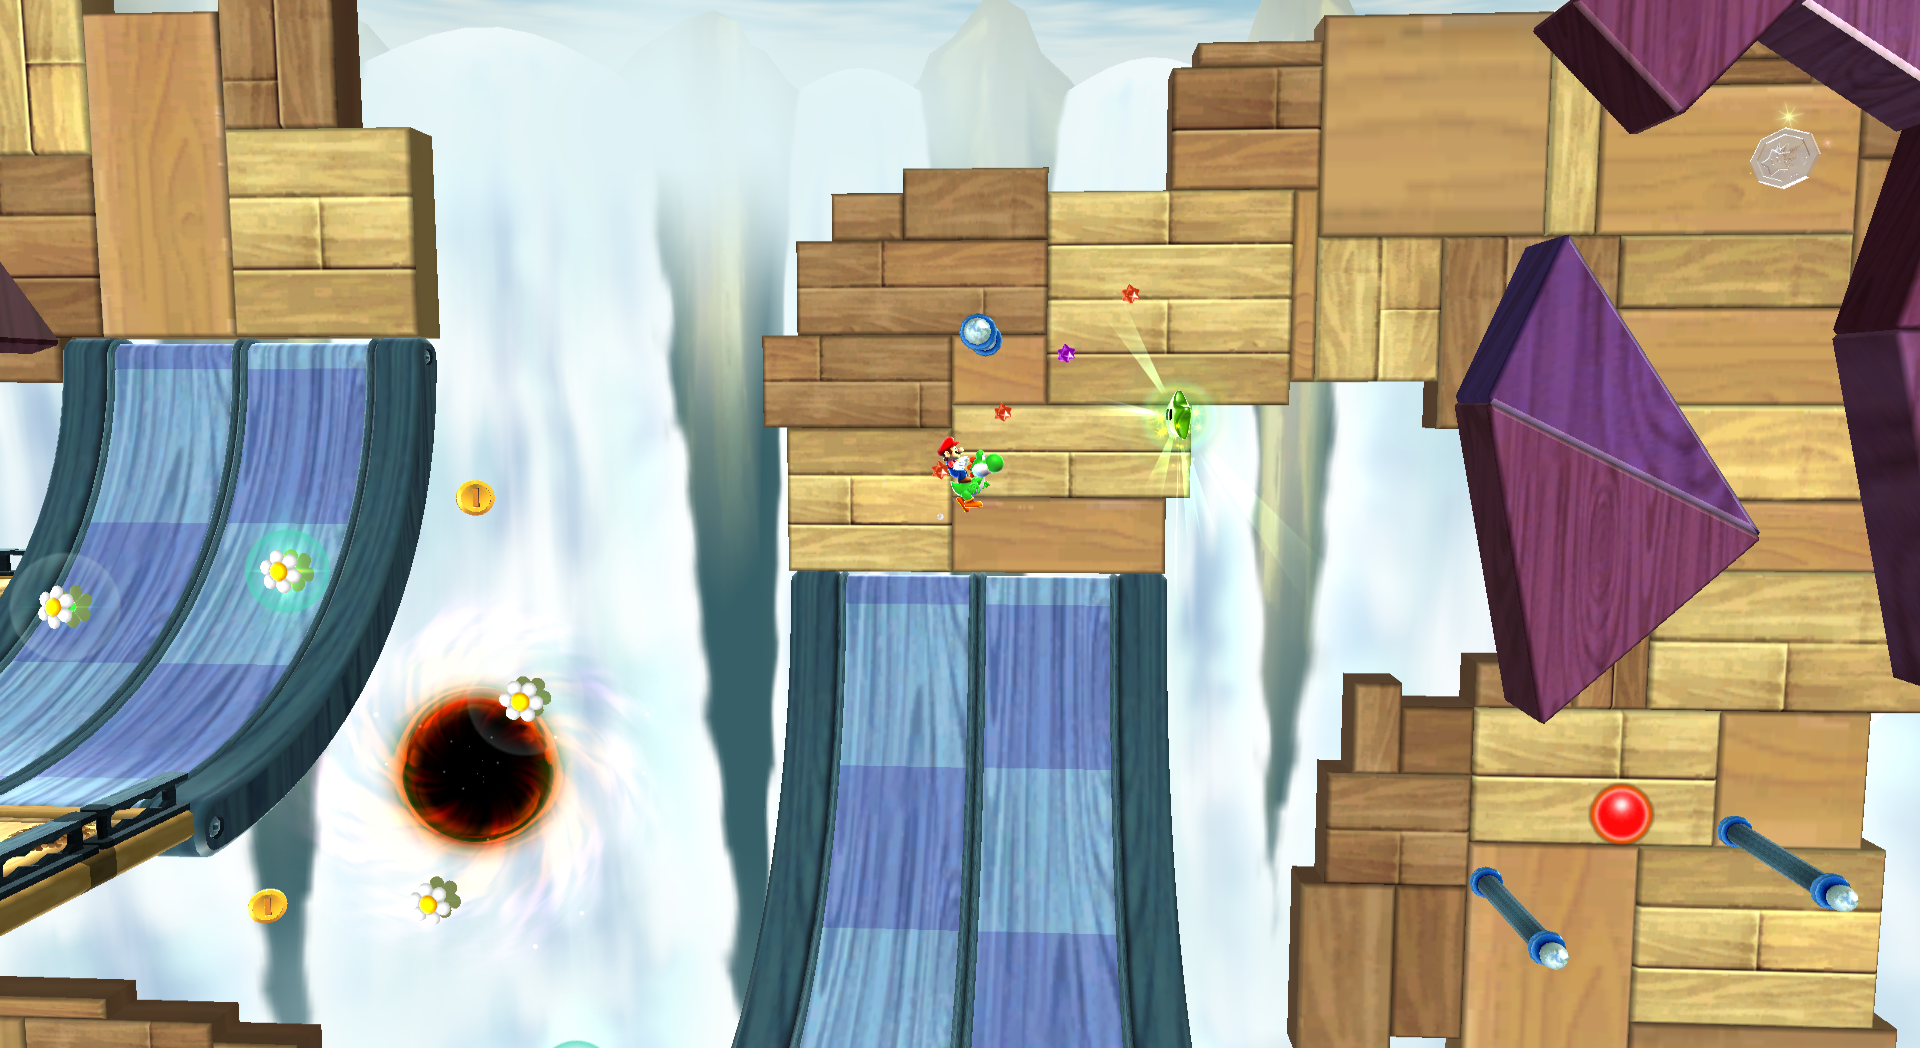 You'll have to make your way towards the end of the galaxy where there are the Flower Grapples so that you can use Yoshi to swing your way over to the star. | ||
| Green Star #25: Boulder Bowl Galaxy | ||
|---|---|---|
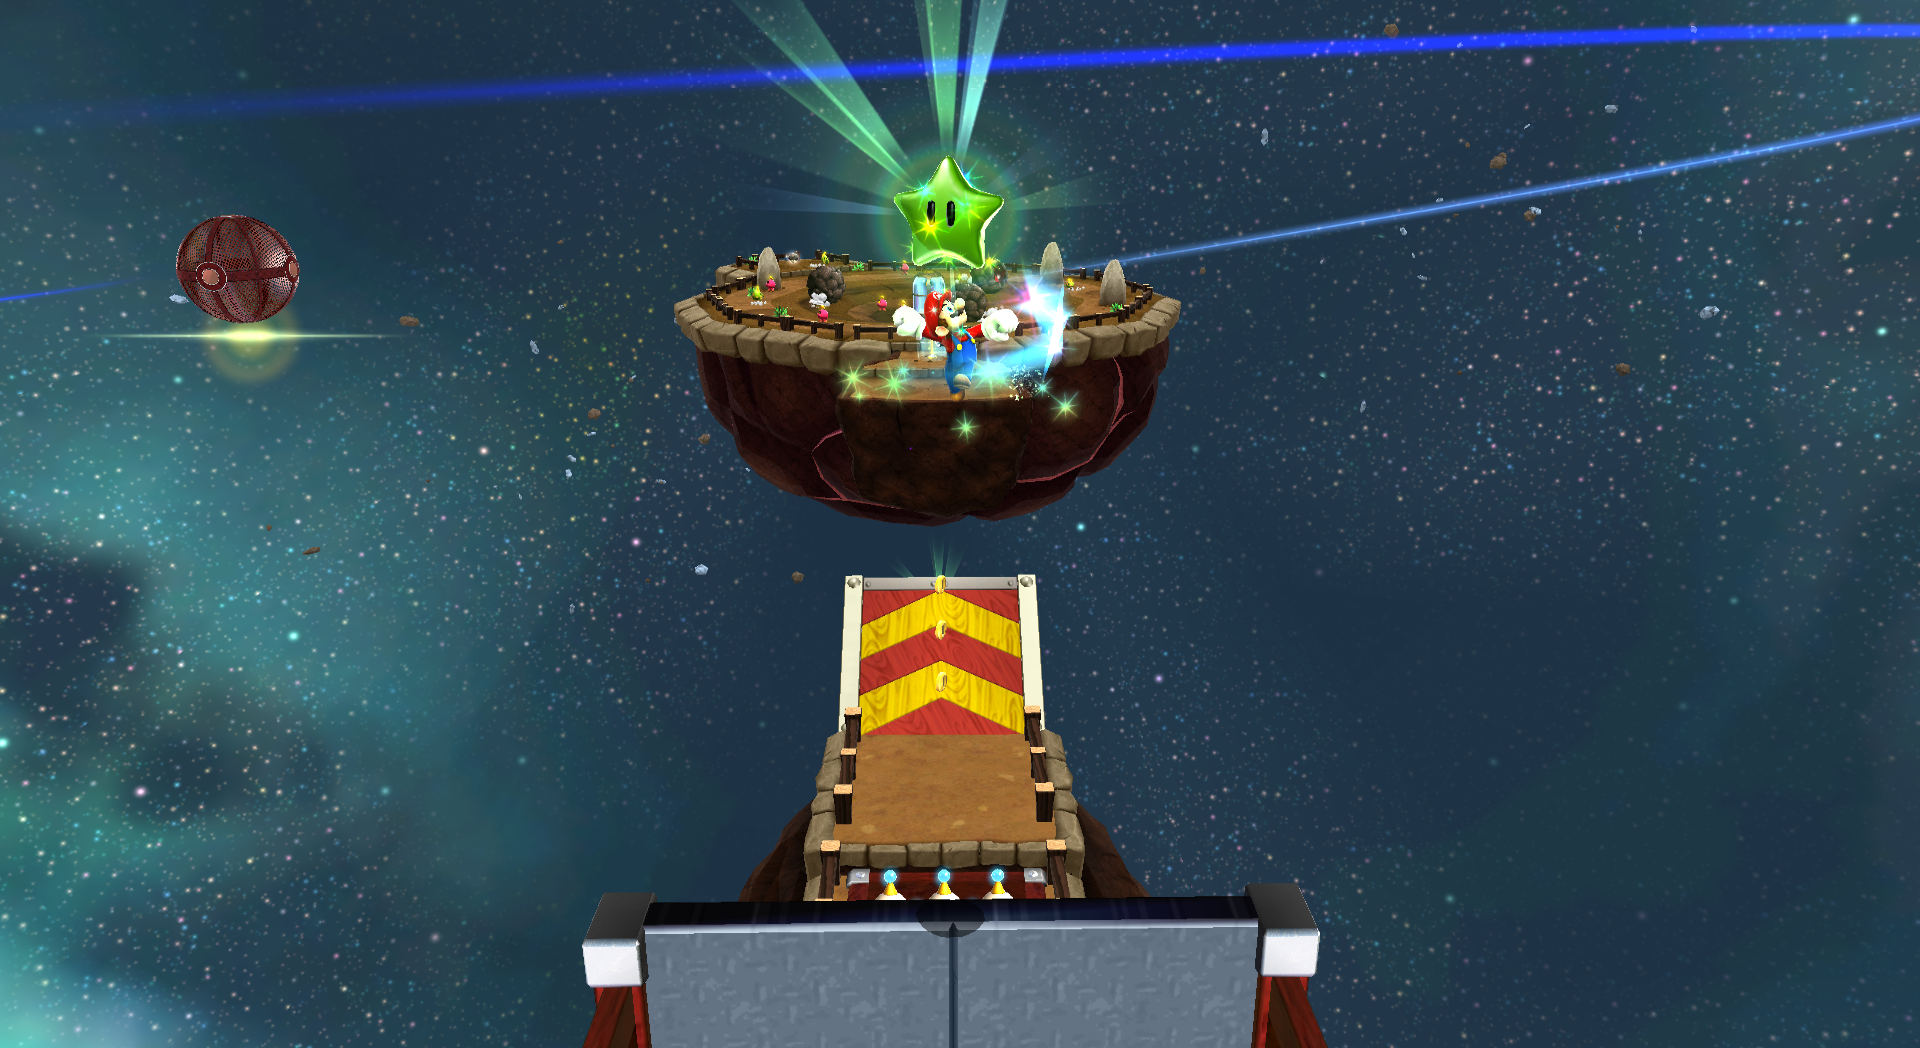 Instead of getting the Rock Mushroom, head over to the bridge normally, and use a series of spin wall jumps across the red sides of the bridge as it's upright in order to get to the top. From there, use a backwards somersault and a spin to get it. | ||
| Green Star #26: Boulder Bowl Galaxy | ||
|---|---|---|
| Green Star #27: Boulder Bowl Galaxy | ||
|---|---|---|
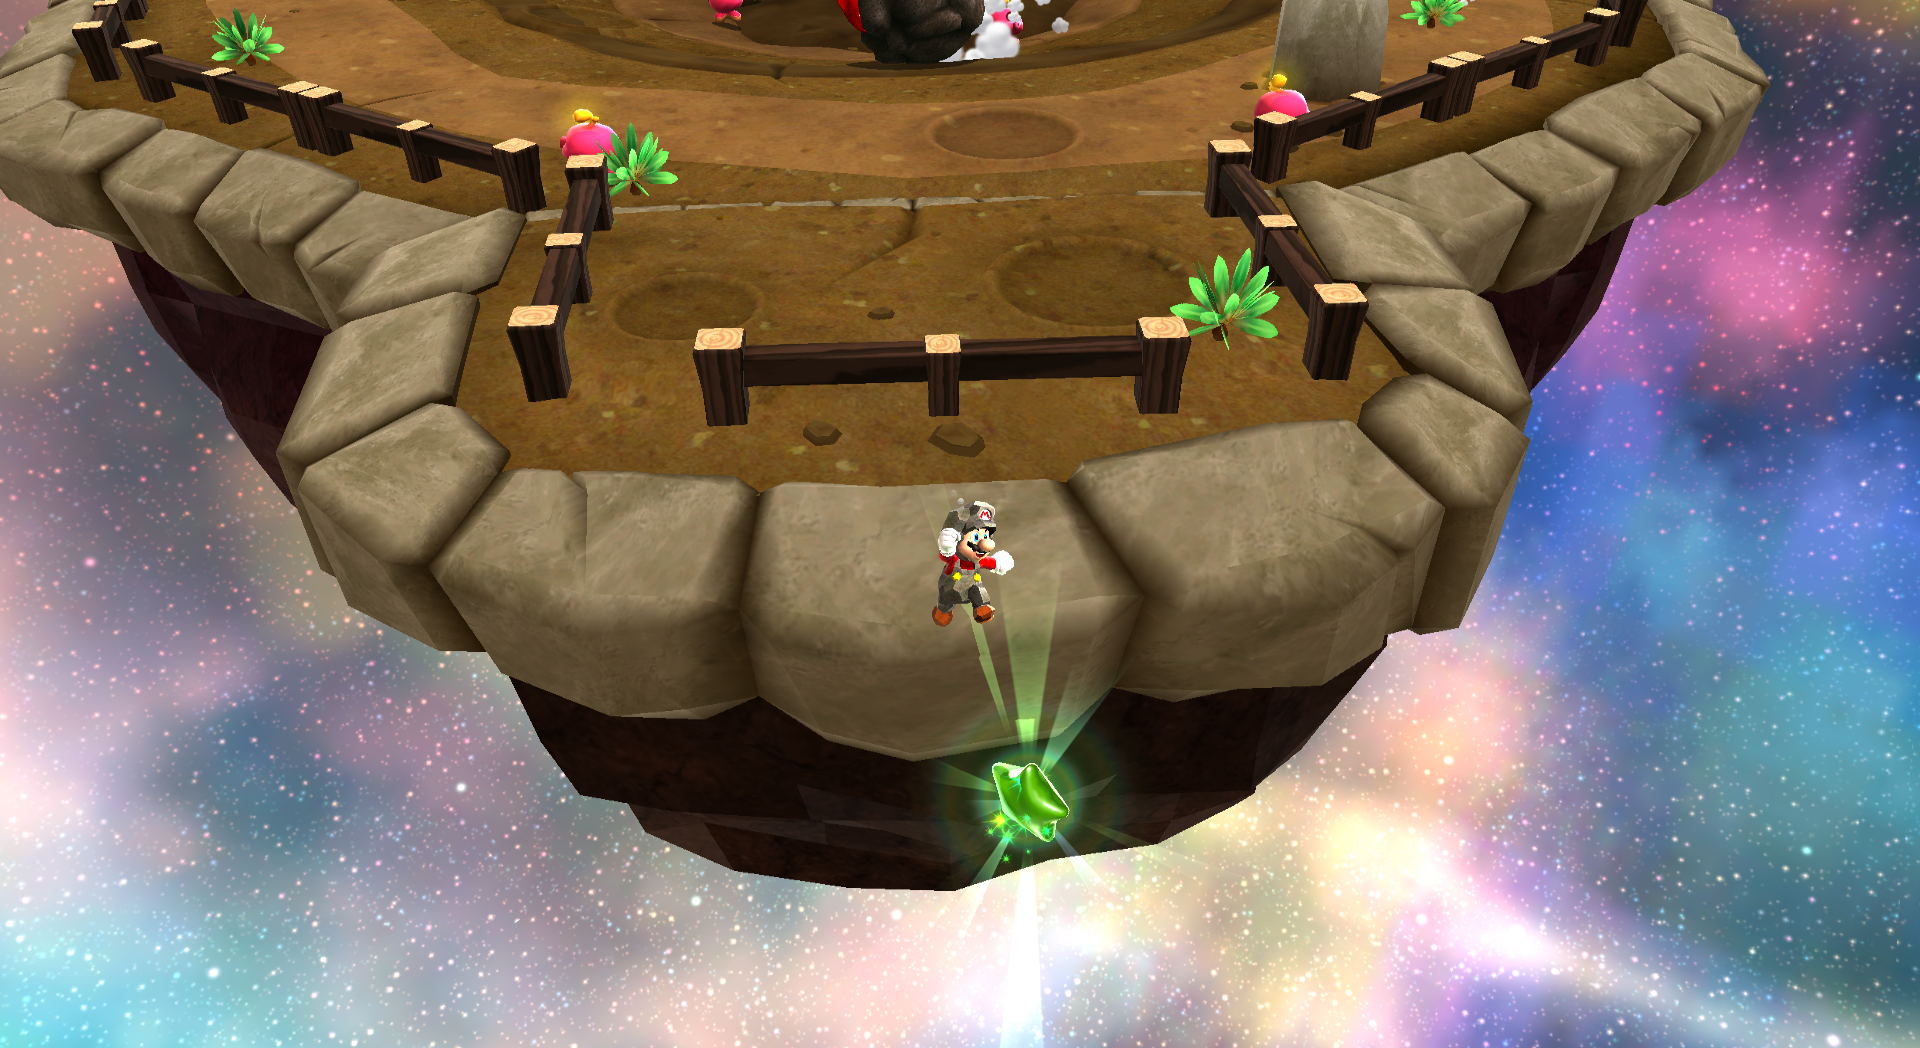 On the planet where there are several Octoguys, make your way over to where the Rock Mushroom is. Instead of getting it, walk past it and go past the fence. You should be able to see the Green Star in the air over a bottomless pit. You'll have to take a leap-of-faith in order to get it. | ||
| Green Star #28: Cosmic Cove Galaxy | ||
|---|---|---|
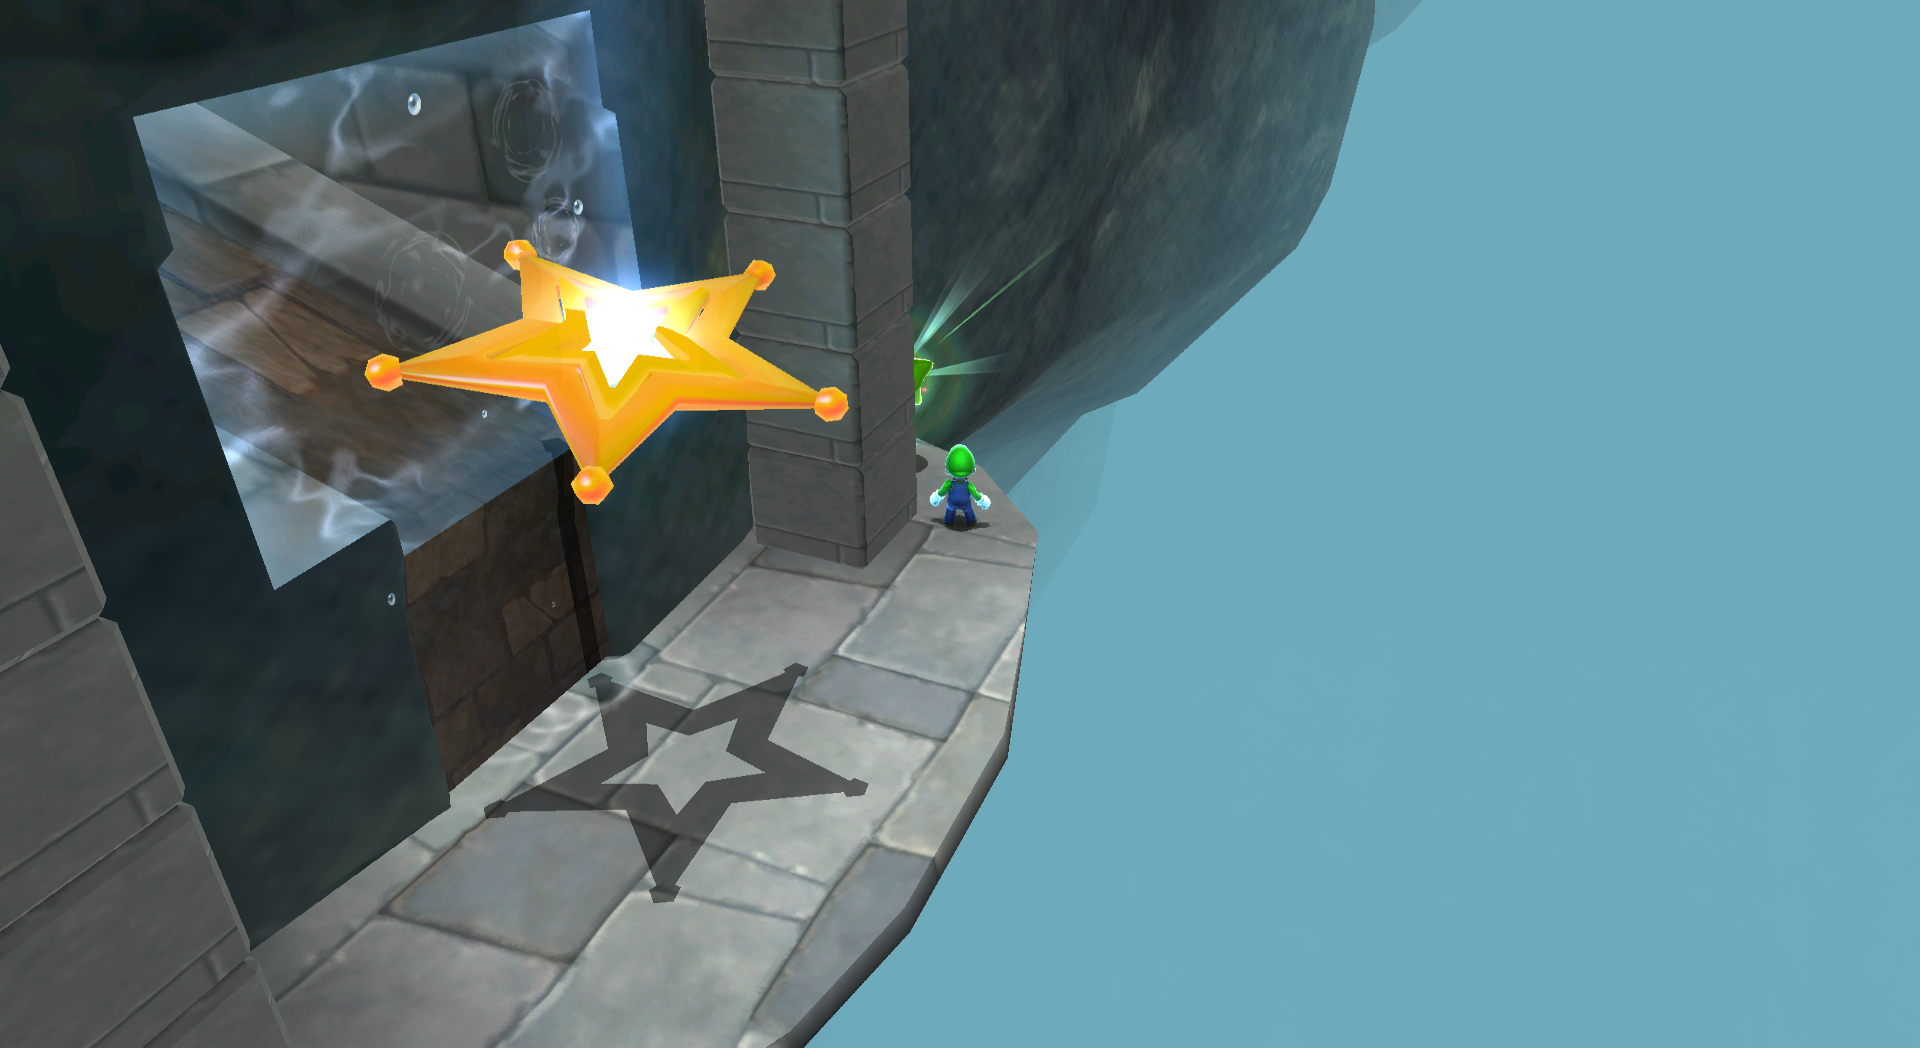
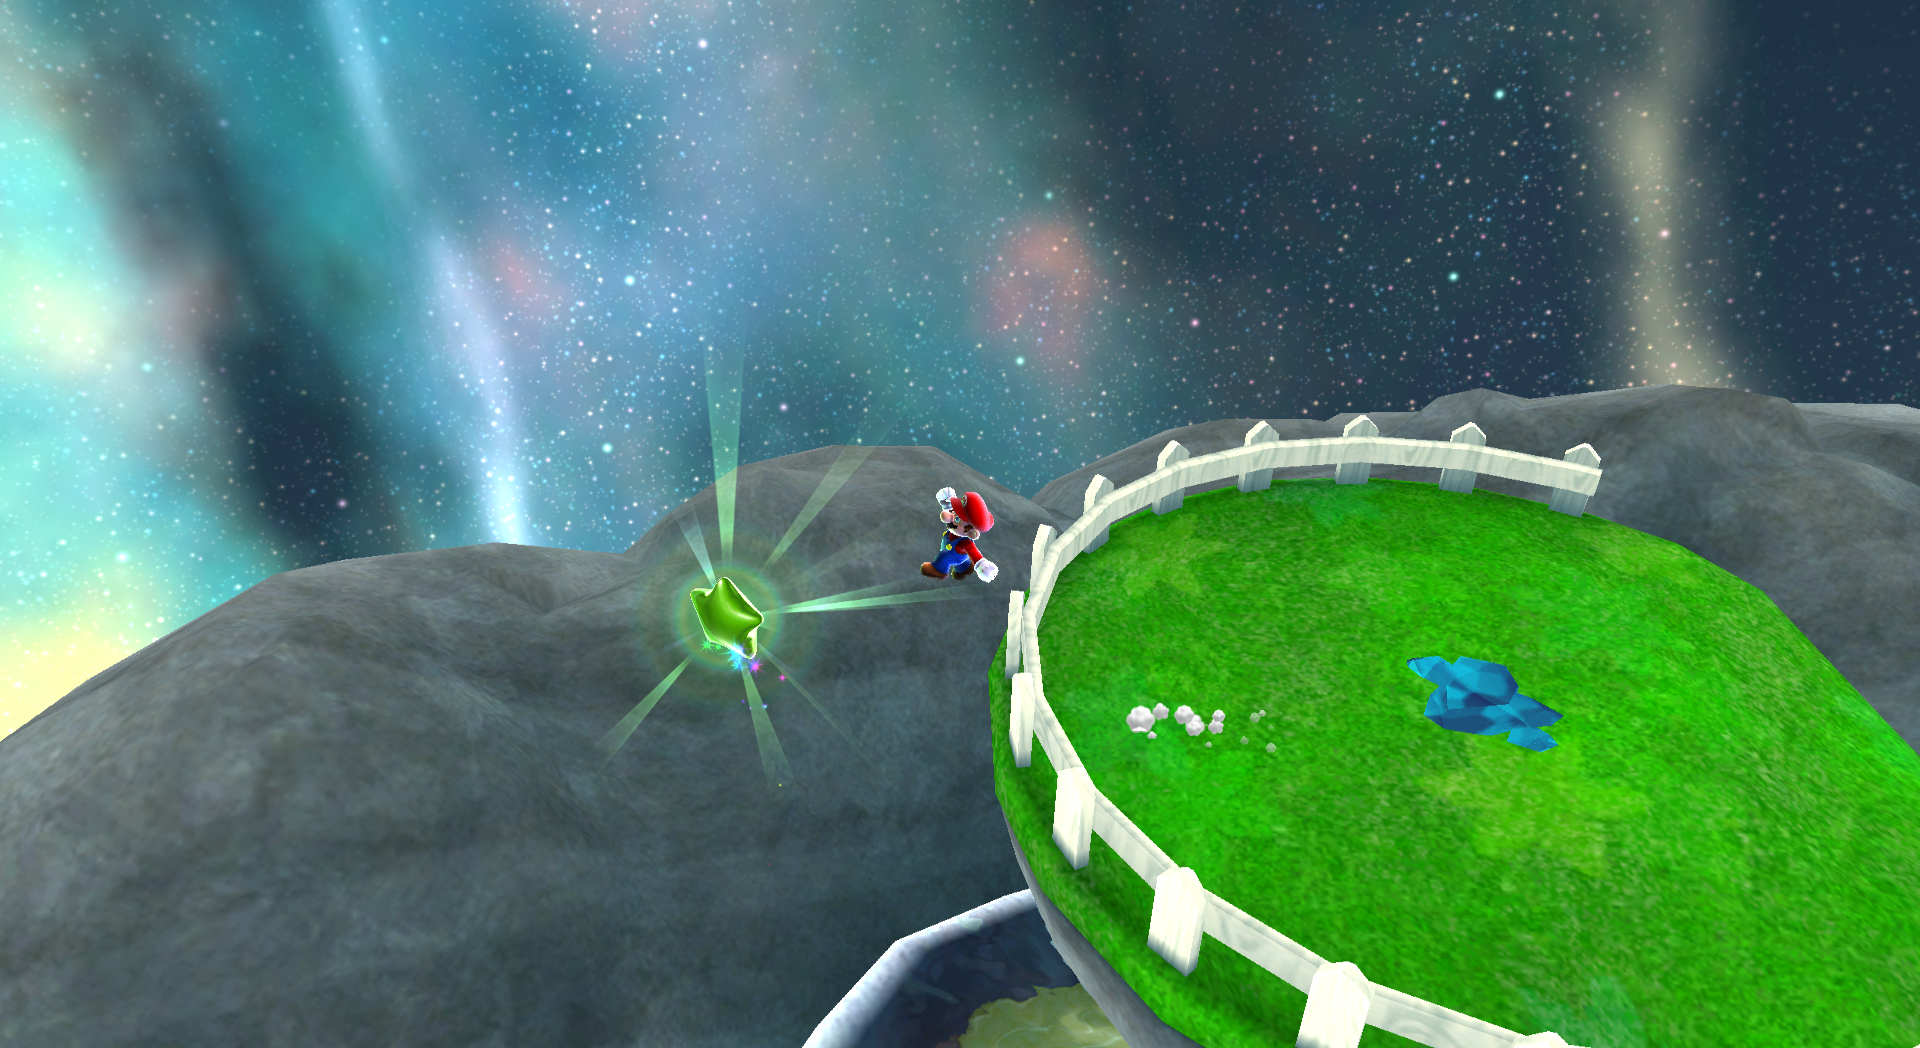 After making the planet into ice, wall jump up the ice waterfall and the Green Star is in the air to the left of the Power Star. | ||
| Green Star #29: Cosmic Cove Galaxy | ||
|---|---|---|
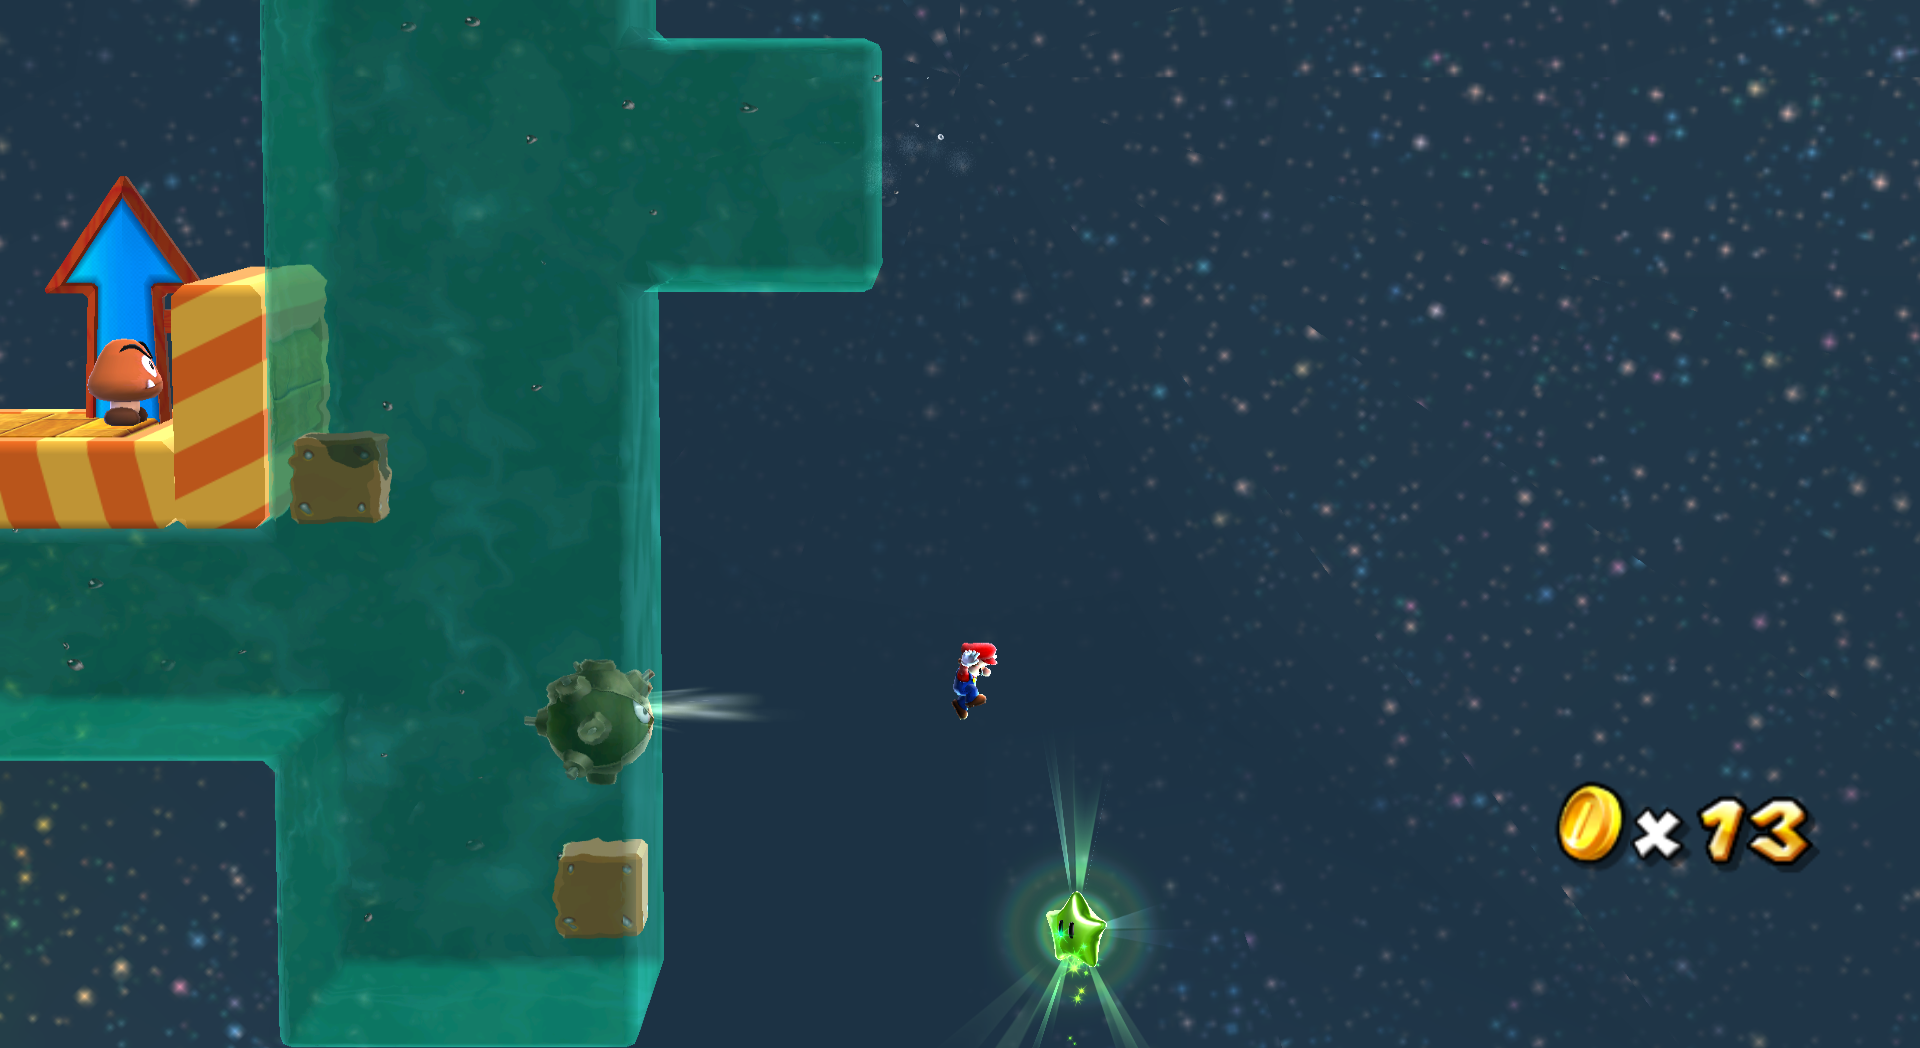 In the air next to a Black Hole. Swim up to the square area of water that juts out, and drop down to get it. | ||
| Green Star #30: Cosmic Cove Galaxy | ||
|---|---|---|
| Green Star #31: Wild Glide Galaxy | ||
|---|---|---|
| Green Star #32: Wild Glide Galaxy | ||
|---|---|---|
| Green Star #33: Honeybloom Galaxy | ||
|---|---|---|
| Green Star #34: Honeybloom Galaxy | ||
|---|---|---|
| Green Star #35: Bowser's Lava Lair | ||
|---|---|---|
| Green Star #36: Bowser's Lava Lair | ||
|---|---|---|
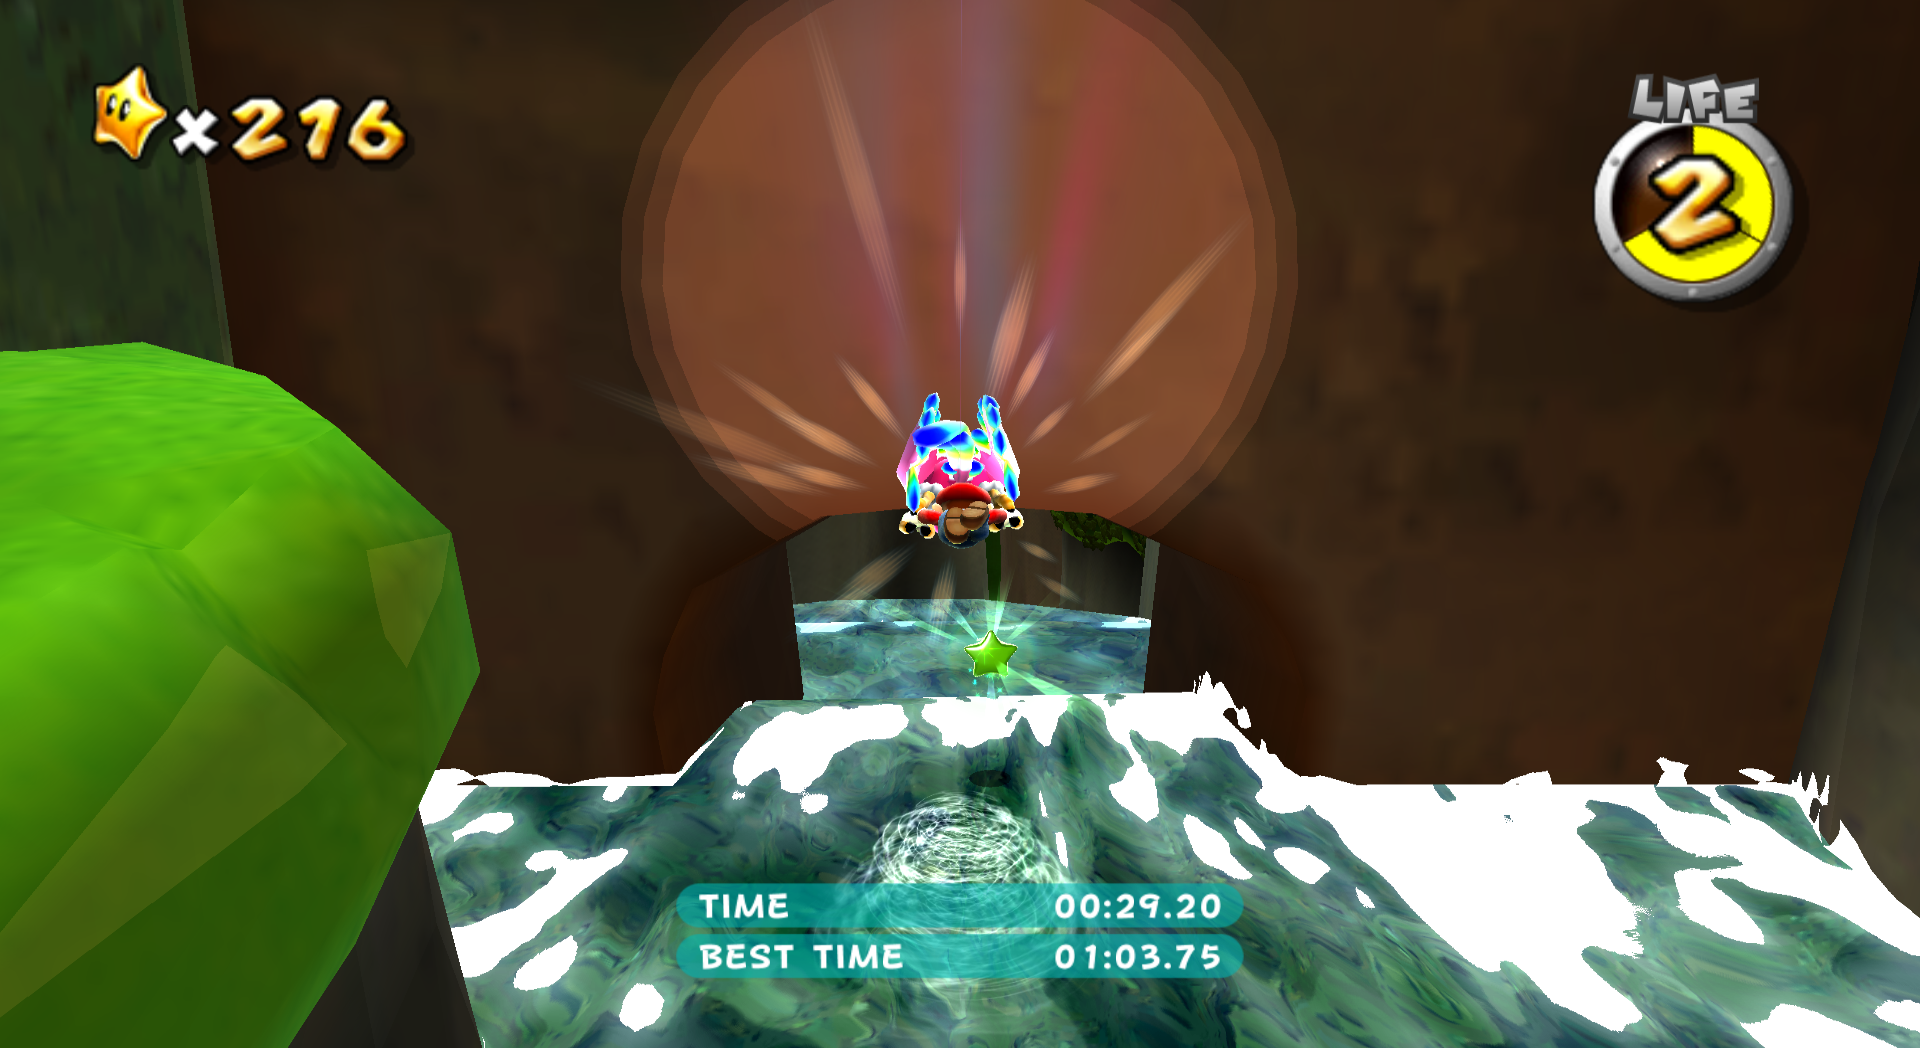
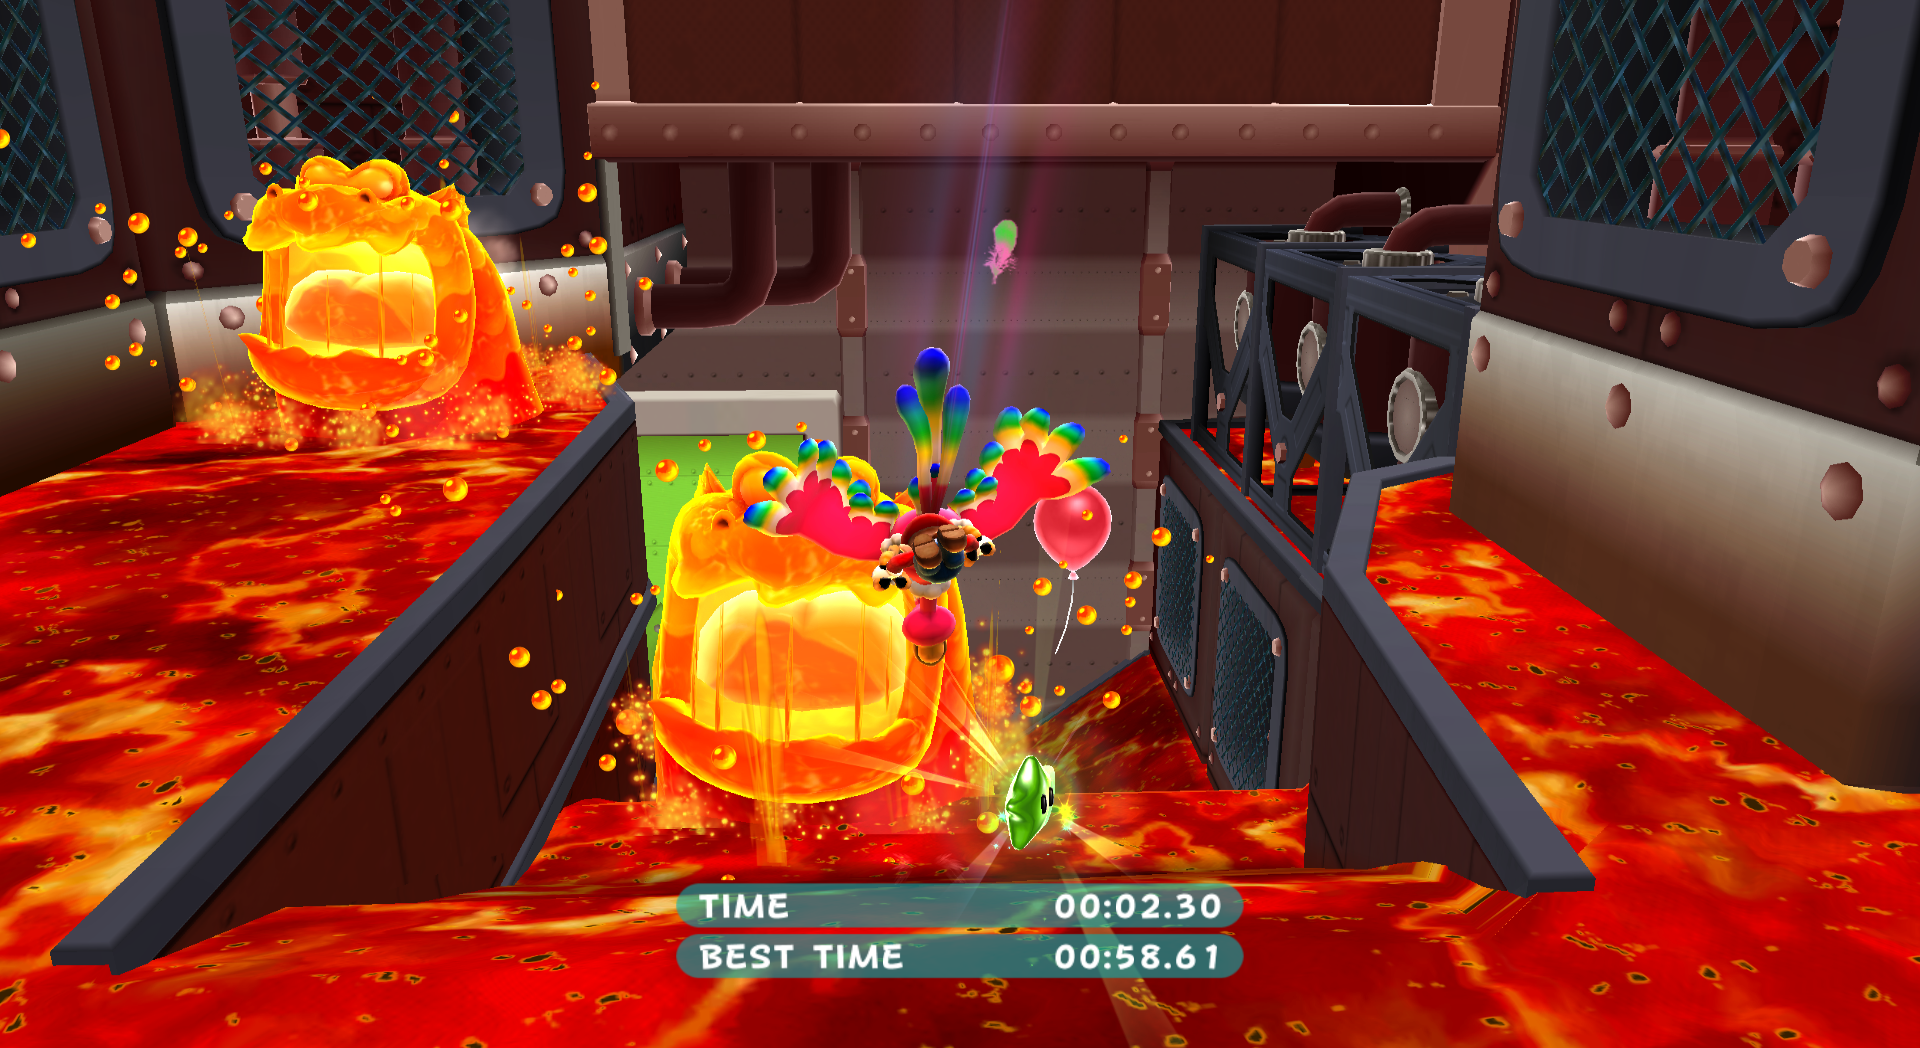
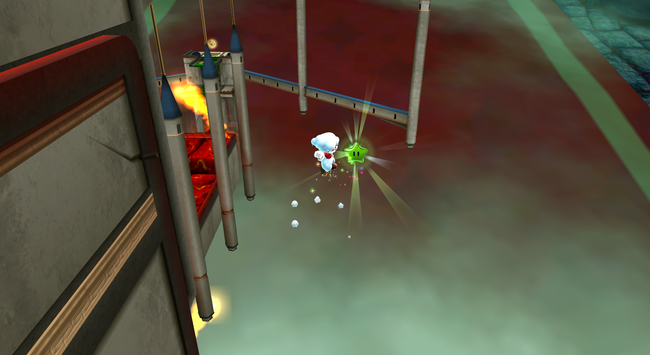
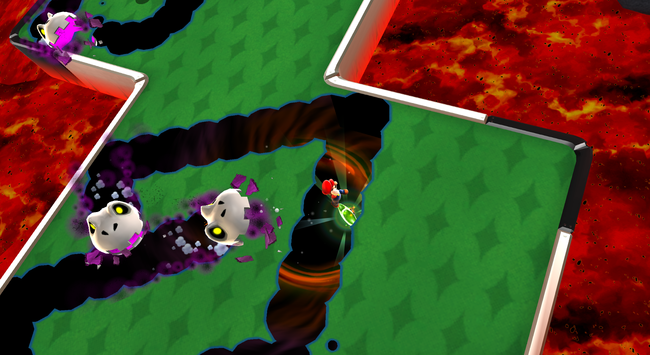 After the checkpoint flag there will be some Mattermouths eating the matter in the ground. The Green Star is under it, so you'll have to time your fall through the floor and get it. | ||
| Green Star #37: Tall Trunk Galaxy | ||
|---|---|---|
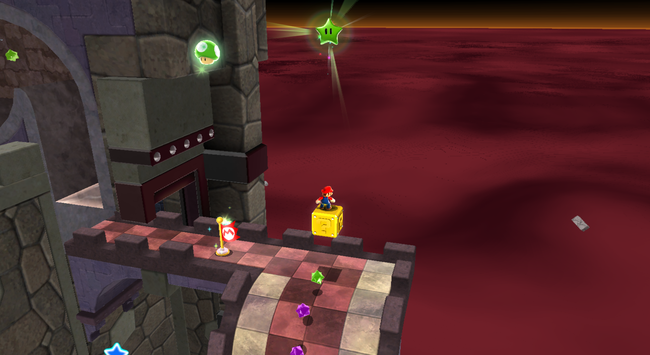
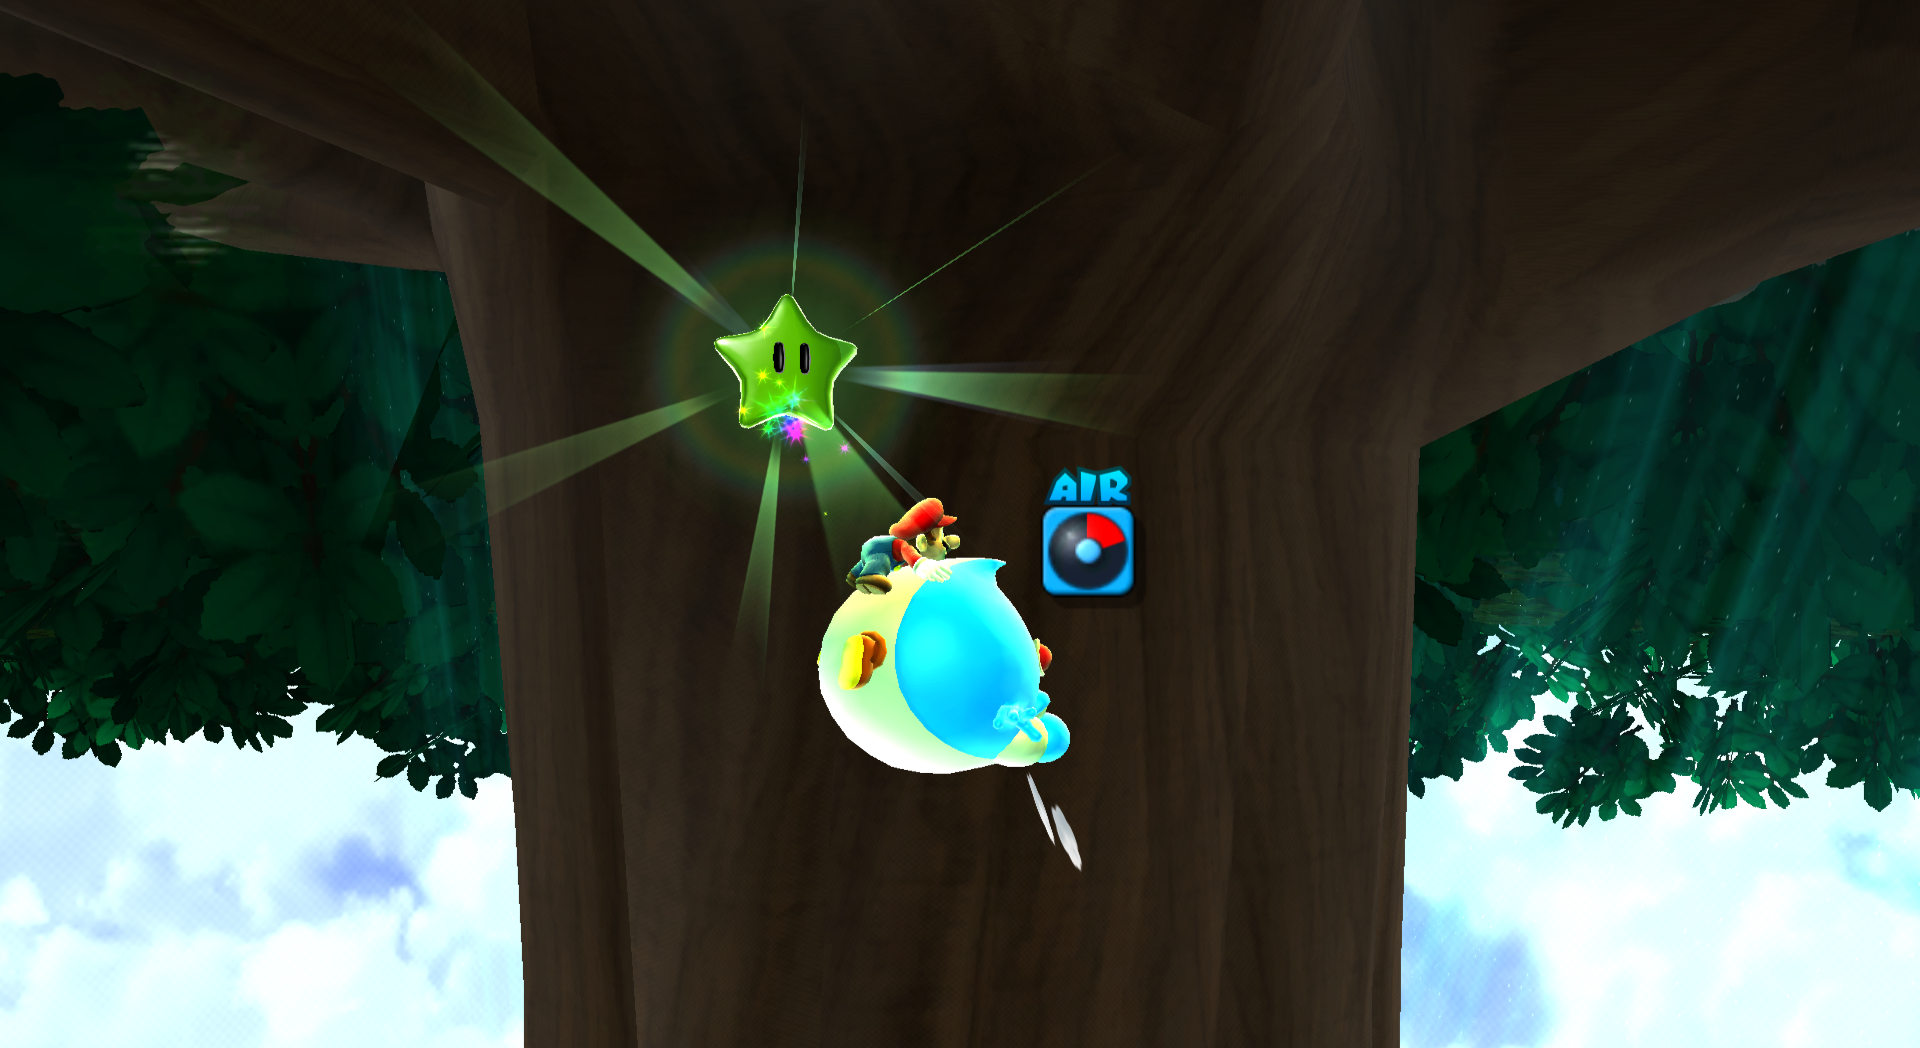 You will need to use Blimp Yoshi to climb the tree at the very beginning. The Green Star is by the Life Shroom, use a backwards somersault and jump off the wall to reach it. | ||
| Green Star #38: Tall Trunk Galaxy | ||
|---|---|---|
| Green Star #39: Tall Trunk Galaxy | ||
|---|---|---|
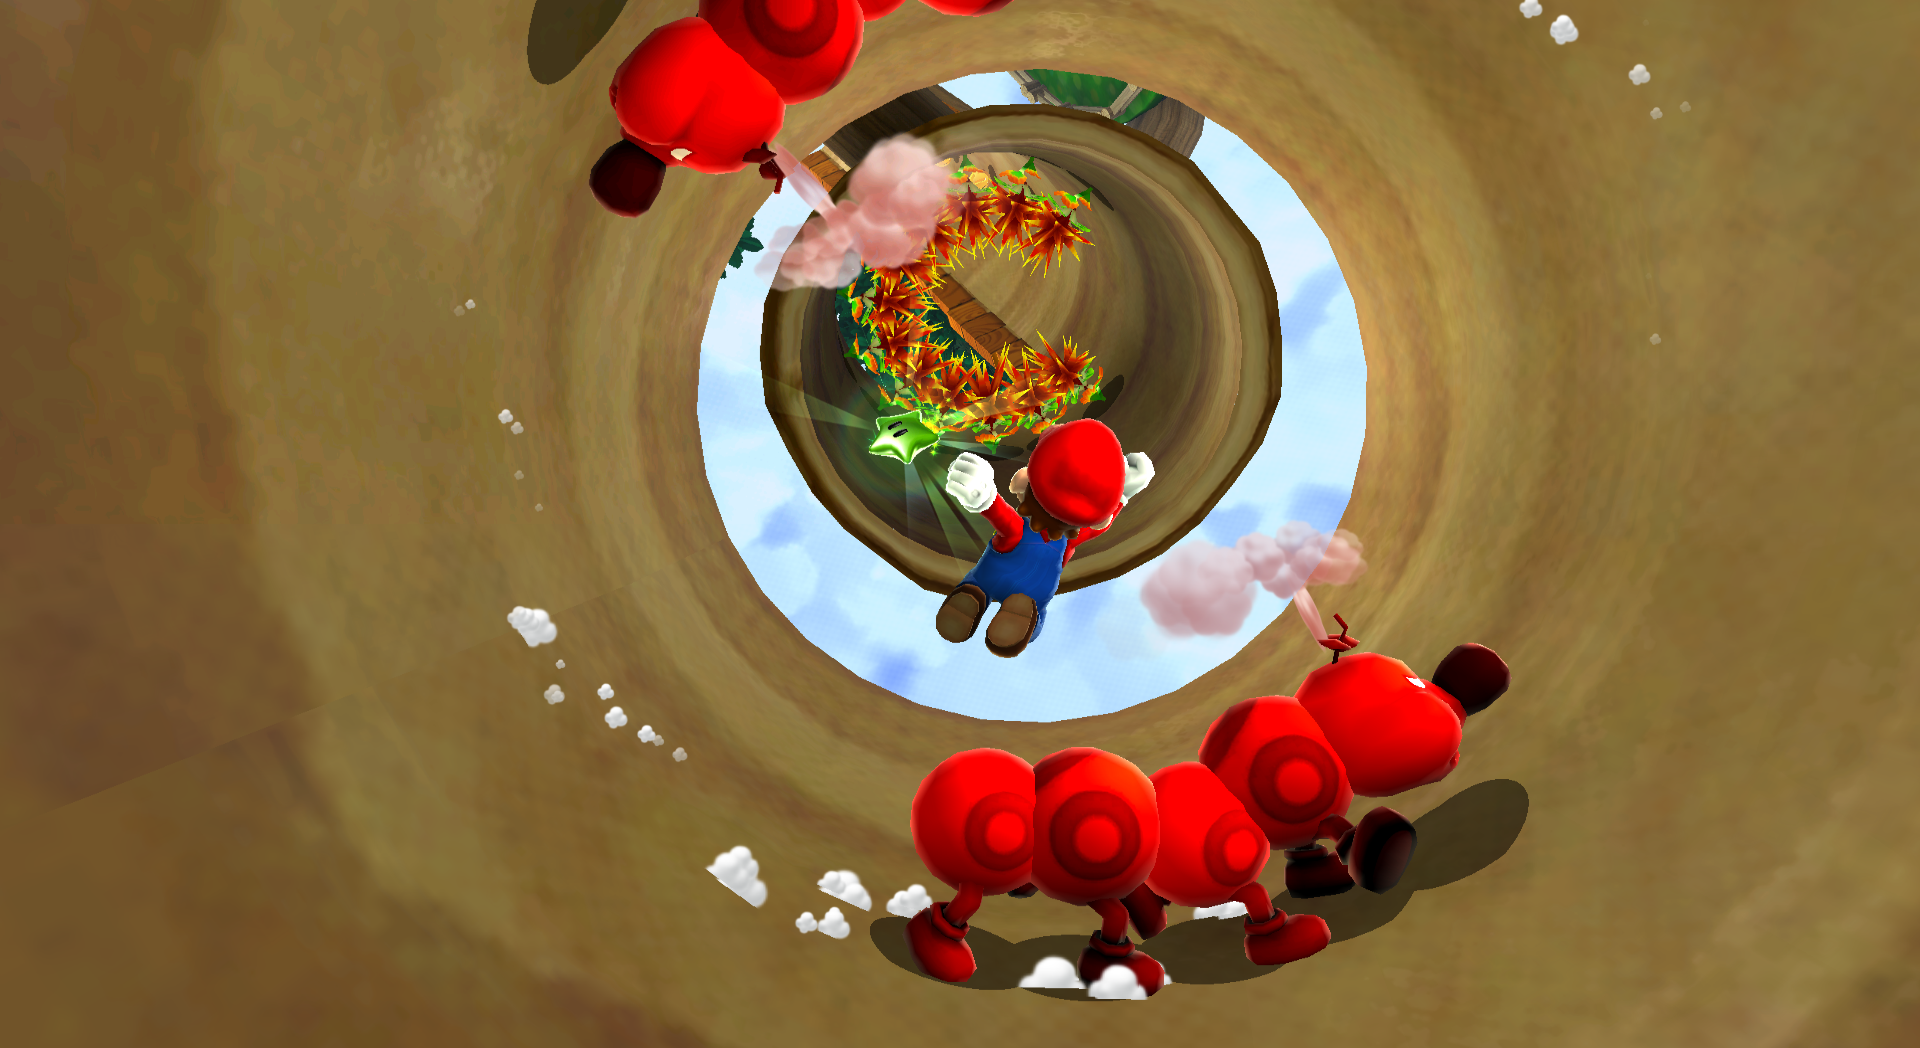 In the dangerous slide, when you're going through the log tube with several Wigglers and spiked weeds. You will have to carefully line up your angle and jump into the star. | ||
| Green Star #40: Cloudy Court Galaxy | ||
|---|---|---|
| Green Star #41: Cloudy Court Galaxy | ||
|---|---|---|
| Green Star #42: Cloudy Court Galaxy | ||
|---|---|---|
| Green Star #43: Haunty Halls Galaxy | ||
|---|---|---|
| Green Star #44: Haunty Halls Galaxy | ||
|---|---|---|
| Green Star #45: Haunty Halls Galaxy | ||
|---|---|---|
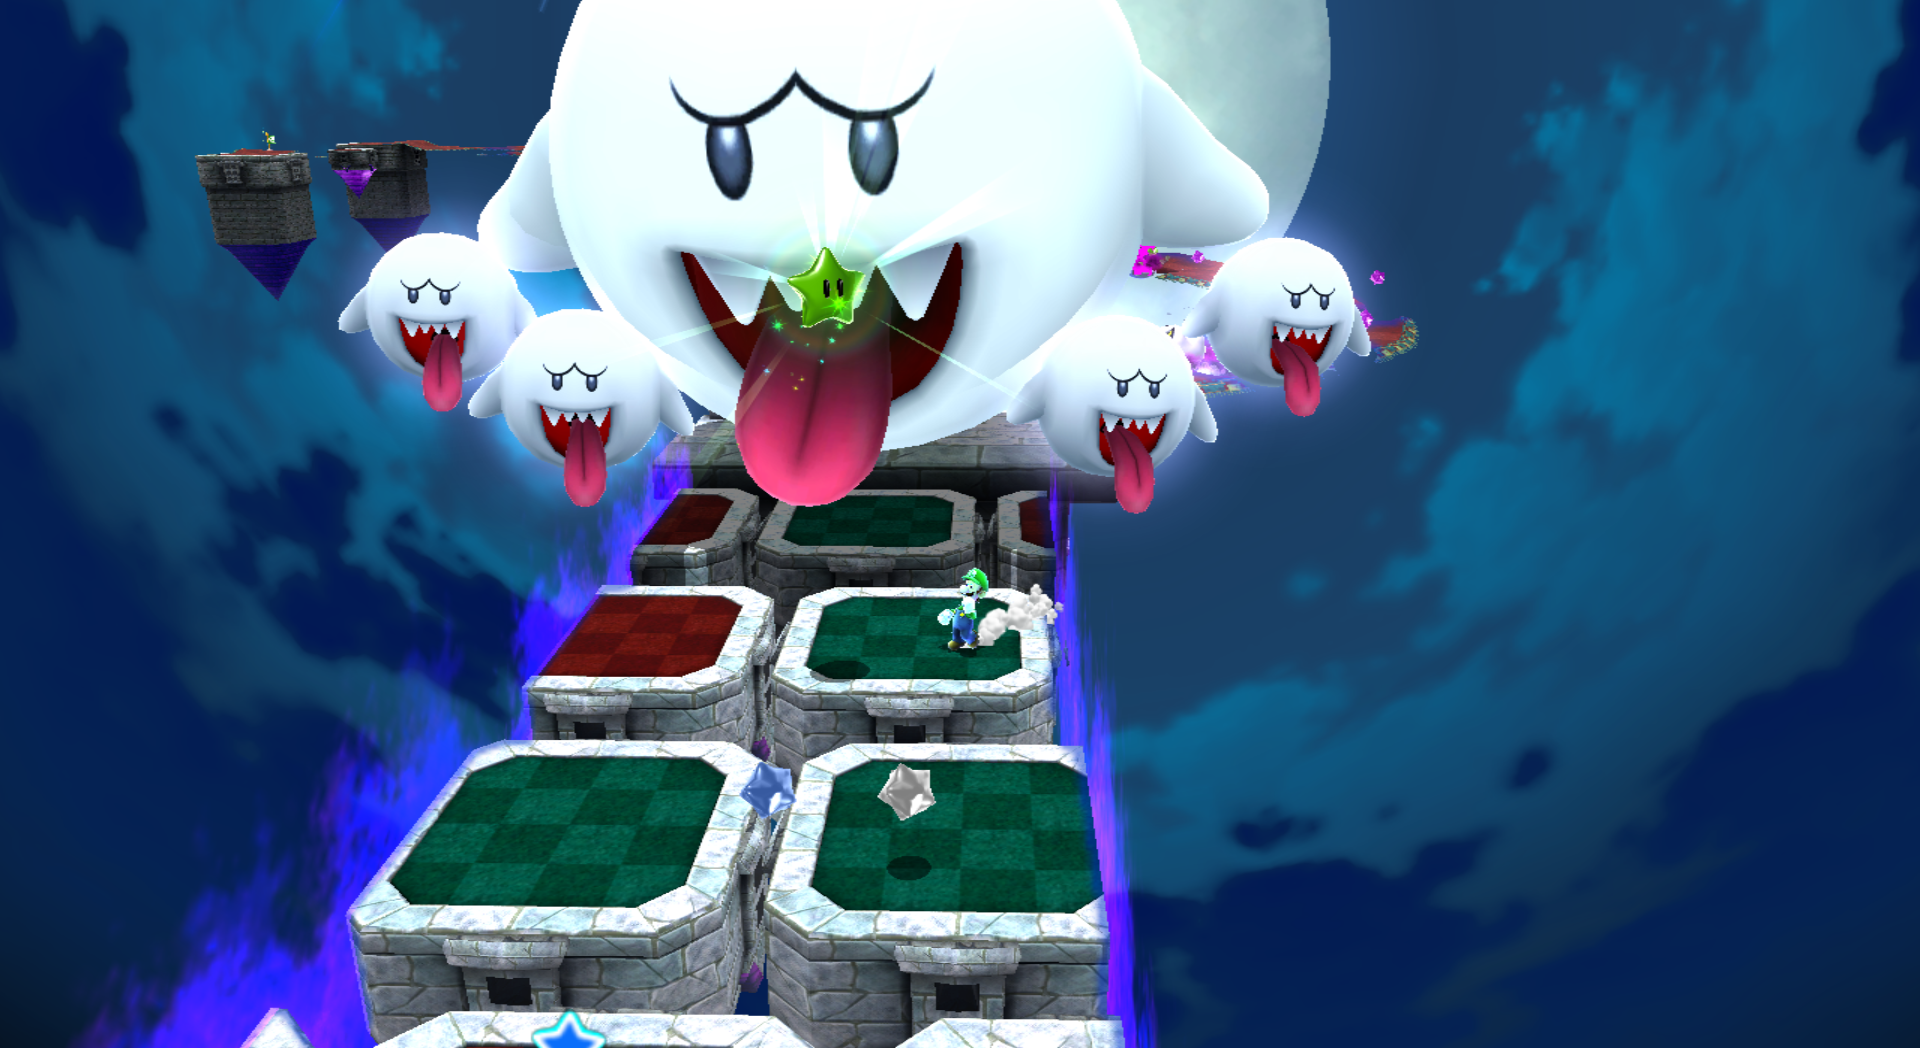 When being chased by the Boos, the Green Star will be in the center of the hallway. Use a carefully timed backwards somersault or Triple Jump to reach it. | ||
| Green Star #46: Freezy Flake Galaxy | ||
|---|---|---|
| Green Star #47: Freezy Flake Galaxy | ||
|---|---|---|
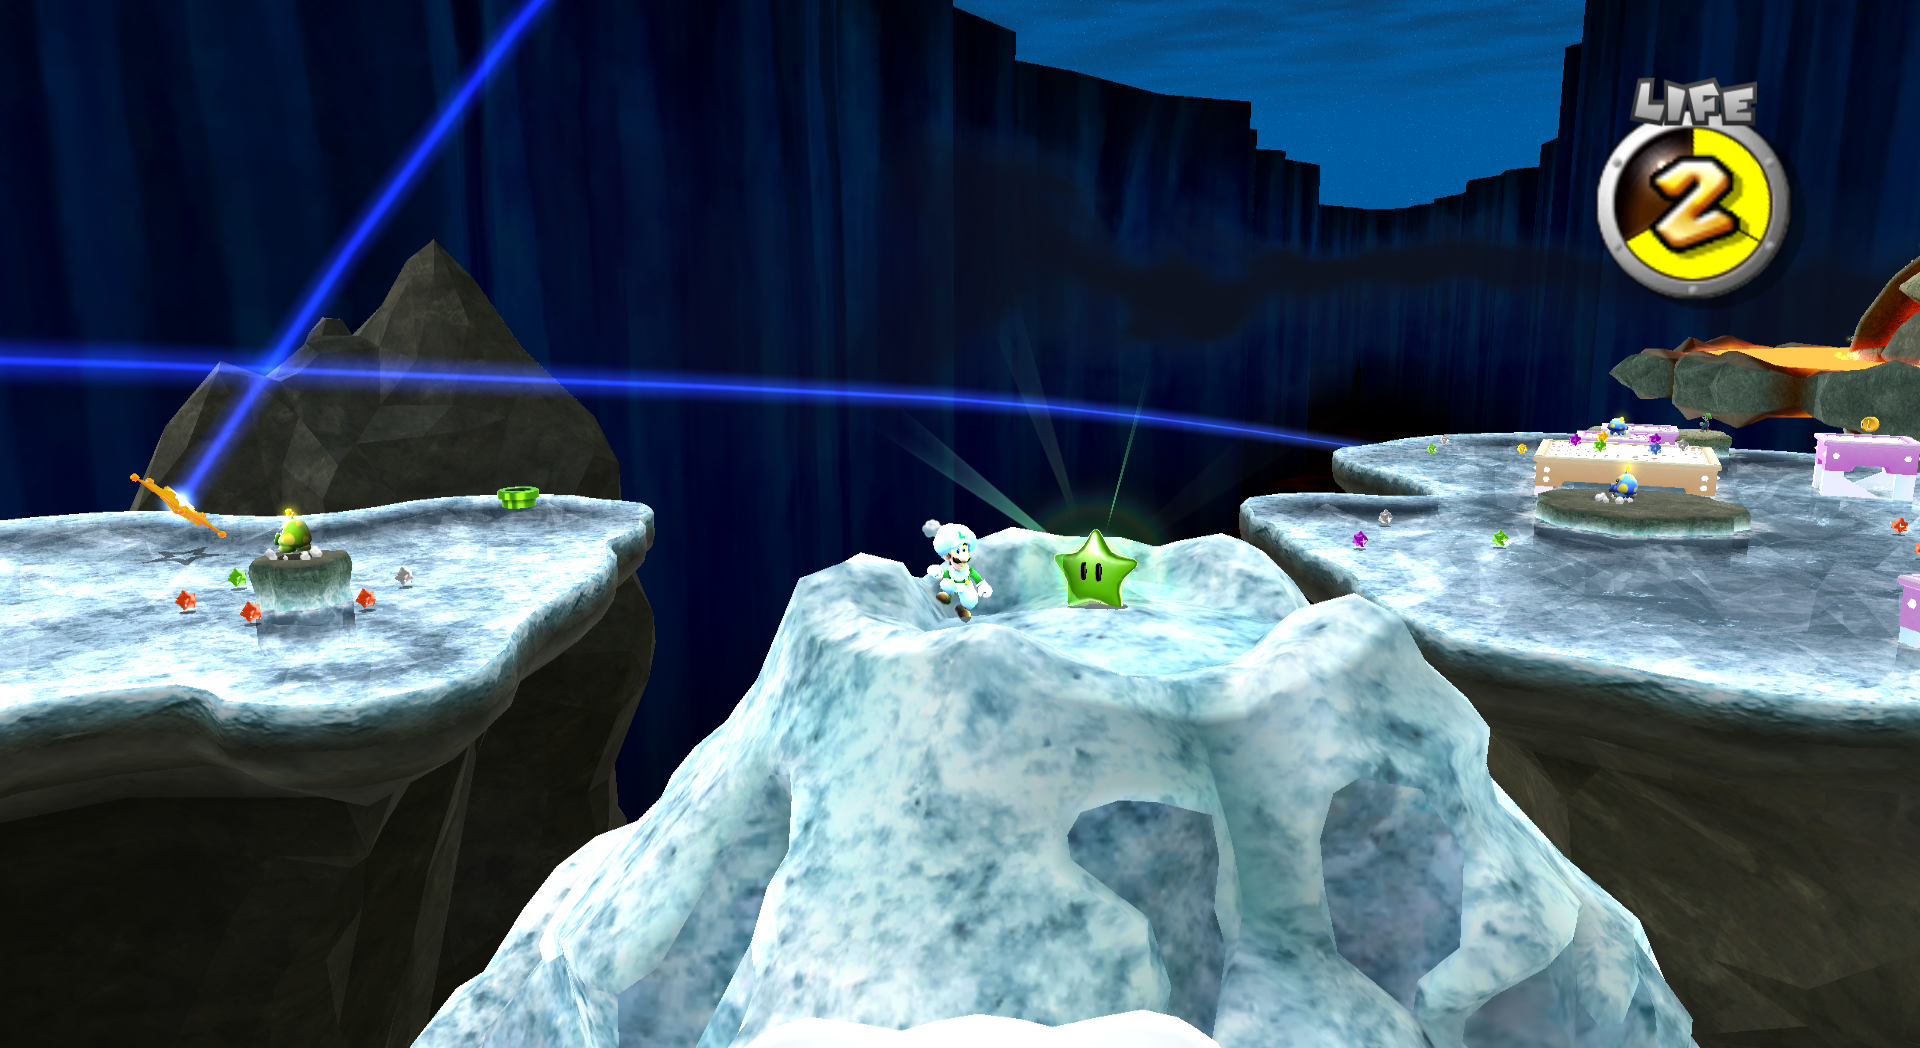
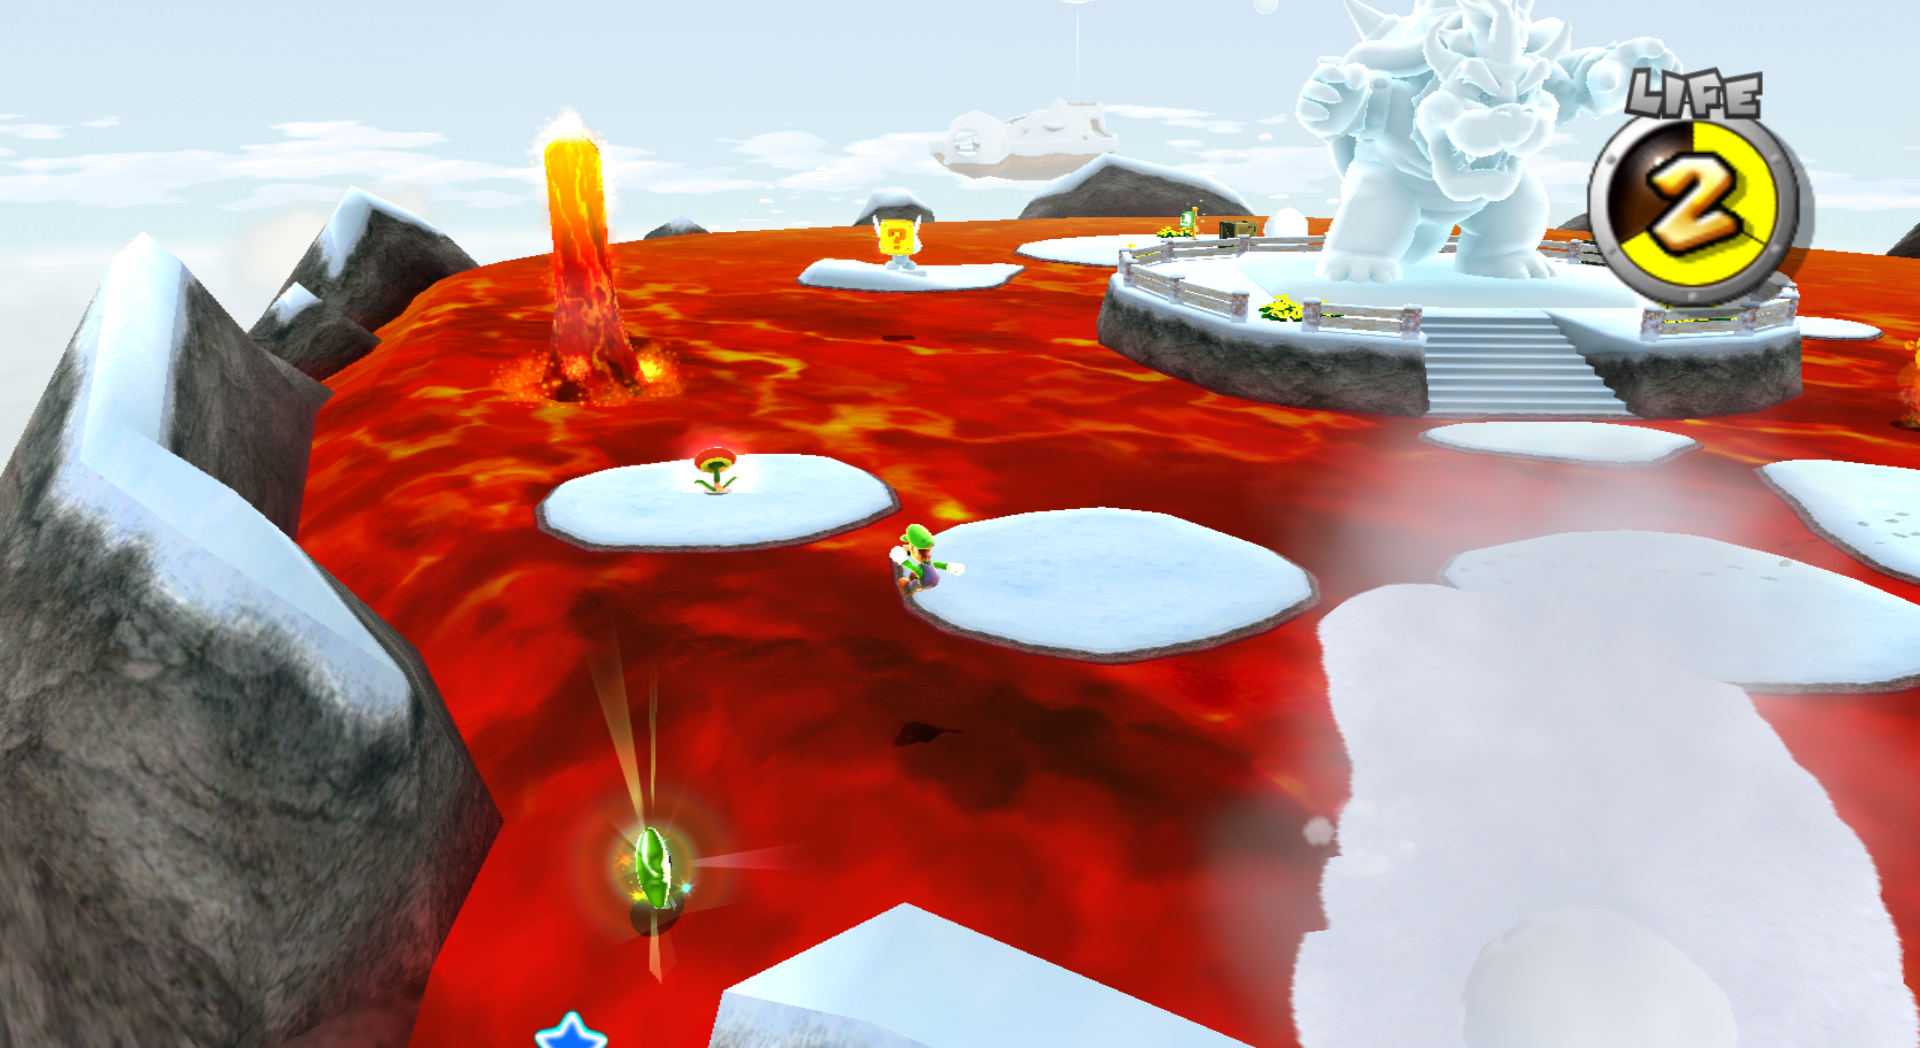 On the lava planet where the large Bowser ice sculpture is, to the southwest of the statue lies the Green Star. Unfortunately, the camera angle is pretty bad, and since you don't have much of a sight available, you'll have to make a risky leap-of-faith. | ||
| Green Star #48: Freezy Flake Galaxy | ||
|---|---|---|
| Green Star #49: Rolling Masterpiece Galaxy | ||
|---|---|---|
| Green Star #50: Rolling Masterpiece Galaxy | ||
|---|---|---|
| Green Star #51: Beat Block Galaxy | ||
|---|---|---|
| Green Star #52: Beat Block Galaxy | ||
|---|---|---|
| Green Star #53: Bowser Jr.'s Fearsome Fleet | ||
|---|---|---|
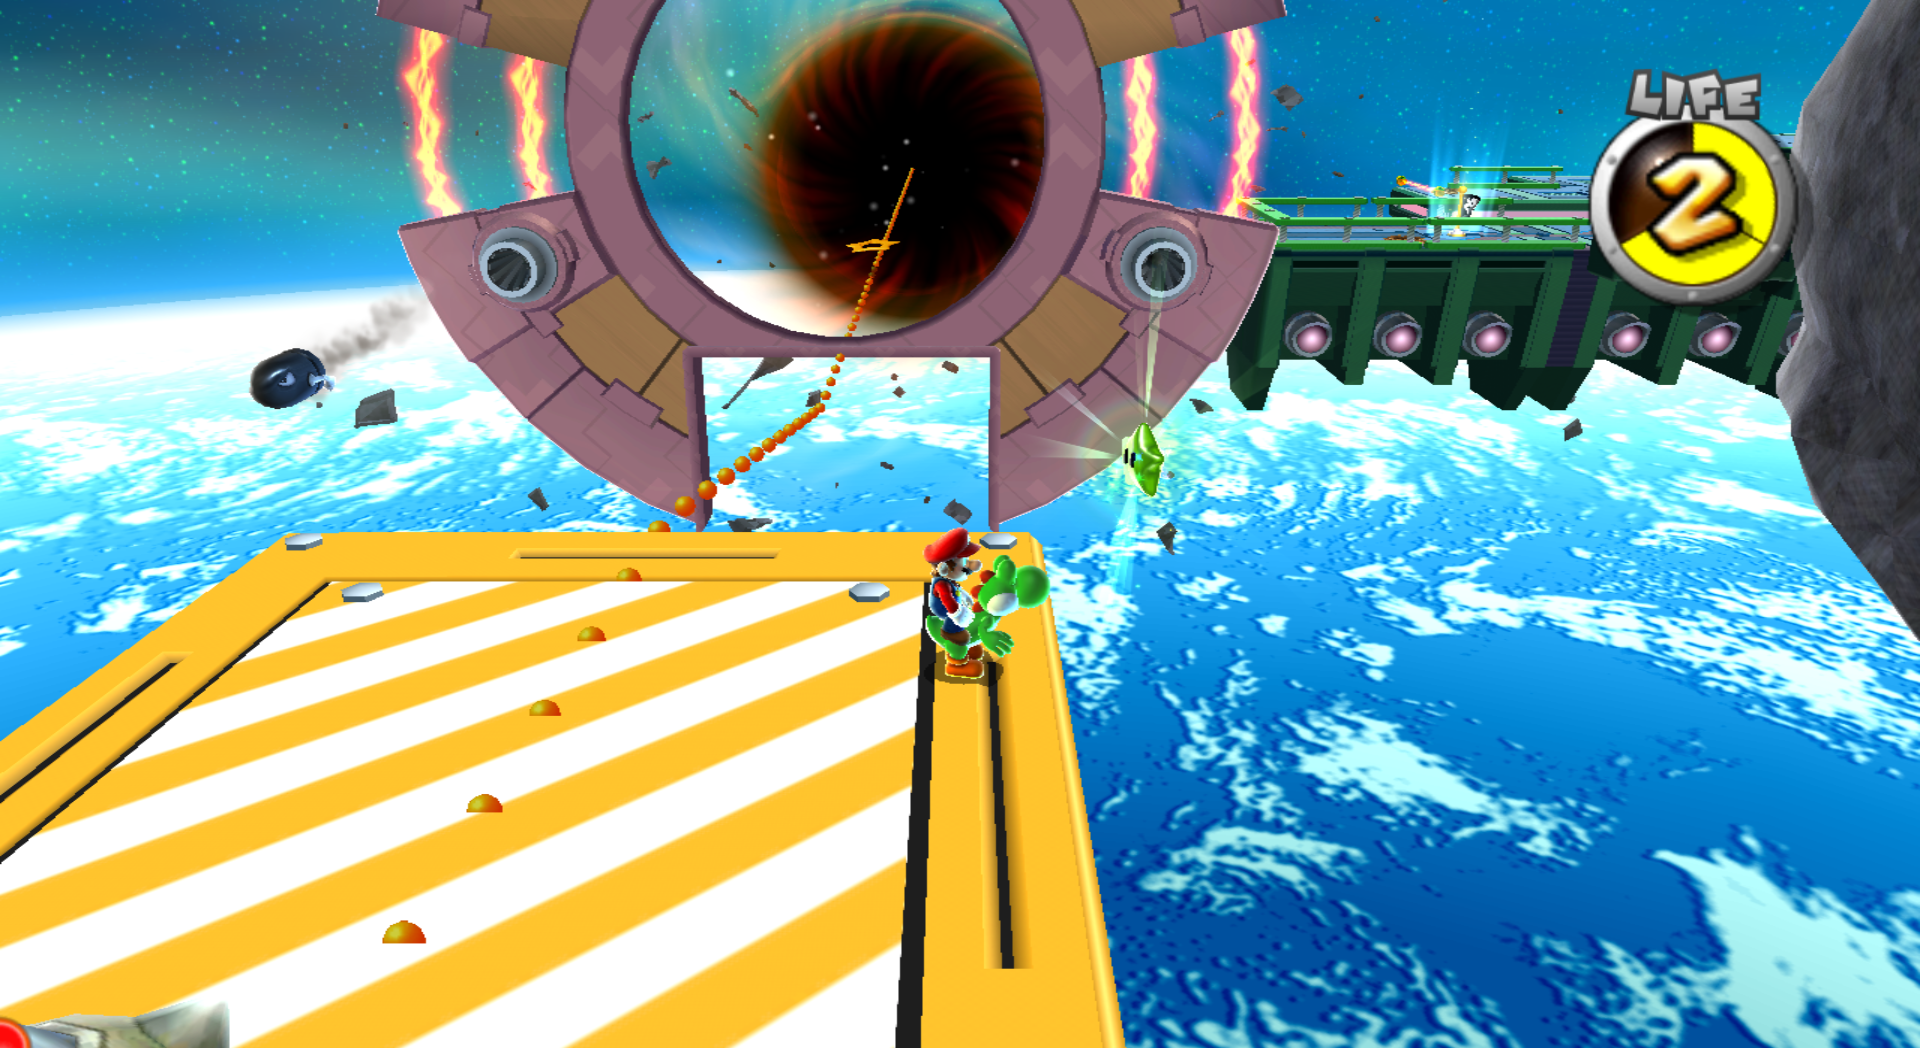 When riding the yellow moving platform, the Green Star is behind the Undergrunt Gunner that is all the way to the right. Use Yoshi to eat Bullet Bills to break it. Then jump over to it. | ||
| Green Star #54: Bowser Jr.'s Fearsome Fleet | ||
|---|---|---|
| Green Star #55: Supermassive Galaxy | ||
|---|---|---|
| Green Star #56: Supermassive Galaxy | ||
|---|---|---|
| Green Star #57: Supermassive Galaxy | ||
|---|---|---|
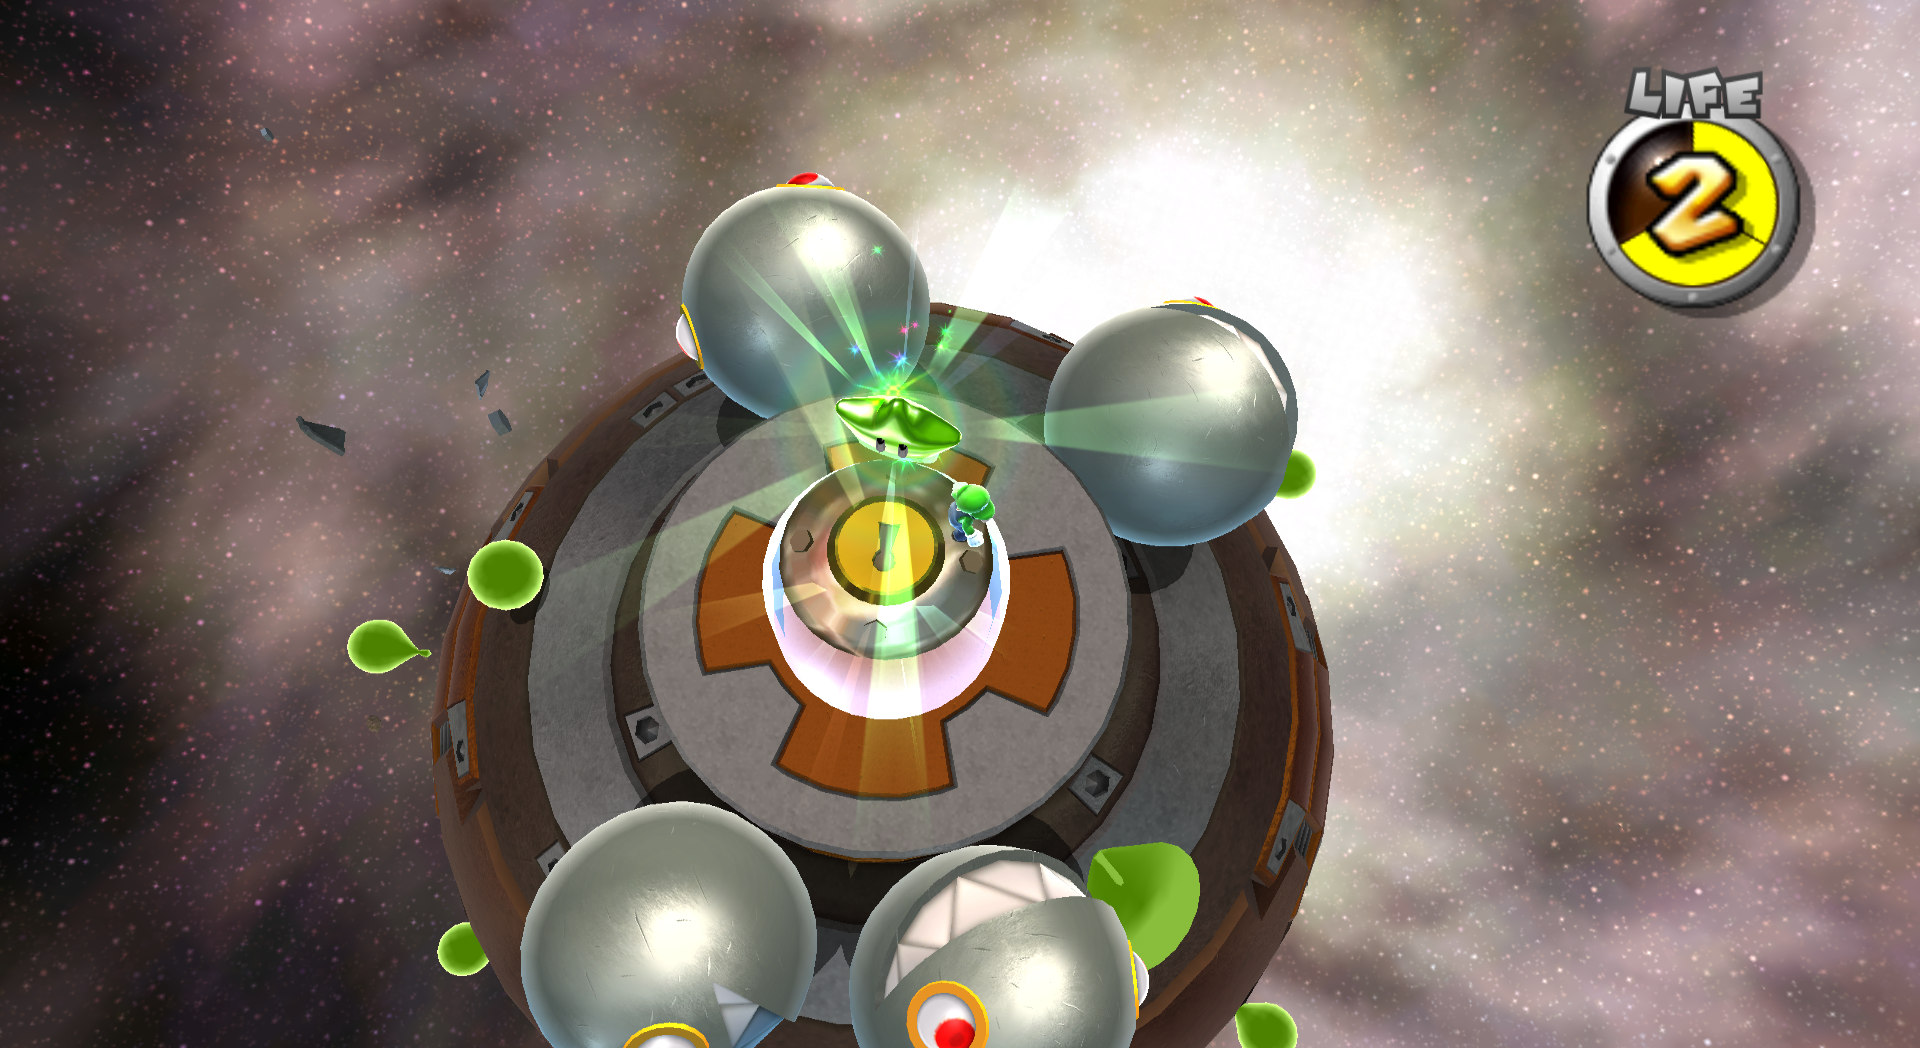
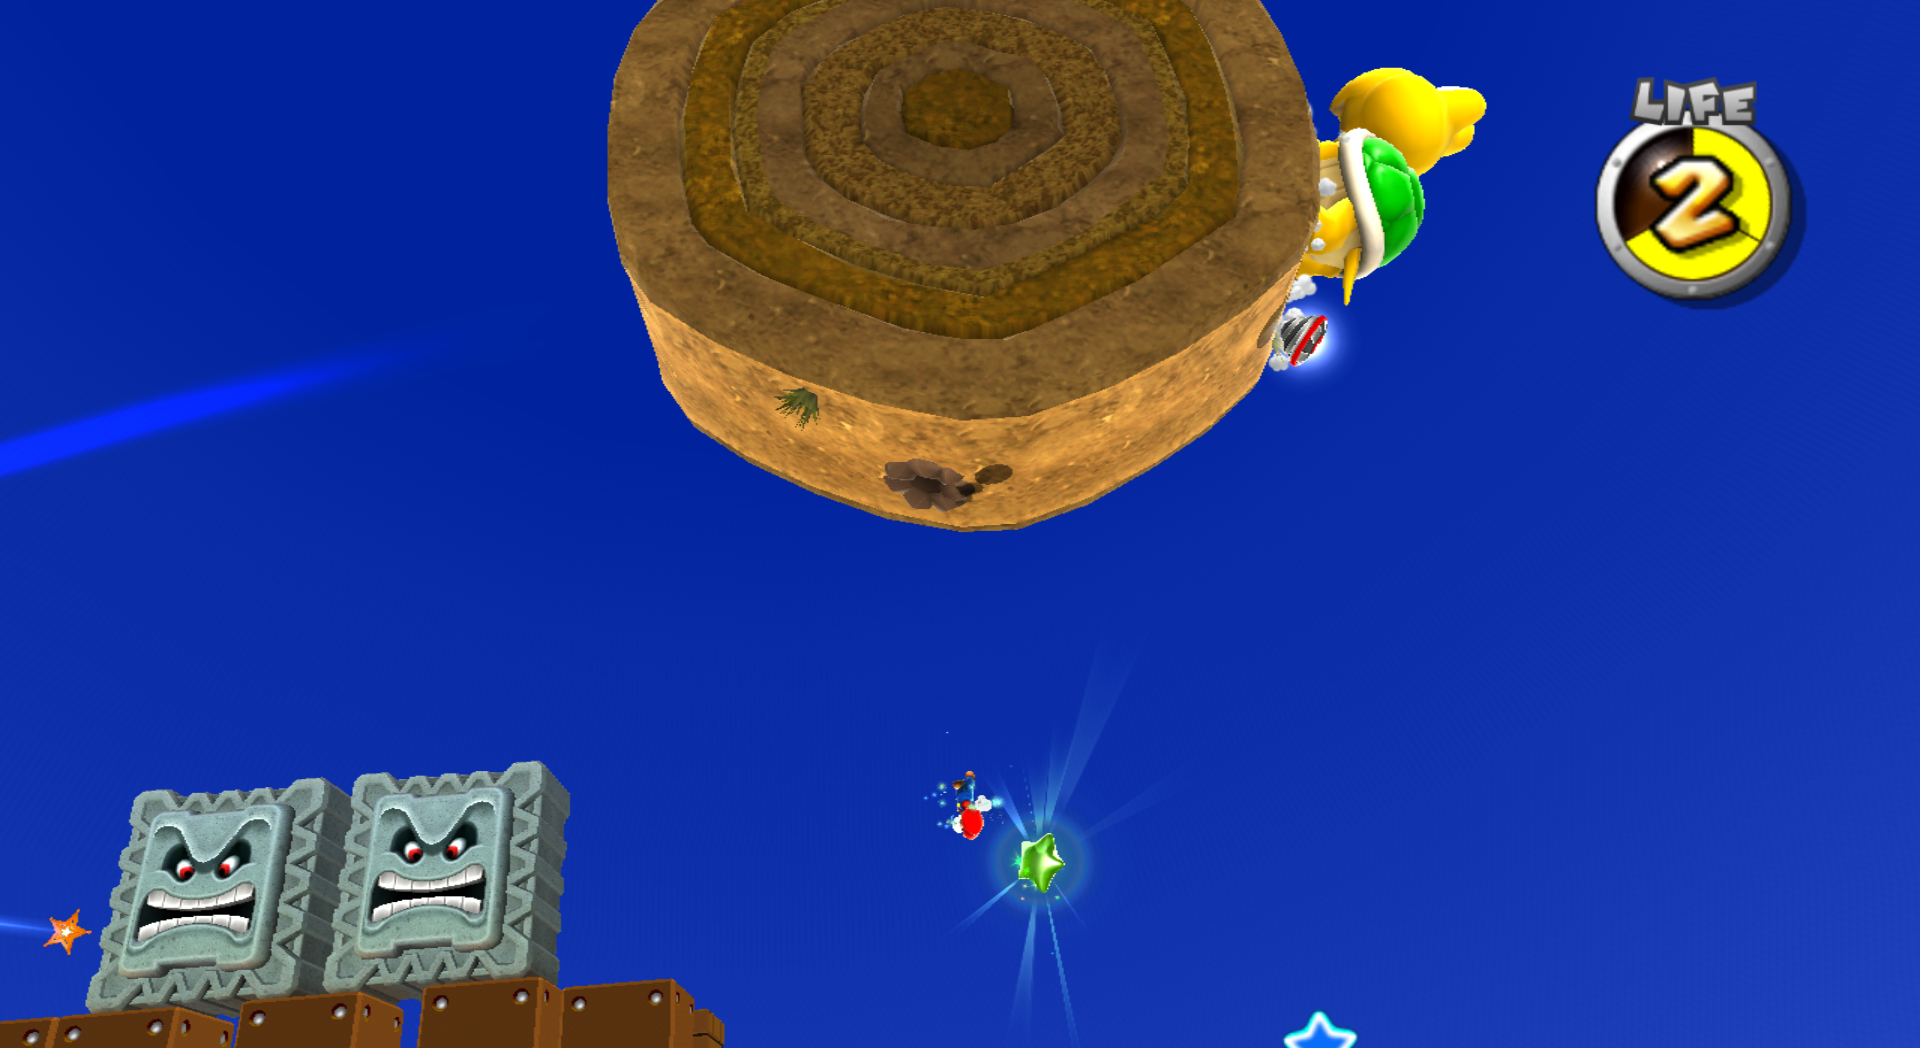 On the planet that is just a circle with giant Koopa Troopas, you'll be able to backwards somersault and spin to get the star. | ||
| Green Star #58: Flipsville Galaxy | ||
|---|---|---|
| Green Star #59: Flipsville Galaxy | ||
|---|---|---|
| Green Star #61: Starshine Beach Galaxy | ||
|---|---|---|
| Green Star #62: Starshine Beach Galaxy | ||
|---|---|---|
| Green Star #63: Starshine Beach Galaxy | ||
|---|---|---|
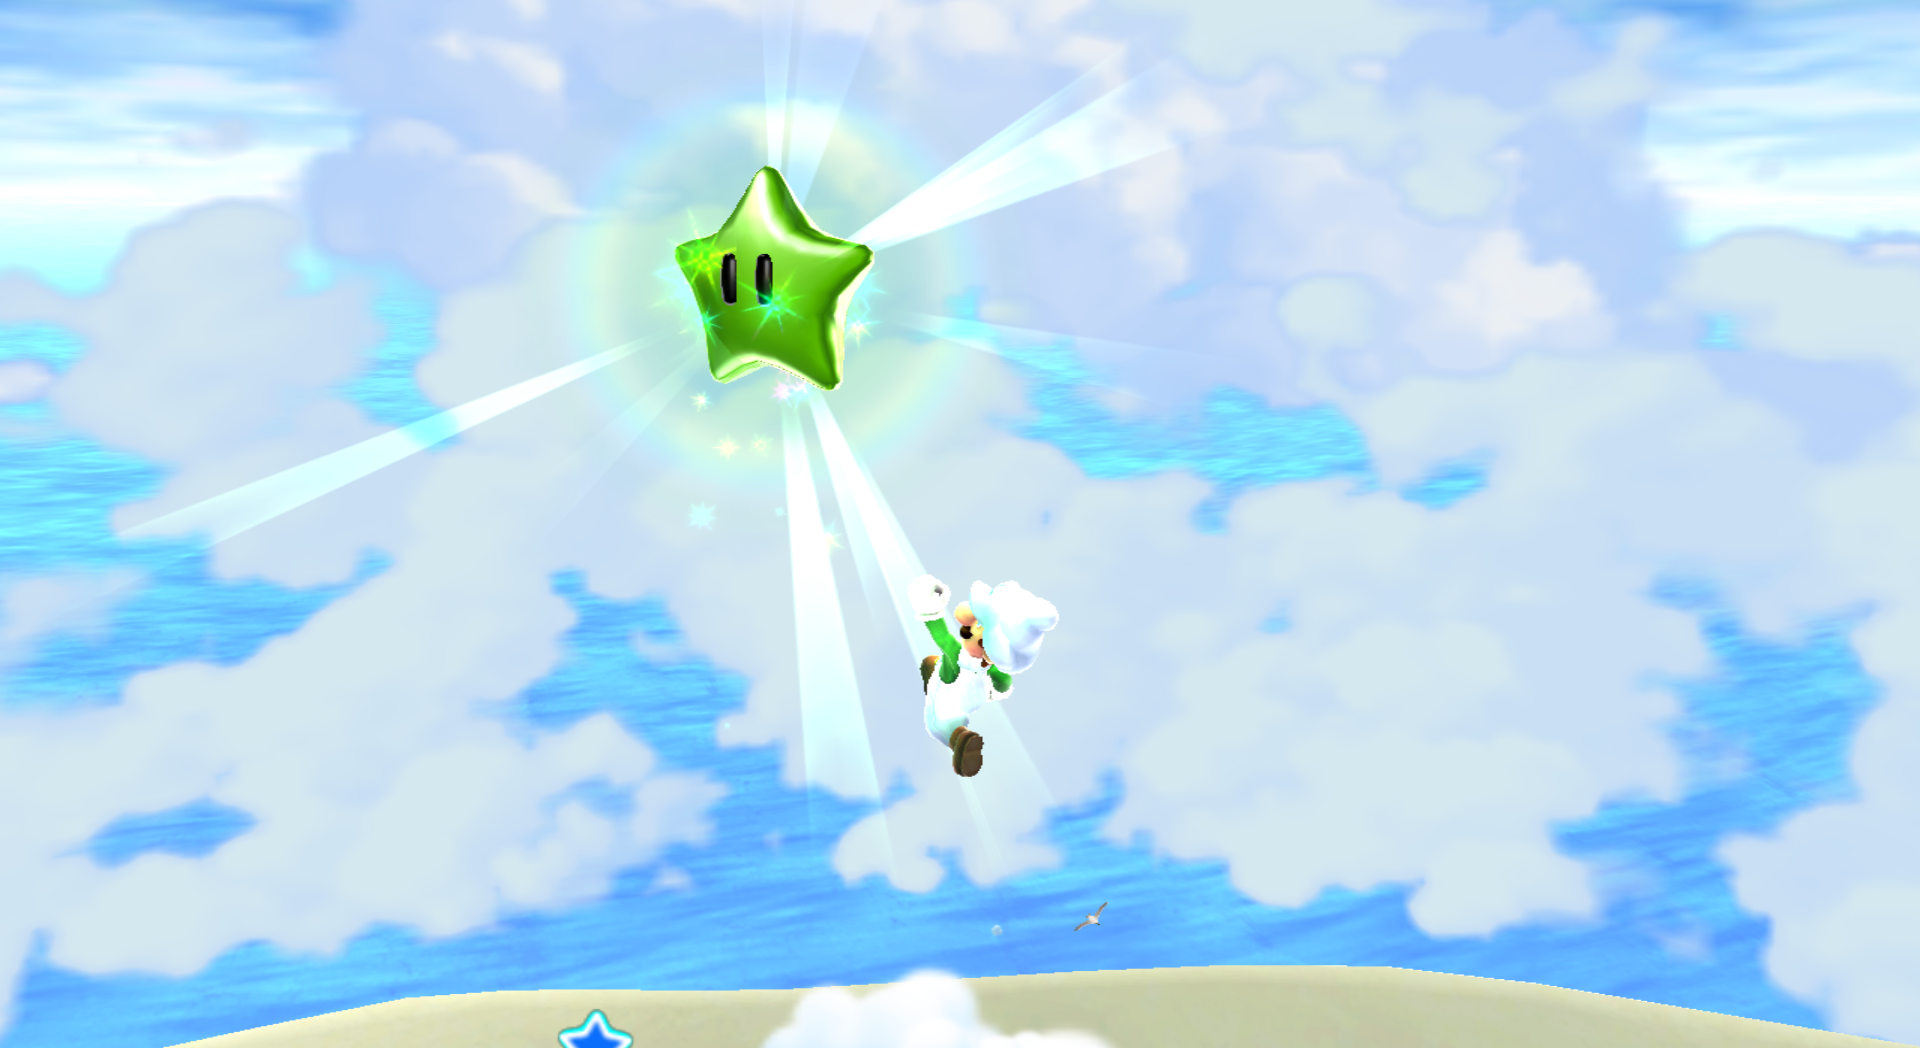 You will need to grab a Cloud Flower, then ride a Leaf Raft over to the floating trampoline object in the water. Carefully turn the object so the highest point is up. Then, do a series of backwards somersaults with the Cloud Flower in order to gain height and grab the star. | ||
| Green Star #64: Chompworks Galaxy | ||
|---|---|---|
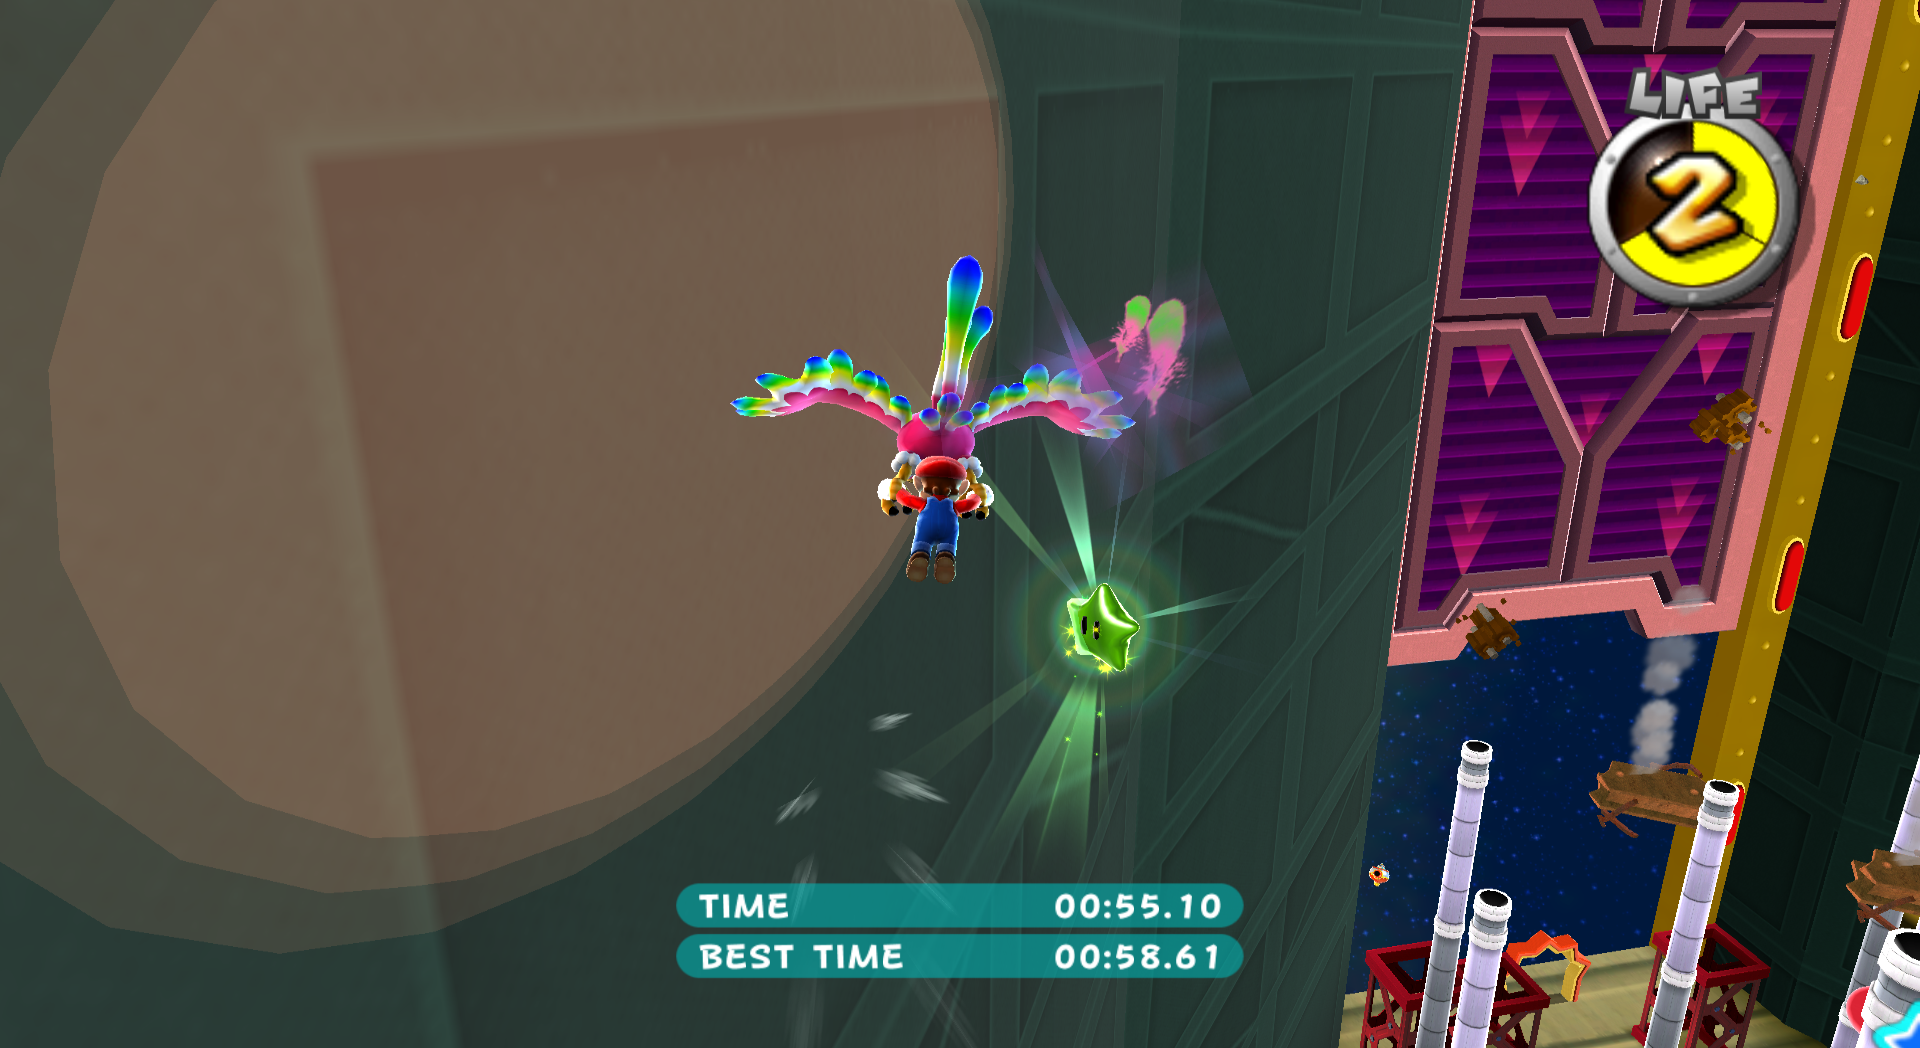
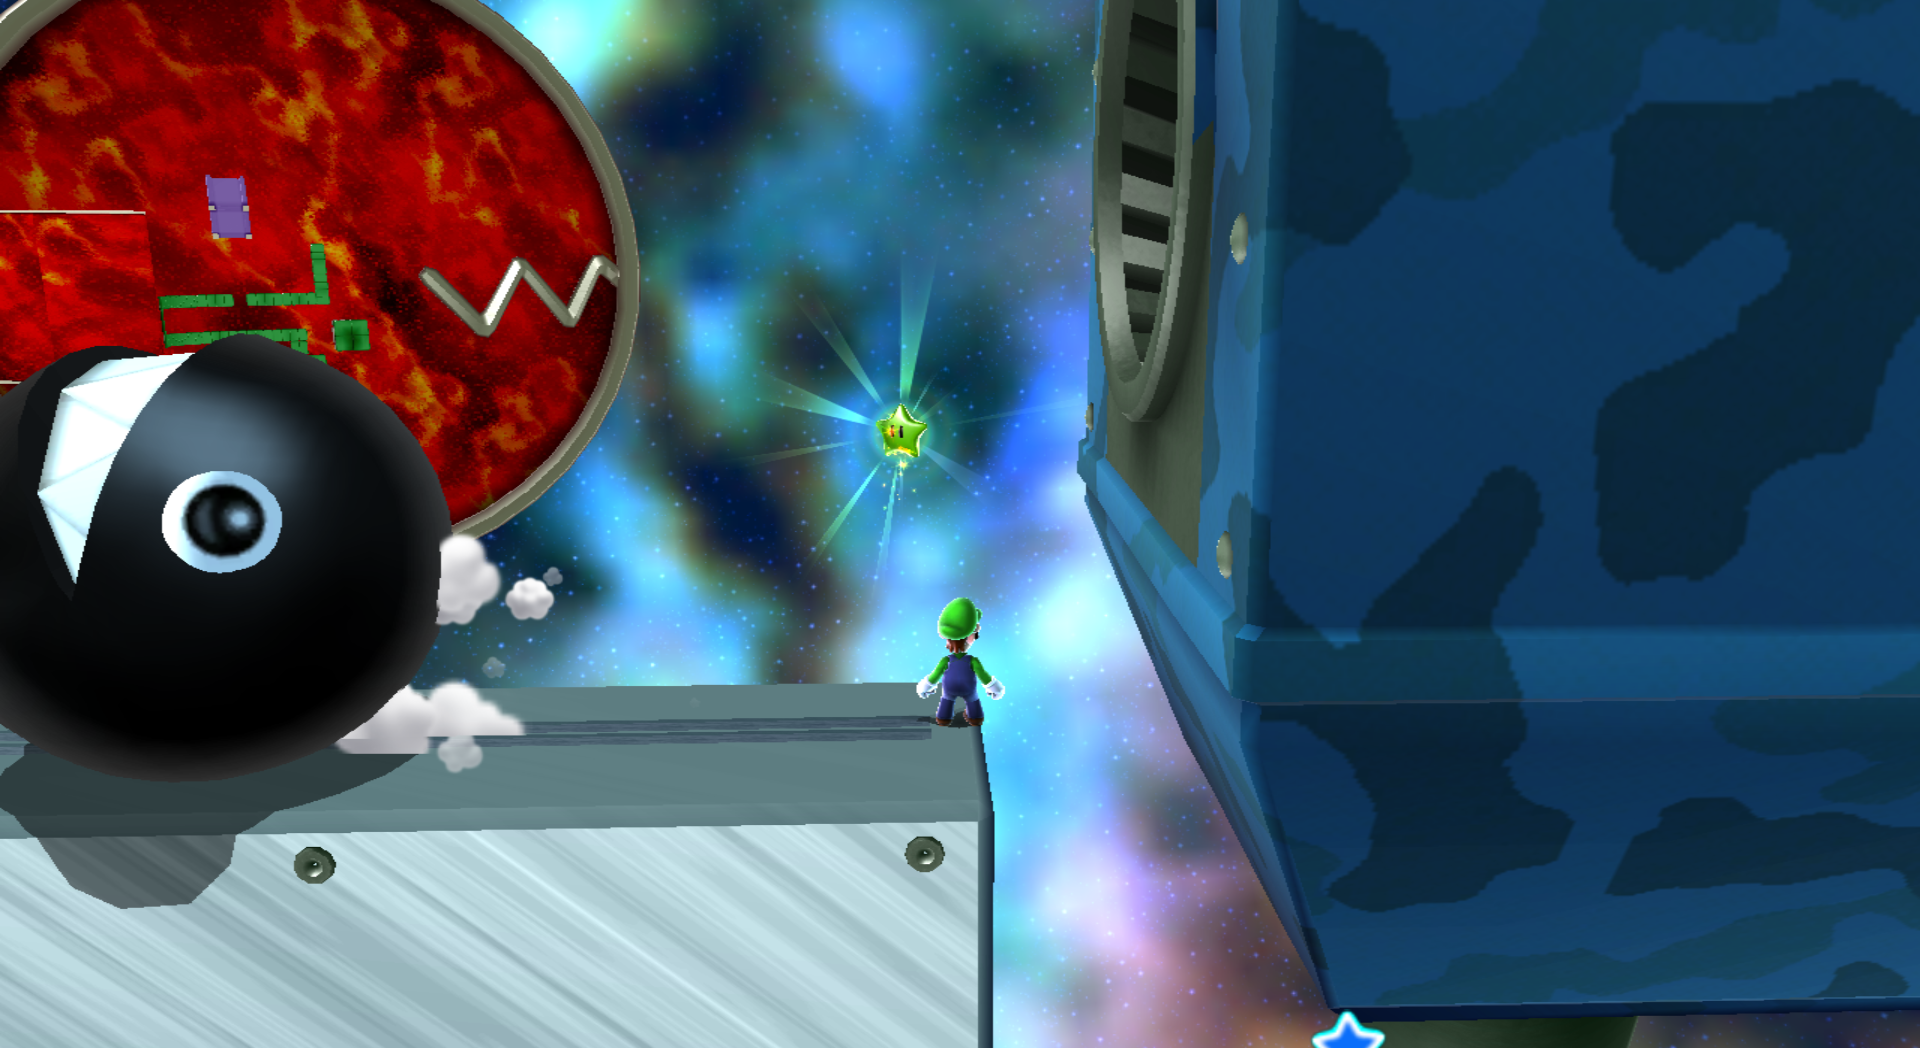 On the starting planet, make your way to where the Chomps are spawning without the Spring Mushroom. You'll have to do backwards somersault to jump over the Chomps along the way. When you get to the spawn point, Long Jump out towards the Green Star. | ||
| Green Star #66: Chompworks Galaxy | ||
|---|---|---|
| Green Star #67: Sweet Mystery Galaxy | ||
|---|---|---|
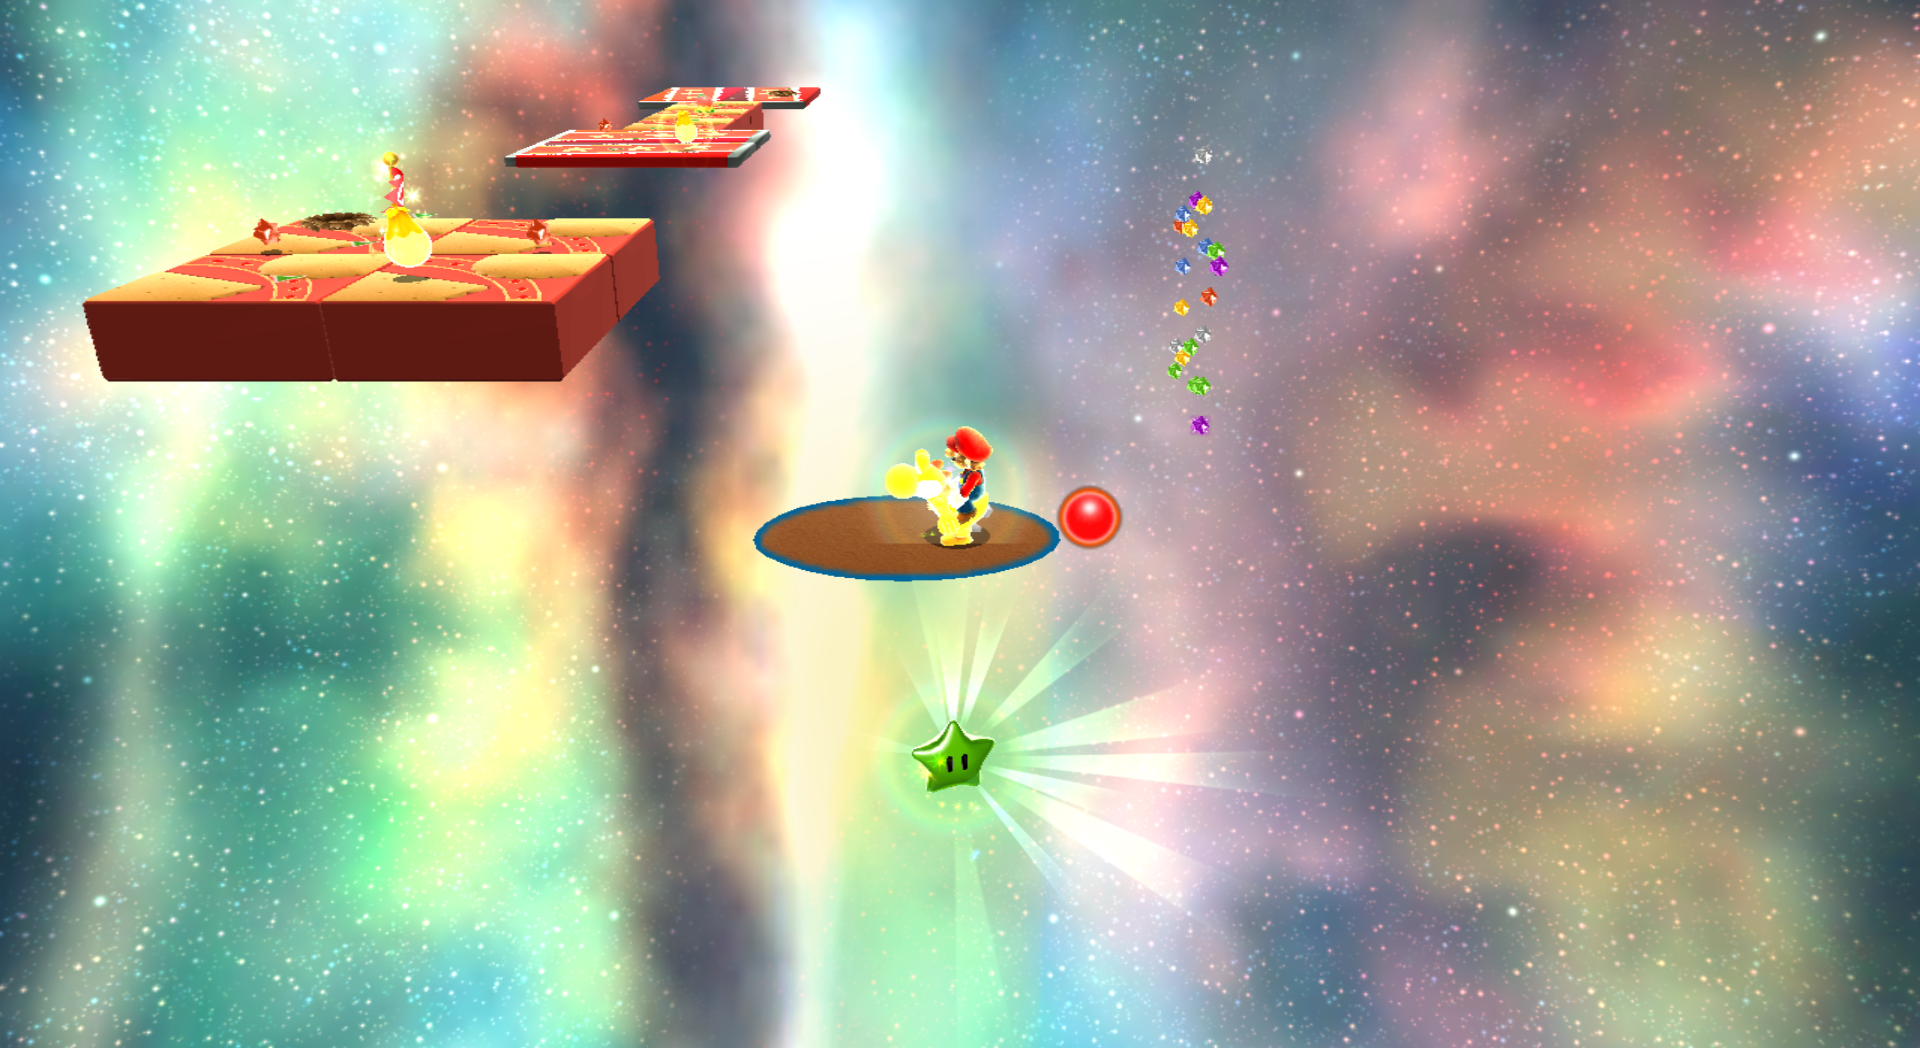 After a checkpoint, the Green Star can be seen in the distance. To get it, you'll need to get a Bulb Berry with Yoshi, then walk over above it. Then, wait for the effects to wear off so you can grab it. | ||
| Green Star #68: Sweet Mystery Galaxy | ||
|---|---|---|
| Green Star #69: Honeyhop Galaxy | ||
|---|---|---|
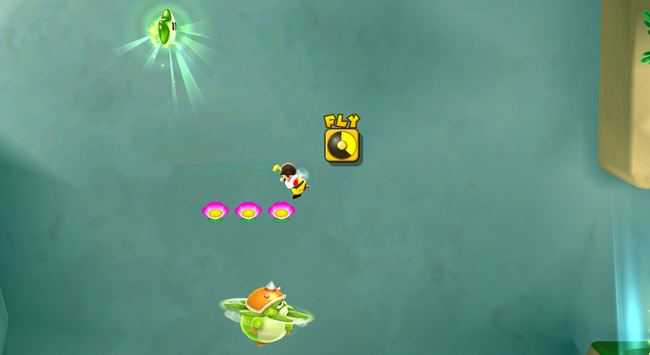
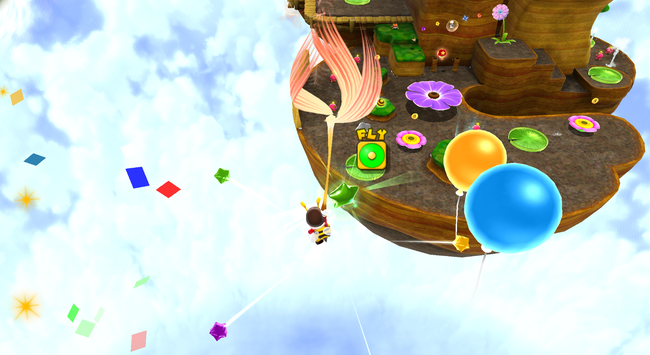 When you see Honey Queen in the distance and several balloons. You have to ride a Floaty Fluff and pop the red balloon. The Green Star is right behind it. | ||
| Green Star #70: Honeyhop Galaxy | ||
|---|---|---|
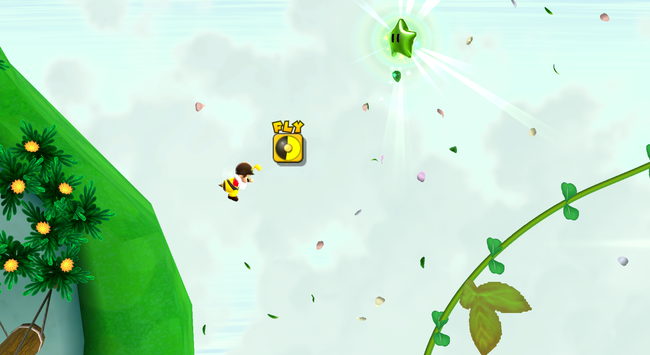
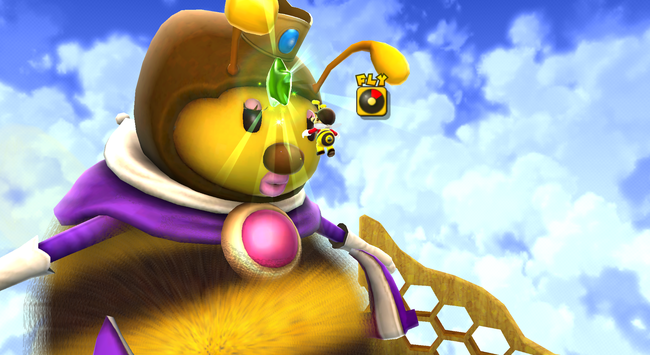 In front of Honey Queen's face. Use the Bee Mushroom to climb up the Honey Queen, then fly to get it. | ||
| Green Star #71: Bowser's Gravity Gauntlet | ||
|---|---|---|
| Green Star #72: Bowser's Gravity Gauntlet | ||
|---|---|---|
| Green Star #73: Space Storm Galaxy | ||
|---|---|---|
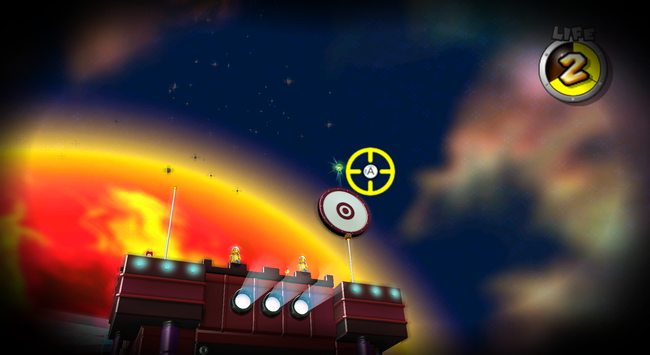
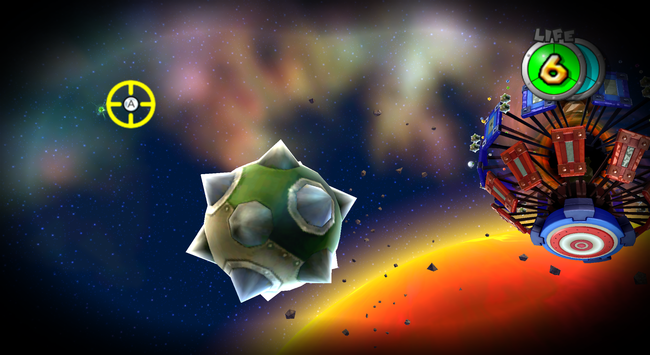
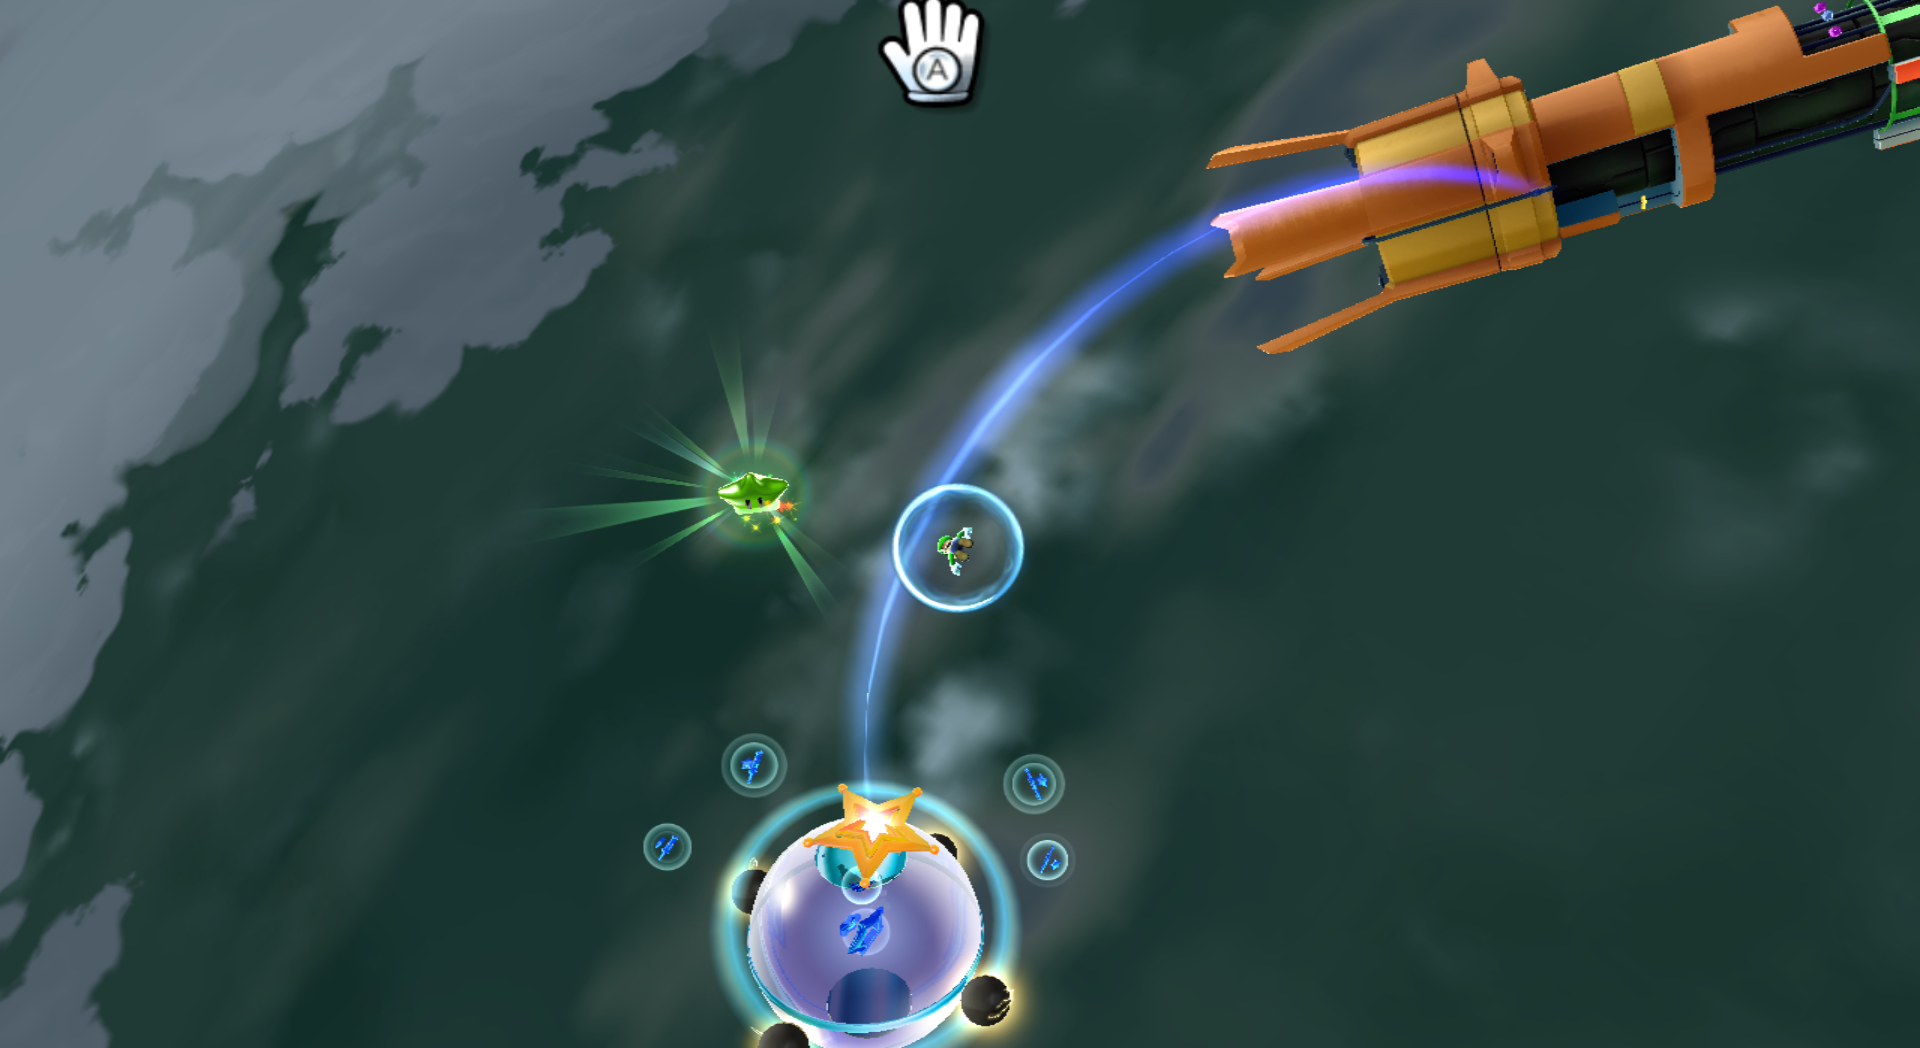 On the starting series of planetoids, use the Pull Stars to pull yourself past the Launch Star and grab the Green Star. | ||
| Green Star #74: Space Storm Galaxy | ||
|---|---|---|
| Green Star #75: Space Storm Galaxy | ||
|---|---|---|
| Green Star #76: Slipsand Galaxy | ||
|---|---|---|
| Green Star #77: Slipsand Galaxy | ||
|---|---|---|
| Green Star #78: Slipsand Galaxy | ||
|---|---|---|
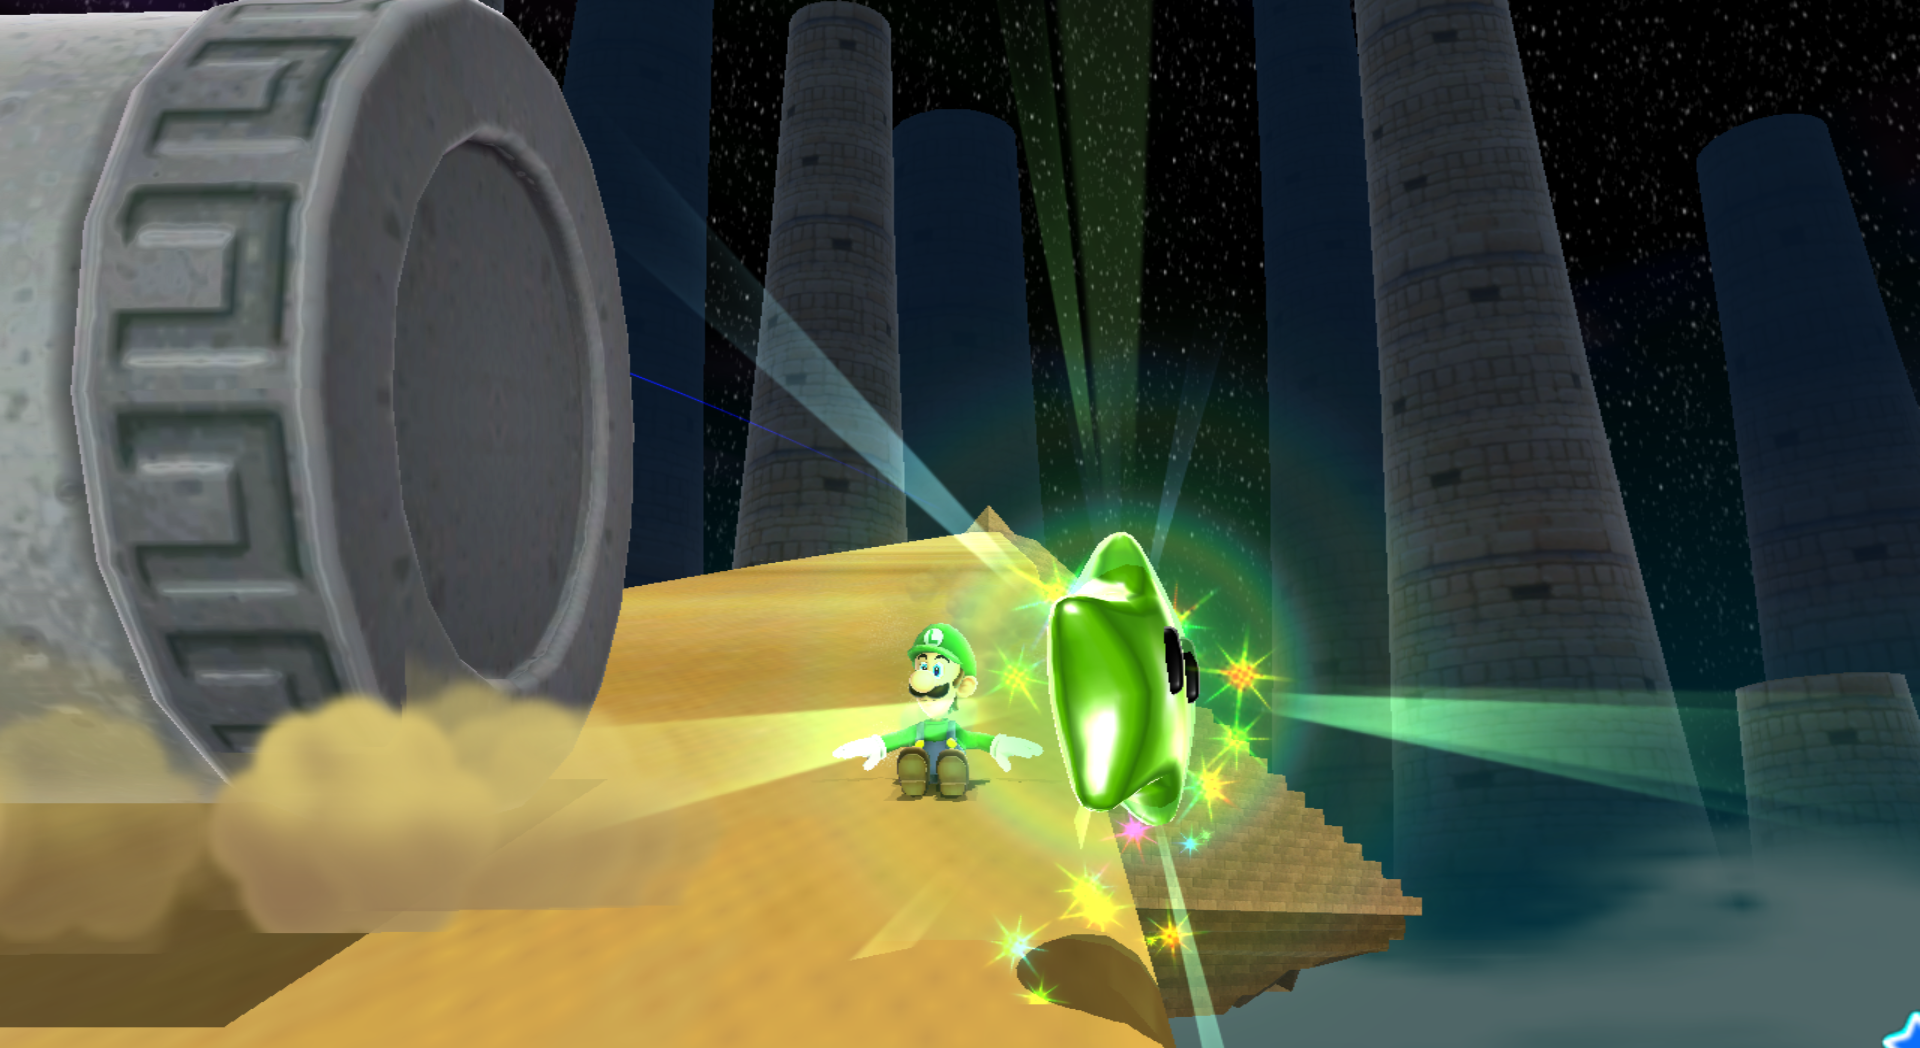 Also on the slide. After avoiding the Rhomps you should slide all the way to the right as the star will be right there. | ||
| Green Star #79: Shiverburn Galaxy | ||
|---|---|---|
| Green Star #80: Shiverburn Galaxy | ||
|---|---|---|
| Green Star #82: Boo Moon Galaxy | ||
|---|---|---|
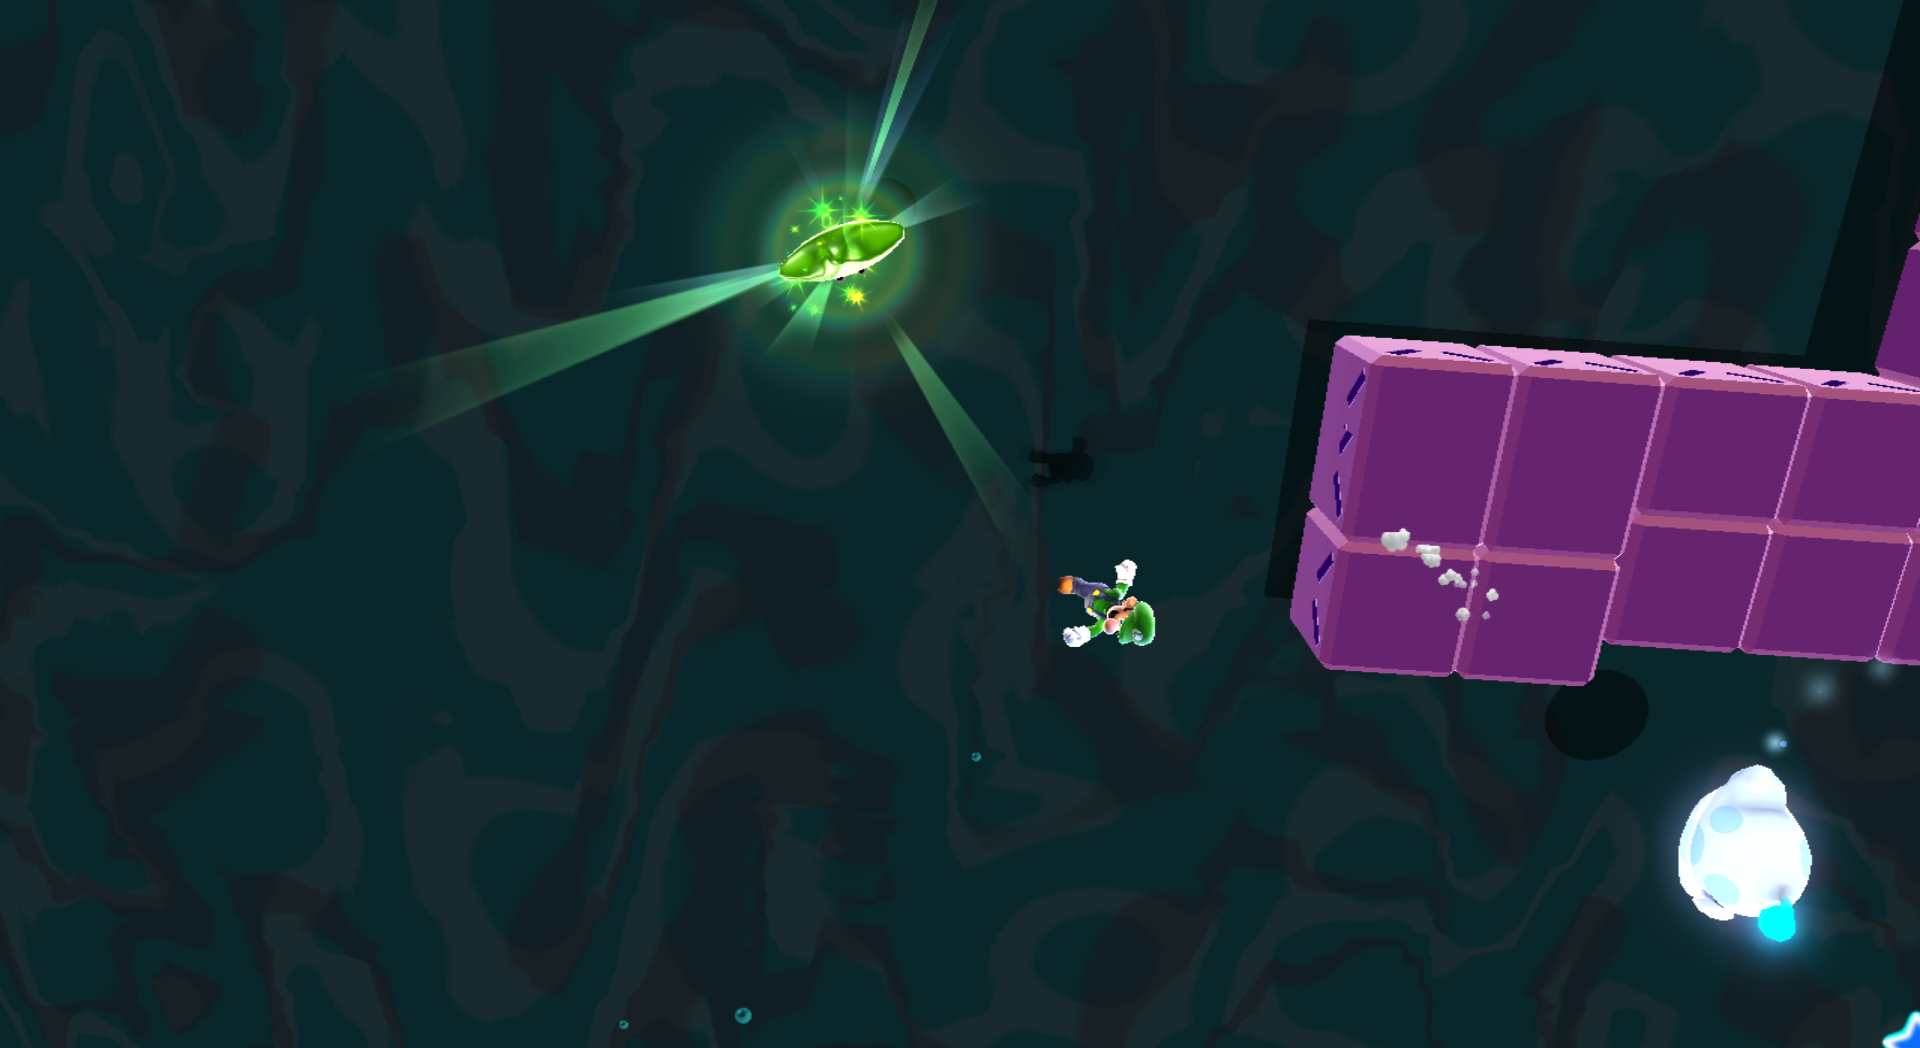 Ride the Snake Blocks past the checkpoint flag. You'll have to ignore the Launch Star and Long Jump onto another set of Snake Blocks. This one will move super fast, and you'll need to keep up with it. Long Jump to the Green Star at the right time. I might as well mention that this Green Star is awful. | ||
| Green Star #83: Boo Moon Galaxy | ||
|---|---|---|
| Green Star #84: Boo Moon Galaxy | ||
|---|---|---|
| Green Star #85: Upside Dizzy Galaxy | ||
|---|---|---|
| Green Star #86: Upside Dizzy Galaxy | ||
|---|---|---|
| Green Star #87: Fleet Glide Galaxy | ||
|---|---|---|
| Green Star #88: Fleet Glide Galaxy | ||
|---|---|---|
| Green Star #89: Bowser Jr.'s Boom Bunker | ||
|---|---|---|
| Green Star #91: Melty Monster Galaxy | ||
|---|---|---|
| Green Star #92: Melty Monster Galaxy | ||
|---|---|---|
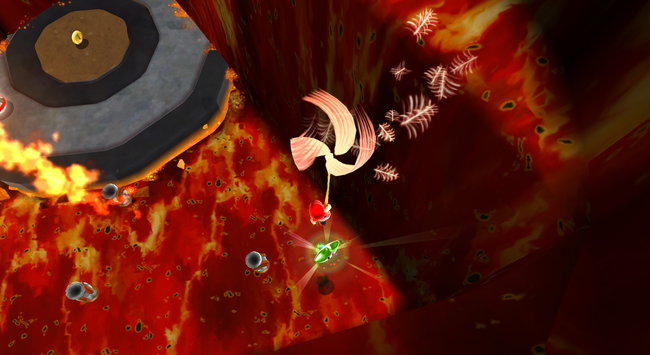
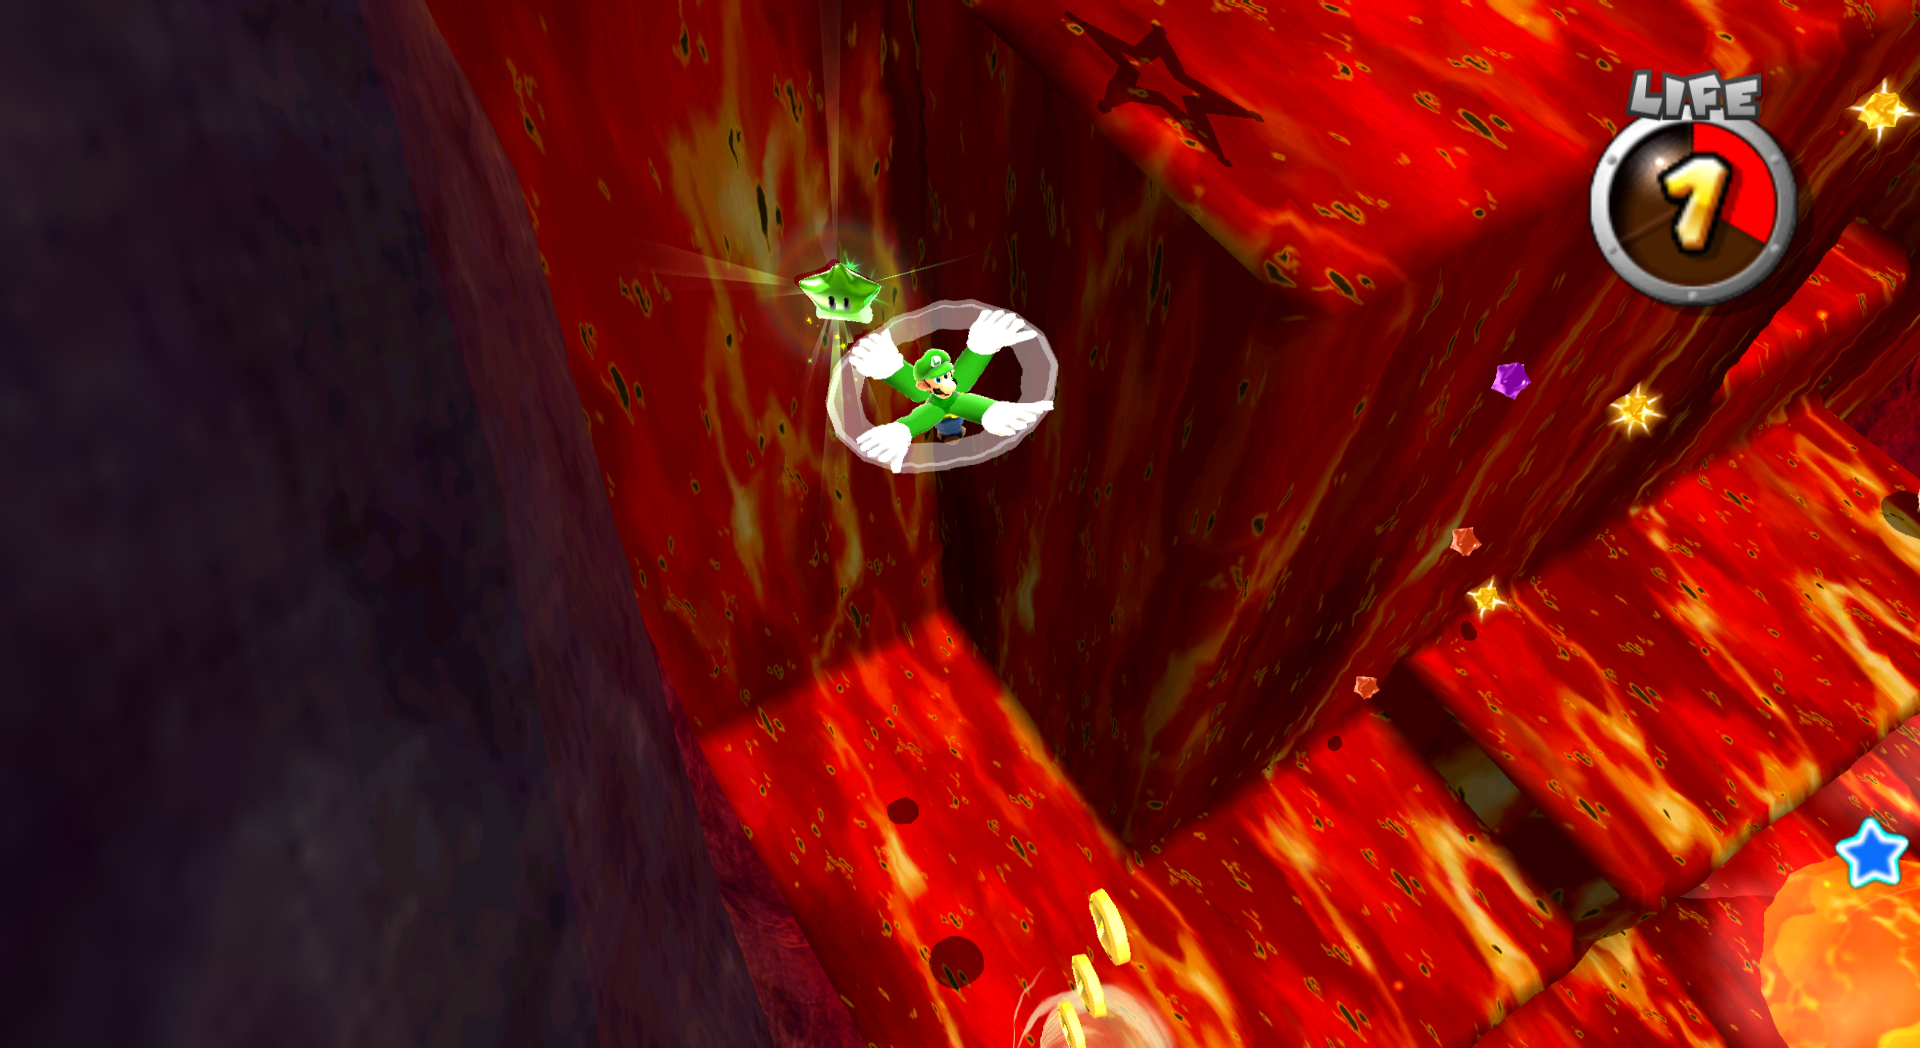 On the planet with the several tornadoes. Use them to get up to the Flower swing. Swing for maximum momentum and jump to the left to land in the Green Star. You can also try using the tornadoes to guide your way into it. | ||
| Green Star #93: Melty Monster Galaxy | ||
|---|---|---|
| Green Star #94: Clockwork Ruins Galaxy | ||
|---|---|---|
| Green Star #97: Throwback Galaxy | ||
|---|---|---|
| Green Star #98: Throwback Galaxy | ||
|---|---|---|
| Green Star #99: Throwback Galaxy | ||
|---|---|---|
| Green Star #100: Battle Belt Galaxy | ||
|---|---|---|
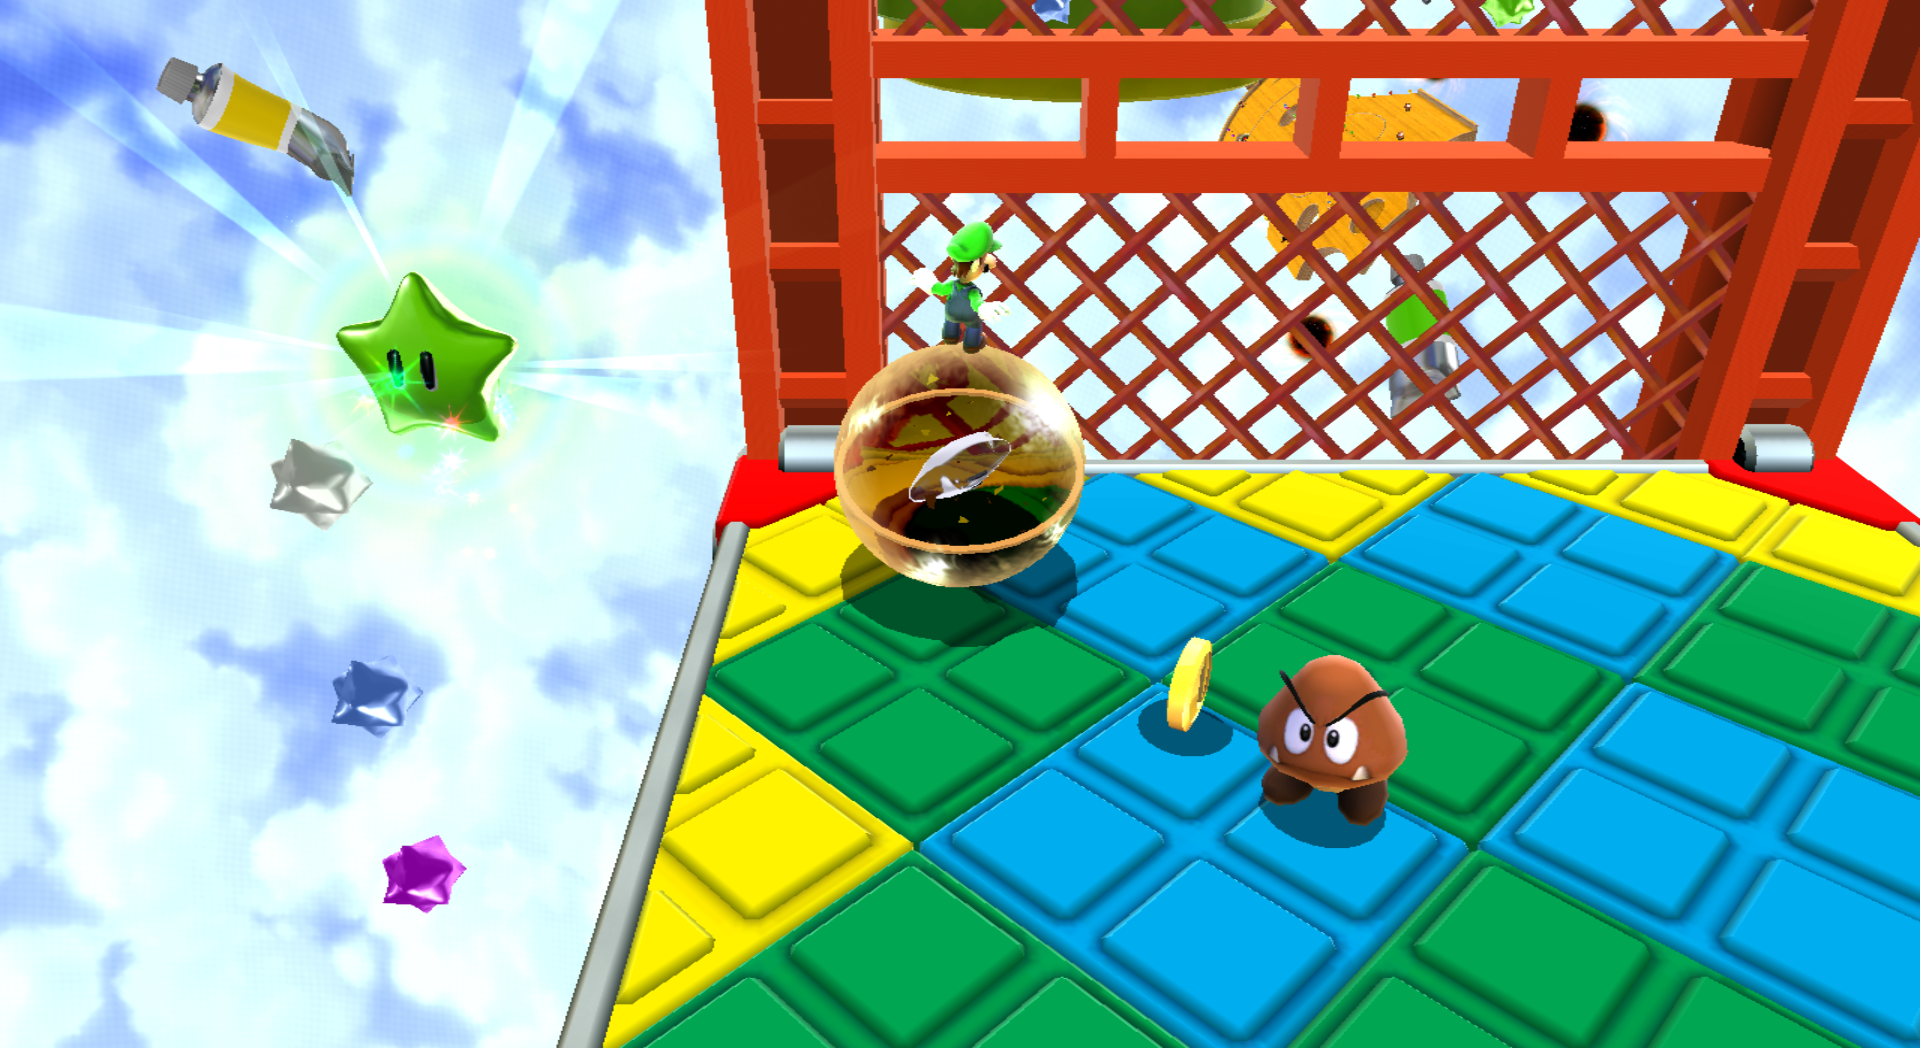
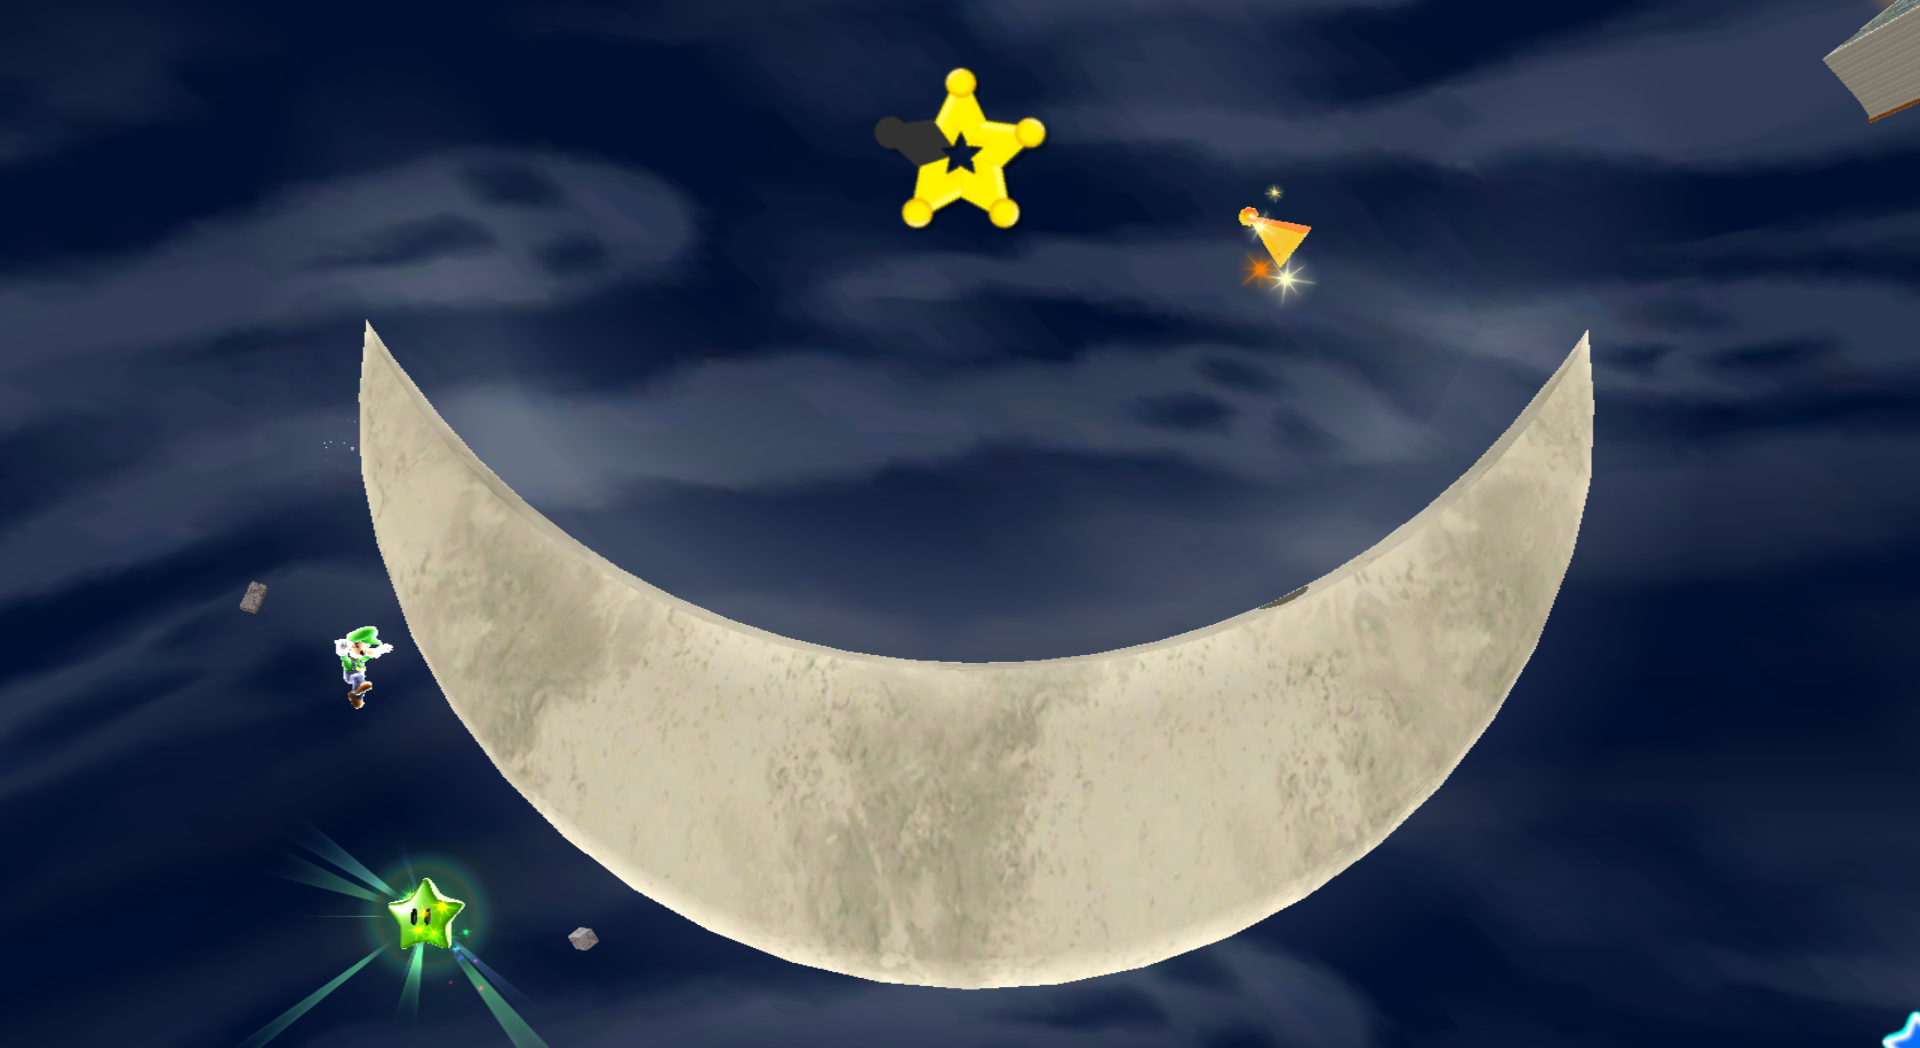
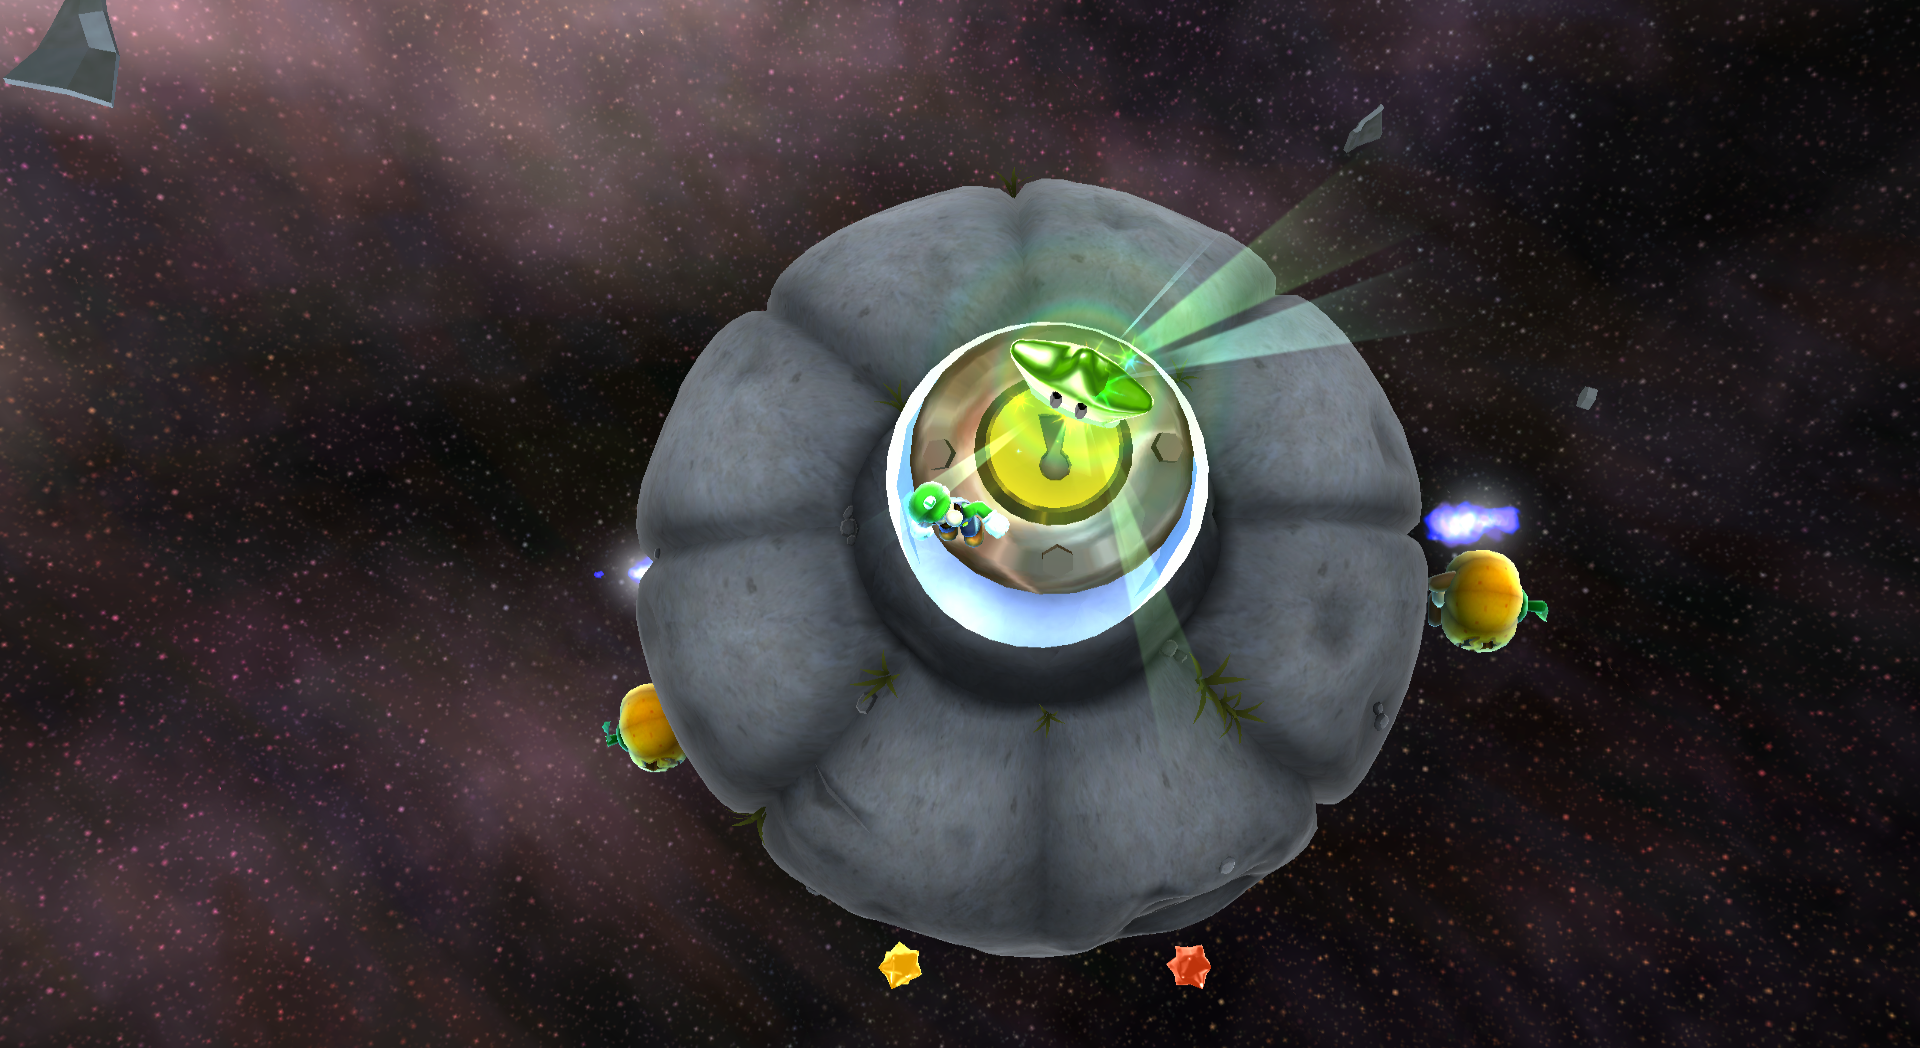 On the planet that looks like a Jack O' Goomba, make your way up to the shield gate. Jump on top of it and the Green Star is there. | ||
| Green Star #101: Battle Belt Galaxy | ||
|---|---|---|
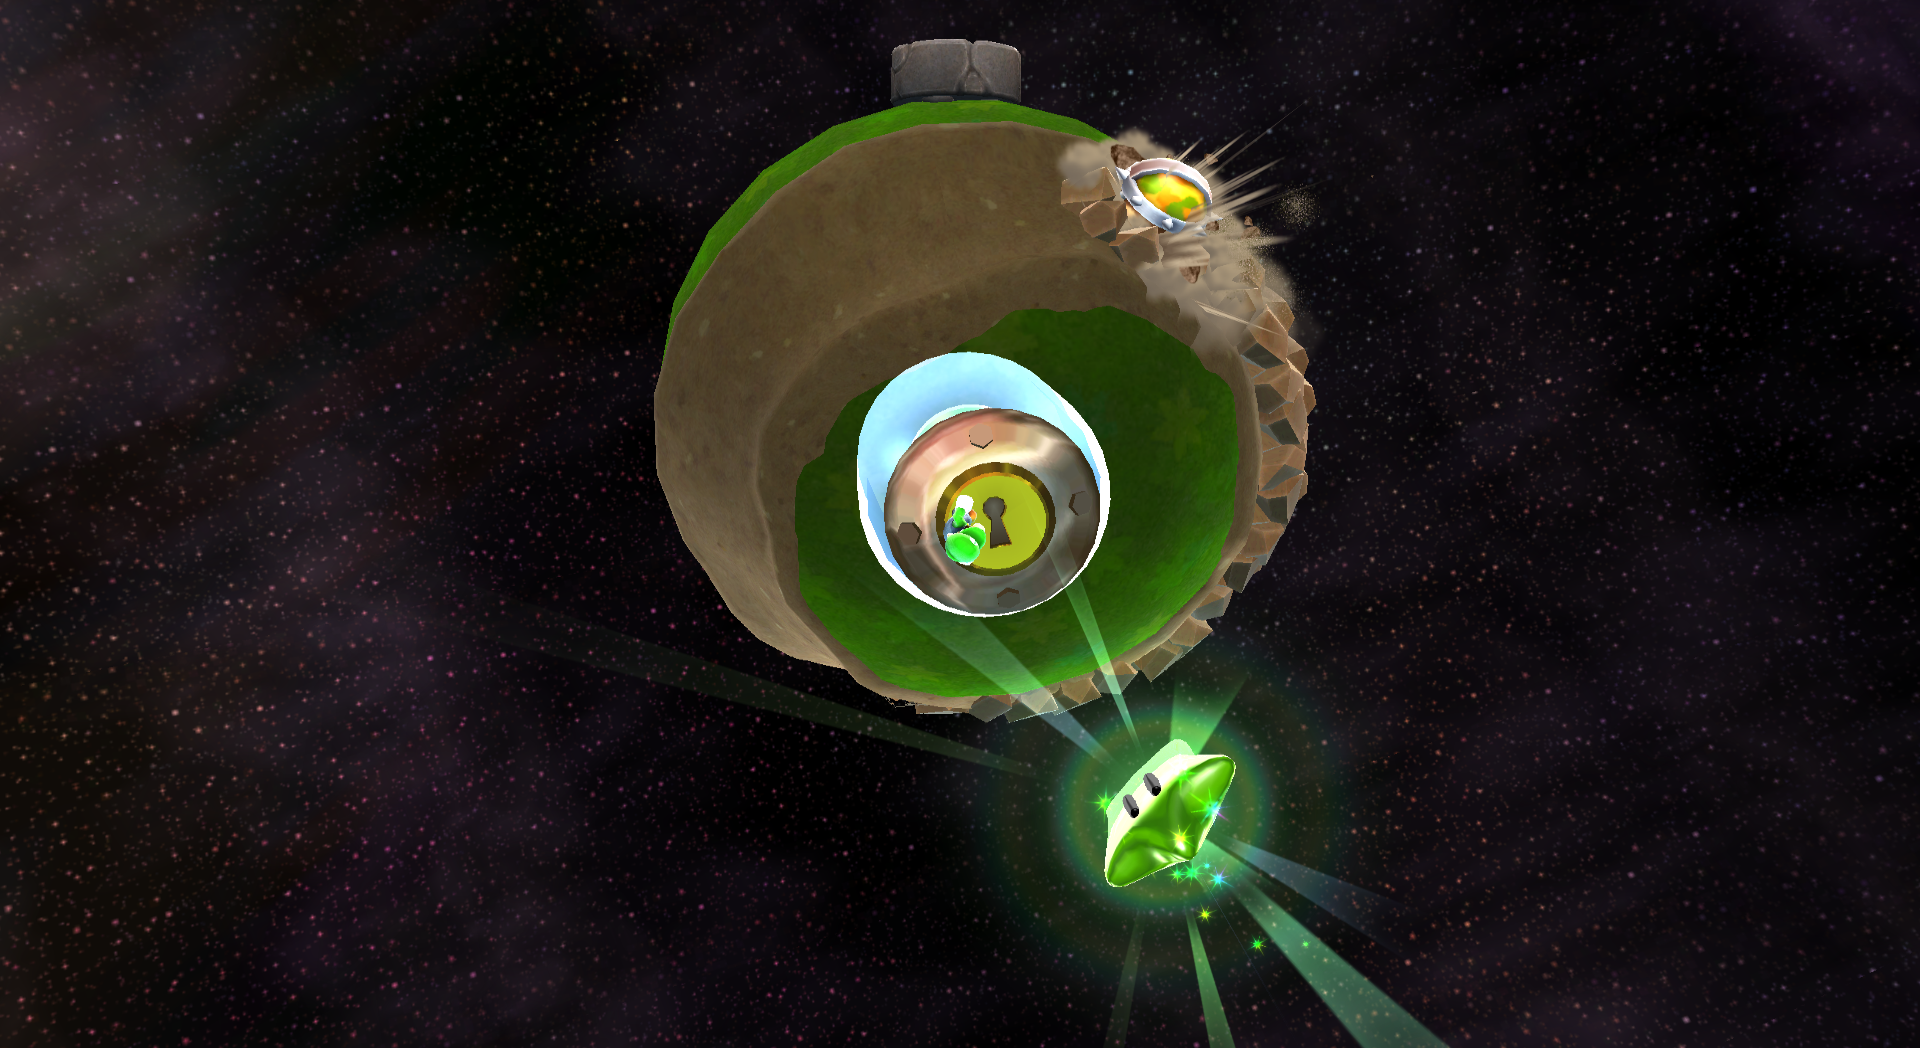 Once again, the Green Star is on top of a shield gate. This time, inside of it is a pipe and this Green Star is on the planet with a bunch of Undergrunts (mole-like enemies). | ||
| Green Star #102: Battle Belt Galaxy | ||
|---|---|---|
| Green Star #103: Flash Black Galaxy | ||
|---|---|---|
| Green Star #104: Flash Black Galaxy | ||
|---|---|---|
| Green Star #105: Slimy Spring Galaxy | ||
|---|---|---|
| Green Star #106: Slimy Spring Galaxy | ||
|---|---|---|
| Green Star #107: Bowser's Galaxy Generator | ||
|---|---|---|
| Green Star #108: Bowser's Galaxy Generator | ||
|---|---|---|
| Green Star #109: Mario Squared Galaxy | ||
|---|---|---|
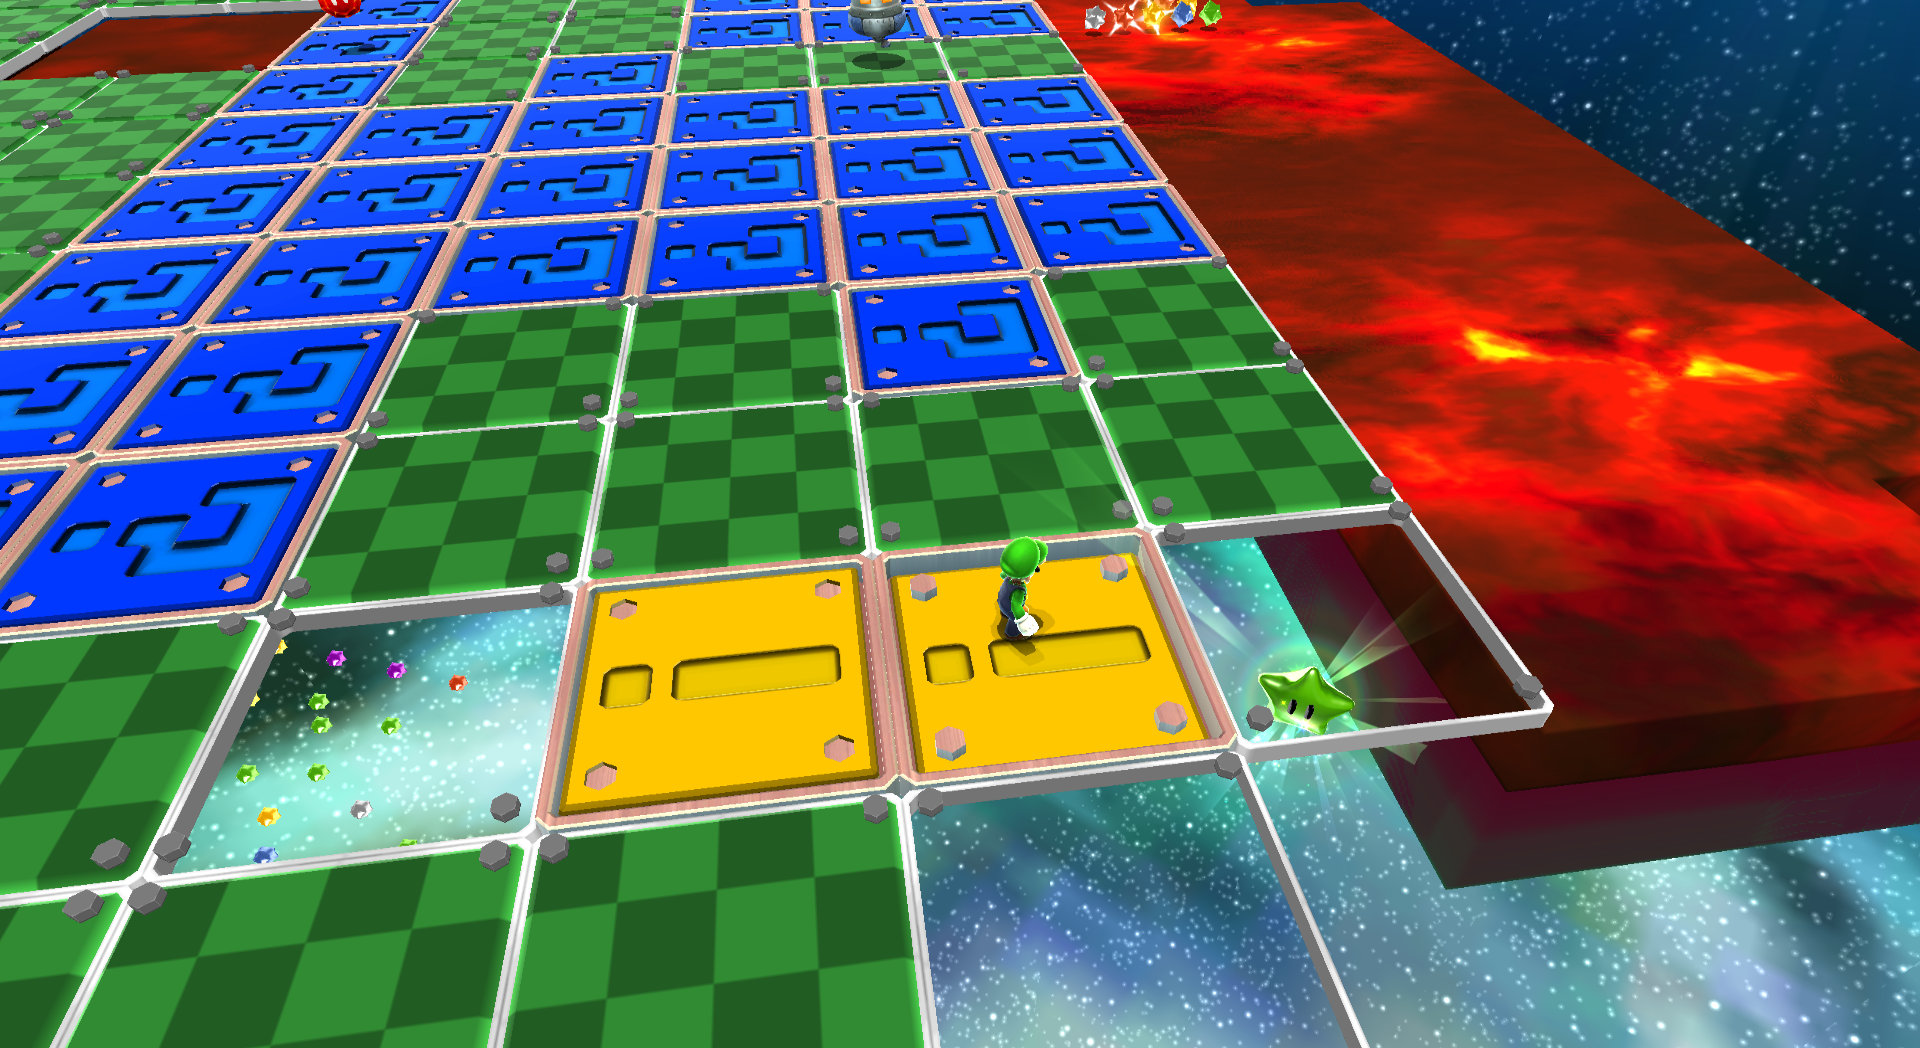 In the top right of Mario's hat, the Green Star is under a disappearing platform. Stand on the platform and fall to get the star. | ||
| Green Star #110: Mario Squared Galaxy | ||
|---|---|---|
| Green Star #112: Rolling Coaster Galaxy | ||
|---|---|---|
| Green Star #113: Twisty Trials Galaxy | ||
|---|---|---|
| Green Star #114: Twisty Trials Galaxy | ||
|---|---|---|
| Green Star #115: Stone Cyclone Galaxy | ||
|---|---|---|
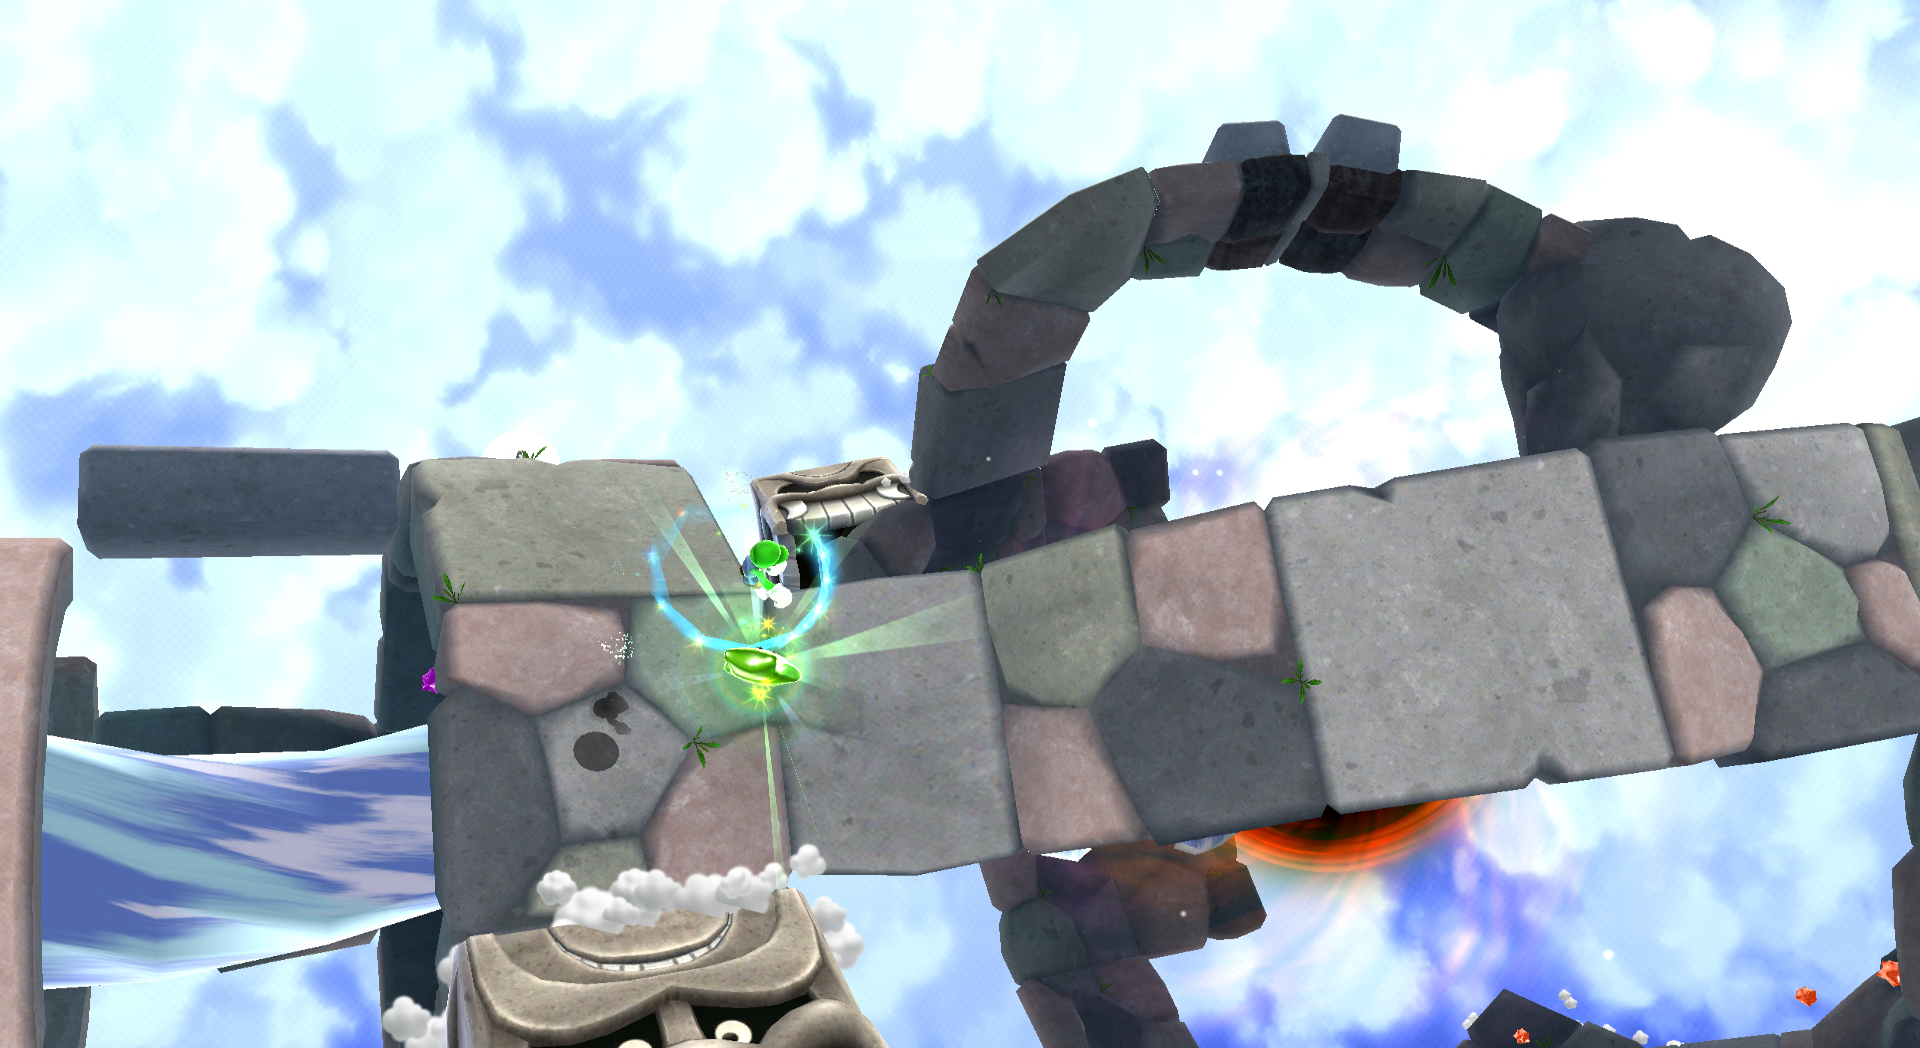 About halfway through the course, you will need to perform an extremely well-timed Triple Jump and be careful to not get squished by the Tox Box. The Green Star is high up in the air, and may take a couple tries before you can snag it. | ||
| Green Star #116: Stone Cyclone Galaxy | ||
|---|---|---|
| Green Star #117: Boss Blitz Galaxy | ||
|---|---|---|
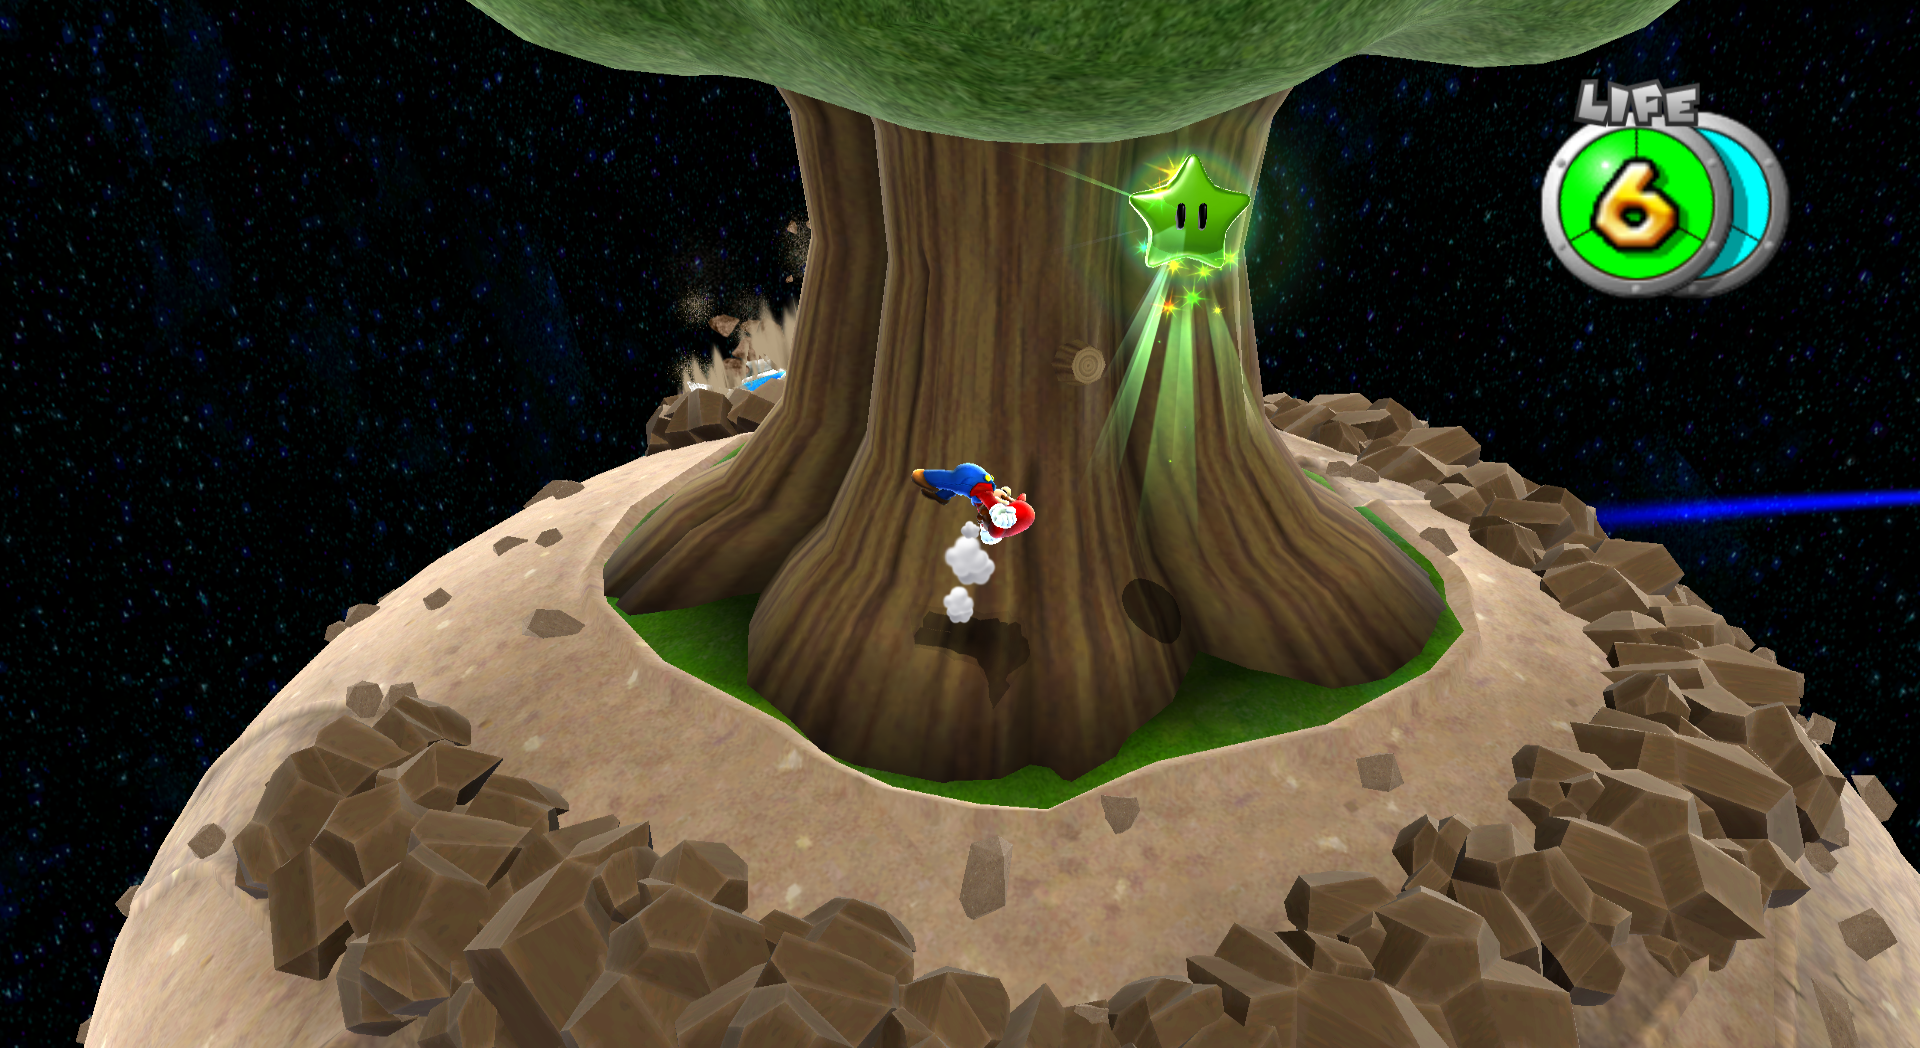 High in a tree in Major Burrows's arena. Use jumping techniques you've mastered by now to get it. | ||
| Green Star #118: Boss Blitz Galaxy | ||
|---|---|---|
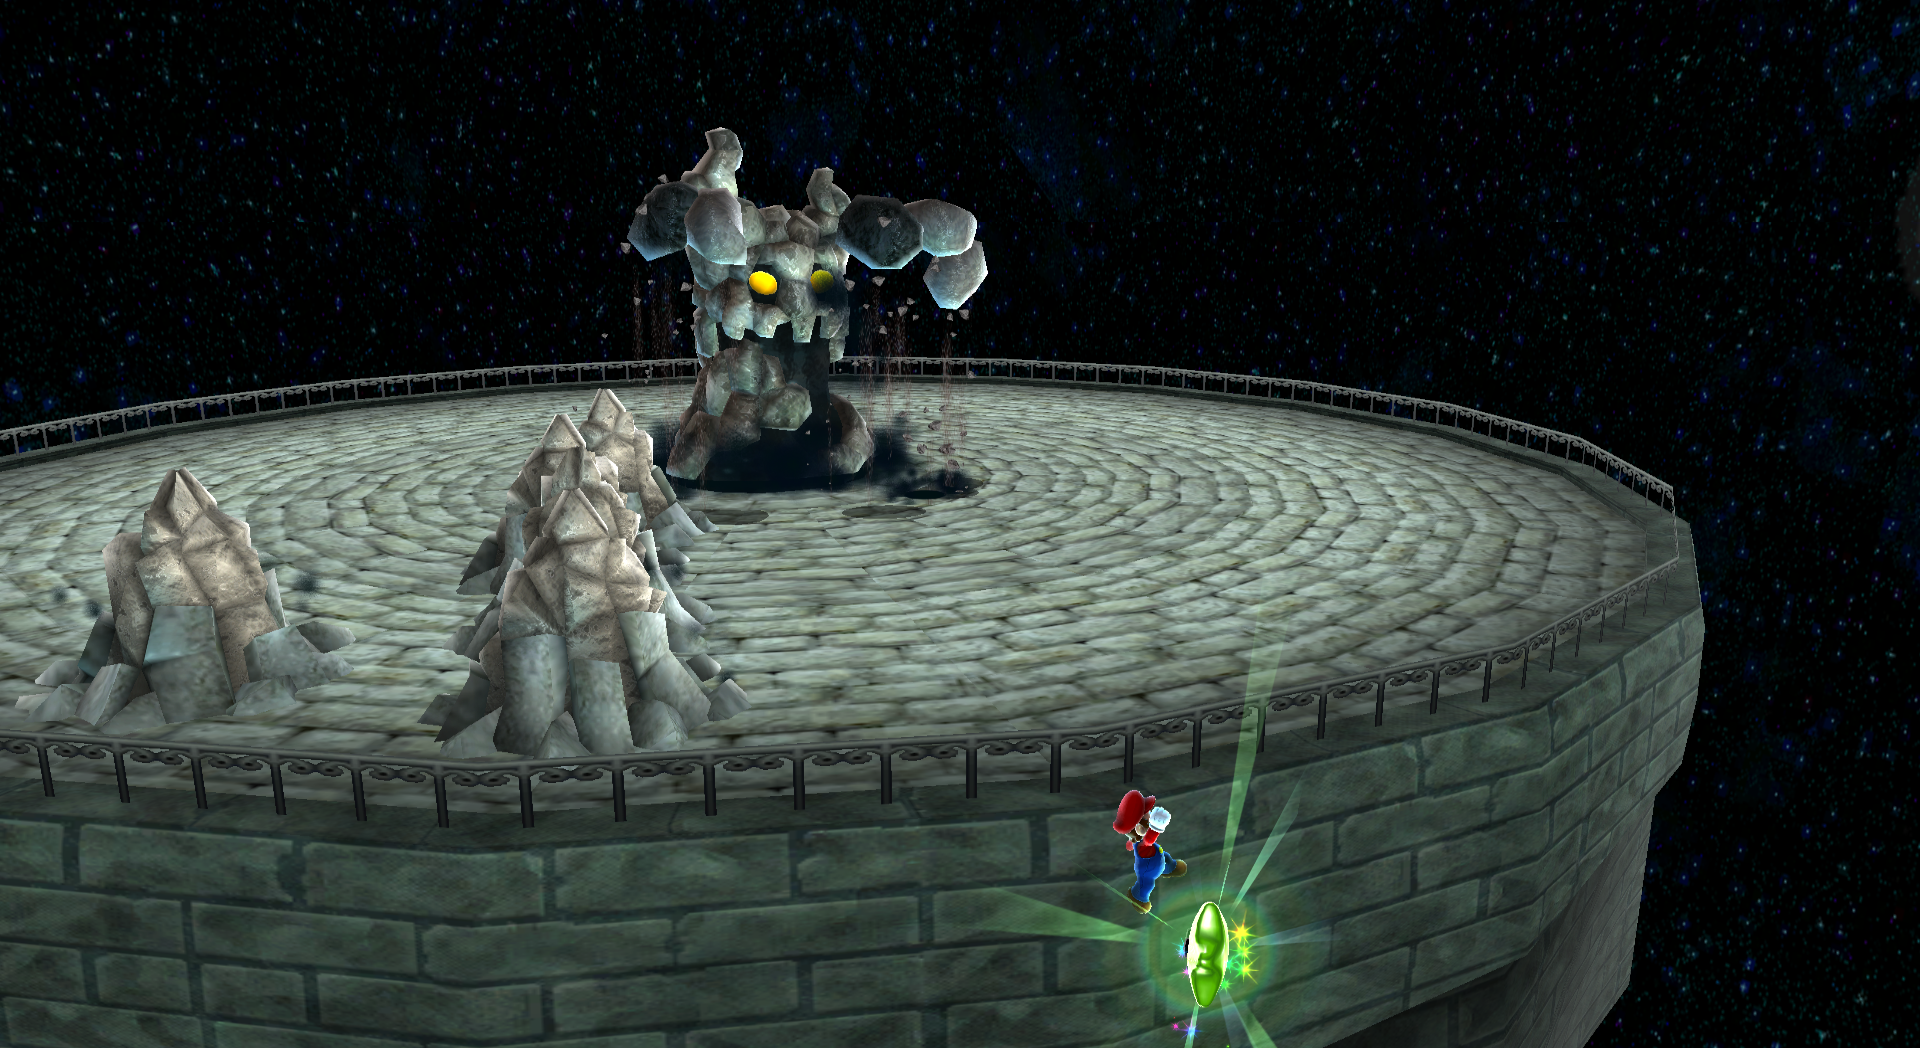 Above a bottomless pit in Bouldergeist's arena. | ||
| Green Star #119: Flip-Out Galaxy | ||
|---|---|---|
| Green Star #120: Flip-Out Galaxy | ||
|---|---|---|
| The 'Shroom: Issue 120 | |
|---|---|
| Staff sections | Staff Notes • The 'Shroom Spotlight |
| Features | Fake News • Fun Stuff • Palette Swap • Pipe Plaza • Critic Corner • Strategy Wing |
| Specials | Counting 120 Green Stars |
