User:Wildgoosespeeder/sandbox: Difference between revisions
| Line 157: | Line 157: | ||
|style="text-align:left;"|Processing | |style="text-align:left;"|Processing | ||
|- | |- | ||
!colspan=3|GLideN64 graphics plug-in | !colspan=3|GLideN64 graphics plug-in<ref>[[User:Wildgoosespeeder/sandbox/Screenshot comparisons]]</ref> | ||
|- | |- | ||
|style="text-align:right;"|''Bilinear filtering'' | |style="text-align:right;"|''Bilinear filtering'' | ||
| Line 182: | Line 182: | ||
* [[Donkey Kong 64]] - N64 logo before [[DK Rap]] displays as 640 × 237. Then it displays normally after that. | * [[Donkey Kong 64]] - N64 logo before [[DK Rap]] displays as 640 × 237. Then it displays normally after that. | ||
* [[Mario Artist: Communication Kit]] - Title screen displays as 640 × 237. Then it displays normally after that. | * [[Mario Artist: Communication Kit]] - Title screen displays as 640 × 237. Then it displays normally after that. | ||
==== Samples ==== | ==== Samples ==== | ||
| Line 213: | Line 190: | ||
|direction=horizontal | |direction=horizontal | ||
|image1=Puff.png | |image1=Puff.png | ||
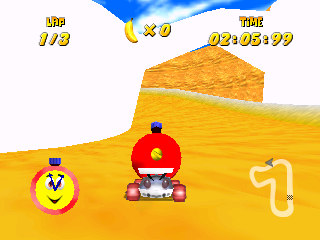
|caption1=''[[Mario Party]]'' | |caption1=''[[Mario Party]]'' | ||
|image2=Mk64wariostadium3.png | |image2=Mk64wariostadium3.png | ||
|caption2=''[[Mario Kart 64]]'' | |caption2=''[[Mario Kart 64]]'' | ||
}} | }} | ||
{{multiple image | {{multiple image | ||
Revision as of 17:00, November 10, 2024
| ATTENTION EDITORS If you are moving files that this page links to, you have my permission to ask a sysop to change the link. If you are replacing images that this page links to instead, please leave me a message to give me a heads-up. Thank you! Wildgoosespeeder (talk) (Stats - Contribs) |
| This guide is an exercise of a certain discipline when submitting screenshots, sprites, or 3D renders to MarioWiki, in a similar way to articles in accordance to MarioWiki:Manual of Style. Rushing these kind of images can be like creating stub articles. These are highly recommended ways to obtain high quality screenshots that are big enough, contain minimal degradation, don't cause additional maintenance for other editors, and aren't a resource hog to store/transmit for the rest of the users that access MarioWiki. |
This is a guide to get the best possible screenshots for all consoles and handhelds by supplying a basic technical overview of each device. Using emulators, hardware modifications, or HDMI capture provide the sharpest screenshots possible, but it takes some know-how to achieve that level of quality.
- Things to keep in mind when supplying MarioWiki with images
- These recommendations apply to screenshots ({{game-screenshot}}), sprites ({{game-sprite}}), and 3D renders ({{game-3Drender}}) of released games and their contents. This doesn't necessarily apply to games that were never released or developer-released screenshots during the game's development cycle.
- Use PNG. Don't use JPEG or GIF as they represent the content with varying degrees of inaccuracy, such as lossy compression or color loss, unless otherwise stated. Don't covert between these formats. Just resample the image. If you see an image that is unusually high in file size (formerly File:Thwomp Wario's Woods.png), then it is encouraged to upload a clean version of the image.
- General rule of thumb to tell what requires the PNG format: If you can access a particular object the MarioWiki article is referencing in the game through normal gameplay or through hacking the game data, PNG is required. Otherwise the format the image was released in should stay in its current format (unless BMP or similar formats, then convert to PNG).
PNG MonsterPNG Monstrous or ExplodePNG are recommended to be applied to the PNGs to reduce file size, but it is optional.
- Be mindful of emulator glitches, such as missing shadows, glitch renderings, missing effects, etc.. Generally, the older the console, the more accurate the emulator. Use the recommended emulators in this guide. Use their latest versions, not just stable builds.
- Some older games were rereleased on newer hardware under the label of Virtual Console. It is preferred to take screenshots for the original release.
- An exception to this rule would be to compare releases if there are changes. Be sure to note that uploads of this kind are Virtual Console.
- An exception to this exception is hacking the changes into the original release, such as Super Mario Advance 4: Super Mario Bros. 3 and unreleased e-Reader levels and features.
- The Nintendo 3DS has a feature that can force original resolution to the games instead of stretching them to fit the screen.
- An exception to this rule would be to compare releases if there are changes. Be sure to note that uploads of this kind are Virtual Console.
- Do not use post-processing effects or HD texture packs that replace officially released assets. This includes applying filters after a clean screenshot was taken or using a filter as the game is running in the emulator (against policy anyways).
- If you are going to take a screenshot of a YouTube video (or equivalent media), save in PNG format (unless it's for a Wii U game so use JPEG instead to make it easier to replace because reasons in its own section) and tag the image immediately with {{image-quality}} so a more appropriately captured screenshot can be uploaded at a future date. Encoders that were used to create the video or the encoder used to make those videos compatible with YouTube's players use lossy compression and the artifacts will be preserved of the screen capture when saved to the PNG format or intensified if saved in JPEG.
If screenshots don't comply with these standards, tag images with {{image-quality}}. The screenshots present in this guide are some of the best screenshots MarioWiki have produced.
Why Use Emulators?
Emulators have these benefits:
- The hassle of getting older consoles to work is gone. The most notorious example of hardware failure is the Nintendo Entertainment System 1985 model.
- Earlier game cartridges, such as those for Nintendo Entertainment System, Super Nintendo Entertainment System, Game Boy and Game Boy Color, use what is known as a battery back-up to store game data. Many of the stock batteries are now discharged and no longer save properly. The only way to fix this is to do some soldering and maybe buying special batteries from retro gaming stores. Sometimes you can use common button cell batteries. Emulators "battery power" is indefinite.
- Savestates allow players to save the exact moment they are in a game by saving everything in memory. This is really helpful for games that have a limited or no save feature. This isn't the same as saving the real way. This ability can be used to traverse hard sections of levels without having to do earlier sections over again.
- The real hardware will eventually die.[1] Emulation will preserve the past as much as possible so that way it can be enjoyed by future generations.
- Emulators aren't prone to degradation of image quality. By default, they ignore the process of converting their internal renders into analog output, such as RCA or coaxial. However, some emulators try to simulate this degradation to try to keep the experience "authentic".
Legalities
Nintendo is highly against emulation[2], despite their Virtual Console service and Classics consoles being just that. Nintendo has spread fears and misconceptions about emulation.[3] This is a very dated policy. Here's the state of emulation:
- Emulators are legal because it is reverse engineering protected under fair use law. No emulator has been ruled illegal in a court of law.
- Making copies of software you own is legal because US copyright law allows for making personal backups, known as ROM and ISO dumps, regardless of any safeguards in place.
- Distributing and downloading ROMs/ISOs from unlicensed Nintendo sources are illegal. This is true piracy, but this method is used to make back-ups easier and is the common justification for owning the digital versions of the physical media, if the user has the physical copy.
With that in mind, Super Mario Wiki is not responsible for any actions editors take to emulate their games and will not provide any sources where to find ROMs and ISOs. This section is nothing more than just explaining legalities of emulation.
Recommended Equipment
Most likely, you are going to be using a computer to play these games. A few emulators have been made available on other hardware, such as mGBA, which can be a bit easier to play. The most common input setup is using a keyboard. It doesn't have to be this way; hunching over the keys, using your fingertips to push buttons, using buttons to simulate ![]() (which can't allow for slight pushes and has limited direction), and even having
(which can't allow for slight pushes and has limited direction), and even having be on the right and the action buttons on the left. These recommendations are based on using Microsoft Windows, unless otherwise noted. Your mileage may vary if using a different operating system, such as macOS or Ubuntu, if the emulator source code was ported to work on them.
This guide recommends the use of an XInput device, such as an Xbox 360 or Xbox One controller, and then reconfiguring the emulated controller inputs, if necessary. This guide also recommends using USB wired connections to the computer wherever possible. It is possible to use a wireless setup, but the Xbox 360 controller requires a separate adapter and the Xbox One controller likely uses Bluetooth (read next paragraph to see if you have one already). The Xbox One controller, if using the USB mode, doesn't need AA batteries as it uses the USB's power of 5V and 500mA.
There is some mixed success using the Wii Classic Controller, Wii U Pro Controller, and the Nintendo Switch Pro Controller. Dolphin has support for all the real hardware Wii accessories that Mario games use. This requires a Bluetooth receiver. Most computers that have Wi-Fi built-in also have Bluetooth. Check Device Manager to see if a Bluetooth receiver exists on your computer. Update drivers accordingly if anything is reported missing. Use Windows Update for this; under optional updates. Also go to the manufacturer's website for these drivers too if Windows Update doesn't have it.
Dolphin also has support for the Wii U GameCube adapter from Super Smash Bros. for Wii U.
RetroN 5
A RetroN 5 may be used to take screenshots as an alternative from digital versions of the cartridges, but the firmware must be v2.0 or later[4], as that version introduced PNG screenshots. Older hardware revisions of RetroN are untested. Follow documentation how to upgrade the hardware's firmware.[5][6] Keep in mind this is limited to the Nintendo Entertainment System/Family Computer, Super Nintendo Entertainment System/Super Famicom, Game Boy, Game Boy Color, and Game Boy Advance. No hardware add-ons that use special extension slots are supported, such as Family BASIC or the Satellaview. The first version Family Computer's second controller has a microphone instead of and
, and it is unknown if the RetroN 5 supports this mode. The Game Boy support doesn't support link cables, although it might be possible with the Super Game Boy 2. Out of luck for the Game Boy Advance. Also keep in mind that compatibility is not like official hardware, so run time bugs could be encountered that would otherwise not happen.
Consoles
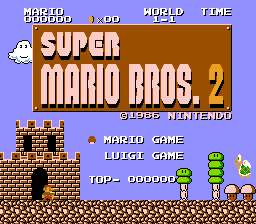
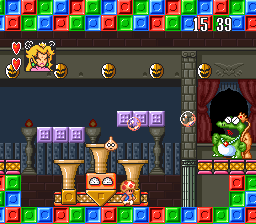
Each console and handheld section has at least one resolution specification. This is the expected output before edits to the screenshots are performed, such as cropping to zoom in on the subject or to follow image use policy.
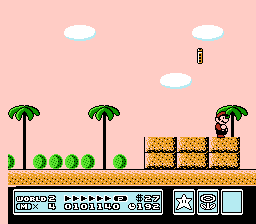
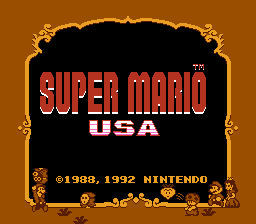
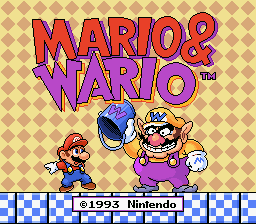
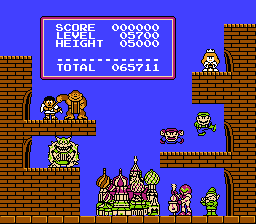
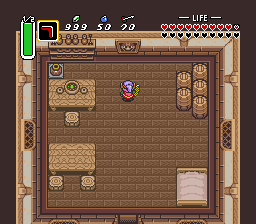
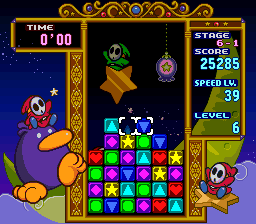
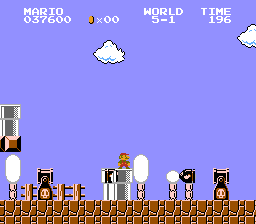
NES/Famicom/Famicom Disk System/SNES/Satellaview
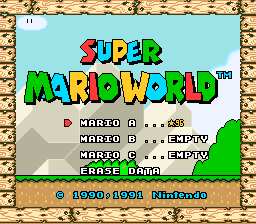
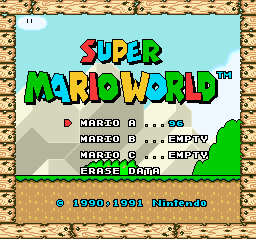
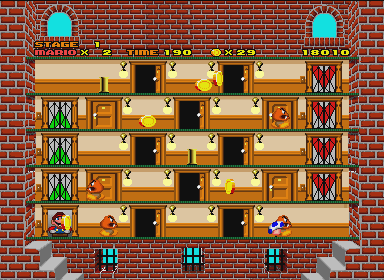
256 × 224 (NTSC) or 256 × 240 (PAL)
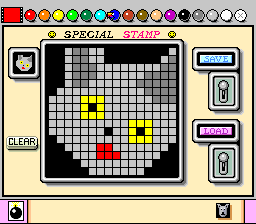
512 × 448 (NTSC) or 512 × 480 (PAL) (SNES only. Not applicable to Mario games, but not entirely sure. This might apply to Donkey Kong Country and Donkey Kong Country 2: Diddy's Kong Quest, but not Donkey Kong Country 3: Dixie Kong's Double Trouble!, and specifically to their "Nintendo Presents" right when the game boots, but no where else. This applies for sure to games such as Jurassic Park.)
- FCEUX for NES/Famicom/Famicom Disk System
- Mesen if FCEUX fails to emulate a game properly. Great for VS. System games.
- puNES if FCEUX fails to emulate a game properly.
- Nestopia Undead Edition if FCEUX fails to emulate a game properly.
- Snes9x for SNES/Satellaview
- BSNES 073/0.73 if Snes9x fails to emulate a game properly. Great for emulating Super Game Boy. See GB/GBC for appropriate use cases when to use SGB. It is recommended to not use Higan because it uses unconventional emulation practices and risks being too confusing to setup. You can use BSNES-classic, an unofficial build which branches off starting from BSNES 0.73 to incorporate the latest accuracy fixes in the latest Higan builds. The developer of Higan also revived the bsnes project (maintaining both emulators), but you must load the SBG ROM first and then a GB ROM.
FCEUX has inaccurate code emulating the color of NTSC NES, Famicom, and Famicom Disk System games correctly. It is recommended you use the correct palette. Go here for the download and instructions how to use it.
Despite being the most popular SNES emulator, it should be worth noting that you shouldn't use ZSNES in most cases because screenshots end up having a solid black line 256 × 1 at the very bottom, reducing the visible resolution to 256 × 223. The emulator is plagued with accuracy problems, which might make screenshots look wrong (like File:Slime Climb.png with the water). The emulator is 17 years out-of-date (v1.51 was released January 24, 2007) compared to Snes9x, which is leaps and bounds more accurate and had its last update on February 28th, 2019 (1.59.2). Snes9x is second to BSNES.
Due to the schedule-based nature of the Satellaview, some games will be unplayable. There are ROM hacks that disable the problematic code, in the form of patches:
These patches don't contain the games. The patches are instructions how to modify a file.
NTSC vs. PAL
Various Samples
NES/SNES Further Reading
N64/64DD
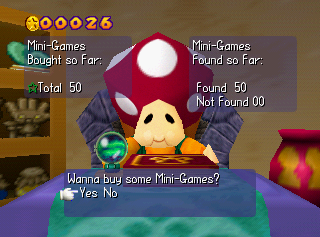
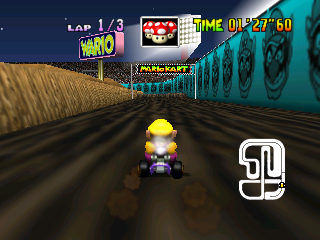
320 × 237 (more common)
640 × 474 (less common)
- Project64 - Press
F3to take a screenshot.- Graphics (ranked from best to worst)
- angrylion's RDP with OpenGL 1.5 graphics plug-in[7] (recommended plug-in to use, most accurate, automatic resolution adjustment, fewest glitches, and screenshots are in the BMP file format, which is best as PNG instead)
- You might notice slight dithering artifacts with screenshots, especially during 3D rendering. This is normal. Real hardware did this too. Sometimes this doesn't happen at all.
- GLideN64 graphics plug-in[8] (only recommended if angrylion fails, can be glitchy, manual resolution adjustment, more accurate with some games, screenshots tend to be 320 × 240 or 640 × 480 in the BMP file format)
- This plug-in is great for dumping textures and sprites.
- angrylion's RDP with OpenGL 1.5 graphics plug-in[7] (recommended plug-in to use, most accurate, automatic resolution adjustment, fewest glitches, and screenshots are in the BMP file format, which is best as PNG instead)
- RSP
- Graphics (ranked from best to worst)
- Mupen64Plus (untested but noteworthy)
Settings
| Setting | Value | Tab |
|---|---|---|
| angrylion graphics plug-in | ||
| Screen resolution formula | DP frame buffer | Processing |
| Bypass DAC filters | checked | Processing |
| Force NN | unchecked | Processing |
| GLideN64 graphics plug-in[13] | ||
| Bilinear filtering | N64-style 3 point | Video |
| Internal resolution | Original N64 resolution | Emulation |
| m64p by loganmc10 | ||
| DeinterlaceMode | checked | ParaLLEl Video |
| VIBilerp | unchecked | ParaLLEl Video |
- These games behave quite oddly under the angrylion plug-in:
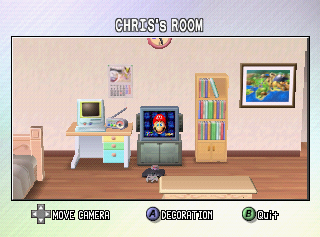
- Mario Tennis: The output is often 306 × 222 in the menus or 386 × 222 in-game (check file histories), leaving most or all of the black surrounding border cropped out automatically. Is this a glitch of the angrylion plug-in or does real hardware do this as well?
- Donkey Kong 64 - N64 logo before DK Rap displays as 640 × 237. Then it displays normally after that.
- Mario Artist: Communication Kit - Title screen displays as 640 × 237. Then it displays normally after that.
Samples
N64 Further Reading
GCN/Wii
Fullscreen is 4:3 and widescreen is 16:9.
- GCN
- Varies by game, but fits into dimensions of 640 × 480 fullscreen.
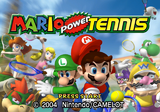
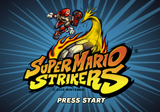
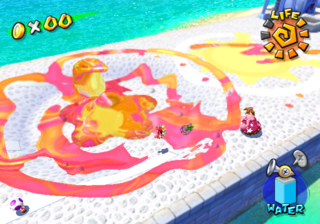
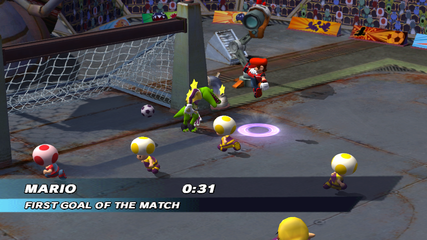
- Super Mario Strikers can support widescreen natively. Screenshots can then be fit into dimensions of 854 × 448 widescreen.
- If the game offers a 60Hz and a 50hz option for PAL versions of games, prefer 60Hz mode, as 50Hz is 640 × 528 instead of 640 × 480 and causes the output to stretch vertically.[15]
- The game controls the aspect ratio during rendering.
- GameBoy Advance connectivity, see GBA
- Wii
- Varies by game, but fits into dimensions of 854 × 480 widescreen (recommended) or 640 × 480 fullscreen (not recommended but acceptable).
- The console controls the aspect ratio and the game takes this setting into consideration during rendering.
- Prefer PAL60 over PAL50 if taking screenshots of European-exclusive content. If the game breaks, revert to PAL50.
Use these settings in the table. Keep in mind some games have graphical defects or runtime errors and needs emulator adjustments. Most likely these bugs are known, but sometimes bugs may not be reported. They may either have setting(s) overridden by GameINIs, or had a tweak to the emulator code performed starting with certain revisions. Be sure to read up on general and game-specific emulator documentation. You can right-click on each game in the emulator window to see what available options you have.
| Setting | Value | Tab |
|---|---|---|
| Graphics (requires at least version 5.0-21364) | ||
| Internal Resolution | 1x native | Enhancements |
| Force 24-Bit Color | unchecked | Enhancements |
| Resolution Type | Raw Internal Resolution | Advanced |
3D Renders
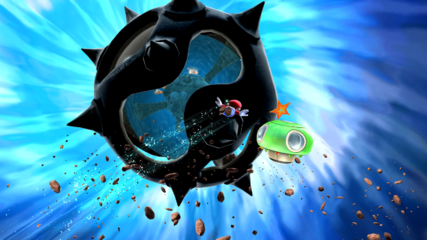
Just change the Internal Resolution to anything above 1x native. This internal resolution mode is ideal for 3D object renders, such as this image for applying transparency. There is no need to use external tools, original lighting is preserved, and any graphical tricks are preserved (like phong shading). This doesn't make the render appear abnormal, such as this image.
It should be worth noting that these high resolution images do not need to be tagged with {{image-quality}}. However, it is perfectly acceptable to upload smaller versions of these screenshots, as long as the smaller screenshots don't go below the 1× native resolution of each game.
Title Screens and Cutscenes
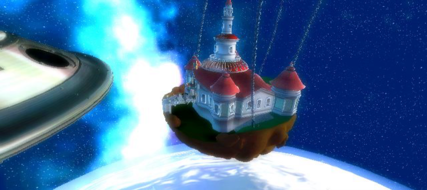
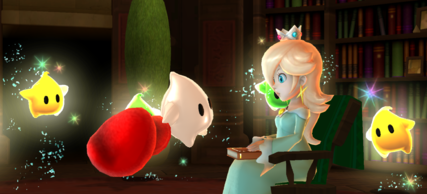
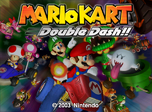
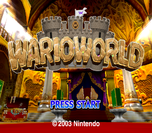
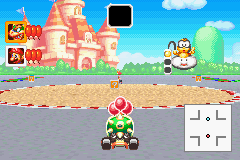
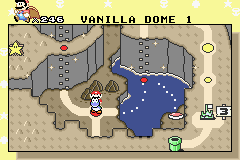
DON'T use above 1× native for certain title screens and cutscenes because it displays a static image or pre-render video instead of live 3D models. It just pixelates the image or makes encoder artifacts more apparent. For cutscenes, it is better to try to extract these videos from the game itself than to use an emulator. If that is not possible, use 1× native in these cases. Here's examples of these cases below:
Documented Resolutions
These are the reported resolutions for games covered by Super Mario Wiki:
Sample Images
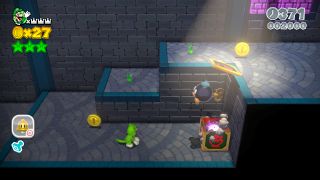
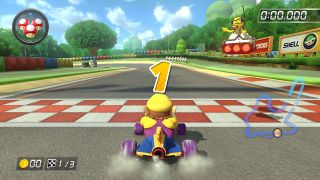
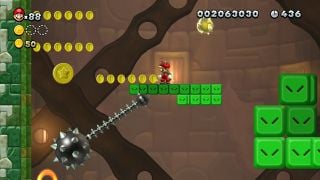
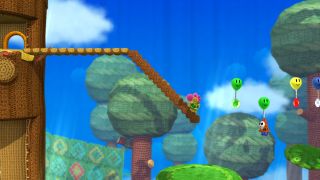
Dolphin may not produce exactly 4:3 or 16:9 images, such as outputs of 1,208 × 900 or 1,600 × 876 if you are using 2.5× native going fullscreen on a 1600 × 900 monitor. This is perfectly normal. Not all GameCube and Wii games utilize the entire 640 × 480 or 854 × 480 frame on real hardware. DON'T force stretching to fit the entire display. Keep the fullscreen resolution and aspect ratio settings to auto.
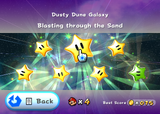
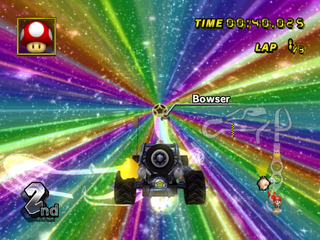
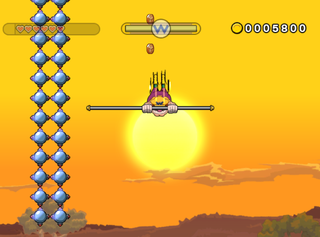
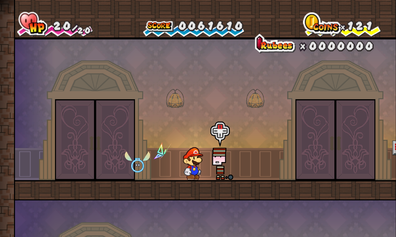
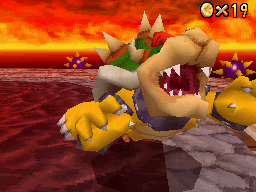
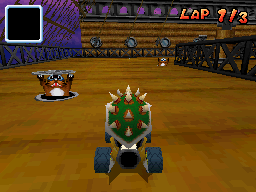
When running the game, you may need to adjust the aspect ratio graphics setting in the emulator so that way images are stretched properly, or else distortion occurs. DON'T use the widescreen hack. DON'T edit the screenshot to accommodate the aspect ratio. Below are examples of properly stretched screenshots when set in a certain aspect ratio mode.
GCN/Wii Further Reading
Wii U
An emulator exists, but it is highly alpha and isn't nearly accurate enough to be considered good for screenshot taking. It is better to use an HDMI capture device for the Wii U console and hardmod a Wii U GamePad.
- TV
- 1280 × 720 or 1920 × 1080
- GamePad
- 854 × 480
This solution is not very favorable for most people and no homebrew exists like it does for the 3DS so it will probably be easier to use the following methods instead.
Wii U Direct Upload
If you use the built-in web browser for the Wii U, you can upload screenshots directly to MarioWiki! Images are limited to 1280 × 720 for TV and 854 × 480 for the GamePad, but in the JPEG format. This feature is only allowed if the Wii U or software permits it.
Miiverse
Screenshots uploaded to Miiverse and then uploaded to MarioWiki are acceptable but are limited to JPEG and a considerable amount of detail is lost because the image is 800 × 450.
Some games may not have dedicated Miiverse pages. The Wii U Image Share may be the only way to get images uploaded to MarioWiki:
Super Smash Bros. for Wii U
Super Smash Bros. for Wii U has an Album mode that can store 1920 × 1080 JPEGs, but only if you have a compatible SD card inserted into the Wii U. Don't use the edit tools provided by the game.
Press Images
Nintendo Press uploads BMPs of the games they are promoting. Convert the BMPs to PNG.
Wii U Further Reading
Nintendo Switch
No details at this time but expect specs to be similar or better to the Wii U.
Nintendo Switch Further Reading
Virtual Boy
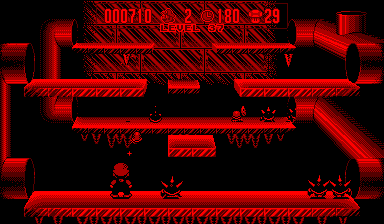
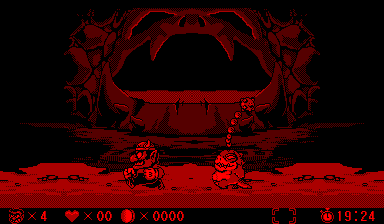
384 × 224
Make sure the coloring is set to redscale, splitting mode is set to side by side, and side by side separation is set to 0 pixels. Screenshot taking default key is F12.
Virtual Boy Further Reading
GB/GBC
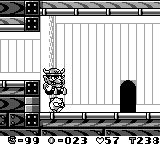
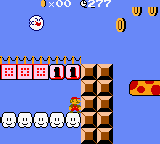
160 × 144
BGB uses right-clicking to bring up menus. Under the Graphics tab, SGB colors and GBC LCD colors should be disabled or else wrong colors are displayed. In the GB Colors tab, the scheme should be greys high contrast. In the System tab, you can do interesting things:
| Emulated system setting | Game Boy game behavior | Game Boy Color game behavior |
|---|---|---|
| Game Boy | Normal | 4-color mode. If game is Game Boy Color exclusive, brings up warning dialogs, like this. |
| Game Boy Color | Applies GBC color to an otherwise monochrome image (requires bootrom, this) | Normal |
However, it is recommended to take normal screenshots in most cases. These are normal cases:
- Grey cartridge games that don't have Super Game Boy enhanced color palates, play these games in GBC mode and set the BIOS of the GBC to boot the game's colors in original gray (
+
) mode.
- SGB-enhanced games should run in SGB mode (like the Donkey Kong Land series). See SNES emulators to use. Optional but recommended to crop out the special borders.
- Black cartridges contain both a GB and GBC mode. Sometimes they have a SGB mode as well, like Game & Watch Gallery 3 or Wario Land II. Run these games in GBC mode.
- GBC exclusive cartridges have no choice but to run in GBC mode for normal gameplay.
GB/GBC Further Reading
GBA
240 × 160
- mGBA Great for getting screenshots for games in Game Link Cable multi pak mode.
- e-Reader support with latest developmental builds.
- GameCube connectivity support is near perfect, starting with Dolphin emulator build 5.0-14690.
- Game Boy Printer support.
- Game Boy Camera support with a webcam.
- NO$GBA Great for getting screenshots for games in Game Link Cable single pak mode. OK choice for e-Reader, but is sub-par.
VBA-M If mGBA fails to emulate a game properly. OK choice for e-Reader, but is sub-par.- VisualBoyAdvance 1.8.0-beta3 If mGBA fails to emulate a game properly. OK choice for e-Reader, but no card scans, but some cards save executable data to the device, and they are floating around on the web.
NO$GBA needs to have GBA Mode/Colors set to NDS-Lite in GBA mode (poppy) for correct GBA colors or else the screenshot will be dull-looking.
GBA Further Reading
DS/DSi
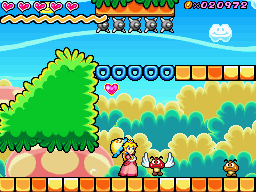
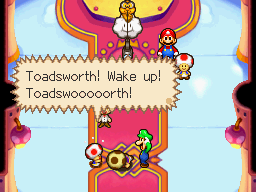
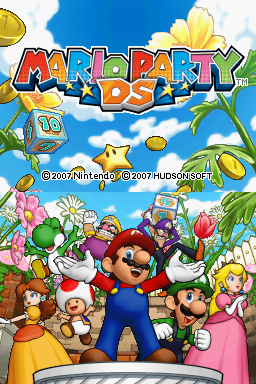
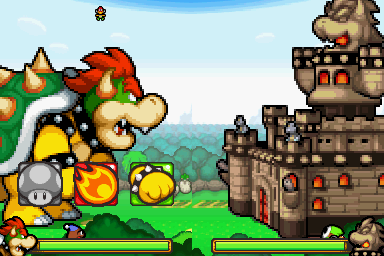
256 × 192 Each screen
- DeSmuME
- melonDS is an upcoming DS emulator. Don't use yet.
- Medusa (maker of mGBA) is an upcoming DS emulator. Don't use yet.
- NO$GBA is not recommended but noteworthy for emulating the DS and DSi firmware.
In order for DeSmuME to emulate the graphics correctly, the 3D Settings need to be set to SoftRasterizer. Else some effects could be missing or wrong.
NO$GBA has many issues and is not recommended for DS. The only advantage that NO$GBA has is DSi emulation. Here's some issues:
- Missing fog effects (such as Tick Tock Clock roaming around or Dire Dire Docks when the camera is underwater).
- Shadows are incorrect.
- Other effects are missing in NO$GBA, such as the transition effect when Yoshi puts on Mario's Cap to fake being Mario.
DS/DSi Further Reading
3DS
- 400 × 240 Top screen
- 320 × 240 Bottom screen
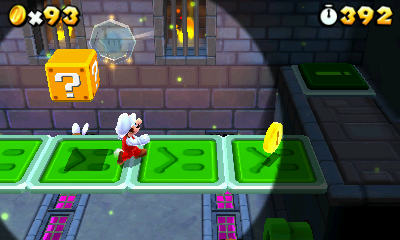
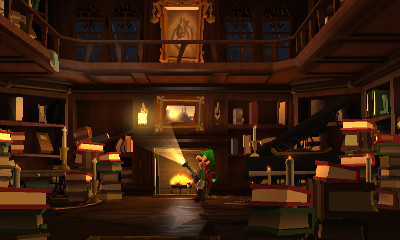
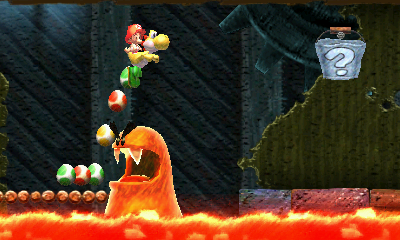
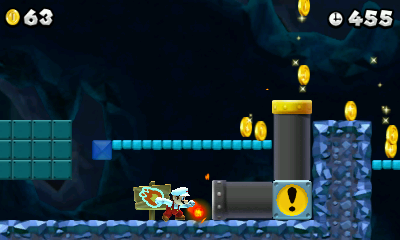
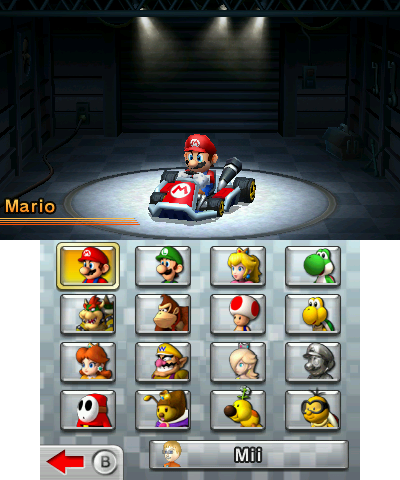
Emulators exist, but they are highly alpha and aren't nearly accurate enough to be considered good for screenshot taking. It is better to use The Homebrew Launcher on a 3DS and some of its screenshot tools. Notice how the homebrew overrides the system's ability to suspend system software running () as the button now takes a raw screenshot instead. Be sure to have the 3D slider turned off.
- Tools used (included in the starter pack):
- HANS - Loads games from Homebrew Launcher. Holding
+
+
+
goes back to Homebrew Launcher while running a game.
- Screenshot tool - Converts raw screenshots to PNG.
- Super ftpd II Turbo - This saves yourself time needing to turn off the 3DS to eject the SD card safely. This turns your 3DS into a temporary FTP server for as long as the app is running. Pay attention to the IP and port number (should be in light blue text on the top screen, separated by a colon). Use your favorite FTP client to download/upload files to your 3DS, such as FileZilla.
Some games crash when attempted to be loaded through HANS. This is caused by using certain exploits. If you can, try to have as many working exploits as possible. List of games that could be problematic:
- Yoshi's New Island
- New Super Mario Bros. 2
- Mario Kart 7
- Paper Mario: Sticker Star
- Mario & Luigi: Paper Jam (likely)
- Super Smash Bros. for Nintendo 3DS
Some games boot fine in HANS but don't load DLC or patches:
- Mario Kart 7 (see update history)
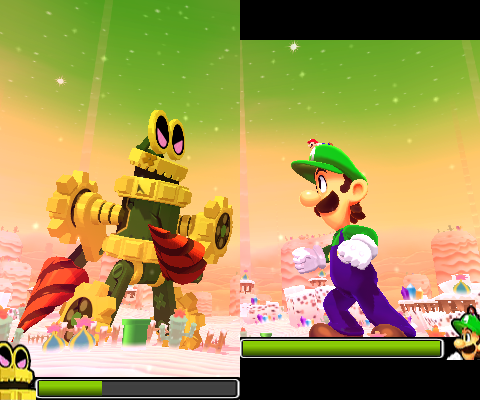
- Mario & Luigi: Dream Team (see update history)
- Super Smash Bros. for Nintendo 3DS
- Latest version (as of December 2nd, 2019)
Keep in mind that Nintendo releases patches for the 3DS firmware/games and methods to run homebrew will sometimes be circumvented. At this time, it is recommended to stay on 11.3.0-36 or below to retain or obtain full control of your 3DS. If and when exploits have been made compatible with newer firmwares, you may need to update them with a payload compatible with the firmware you are using before updating to newer firmwares. See documentation of each exploit you use. Homebrew developers are always trying to find new ways for people running the latest 3DS firmware to start using homebrew. There are two kinds of exploits:
- Primary - These will work on systems that have not been exploited before. No prerequisites necessary. Just setup the homebrew launcher on your SD card and execute the exploit. The exploit soundhax falls under this category.
- Secondary - These will work like primary entry points but the difference is that you need a primary entry point to set these kind of exploits up. The exploits stickerhax and steelhax fall under this category. It is possible to boot these on an unexploited system if the exploit was setup on a different 3DS.
Miiverse
Screenshots uploaded to Miiverse and then uploaded to MarioWiki are acceptable but are limited to JPEG. Unlike the Wii U's Miiverse pages, no shrinking occurs.
Home Menu
For screenshots related to the Home Menu (), hold
and press
for the top screen or press
for the bottom screen. The screenshot is then stored on your SD card. These screenshots are limited to JPEG.
Some games may not have dedicated Miiverse pages, such as Mario & Sonic at the London 2012 Olympic Games (Nintendo 3DS) (a search for "Mario & Sonic" doesn't turn up the London entry to the series). The 3DS Image Share may be the only way to get images uploaded to MarioWiki:
Press Images
Nintendo Press uploads BMPs of the games they are promoting. Convert the BMPs to PNG.
3DS Further Reading
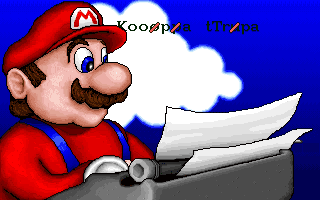
CD-i
384 × 280
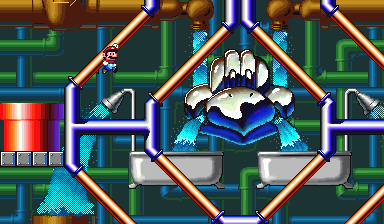
The screenshot feature of MESS stretches the native resolution of the CD-i slightly vertically and adds the LCD information of the console above the captured image to produce a 384 × 310 image. It is better to take a picture of the window and crop it instead for the time being. First thing to do is make sure MESS isn't in fullscreen mode. Then set the video mode to 48:35. Then shrink the window until the emulator window doesn't want to shrink any more. Then use your preferred method to take a screenshot of the window or screen, such as Windows Snipping Tool. Then crop the picture to the native resolution (FastStone Image Viewer works well). The end result should be like the sample images in this section.
CD-i Further Reading
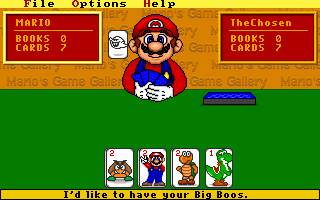
MS-DOS
320 × 200
320 × 240
640 × 480
Use DOSBox for maximum accuracy because Windows has accuracy issues running DOS programs. Press CTRL+F5 to take a screenshot. Check with DOSBox documentation where the screenshot was saved.
MS-DOS Further Reading
Windows
Resolution varies by program.
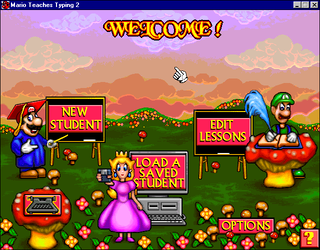
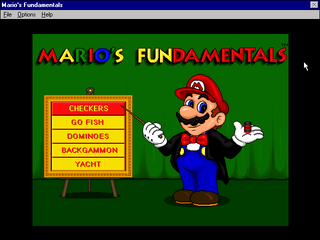
This section generally refers to Microsoft Windows programs pre-2000 that aren't MS-DOS programs, under the label Win9x. Don't confuse MS-DOS programs with Win9x programs.
These emulators are great if games in this category don't run well on Windows NT-based computers, such as Windows 10 and Windows 11.
If there are issues taking screenshots using the emulator interface (host machine running PCem), within the emulated Win9x environment (client machine emulating Win9x), there is always print screen, then opening mspaint, pasting the contents of your clipboard as a result of using print screen, saving as 24-bit bitmap, and then using a program such as 7-Zip to open the virtual disk file like a ZIP or RAR file to retrieve the BMP file to save it as a PNG.
Win9x Further Reading
Saves, Cheating, and Passwords
Emulation is all fine and good but there is a catch to this method. You would need to play the game again to obtain these high quality images. That's time-consuming, especially for RPGs such as the Paper Mario (series). This explains why it is more appealing to upload a YouTube video screenshot than an emulator screenshot. Fortunately enough, there are resources to aid in getting a better quality screenshot by supplying saves that unlock everything:
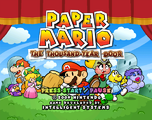
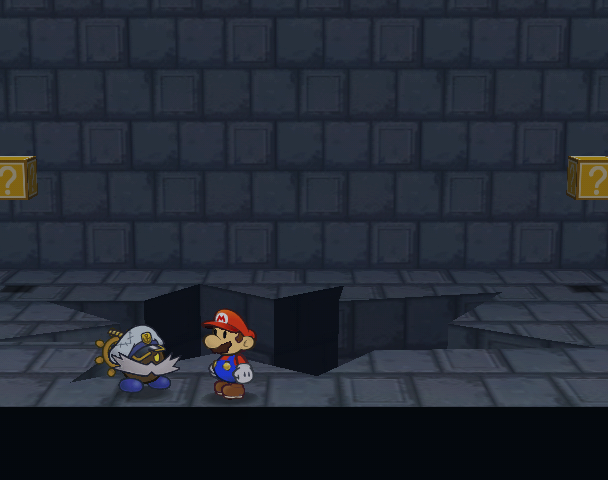
- TTYD Practice Codes - Specific to Paper Mario: The Thousand-Year Door. Very useful for playing at any chapter at any point. Use the warps code. Be careful! Could produce otherwise invalid game states under normal play conditions! Also useful for setting your own custom states.
- Zophar's Domain - This site hosts "native saves" for NES, SNES, N64, GB, GBC, and GBA. These are the same thing as saving on the cartridge itself and its method for saving, such as battery back-up or flash memory chip. Check your emulator's documentation how to properly set up this kind of feature, where to store the file download, and how to name the downloaded file. This may take some experimentation for the game to read save files.
- Furthermore, Project64 has even more N64 saves that sometimes Zophar's Domain lacks.
- GBAtemp has saves for use with JK Save Manager. It is a 3DS homebrew app for backing up and restoring saves of 3DS game packs (unsure if there is support for download versions of those game packs). Soon, a dedicated website will host them.[17]
- GameFAQs - This site hosts "backup saves" for GCN, Wii, GBA, and DS games. These saves are not "native saves" as these need the import dialog of the emulator to convert them into native saves.
- GameFAQs hosts Wii Power Saves by Datel. It needs sq-dps to convert them to be used on regular Wiis or Dolphin emulator.
- Dolphin emulator specifically:
- GameCube real memory card saves require GCMM for import/export so they can be imported into the emulator. It bypasses any copy or move protection.
- The Wii specifically can copy saves stored on its internal NAND to an SD card and then be imported into the emulator.
- Some Wii saves cannot be copied to the SD card, such as Mario Kart Wii and Super Smash Bros. Brawl. These need SaveGame Manager GX to copy them. These extracted saves are not the same as the saves that the Wii puts on SD cards. This requires right-clicking the game in the Dolphin list and selecting Open Wii save folder.
- Both VisualBoyAdvance and VBA-M have issues with GBA gamepak saves only, especially with importing saves, although VBA-M has better detection. It tries to detect the correct type but is often incorrect. It is recommended you download a file called vba-over.ini and put it in the same directory as the emulator executable. This acts as a manual override to the auto-detection. It doesn't include all games though. It is possible to define your own overrides. Read the documentation for the emulators how to do it. Requires some trial and error guesswork. Mario vs. Donkey Kong, for example, needs to be added to the file and then it will work properly. A game like Mario & Luigi: Superstar Saga, the import won't take effect. The right configuration for that game has not been found yet.
- DeSmuME has a weird issue where you need to use the import dialog twice for the import to take effect.
- GameFAQs also hosts passwords (such as for the game Tetris Attack).
- TAS Videos - This site is great for downloading special movie files that an emulator can understand that contain input sequences if you don't feel like playing the game yourself. Could be useful in a few cases.
- Use these acceptable formats for playback to obtain screenshots. Don't use these unacceptable formats for playback. The rule of thumb here is if it requires an emulator to read the file data, you can use that format. If it can be played back in a standard media player, don't use that format.
- Game Genie - For cheating devices under the Game Genie brand. Generally great for "Start in World X" codes (such as Super Mario Bros.).
- BSFree - For cheating devices under the GameShark brand. Generally great for games with pre-release and unused content.
- The Cutting Room Floor for more cheats related to accessing otherwise unobtainable game content.
- Action Replay - For cheating devices under the Action Replay brand.
Cases
External Links
- Maps for 3D Nintendo games
- Spriter's Resource
- TCRF: Image Guidelines
- TCRF: Taking Screenshots
- Let's Imagine a World Without Emulation
- Emulation, the Law, and You: Where the Hobby Ends and Crime Begins
- Mario 3D All-Stars and the Case for Competition
- Emulators and Modders Continue to Kick Ass and I Want More, Daddy (No Safeword)
- Switch Online Expansion Pack Review: Ultra HLshitE
References
- ^ https://www.youtube.com/watch?v=a2Y79QR-yKQ
- ^ https://www.nintendo.com/corp/legal.jsp
- ^ https://www.youtube.com/watch?v=HLWY7fCXUwE
- ^ RetroN 5 Firmware changelog
- ^ RetroN 5 Firmware upgrade
- ^ RetroN 5 FAQ
- ^ angrylion
- ^ GLideN64
- ^ HatCat's RSP Interpreter
- ^ (RSP 1.7.dll included in emulator package)
- ^ https://m64p.github.io
- ^ Issue 228
- ^ User:Wildgoosespeeder/sandbox/Screenshot comparisons
- ^ Outdated info for GCN/Wii
- ^ [1]
- ^ https://en-americas-support.nintendo.com/app/answers/detail/a_id/231/~/system-menu-update-history
- ^ https://redd.it/5h782k
