Goomba Fortress: Difference between revisions
(Replaced the Things section with Items and Paperization Spots sections.) |
ZanyDragon (talk | contribs) mNo edit summary |
||
| Line 72: | Line 72: | ||
|[[Shiny POW Block]] | |[[Shiny POW Block]] | ||
|[[File:ShinyPOWblockPMSS.png]] | |[[File:ShinyPOWblockPMSS.png]] | ||
|In the | |In the northeastern scene, in the northeastern corner, in the air. Reachable only by making a platform out of five [[Hidden Block#Paper Mario: Sticker Star|Hidden Block]]s. | ||
|[[File:Goomba Fortress Block 8.png|250px]] | |[[File:Goomba Fortress Block 8.png|250px]] | ||
|- | |- | ||
| Line 125: | Line 125: | ||
|[[Royal Sticker]] | |[[Royal Sticker]] | ||
|[[File:Redroyalsticker.png|50px]] | |[[File:Redroyalsticker.png|50px]] | ||
|In the last scene, dropped by Megasparkle Goomba after defeating it | |In the last scene, dropped by Megasparkle Goomba after defeating it. | ||
|[[File:Goomba Fortress (Royal Sticker).png|250px]] | |[[File:Goomba Fortress (Royal Sticker).png|250px]] | ||
|- | |- | ||
Latest revision as of 07:03, April 25, 2025
- Not to be confused with Goomba King's Fortress.
| Level | |
|---|---|
| Goomba Fortress | |
| |
| Level code | 1-6 |
| World | World 1 |
| Game | Paper Mario: Sticker Star |
| Boss | Megasparkle Goomba |
| ** << Directory of levels >> | |
- “Pretty grandiose fortress for a bunch of little minions... Overcompensate much?”
- —Kersti, Paper Mario: Sticker Star
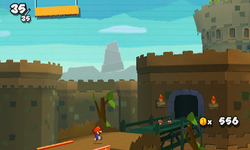
Goomba Fortress is level 1-6 in the game Paper Mario: Sticker Star. This is where the first Royal Sticker is found, and where the Megasparkle Goomba is fought.
Layout[edit]
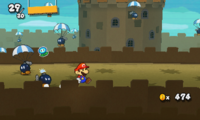
Mario comes here to look for a Royal Sticker. The start of the fortress, inside is a block that will change the bridge's direction when hit. North exit, there is a Save Block and Bowser Tape that can be pulled to cover half the spikes with carpet. The east exit leads to an area where Parabombs try and land on him until becoming Bob-ombs; after that, Mario makes it to the second bridge room to the east. There will be some coins and a Shiny Jump sticker behind a fake wall to the right.
When Mario heads north, he will be blown off the bridge by two fans when trying to cross the bridge. The player can pass this by switching to Paperize Mode and placing two unwanted stickers over the fans, the player will quickly have to cross the bridge again, for they will not last. Then Mario reaches another outside area with gates blocking the way and more Parabombs, tasking Mario to lure the Bob-ombs to clear the way.
The next bridge room seems to have a useless block, until Mario goes into Paperize Mode and re-sticks the block the correct way. Heading south, Mario will pull off more Bowser Tape to cover the rest of the spikes. The last area is a winding staircase in a tower that leads to the fight with the boss. Luigi can be seen while Mario walks toward the staircase.
Area Tattle[edit]
- Pretty impressive fortress, eh? How did GOOMBAS build this?
Advice[edit]
- When you get stuck, paperize. Sometimes the way forward will become clear! (NA)
- When you get stuck, paperise. Sometimes the way forward will become clear! (EU)
Enemies[edit]
Items[edit]
Other items not included here are peelable Stickers and items from sticker upgrade spot.
Blocks[edit]
| Item | Icon | Location | Image |
|---|---|---|---|
| Baahammer Shell |
 
|
In the south scene (the one where Bob-ombs start to fall from the sky), near the entrance. | 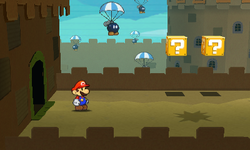
|
| Spike Helmet | 
|
In the southeast scene, in the south. | 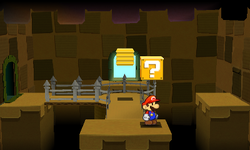
|
| Shiny Jump | 
|
Same scene, in the secret room, accessible by hammering a wall on the eastern platform (which can be reached by jumping into Block Switch two times). | 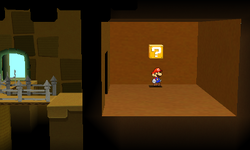
|
| Spike Helmet Line Jump |
 
|
In the east scene, in the middle of the lower part. | 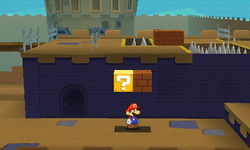
|
| Poison Mushroom | 
|
Same scene, in the northeastern corner of the upper part. | 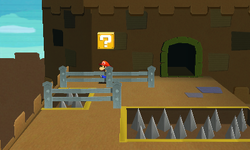
|
| Shiny POW Block | 
|
In the northeastern scene, in the northeastern corner, in the air. Reachable only by making a platform out of five Hidden Blocks. | 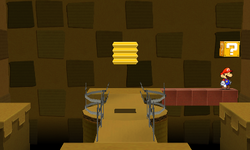
|
| Fire Flower Hurlhammer |
 
|
In the north scene, in the middle. | 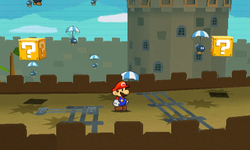
|
| Spike Helmet | 
|
In the west scene, in the northwestern corner. | 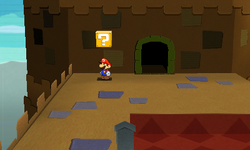
|
| Jump Slaphammer |
 
|
In the tower scene, at the start of the stairs. | 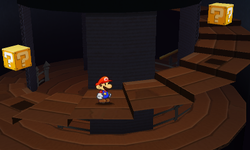
|
| Jump Burnhammer |
 
|
Same scene, right of the previous two, also above the stairs. | 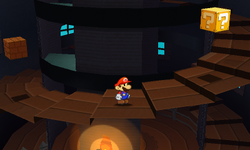
|
| Hopslipper | 
|
Same scene, right of the previous two, also above the stairs. | 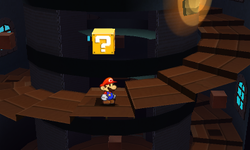
|
| Hammer | 
|
Same scene, right of the previous one, near the exit. | 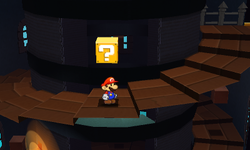
|
| Heart | In the last scene, in the east of the lower part. | 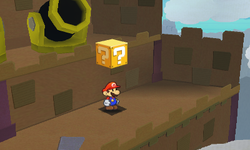
|
Field/Given[edit]
| Item | Icon | Location | Image |
|---|---|---|---|
| Coin | 17 in the southeast scene, in the secret room. | 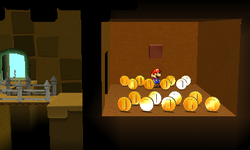
| |
| Royal Sticker | In the last scene, dropped by Megasparkle Goomba after defeating it. | 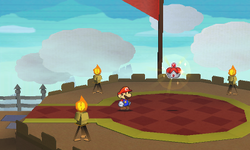
| |
| Squirt Gun | In the scene behind the Secret Door. | 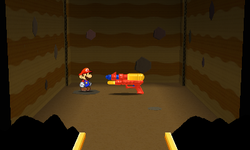
| |
| Trumpet | In the last scene, right of the entrance. | 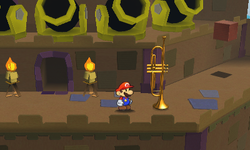
|
Hidden Blocks[edit]
| Item | Icon | Location | Image (Unrevealed) | Image (Revealed) |
|---|---|---|---|---|
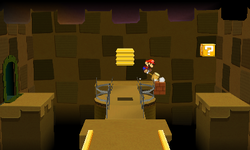
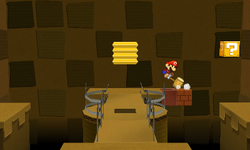
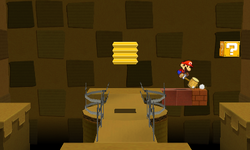
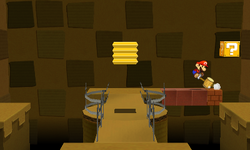
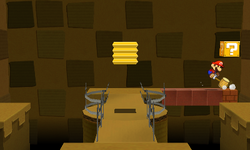
| Coin (all 5) | In the northeastern scene, right of the northern platform. These 5 blocks act as a platform to reach a ? Block hanging in the air. | 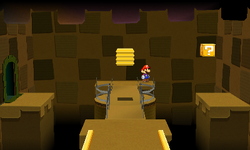
|
| |
| Poison Mushroom | 
|
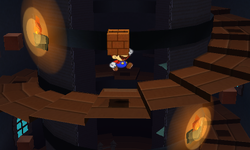
In the tower scene, above the stairs between the last two ? Blocks. | 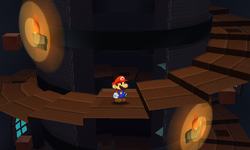
|
|
Paperization Spots[edit]
| Scrap/Sticker | Icon | Location | Image |
|---|---|---|---|
| 2 Random 1x1 Stickers | N/A | In the east scene. After activating the fans in the background by stepping on the bridge, Mario can use Paperization to stuck two 1x1 stickers to temporarily stop them, so he can reach the exit. Required to progress. | 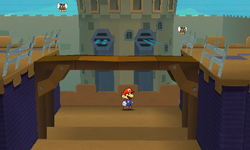
|
| Block Switch | 
|
In the northwest scene, in the middle. Paperize is used two times: first to take out the Block Switch scrap to make it turn in the right direction, second to put it back. Required to progress. | 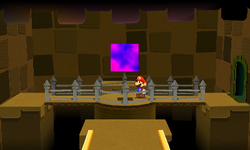
|
| Luigi | In the west scene, seen in the background in the northeast. | 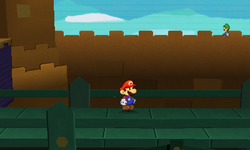
| |
| Random 1x1 Sticker | N/A | In the tower scene, in the middle of the lowest part. | 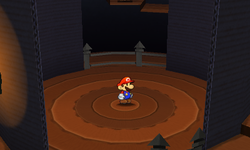
|
| Secret Door | 
|
In the east scene, in the middle of the lower part. Available only after getting access to Outlook Point and getting Secret Door sticker from there. | 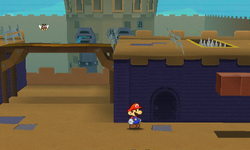
|
Multimedia[edit]
| File info 0:30 |
Names in other languages[edit]
| Language | Name | Meaning | Notes |
|---|---|---|---|
| Japanese | クリボー砦[?] Kuribō Toride |
Goomba Fortress | |
| Chinese (simplified) | 栗子小子堡垒[?] Lìzi Xiǎozi Bǎolěi |
Goomba Fortress | |
| Chinese (traditional) | 栗寶寶堡壘[?] Lìbǎobao Bǎolěi |
Goomba Fortress | |
| French | Forteresse Goomba[?] | Goomba Fortress | |
| German | Gumba-Kastell[?] | Goomba Castle | |
| Italian | Fortezza Goomba[?] | Goomba Fortress | |
| Spanish | Fortaleza Goomba[?] | Goomba Fortress |
