Sandshifter Ruins
| Level | |
|---|---|
| Sandshifter Ruins | |
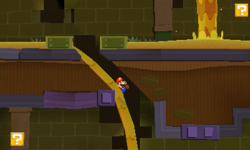 Mario, falling on a fall of sand. | |
| Level code | W2-3 |
| World | World 2 |
| Game | Paper Mario: Sticker Star |
| << Directory of levels >> ** | |
Sandshifter Ruins is the third level of World 2 in Paper Mario: Sticker Star. It is an underground maze filled with Spikes and Dry Bones. This level also has a secret exit that leads to Damp Oasis.
Layout[edit]
The level starts with an above ground area with Pokeys, two Spikes and a Sombrero Guy. After this, Mario enters an underground maze. There are several routes for the player to take, but only one leads to the final area. If the player takes the wrong route, they will eventually be taken back to the original area by a Sand Spout. The correct route is right, right, left, left.
When the correct route is found the player is taken to a room with several coffins. One of them has a Bat and another two has Shiny POW Blocks. Mario will then come across a bed of spikes which cannot be crossed. To get to the other side Mario needs to go to the leftmost side of the room, go up a pile of sands and jump over the coffins to bypass the spikes and get to the last room. Here there is a 'river' of flowing sand with Dry Bones and Bone stickers falling down. Mario will need to get across by swimming in the sand, avoiding the Dry Bones and trying not to fall off the edge or sink. The Comet Piece is then in sight. This leads to Drybake Stadium.
Secret Comet Piece[edit]
This Comet Piece cannot be reached on the first try at all because it requires Mario to switch the path of the last slide to the left (which is automatically done when sliding down the first time) along the route towards the first Comet Piece. When Mario reenters the level later on, following the original route will allow Mario to reach a door on an elevated platform. Through the door is a large room with a staircase leading to the Comet Piece. However it cannot be reached because the step just before the Comet Piece is too high, so Mario will need to lower the step by removing some of the sand. On both sides of the staircase there are several coffins with pathways inside them leading to another (like a maze). Mario will need to drop off the ledge on the left side of the room to a lone opened coffin. This path leads to the other side of the stairs. Mario will then need to jump into an open coffin which is actually a hole to the level below. There are three closed coffin. The middle one contains a POW Block sticker, the right contains a Dry Bones and the left leads back to the left side of the room one level up, which is just to the right of the first coffin entered. Then Mario will need to walk to the immediate right of the coffin behind the wall which takes him a level down into the coffin on the right. Opening the coffin on the left will then remove some sand below the step and pour some into the bed of spikes in front of Mario. Mario can then safely crossover to the staircase and reach the Comet Piece. This Comet Piece leads to Damp Oasis.
This Comet Piece is required because one of the Tablet Pieces in Drybake Stadium is found in Damp Oasis.
Area Tattle[edit]
Outside the Ruins[edit]
- There's a staircase leading underground. It must be the entrance to the ruins, don't you think?
Inside the Ruins[edit]
- This place is a total maze. Make sure you remember which way we came, okay?
Advice[edit]
- These are ruins, right? So there's got to be at least one treasure. Do you think it could be hidden in a coffin?
Enemies[edit]
- Koopa Paratroopa
- Dry Bones
- Pokey (yellow)
- Pokey (green)
- Paragoomba
- Hammer Bro
- Sombrero Guy
- Spike
Items[edit]
Other items not included here are peelable Stickers and items from sticker upgrade spot.
Blocks[edit]
| Item | Icon | Location | Image |
|---|---|---|---|
| Line Jump | 
|
In the outside scene, north of the pillar that makes the bridge. | 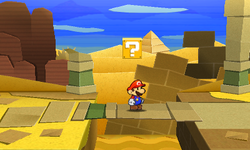
|
| Iron Jump | 
|
In the main scene, at the top, to the left. | 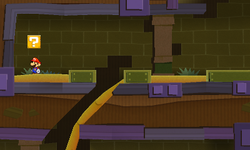
|
| Slaphammer | 
|
Same scene, at the top, to the right. | 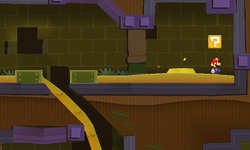
|
| Iron Jump Baahammer, Burnhammer, Chillhammer |
   
|
In the scene reached by a door found in the part of the main scene reached either by going left->left/right or right->left from the top. | 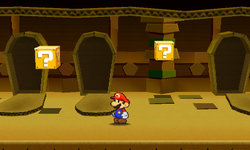
|
| Line Jump | 
|
At the bottom of the main scene, reached by either left->left/right->down or right->left->down from the top. | 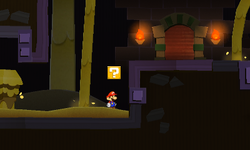
|
| Hopslipper | 
|
Same scene, after going right from the top and found in the west. | 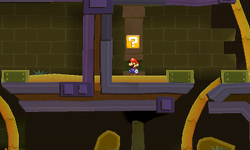
|
| Line Jump | 
|
In the scene reached by a door by going right from the top and then to the right. | 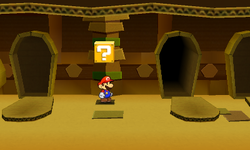
|
| Shiny Hammer | 
|
In the main scene, after going right->right from the top, then in the east of the part. | 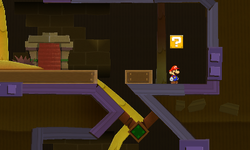
|
| Ice Flower | 
|
In the scene reached by a door by going right->right from the top, in the west of the scene. | 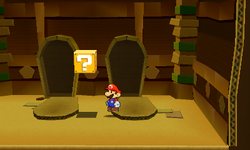
|
| Iron Jump, Hopslipper, Line Jump |   
|
Same scene, in the middle scene, above the Hidden Block. | 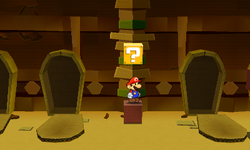
|
| Line Jump | 
|
In the scene west of the previous one. | 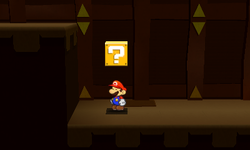
|
| Baahammer | 
|
At the bottom of the main scene by going right->right->left->left (only during the subsequent visits) and going through the door is a scene with multiple sarcophagi. This block is seen above the spikes and can be reached after the spikes under it are covered with sand. | 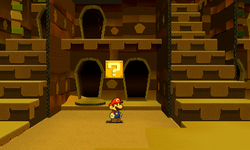
|
| Shiny Jump | 
|
Same scene, above the right spikes, reached by creating platforms wiih hidden blocks and block created by paperization between them. | 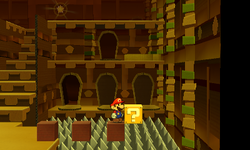
|
Field/Objects[edit]
| Item | Icon | Location | Image |
|---|---|---|---|
| 10-Coin, Heart |  |
In the scene reached by a door found in the part of the main scene reached either by going left->left/right or right->left from the top, in the last two coffins on the left. | 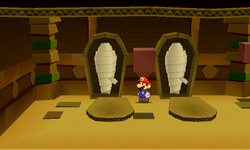
|
| Bat | After using the right, right, left, left slides in the main scene and then going through the door on the right, found in the 4th coffin. | 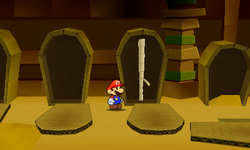
| |
| Coin | In the outside scene, in the cactus after hitting it 3 times. | 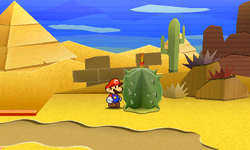
| |
| Eekhammer | From the start of the underground maze, Mario must head down the slide on the right, and once again down the next slide on the right. He must then enter the door and open the fourth coffin from the left to find it inside. | 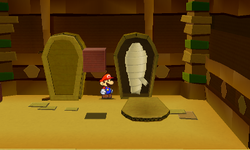
| |
| Heart, Hopslipper | 
|
From the start of the underground maze, Mario must head down the slide on the right, and once again down the next slide on the right. He must then enter the door and open the first and second coffins. | 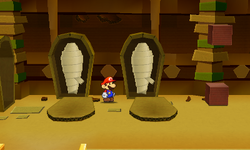
|
| Heart, Jump | 
|
In the scene reached by a door by going right from the top and then to the right, in the 2nd and 3rd coffins. | 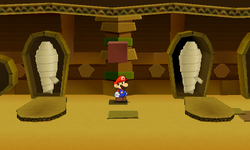
|
| HP-Up Heart | From the start of the underground maze, Mario must head down the slide on the right, and once again down the next slide on the right. He must then enter the door and open the third coffin from the left to find it inside. | 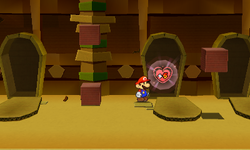
| |
| Jackhammer | In the main scene, at the bottom after going through the left slides. | 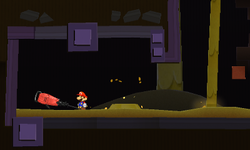
| |
| Lighter | In the scene behind the Secret Door. | 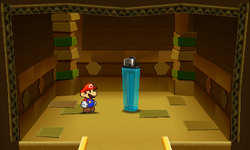
| |
| Magnifying Glass | In the scene reached by a door by going right from the top and then to the right, then going through the 3rd coffin. | 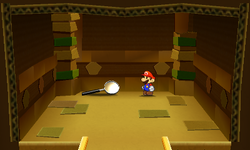
| |
| POW Block | 
|
|
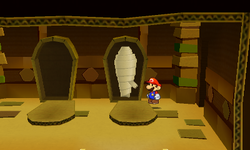 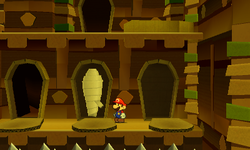
|
| 2 Shiny POW Blocks | 
|
After using the right, right, left, left slides in the main scene and then going through the door on the right, found in the 2nd and 3rd coffins. | 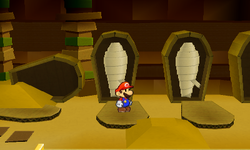
|
Hidden Blocks[edit]
| Item | Icon | Location | Image (Unrevealed) | Image (Revealed) |
|---|---|---|---|---|
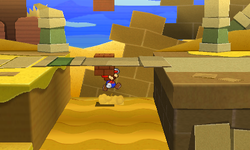
| Coin | In the outside scene, under the ? Block. | 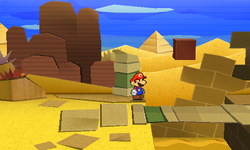
|
| |
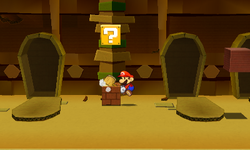
| Coin | In the scene reached by a door by going right->right from the top of the main scene, under the ? Block high up in the air. Acts as a platform to reach said block. | 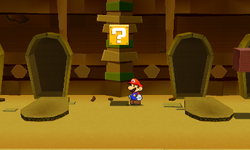
|
| |
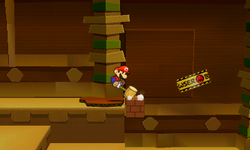
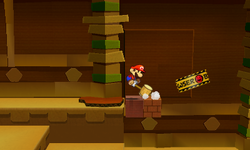
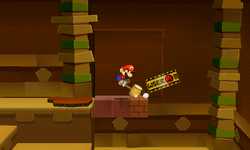
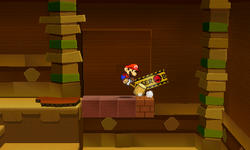
| Coin (all 4) | In the scene reached by a door by going right->right->right from the top of the main scene, in front of the wall with Bowser Tape in the east. These 4 blocks act as a platform to reach said tape. | 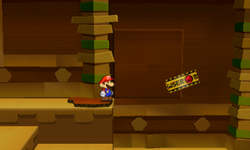
|
| |
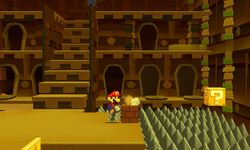
| Coin | At the bottom of the main scene by going right->right->left->left (only during the subsequent visits) and going through the door is a scene with multiple sarcophagi. On the ground, left of the ? Block above the right spikes. | 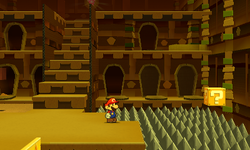
|
| |
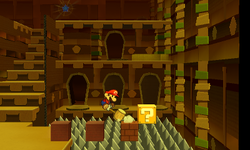
| Coin | Same scene, after previous hidden block and a block created by paperization, next to the ? Block. Together with the previously mentioned blocks, these three act as a platforms to reach said ? Block. | 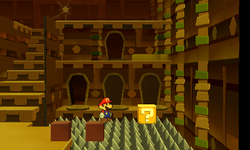
|
| |
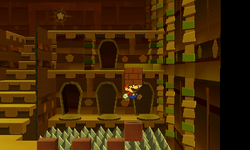
| Flashy Clone Jump | 
|
Same scene, above the previously mentioned ? Block. | 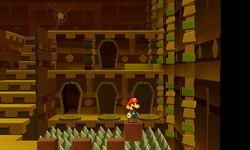
|
|
Paperization Spots[edit]
| Scrap/Sticker | Icon | Location | Image |
|---|---|---|---|
| Random 1x1 Sticker | N/A | At the bottom of the main scene by going right->right->left->left (only during the subsequent visits) and going through the door is a scene with multiple sarcophagi. Between two hidden blocks. Together with them, these three blocks act as platforms to reach a ? Block above the spikes. | 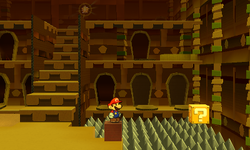
|
| Secret Door | 
|
In the scene reached by a door by going right->right->right from the top of the main scene, on the wall after entering. Available only after getting access to Outlook Point and getting Secret Door sticker from there. | 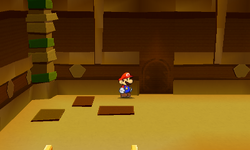
|
Names in other languages[edit]
| Language | Name | Meaning | Notes |
|---|---|---|---|
| Japanese | スナコンベ跡[?] Sunakonbe Ato |
From「砂」(suna, sand) + pun on「コンベア」(konbea, an English loanword meaning "conveyor") and「跡」(ato, ruins) | |
| Chinese | 沙漠墓穴遗迹 (Simplified) 沙漠墓穴遺跡 (Traditional)[?] Shāmò Mùxué Yíjì |
Desert Grave Ruins | |
| French (NOA) | Ruines mouvantes[?] | Shifting ruins | |
| French (NOE) | Ruines ensablées[?] | Silted up ruins | |
| German | Treibsandruinen[?] | Quicksand Ruins | |
| Italian | Rovine Setaccio[?] | Sieve Ruins | |
| Spanish | Ruinas Movedizas[?] | Pun on "arenas movedizas" (quicksand) and "ruinas" (ruins) |