User:Wildgoosespeeder/sandbox/outdated
It has been decided that the Super Mario Wiki will no longer support this feature. Therefore, this page is kept and protected strictly for historical reference.
GCN/Wii
Finding the resolutions is easy but setting the emulator window size correctly was trial-and-error. This is due to amateur programming that has been present up until a revision starting with 5.0-1374 by having the option to turn on full resolution frame dumps (or internal resolution frame dumps in more recent versions) in the advanced tab in the graphical settings. Dolphin should be running on default settings, except for these settings:
| Setting | Value | Tab |
|---|---|---|
| Graphics (requires at least version 5.0-1374) | ||
| Internal Resolution | 1x native | Enhancements |
| Force 24-Bit Color | unchecked | Enhancements |
| Full Resolution Frame Dumps Internal Resolution Frame Dumps |
checked | Advanced |
| Aspect Ratio | stretch to window | General |
When taking a screenshot (F9), Dolphin will either report the correct width or height, but never both in the same screenshot. All GCN and Wii screenshots will be in 4:3, regardless of games allowing for widescreen rendering, because it is faked. Keep that in mind. For whatever reason, absurdly stretching the emulator window either height-wise makes the width correct xor width-wise makes the height correct. For example, making the emulator window be 640x360 will make the output image report the correct height xor 360x640 will make the output image report the correct width. Armed with these correct dimensions, uncheck Internal Resolution Frame Dumps and then fiddle around with the emulator window size. To resize the Window near-perfectly, this is an AutoIt script designed to make resizing the window much easier, with the ability to tweak the script if output is wrong (PasteBin link easier to read):
#include <MsgBoxConstants.au3>

; This script resizes Dolphin Emulator's window automatically by manually entering a width and height for the game being played.
; Great for native resolution screenshots.
; This removes trial and error from the window resizing process due to a bug in the emulator's code, if the game's resolution is known.
; If running Dolphin Emulator as administrator, AutoIt needs to run in this mode too, or else the script doesn't work.
; Script designed with development builds of Dolphin Emulator after 5.0 release with emulation render in main window, not separate window. Can be adjusted.

; 16px for QT width, 121px for QT height. 40px QT height if render is in a separate window.
; Can be adjusted if running on something other than Windows 10 Build 21H2 or end result is wrong.
Local $sQTW = 16
Local $sQTH = 121

; Define variables
Local $sWidth = Int(InputBox("Dolphin Emulator Question", "How wide is the game at native resolution?", "640"))
Local $sHeight = Int(InputBox("Dolphin Emulator Question", "How tall is the game at native resolution?", "480"))

; User input requested
MsgBox($MB_SYSTEMMODAL, "ALERT: Change To Emulator Window", "After pressing OK, switch to the window where the emulation is displaying. You have 5 seconds or the script produces an error. Verify the resize by taking a screenshot (F9). Adjust emulator and script settings accordingly if PNG is not " & $sWidth & "x" & $sHeight & " for the game.")

; Hook into process by allowing 5 seconds for user
Local $hWnd = WinWaitActive("[CLASS:Qt5150QWindowIcon]", "", 5)

; Apply the user input to the QT width and height.
$sQTW += $sWidth
$sQTH += $sHeight

; Resize and center the window
WinMove($hWnd, "", Int(@DesktopWidth / 2) - ($sQTW / 2), Int(@DesktopHeight / 2) - ($sQTH / 2), Int($sQTW), Int($sQTH), 3)
- Advanced Users
You could use software rendering instead of OpenGL/Direct3D/Vulkan, but it is recommended that you save state first before switching to it because it is EXTREMELY SLOW! Testing it reveals that it may be producing pixel accurate screenshots. Any games with a widescreen capability will not be rendered roughly to 16:9 but rather stay roughly at 4:3 because widescreen is faked on real hardware. You could use these dimensions to fiddle around with the emulator window for some trial and error on the other backends, because no direct way to set the resolution exists, but make sure that you follow the instructions about getting screenshots higher than 1x native, minus going full screen, but also enabling aspect ratio settings to stretch to window.
Alternative Screen Capture
If you want an easier method of screen capture, you can take screenshots above 1× native. If you are displaying a 1× native image in full screen mode, such as a monitor that can display up to 1920 × 1080p, make sure that you adjust graphical settings. Otherwise blurriness due to stretching occurs. Dolphin should be running on default settings, except for these settings:
| Setting | Value | Tab |
|---|---|---|
| Graphics | ||
| Internal Resolution | Auto (Window Size) | Enhancements |
| Full Resolution Frame Dumps Internal Resolution Frame Dumps |
unchecked | Advanced |
| Aspect Ratio | auto | General |
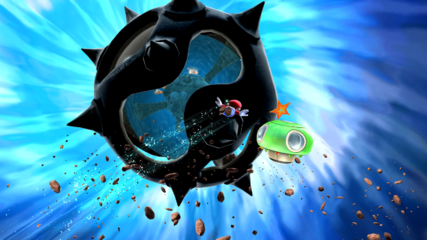
Then enter full screen mode (alt + enter). This internal resolution mode is ideal for 3D object renders, such as this image for applying transparency. There is no need to use external tools, original lighting is preserved, and any graphical tricks are preserved (like phong shading). This doesn't make the render appear abnormal, such as this image.
It should be worth noting that these high resolution images do not need to be tagged with {{image-quality}}. However, it is perfectly acceptable to upload smaller versions of these screenshots, as long as the smaller screenshots don't go below the 1× native resolution of each game.
- Title Screens and Cutscenes
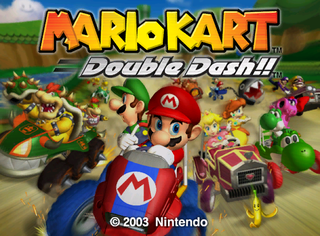
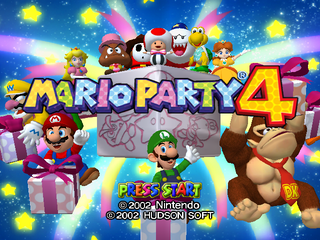
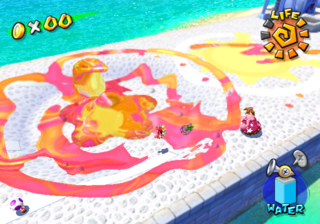
DON'T use above 1× native for certain title screens and cutscenes because it displays a static image or pre-render video instead of live 3D models. It just pixelates the image or makes encoder artifacts more apparent. For cutscenes, it is better to try to extract these videos from the game itself than to use an emulator. If that is not possible, use 1× native and scale the emulator window appropriately in these cases. Here's examples of these cases below:
Sample Images
Dolphin may not produce exactly 4:3 or 16:9 images, such as outputs of 1,208 × 900 or 1,600 × 876 if you are using 2.5× native going fullscreen on a 1600 × 900 monitor. This is perfectly normal. Not all GameCube and Wii games utilize the entire 640 × 480 or 854 × 480 frame on real hardware. DON'T force stretching to fit the entire display. Keep the fullscreen resolution and aspect ratio settings to auto.
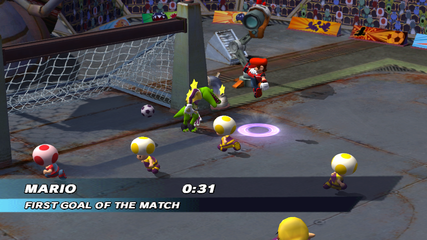
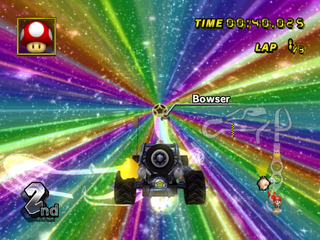
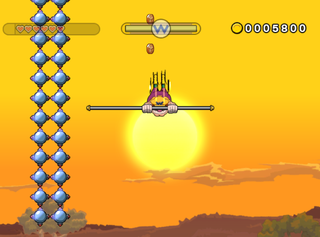
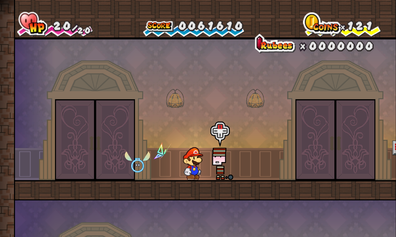
When running the game, you may need to adjust the aspect ratio graphics setting in the emulator so that way images are stretched properly, or else distortion occurs. DON'T use the widescreen hack. DON'T edit the screenshot to accommodate the aspect ratio. Below are examples of properly stretched screenshots when set in a certain aspect ratio mode.
