Course-1: Difference between revisions
From the Super Mario Wiki, the Mario encyclopedia
Jump to navigationJump to search
(Images) |
|||
| Line 384: | Line 384: | ||
!style="background:#EAECF0"|Distance: | !style="background:#EAECF0"|Distance: | ||
|'''246km''' | |'''246km''' | ||
|rowspan=6|[[File:FGPII Screenshot Course-1 | |rowspan=6|[[File:FGPII Screenshot Course-1 7S.png]] | ||
|- | |- | ||
!style="background:#EAECF0"|Environment: | !style="background:#EAECF0"|Environment: | ||
Revision as of 16:54, July 23, 2023
| Course-1 | |||
|---|---|---|---|
| |||
| Information | |||
| Appears in | Famicom Grand Prix II: 3D Hot Rally (1988) | ||
| |||
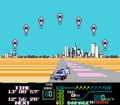
Course-1 is one of the three courses in Famicom Grand Prix II: 3D Hot Rally. It is generally the least difficult of the three. It was involved with the tournament held regarding the game; as such, it is labeled as 「(イベント用)」(ibento-yō, "for event").
Segment information
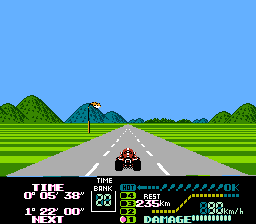
| Start to check point 1 | ||
|---|---|---|
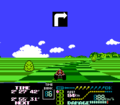
| Distance: | 242km | 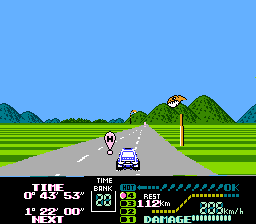
|
| Environment: | Grassland Light green | |
| Road: | Pavement Gray | |
| Time: | Day Light blue | |
| Background: | Spotted hills Dark green and blue | |
| Obstacles: | Jamadatō | |
| Check point 1 to check point 2 | ||
| North/left | ||
| Distance: | 272km | 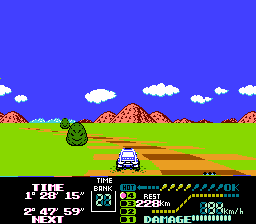
|
| Environment: | Grassland Light green | |
| Road: | Dirt Brown and light green | |
| Time: | Day Dark blue | |
| Background: | Spotted hills Brown and cyan | |
| Obstacles: | Nanisuruki | |
| South/right | ||
| Distance: | 266km | 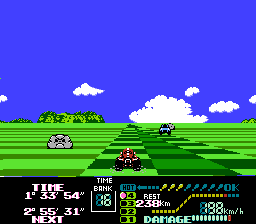
|
| Environment: | Grassland Green | |
| Road: | Grass Light and dark green | |
| Time: | Day Dark blue | |
| Background: | Rocky plateaus Green | |
| Obstacles: | Abunaiwa Nanisuruki | |
| Check point 2 to check point 3 | ||
| Northmost/leftmost | ||
| Distance: | 278km | 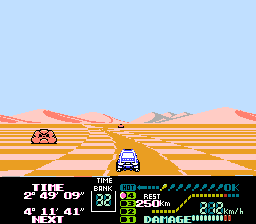
|
| Environment: | Desert Tan | |
| Road: | Sand Tan | |
| Time: | Day Light blue | |
| Background: | Smooth hills Tan | |
| Obstacles: | Abunaiwa | |
| Middle | ||
| Distance: | 270km | 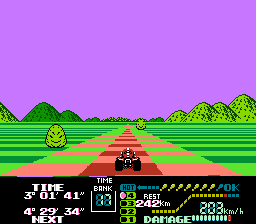
|
| Environment: | Grassland Green | |
| Road: | Dirt Brown and light green | |
| Time: | Day Light indigo | |
| Background: | Spotted hills Light and dark green | |
| Obstacles: | Nanisuruki | |
| Southmost/rightmost | ||
| Distance: | 234km | 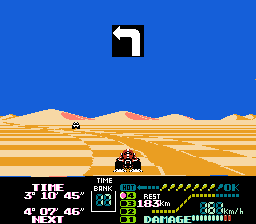
|
| Environment: | Desert Tan | |
| Road: | Sand Tan | |
| Time: | Day Blue | |
| Background: | Smooth hills Tan | |
| Obstacles: | Abunaiwa | |
| Check point 3 to check point 4 | ||
| Northmost/leftmost | ||
| Distance: | 278km | 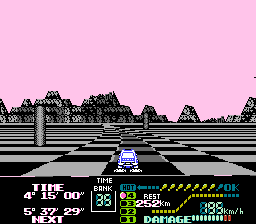
|
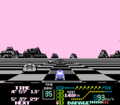
| Environment: | Ruins Black and gray | |
| Road: | Ruins Black and gray | |
| Time: | Day Pink | |
| Background: | Jagged mountains Gray and black | |
| Obstacles: | Pillar Abunaiwa | |
| Middle | ||
| Distance: | 230km | 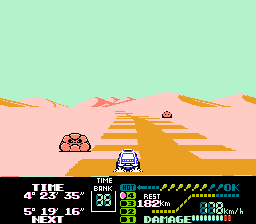
|
| Environment: | Desert Tan | |
| Road: | Sand Tan | |
| Time: | Day Light turquoise | |
| Background: | Smooth hills Tan | |
| Obstacles: | Abunaiwa | |
| Southmost/rightmost | ||
| Distance: | 276km | 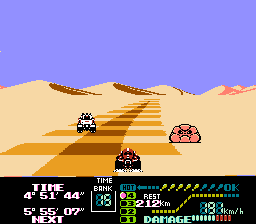
|
| Environment: | Desert Tan | |
| Road: | Sand Tan | |
| Time: | Day Blue | |
| Background: | Smooth hills Tan | |
| Obstacles: | Abunaiwa | |
| Check point 4 to check point 5 | ||
| Northmost/leftmost | ||
| Distance: | 262km | 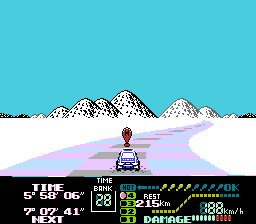
|
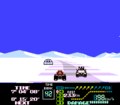
| Environment: | Snowscape White | |
| Road: | Ice Light blue and light purple | |
| Time: | Day Blue | |
| Background: | Spotted hills White and black | |
| Obstacles: | None | |
| Middle | ||
| Distance: | 238km | 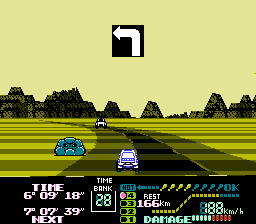
|
| Environment: | Desert Yellow | |
| Road: | Sand Brown | |
| Time: | Day Yellow | |
| Background: | Jagged mountains Brown and black | |
| Obstacles: | Abunaiwa | |
| Southmost/rightmost | ||
| Distance: | 294km | 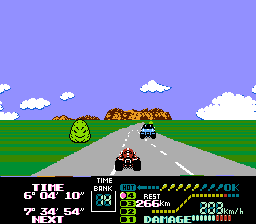
|
| Environment: | Grassland Dark green | |
| Road: | Pavement Gray | |
| Time: | Day Blue | |
| Background: | Rocky plateaus Brown | |
| Obstacles: | Nanisuruki | |
| Check point 5 to check point 6 | ||
| Northmost/leftmost | ||
| Distance: | 272km | 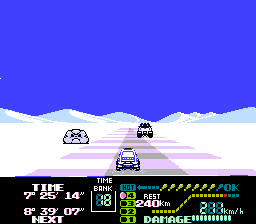
|
| Environment: | Snowscape White | |
| Road: | Snow Blue and white | |
| Time: | Day Light blue | |
| Background: | Smooth hills White | |
| Obstacles: | Abunaiwa | |
| Middle | ||
| Distance: | 252km | 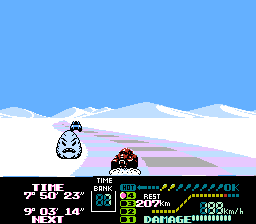
|
| Environment: | Snowscape White | |
| Road: | Snow Light blue and white | |
| Time: | Day Light blue | |
| Background: | Smooth hills White | |
| Obstacles: | Nanisuruki | |
| Southmost/rightmost | ||
| Distance: | 310km | 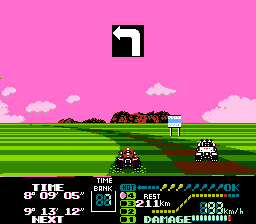
|
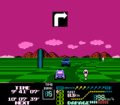
| Environment: | Grassland Green | |
| Road: | Grass Green and brown | |
| Time: | Day Pink | |
| Background: | Rocky Plateaus Brown and black | |
| Obstacles: | Sign | |
| Check point 6 to check point 7 | ||
| North/left | ||
| Distance: | 272km | 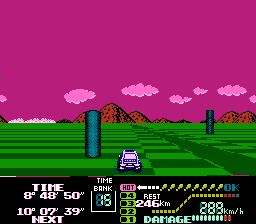
|
| Environment: | Grassland Green | |
| Road: | Grass Green | |
| Time: | Evening Light red | |
| Background: | Spotted hills Red and pink | |
| Obstacles: | Pillar | |
| South/right | ||
| Distance: | 246km | 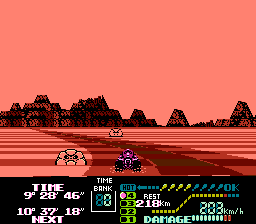
|
| Environment: | Desert Orange | |
| Road: | Sand Brown | |
| Time: | Evening Orange | |
| Background: | Jagged mountains Brown and black | |
| Obstacles: | Abunaiwa | |
| Check point 7 to check point 8 | ||
| North/left | ||
| Distance: | 278km | 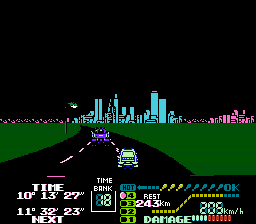
|
| Environment: | Grassland Green | |
| Road: | Pavement Black | |
| Time: | Night Black | |
| Background: | City Cyan and pink | |
| Obstacles: | Jamadatō | |
| South/right | ||
| Distance: | 266km | 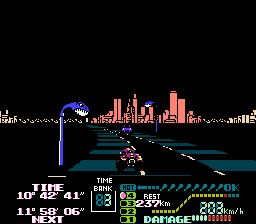
|
| Environment: | City Black | |
| Road: | Pavement Black and blue | |
| Time: | Night Black | |
| Background: | City Orange and cream | |
| Obstacles: | Jamadatō | |
| Check point 8 to goal | ||
| Distance: | 246km | 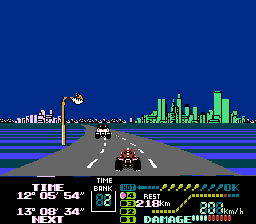
|
| Environment: | City Dark blue | |
| Road: | Pavement Gray | |
| Time: | Day Dark blue | |
| Background: | City Turquoise and light purple | |
| Obstacles: | Jamadatō | |
| Goal | ||
| Environment: | City Tan |
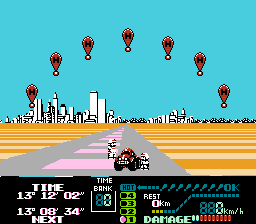
|
| Road: | Pavement Gray | |
| Time: | Day Light blue | |
| Background: | City White | |
Gallery
| Famicom Grand Prix II: 3D Hot Rally | ||
|---|---|---|
| Characters | Mario • Luigi | |
| Vehicles | Kattobi • Yonque • Monster | |
| Obstacles | Abunaiwa • Nanisuruki • Jamadatō | |
| Courses | Course-1 • Course-2 • Course-3 | |
| Other | 3D Hot Rally (album) • Check Point • Gallery • Hot Dot • Repair Point • Staff | |


