User:7feetunder/sandbox: Difference between revisions

From the Super Mario Wiki, the Mario encyclopedia
Jump to navigationJump to search
No edit summary
m (Undo revision 4114603 by 7feetunder (talk))
Tag: Undo
 
(79 intermediate revisions by the same user not shown)
Line 1: Line 1:
{{WMODEpisode
==Holes==
|image=
===Game Boy Color===
|location=[[Sweatmore Peak]]
|boss=[[Barfatronic Lavachomper]]
|keyitems=[[File:WMODSweatmoreHotpants.png|link=Sweatmore Hotpants]] [[File:WMODSweatmoreSuperhotpants.png|link=Sweatmore Superhotpants]]
|gems=[[File:CaptainMasteryGem.png|Captain Mastery Gem]]
|titlecard=[[File:WMODEpisode7Card.png|128px]]
|before=[[A Flower That's Drunk Up Power!|<<]]
|after=[[When Dolphins Ruled the Earth!|>>]]
}}
'''Fouling Up the Whole Works!''' is the seventh episode of ''[[Wario: Master of Disguise]]''. It takes place at [[Sweatmore Peak]].
 
==Plot==
Wario arrives at the volcano searching for [[Count Cannoli]], who told him to meet him there if he wanted to know where the next [[Wishstone]] piece was. However, Cannoli turns out to be a no-show. Instead, Wario meets a mysterious girl there. She warns him not to continue, mentioning that a machine is causing the volcano to behave abnormally. Wario ignores her warning and gets the [[Sweatmore Hotpants]] so he can enter the magma and get through the volcano. Shortly afterward, he acquires the Captain Mastery Gem, giving [[Captain Wario (Wario: Master of Disguise)|Captain Wario]] the ability to turn into a submarine and fire torpedoes, which is used extensively in this level.
 
After swimming through the magma, Wario comes across the [[Barfatronic Lavachomper]], a large head-like device that controls the lava. The Lavachomper was what had caused the increased volcanic activity. Once it is defeated, Wario moves on to [[Blowhole Castle]]. Afterward, Cannoli is seen talking with the [[Carpaccio|ally]] he made [[Picking the Pharaoh's Brains!|two episodes ago]] about Wario's current progress. Cannoli then leaves, planning his next move.
 
==Layout==
Wario starts near the entrance to the magma, which has three [[red block (Wario: Master of Disguise)|red block]]s over it. Before going inside, he needs to get the [[Sweatmore Hotpants]]. He can obtain them by going to the right until he finds a purple [[treasure chest]], which contains the Hotpants. On the way, he will encounter five [[Sir Lance-A-Lot]]s and four [[Bombat]]s. Wario can also crawl through a hidden passage on the far right to find two Sir Lance-A-Lots guarding a green chest with a [[Vita Mighty]] inside. After having left the room where the Sweatmore Hotpants were after obtaining them, the purple chest will be replaced with a red chest containing the Amazing Massage Chair. Wario can now return to the beginning, destroy the red blocks, and enter the magma. Upon doing so and going to the right, Wario will be introduced to [[Snackeral]]s, a robotic fish that can steal Wario's Hotpants. In addition to the Snackeral he just saw, Wario will also encounter three [[RoboUrchin]]s before moving on to the next room, which has four [[Battle Salmon]] and two spots where flames fly in an arch.
 
==Enemies==
{|class="wikitable" style="text-align: center"
|-
|-
!Sprite
!Hole
!Name
!Map
!Count
!Green
!Par
!Yardage
!Description
|-
|1
|[[File:MGGBC Marion Club Hole 1.png]]
|[[File:MGGBC Marion Club Green 1.png]]
|4
|374 yards
|
|-
|2
|[[File:MGGBC Marion Club Hole 2.png]]
|[[File:MGGBC Marion Club Green 2.png]]
|4
|318 yards
|
|-
|3
|[[File:MGGBC Marion Club Hole 3.png]]
|[[File:MGGBC Marion Club Green 3.png]]
|3
|160 yards
|
|-
|4
|[[File:MGGBC Marion Club Hole 4.png]]
|[[File:MGGBC Marion Club Green 4.png]]
|5
|480 yards
|
|-
|5
|[[File:MGGBC Marion Club Hole 5.png]]
|[[File:MGGBC Marion Club Green 5.png]]
|4
|308 yards
|
|-
|6
|[[File:MGGBC Marion Club Hole 6.png]]
|[[File:MGGBC Marion Club Green 6.png]]
|4
|321 yards
|
|-
|-
|[[File:Sir Lance-A-Lot.png]]
|[[Sir Lance-A-Lot]]
|7
|7
|[[File:MGGBC Marion Club Hole 7.png]]
|[[File:MGGBC Marion Club Green 7.png]]
|5
|461 yards
|
|-
|-
|[[File:Bombat.png]]
|8
|[[Bombat]]
|[[File:MGGBC Marion Club Hole 8.png]]
|[[File:MGGBC Marion Club Green 8.png]]
|3
|136 yards
|
|-
|9
|[[File:MGGBC Marion Club Hole 9.png]]
|[[File:MGGBC Marion Club Green 9.png]]
|4
|4
|370 yards
|
|-
|-
|[[File:Snackeral.png]]
|10
|[[Snackeral]]
|[[File:MGGBC Marion Club Hole 10.png]]
|1
|[[File:MGGBC Marion Club Green 10.png]]
|4
|351 yards
|
|-
|11
|[[File:MGGBC Marion Club Hole 11.png]]
|[[File:MGGBC Marion Club Green 11.png]]
|5
|479 yards
|
|-
|-
|[[File:RoboUrchin.png]]
|12
|[[RoboUrchin]]
|[[File:MGGBC Marion Club Hole 12.png]]
|[[File:MGGBC Marion Club Green 12.png]]
|3
|3
|149 yards
|
|-
|13
|[[File:MGGBC Marion Club Hole 13.png]]
|[[File:MGGBC Marion Club Green 13.png]]
|4
|368 yards
|
|-
|-
|[[File:Battle Salmon.png]]
|14
|[[Battle Salmon]]
|[[File:MGGBC Marion Club Hole 14.png]]
|[[File:MGGBC Marion Club Green 14.png]]
|4
|4
|390 yards
|
|-
|-
|[[File:Cyborca.png]]
|15
|[[Cyborca]]
|[[File:MGGBC Marion Club Hole 15.png]]
|?
|[[File:MGGBC Marion Club Green 15.png]]
|4
|344 yards
|
|-
|16
|[[File:MGGBC Marion Club Hole 16.png]]
|[[File:MGGBC Marion Club Green 16.png]]
|4
|348 yards
|
|-
|17
|[[File:MGGBC Marion Club Hole 17.png]]
|[[File:MGGBC Marion Club Green 17.png]]
|3
|170 yards
|
|-
|18
|[[File:MGGBC Marion Club Hole 18.png]]
|[[File:MGGBC Marion Club Green 18.png]]
|5
|499 yards
|
|}
|}


==Treasure chest locations==
===Game Boy Advance===
{|class="wikitable"
{|class="wikitable" style="text-align: center"
!width="30px"|
!Hole
!Treasure
!Overview
!Worth
!Green
!Location
!Par
!width=80px|Front Tee
!width=80px|Back Tee
!Differences
|-
|-
|[[File:WMoDPurpleChest.png]]
|1
|[[Sweatmore Hotpants]]
|[[File:MGAT Star Marion Course Hole 1.png]]
|[[File:MGAT Mushroom Course Green 1.png|219px]]
|4
|??? yards
|??? yards
|
|
|In the uppermost area of the volcano, in the third room from the left.
|-
|-
|[[File:WMoDRedChest.png]]
|2
|Amazing Massage Chair
|[[File:MGAT Star Marion Course Hole 2.png]]
|$100
|[[File:MGAT Mushroom Course Green 2.png|219px]]
|Replaces the Sweatmore Hotpants after obtaining them and leaving the room.
|4
|??? yards
|??? yards
|
|-
|-
|[[File:WMoDGreenChest.png]]
|3
|[[Vita Mighty]]
|[[File:MGAT Star Marion Course Hole 3.png]]
|[[File:MGAT Mushroom Course Green 3.png|219px]]
|3
|??? yards
|??? yards
|
|
|In the room to the right of where the Sweatmore Hotpants are, accessed through a hidden passage.
|-
|-
|[[File:WMoDRedChest.png]]
|4
|Spooky Haunted Seaweed
|[[File:MGAT Star Marion Course Hole 4.png]]
|$34,901
|[[File:MGAT Mushroom Course Green 4.png|219px]]
|Replaces the Vita Mighty during subsequent runs of the episode.
|5
|??? yards
|??? yards
|
|-
|-
|[[File:WMoDRedChest.png]]
|5
|Nifty Wario Poster
|[[File:MGAT Star Marion Course Hole 5.png]]
|$8,355
|[[File:MGAT Mushroom Course Green 5.png|219px]]
|In the magma pool below where the Sweatmore Hotpants are obtained.
|4
|??? yards
|??? yards
|
|-
|-
|[[File:WMoDGreenChest.png]]
|6
|Captain [[Mastery Gem]]
|[[File:MGAT Star Marion Course Hole 6.png]]
|[[File:MGAT Mushroom Course Green 6.png|219px]]
|4
|??? yards
|??? yards
|
|
|In the same area as the Nifty Wario Poster, in the bottom-right corner.
|-
|-
|[[File:WMoDRedChest.png]]
|7
|Forbidden Cheat Sheet
|[[File:MGAT Star Marion Course Hole 7.png]]
|$320
|[[File:MGAT Mushroom Course Green 7.png|219px]]
|Replaces the Captain Mastery Gem during subsequent runs of the episode.
|5
|??? yards
|??? yards
|
|-
|-
|[[File:WMoDRedChest.png]]
|8
|Cutie-Pie Hypno Specs
|[[File:MGAT Star Marion Course Hole 8.png]]
|$4,341
|[[File:MGAT Mushroom Course Green 8.png|219px]]
|On the far left near where Wario first enters the magma, accessible after obtaining the Captain Mastery Gem.
|3
|??? yards
|??? yards
|
|-
|9
|[[File:MGAT Star Marion Course Hole 9.png]]
|[[File:MGAT Mushroom Course Green 9.png|219px]]
|4
|??? yards
|??? yards
|
|-
|-
|[[File:WMoDPurpleChest.png]]
|10
|[[Sweatmore Superhotpants]]
|[[File:MGAT Star Marion Course Hole 10.png]]
|[[File:MGAT Mushroom Course Green 10.png|219px]]
|4
|??? yards
|??? yards
|
|
|In the bottom-left corner of the volcano.
|-
|-
|[[File:WMoDRedChest.png]]
|11
|Train Window Painting
|[[File:MGAT Star Marion Course Hole 11.png]]
|$7,901
|[[File:MGAT Mushroom Course Green 11.png|219px]]
|Replaces the Sweatmore Superhotpants after obtaining them and leaving the room.
|5
|??? yards
|??? yards
|
|-
|12
|[[File:MGAT Star Marion Course Hole 12.png]]
|[[File:MGAT Mushroom Course Green 12.png|219px]]
|3
|??? yards
|??? yards
|
|-
|-
|[[File:WMoDRedChest.png]]
|13
|"Rare" Collectible Figurine
|[[File:MGAT Star Marion Course Hole 13.png]]
|$145
|[[File:MGAT Mushroom Course Green 13.png|219px]]
|At the bottom of the tall room with the rising fireballs and RoboUrchins.
|4
|??? yards
|??? yards
|
|-
|-
|[[File:WMoDPurpleChest.png]]
|14
|Sweatmore Peak Map
|[[File:MGAT Star Marion Course Hole 14.png]]
|[[File:MGAT Mushroom Course Green 14.png|219px]]
|4
|??? yards
|??? yards
|
|
|In the upper-left corner of the room to the right of the one where the "Rare" Collectible Figurine is.
|-
|-
|[[File:WMoDRedChest.png]]
|15
|Hilarity Machine
|[[File:MGAT Star Marion Course Hole 15.png]]
|$809
|[[File:MGAT Mushroom Course Green 15.png|219px]]
|In the upper-right corner of the room with the map.
|4
|??? yards
|??? yards
|
|-
|-
|[[File:WMoDRedChest.png]]
|16
|Titanium Chef Hands
|[[File:MGAT Star Marion Course Hole 16.png]]
|$135
|[[File:MGAT Mushroom Course Green 16.png|219px]]
|In the bottom-right corner of the room with the map.
|4
|??? yards
|??? yards
|
|-
|-
|[[File:WMoDRedChest.png]]
|17
|Failed Teenage Romance Diary
|[[File:MGAT Star Marion Course Hole 17.png]]
|$8,364
|[[File:MGAT Mushroom Course Green 17.png|219px]]
|In the small room at the bottom-right corner of the volcano.
|3
|??? yards
|??? yards
|
|-
|-
|[[File:WMoDRedChest.png]]
|18
|Rich Man's Ice Cream
|[[File:MGAT Star Marion Course Hole 18.png]]
|$171
|[[File:MGAT Mushroom Course Green 18.png|219px]]
|In the room right before the boss room.
|5
|??? yards
|??? yards
|
|}
|}

Latest revision as of 17:28, January 14, 2024

Holes

Game Boy Color

Hole Map Green Par Yardage Description
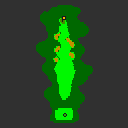
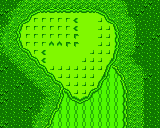
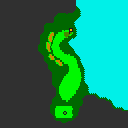
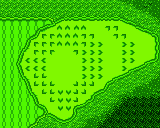
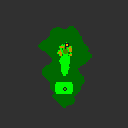
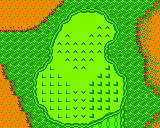
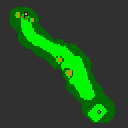
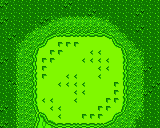
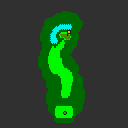
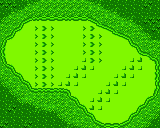
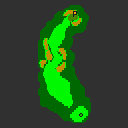
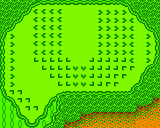
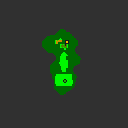
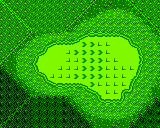
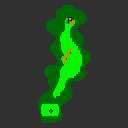
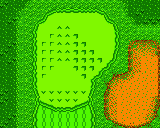
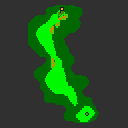
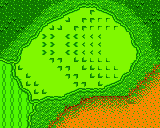
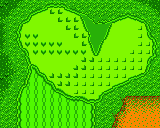
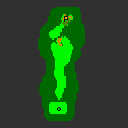
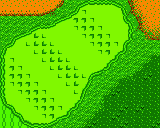
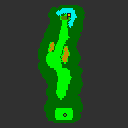
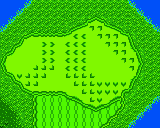
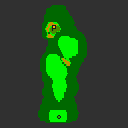
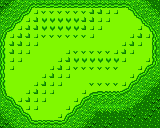
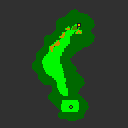
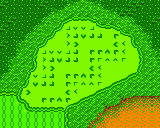
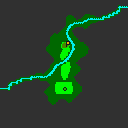
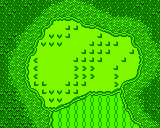
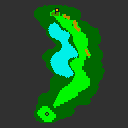
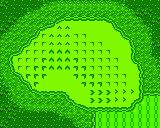
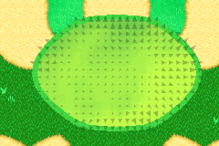
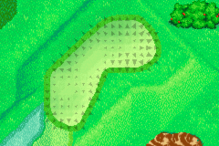
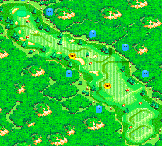
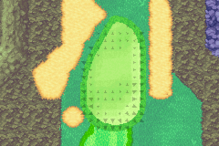
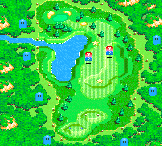
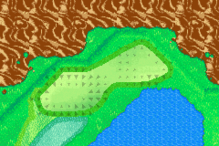
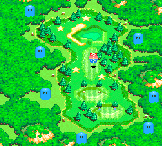
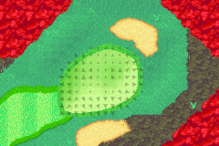
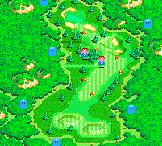
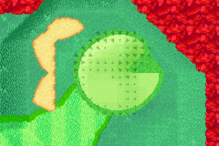
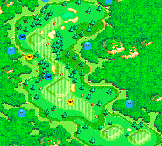
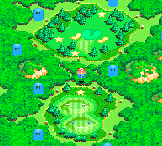
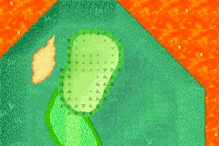
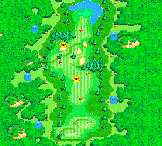
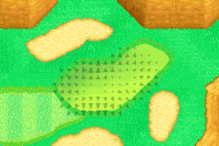
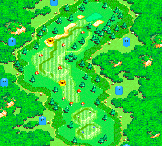
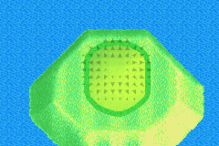
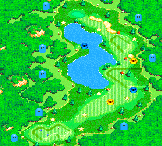
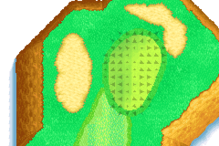
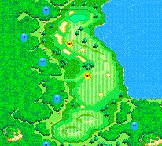
1 Hole 1 of the Marion Club from the Game Boy Color Mario Golf The green from Hole 1 of the Marion Club from the Game Boy Color Mario Golf 4 374 yards
2 Hole 2 of the Marion Club from the Game Boy Color Mario Golf The green from Hole 2 of the Marion Club from the Game Boy Color Mario Golf 4 318 yards
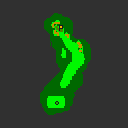
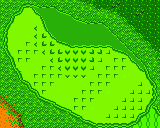
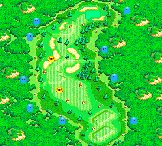
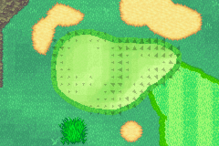
3 Hole 3 of the Marion Club from the Game Boy Color Mario Golf The green from Hole 3 of the Marion Club from the Game Boy Color Mario Golf 3 160 yards
4 Hole 4 of the Marion Club from the Game Boy Color Mario Golf The green from Hole 4 of the Marion Club from the Game Boy Color Mario Golf 5 480 yards
5 Hole 5 of the Marion Club from the Game Boy Color Mario Golf The green from Hole 5 of the Marion Club from the Game Boy Color Mario Golf 4 308 yards
6 Hole 6 of the Marion Club from the Game Boy Color Mario Golf The green from Hole 6 of the Marion Club from the Game Boy Color Mario Golf 4 321 yards
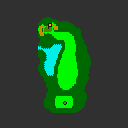
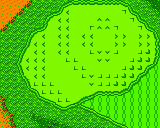
7 Hole 7 of the Marion Club from the Game Boy Color Mario Golf The green from Hole 7 of the Marion Club from the Game Boy Color Mario Golf 5 461 yards
8 Hole 8 of the Marion Club from the Game Boy Color Mario Golf The green from Hole 8 of the Marion Club from the Game Boy Color Mario Golf 3 136 yards
9 Hole 9 of the Marion Club from the Game Boy Color Mario Golf The green from Hole 9 of the Marion Club from the Game Boy Color Mario Golf 4 370 yards
10 Hole 10 of the Marion Club from the Game Boy Color Mario Golf The green from Hole 10 of the Marion Club from the Game Boy Color Mario Golf 4 351 yards
11 Hole 11 of the Marion Club from the Game Boy Color Mario Golf The green from Hole 11 of the Marion Club from the Game Boy Color Mario Golf 5 479 yards
12 Hole 12 of the Marion Club from the Game Boy Color Mario Golf The green from Hole 12 of the Marion Club from the Game Boy Color Mario Golf 3 149 yards
13 Hole 13 of the Marion Club from the Game Boy Color Mario Golf The green from Hole 13 of the Marion Club from the Game Boy Color Mario Golf 4 368 yards
14 Hole 14 of the Marion Club from the Game Boy Color Mario Golf The green from Hole 14 of the Marion Club from the Game Boy Color Mario Golf 4 390 yards
15 Hole 15 of the Marion Club from the Game Boy Color Mario Golf The green from Hole 15 of the Marion Club from the Game Boy Color Mario Golf 4 344 yards
16 Hole 16 of the Marion Club from the Game Boy Color Mario Golf The green from Hole 16 of the Marion Club from the Game Boy Color Mario Golf 4 348 yards
17 Hole 17 of the Marion Club from the Game Boy Color Mario Golf The green from Hole 17 of the Marion Club from the Game Boy Color Mario Golf 3 170 yards
18 Hole 18 of the Marion Club from the Game Boy Color Mario Golf The green from Hole 18 of the Marion Club from the Game Boy Color Mario Golf 5 499 yards

Game Boy Advance

Hole Overview Green Par Front Tee Back Tee Differences
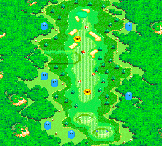
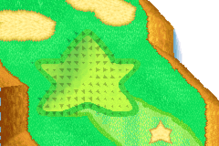
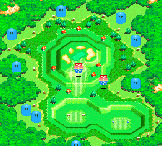
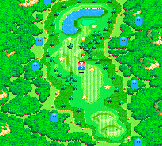
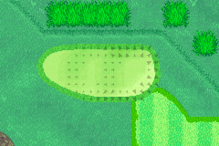
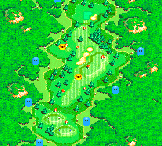
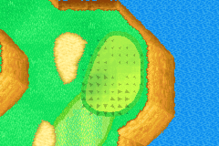
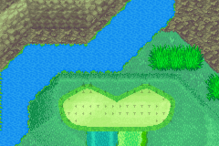
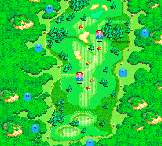
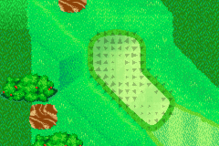
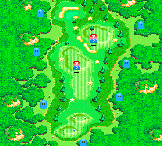
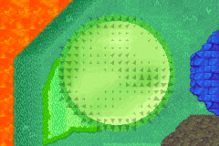
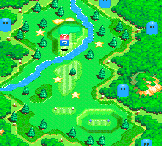
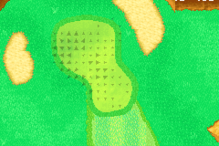
1 Hole 1 of the Star Marion Course from Mario Golf: Advance Tour The green from Hole 1 of the Mushroom Course from Mario Golf: Advance Tour 4 ??? yards ??? yards
2 Hole 2 of the Star Marion Course from Mario Golf: Advance Tour The green from Hole 2 of the Mushroom Course from Mario Golf: Advance Tour 4 ??? yards ??? yards
3 Hole 3 of the Star Marion Course from Mario Golf: Advance Tour The green from Hole 3 of the Mushroom Course from Mario Golf: Advance Tour 3 ??? yards ??? yards
4 Hole 4 of the Star Marion Course from Mario Golf: Advance Tour The green from Hole 4 of the Mushroom Course from Mario Golf: Advance Tour 5 ??? yards ??? yards
5 Hole 5 of the Star Marion Course from Mario Golf: Advance Tour The green from Hole 5 of the Mushroom Course from Mario Golf: Advance Tour 4 ??? yards ??? yards
6 Hole 6 of the Star Marion Course from Mario Golf: Advance Tour The green from Hole 6 of the Mushroom Course from Mario Golf: Advance Tour 4 ??? yards ??? yards
7 Hole 7 of the Star Marion Course from Mario Golf: Advance Tour The green from Hole 7 of the Mushroom Course from Mario Golf: Advance Tour 5 ??? yards ??? yards
8 Hole 8 of the Star Marion Course from Mario Golf: Advance Tour The green from Hole 8 of the Mushroom Course from Mario Golf: Advance Tour 3 ??? yards ??? yards
9 Hole 9 of the Star Marion Course from Mario Golf: Advance Tour The green from Hole 9 of the Mushroom Course from Mario Golf: Advance Tour 4 ??? yards ??? yards
10 Hole 10 of the Star Marion Course from Mario Golf: Advance Tour The green from Hole 10 of the Mushroom Course from Mario Golf: Advance Tour 4 ??? yards ??? yards
11 Hole 11 of the Star Marion Course from Mario Golf: Advance Tour The green from Hole 11 of the Mushroom Course from Mario Golf: Advance Tour 5 ??? yards ??? yards
12 Hole 12 of the Star Marion Course from Mario Golf: Advance Tour The green from Hole 12 of the Mushroom Course from Mario Golf: Advance Tour 3 ??? yards ??? yards
13 Hole 13 of the Star Marion Course from Mario Golf: Advance Tour The green from Hole 13 of the Mushroom Course from Mario Golf: Advance Tour 4 ??? yards ??? yards
14 Hole 14 of the Star Marion Course from Mario Golf: Advance Tour The green from Hole 14 of the Mushroom Course from Mario Golf: Advance Tour 4 ??? yards ??? yards
15 Hole 15 of the Star Marion Course from Mario Golf: Advance Tour The green from Hole 15 of the Mushroom Course from Mario Golf: Advance Tour 4 ??? yards ??? yards
16 Hole 16 of the Star Marion Course from Mario Golf: Advance Tour The green from Hole 16 of the Mushroom Course from Mario Golf: Advance Tour 4 ??? yards ??? yards
17 Hole 17 of the Star Marion Course from Mario Golf: Advance Tour The green from Hole 17 of the Mushroom Course from Mario Golf: Advance Tour 3 ??? yards ??? yards
18 Hole 18 of the Star Marion Course from Mario Golf: Advance Tour The green from Hole 18 of the Mushroom Course from Mario Golf: Advance Tour 5 ??? yards ??? yards